

Page 1
At a Glance Compliance Information
Thank you for choosing the SwannOne™ Window/Door Sensor. The SwannOne
Window/Door Sensor monitors the opening and closing of doors and windows, notifying
you when changes occur via the SwannOne system.
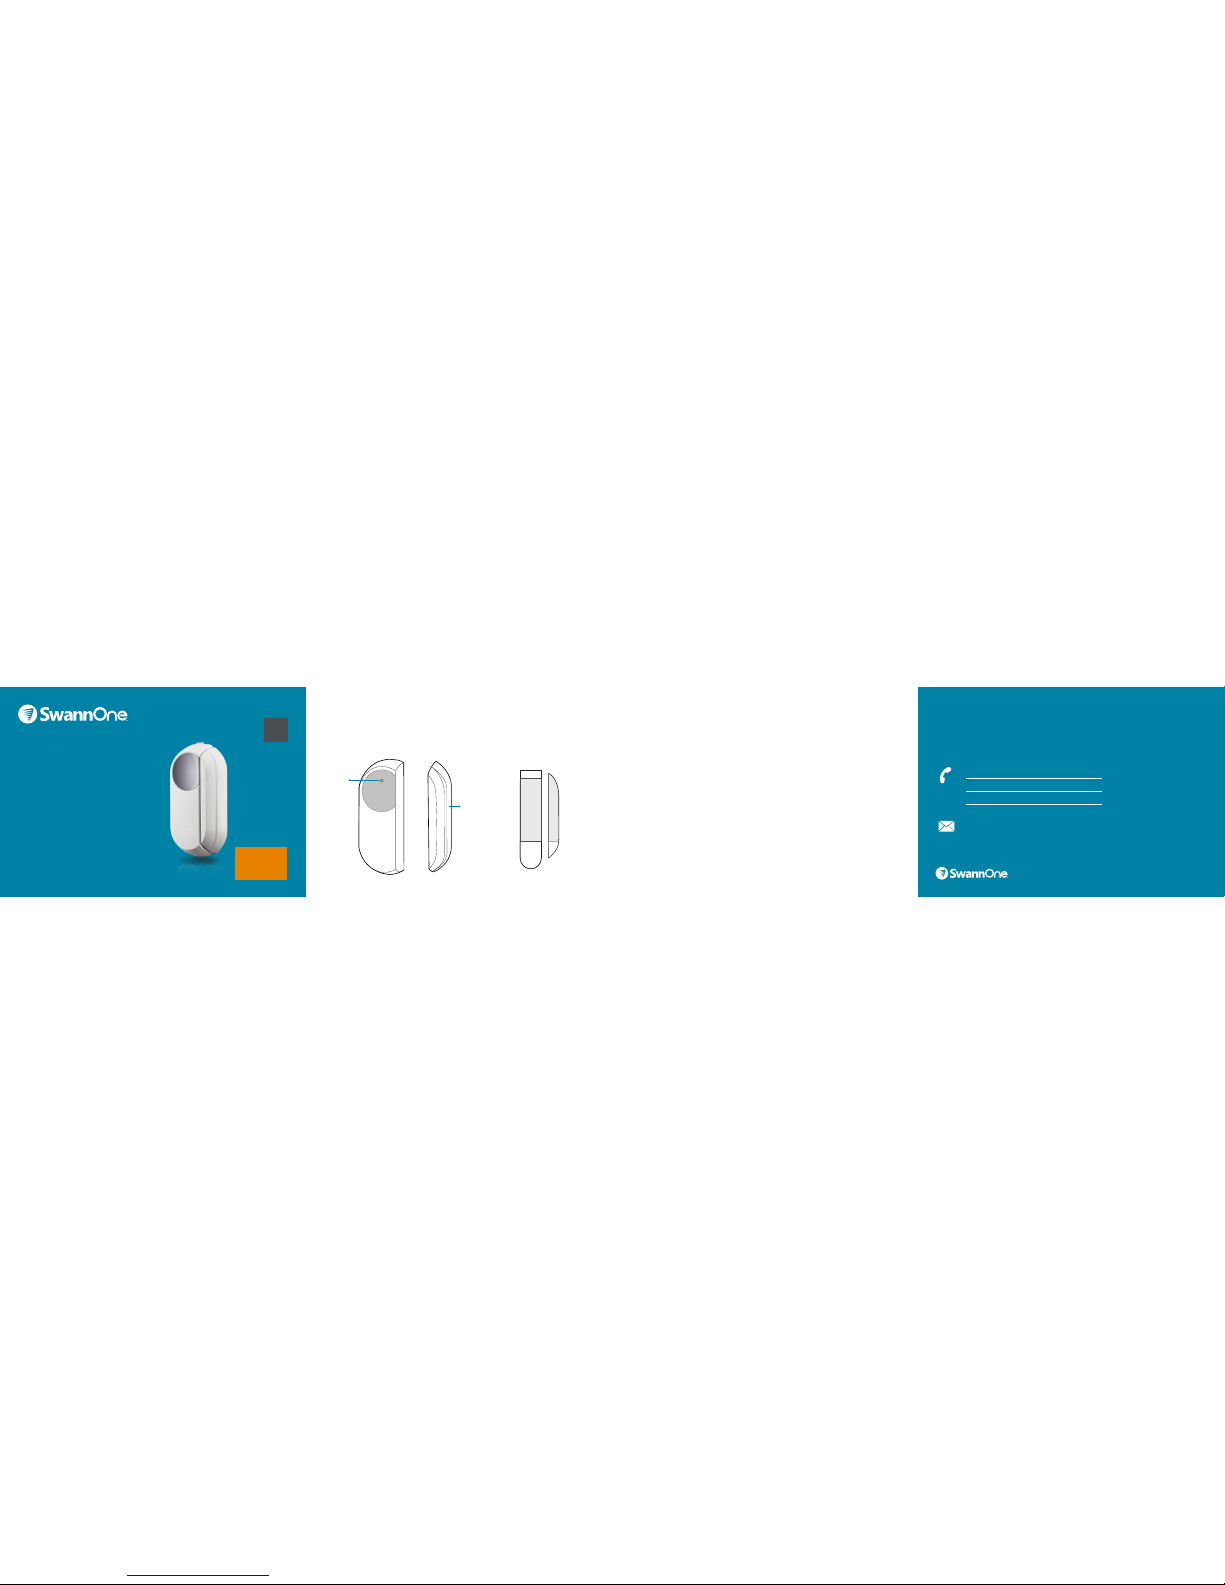
Magnet
3M Command™
Mounting Strips
Sensor
QSGWS170316E
Need Help?
EN
Quick Start Guide
Window/
Door Sensor
Status
LED
© Swann Communications 2016
READ ME
FIRST
Raised panel
provides
alternative
mounting option
for recessed
door/window
USA & Canada 1800 627 2799
UK & Europe 0808 168 9031
Australia 1800 788 210
New Zealand 0800 479 266
SwannOne Warranty
SwannOne products are backed by a full 12 month guarantee from the date of purchase.
In the unlikely event of anything going wrong, you can have confidence that your
purchase is protected. Refer to swannone.com for terms and conditions.
FCC Statement
This device complies with part 15 of the FCC Rules. Operation is subject to the following
two conditions: (1)This device may not cause harmful interference, and (2) This device
must accept any interference received, including interference that may cause undesired
operation.
Disposal and Recycling Information
Correct Disposal of this product. This marking indicates that this product should not be
disposed with other household wastes throughout the EU. To prevent possible harm to
the environment or human health from uncontrolled waste disposal, recycle it responsibly
to promote the sustainable reuse of material resources. To return your used device,
please use the return and collection systems or contact the retailer where the product
was purchased. They can take this product for environment safe recycling.
Battery Safety Information
CAUTION: KEEP BATTERIES AWAY FROM SMALL CHILDREN. RISK OF
EXPLOSION IF BATTERY IS REPLACED BY AN INCORRECT TYPE. DISPOSE OF
USED BATTERIES PROMPTLY IN ACCORDANCE WITH LOCAL REGULATIONS.
Page 2
AAA
AAA
AAA
AAA
AAA
AAA
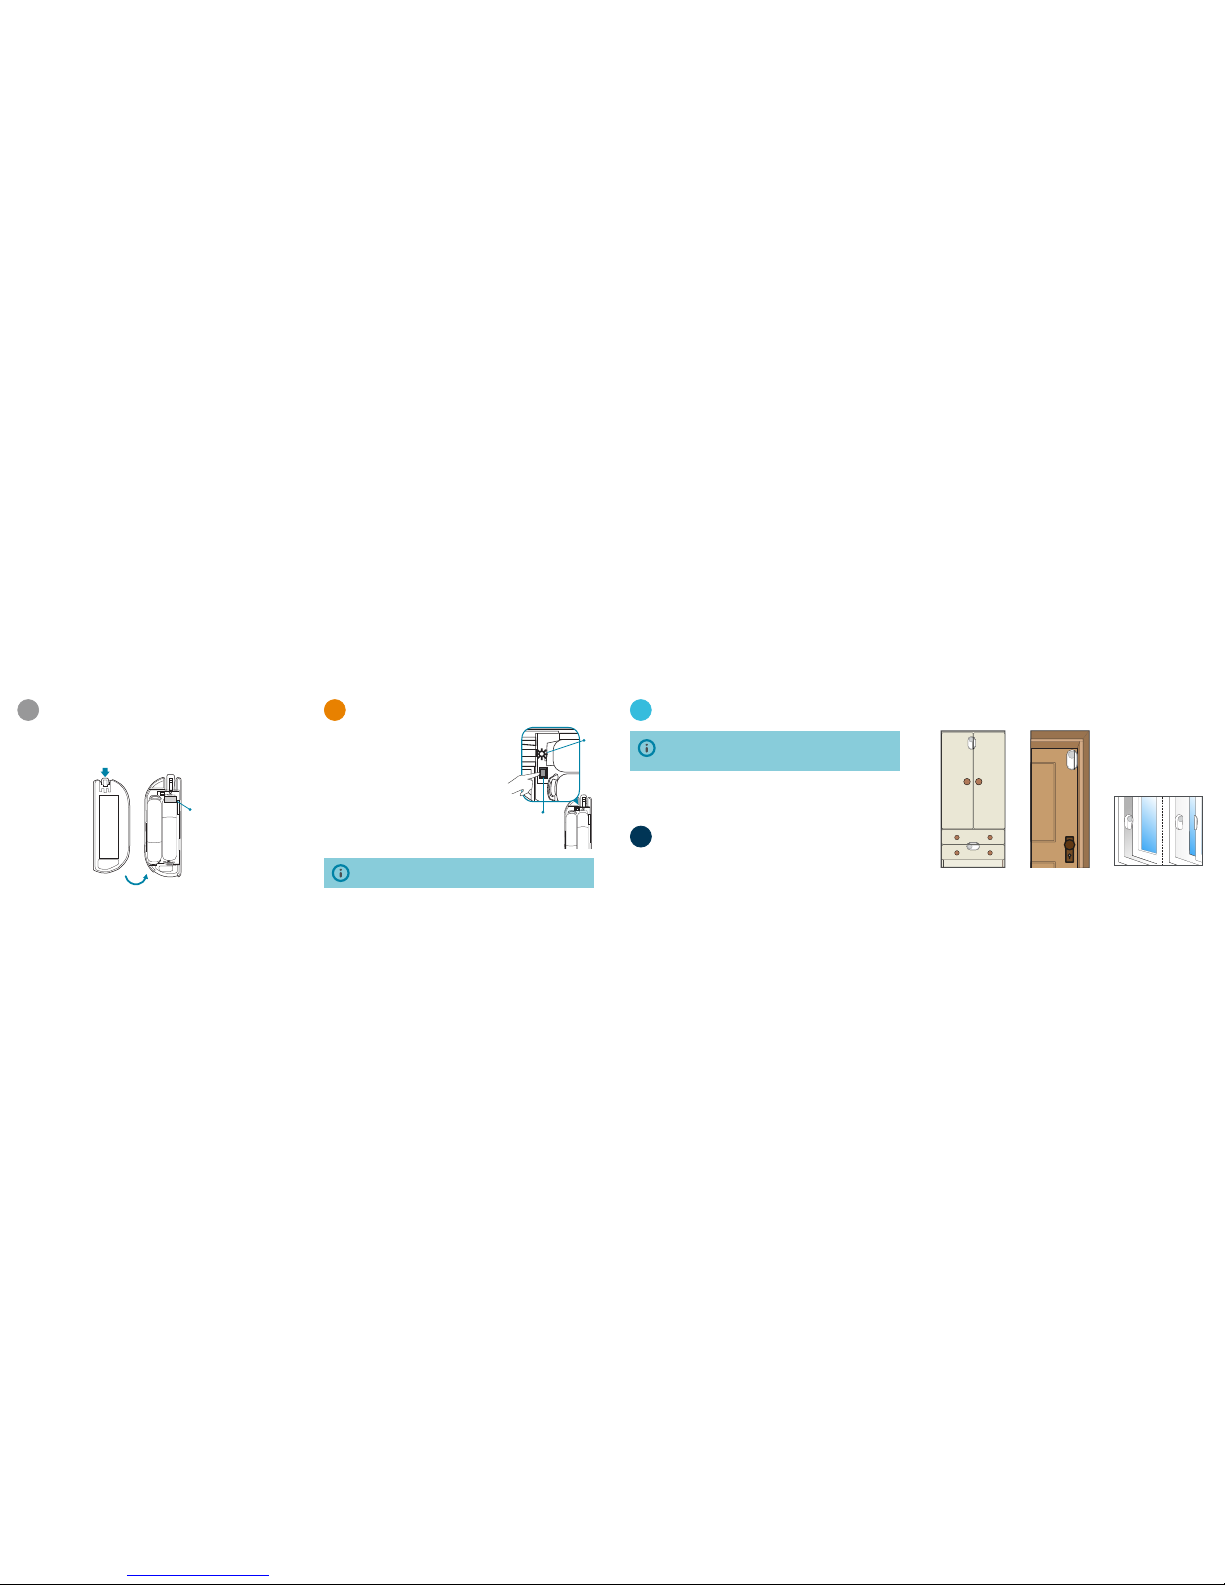
battery tab
Connect
Button
Status
LED
1 Open the sensor by pushing back the release catch on top. The front panel
should come off easily.
2 Remove the battery tab to activate the sensor.
1 Before applying Command™ strips, clean the surface where the sensor and
magnet will be mounted with an alcohol/cleaning wipe, and let dry.
2 Fit the sensor and magnet with appropriate sized strips, and then firmly press
onto surface for 30 seconds each to secure.
Take time to choose a location and properly check the orientation of the
sensor and magnet. See Sensor Placement Examples. The sensor and
magnet should ideally be positioned in a way that when the window/door is
closed, they are aligned side by side, within 5/16" from each other.
If the sensor is not connecting as expected, perform a sensor reset by pressing
and holding the Connect button until the status LED blinks rapidly, and then try
pairing the sensor again.
1 Sign in to your SwannOne account at
home.swannone.com.
2 From your account dashboard, go to
My Settings > Window/Door Sensors and add a
device.
3 When the Setup page appears, put your Smart
Hub in pairing mode by selecting Learn devices.
4 Press the Connect button on the sensor. The
status LED blinks once. When pairing is complete,
the status LED blinks twice.
Check the Setup page to confirm the sensor was
paired successfully, and then finish the setup
process by following the on-screen instructions.
Activate Sensor
1
Pair Sensor
2
Mount Sensor
3
Test Sensor
4
To test if the sensor is working properly, simply open and then close the window/
door. The status LED blinks each time the window/door is opened or closed. You will
also receive notifications via the SwannOne app on your smartphone.
Sensor Placement Examples
Cupboard
Recessed door
Sliding window
 Loading...