

Page 1
Bubble Bomber
RC Helicopter blasts bubbles
at the push of a button!
EN
INSTRUCTION MANUAL
1
Page 2
Introduction
Congratulations on your purchase of this Swann Bubble Bomber!
This instruction manual will help you with:
• Installing batteries into the provided controller
• Charging the Bubble Copter
• Using the controller
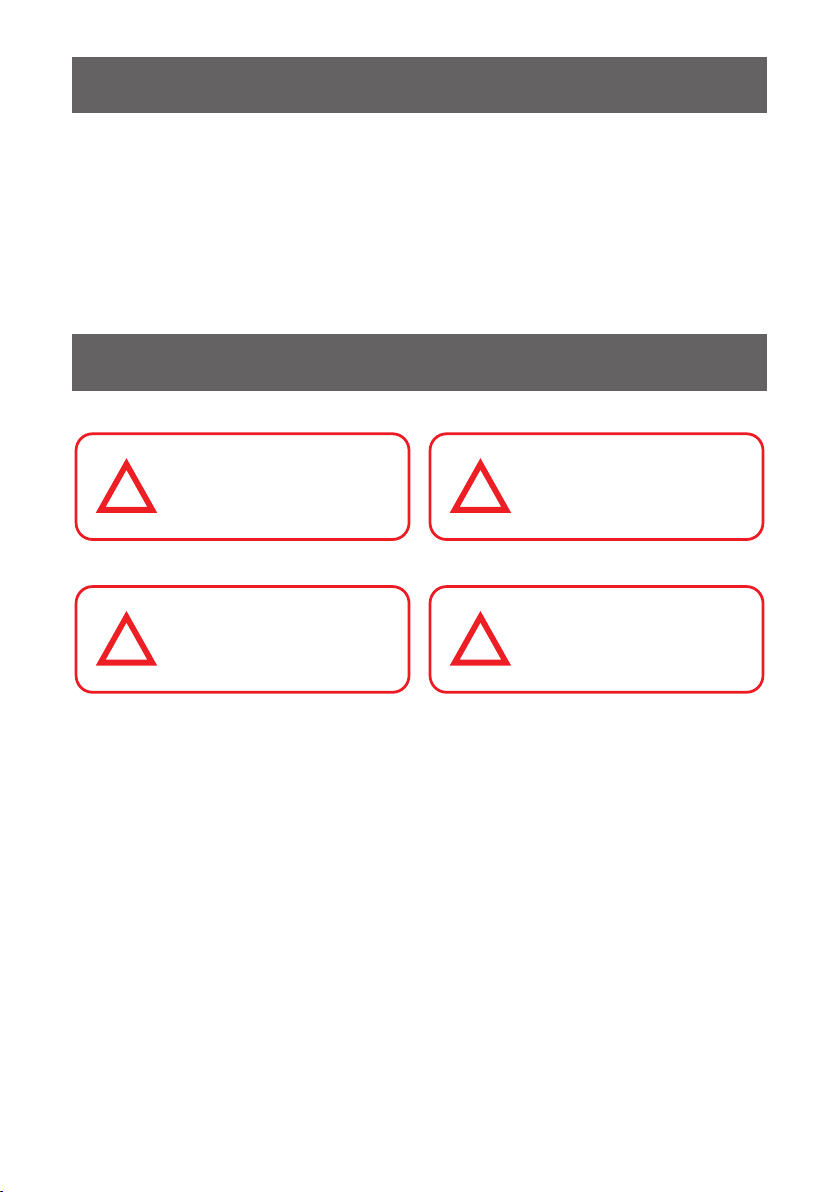
Safety Precautions
Choking Hazard - small parts,
keep out of reach of small children.
!
Warning - do not fly near eyes or
!
• Keep hands, hair and loose clothing away
from the rotors when the power switch is
turned on.
• Turn off the controller and helicopter when
not in use.
• Remove batteries from the controller when
not in use.
• Parental guidance is required for younger
users.
• Keep your helicopter close and within line of
sight - if line of sight to the controller is lost,
you may lose control of the helicopter.
• For best performance, only use fresh
Alkaline “AA” batteries in the controller.
faces.
Danger - Never insert sharp
objects, pins or screws into the
helicopter as this may puncture the
!
!
• Read and obey all warnings and safety
guidelines in this manual.
• The controller and charger are specifically
designed to charge this helicopter. Never use
other charging equipment.
• The helicopter is NOT intended for use by
children under fourteen (14) years old, unless
directly super vised by competent adult at all
times.
• Regularly examine the helicopter and
controller for any damage to the plugs,
enclosure, rotors, battery covers and other
parts. In the event of any damage, neither the
helicopter nor the controller should be used.
internal battery.
Caution - Do not touch the running
rotors. Do not fly above or near
someone’s head. Adult supervision
is required at all times.
1
Page 3
• To clean, wipe gently with a damp cloth. Avoid
use of solvents, as these can damage the
plastic components.
• Always remove the batteries from the
controller when not being used for extended
durations.
• Do not submerge the helicopter or remote
control in water. This will damage the
electronic components, and could pose a
severe risk to the built-in battery.
• Keep the helicopter and remote away from
heat sources.
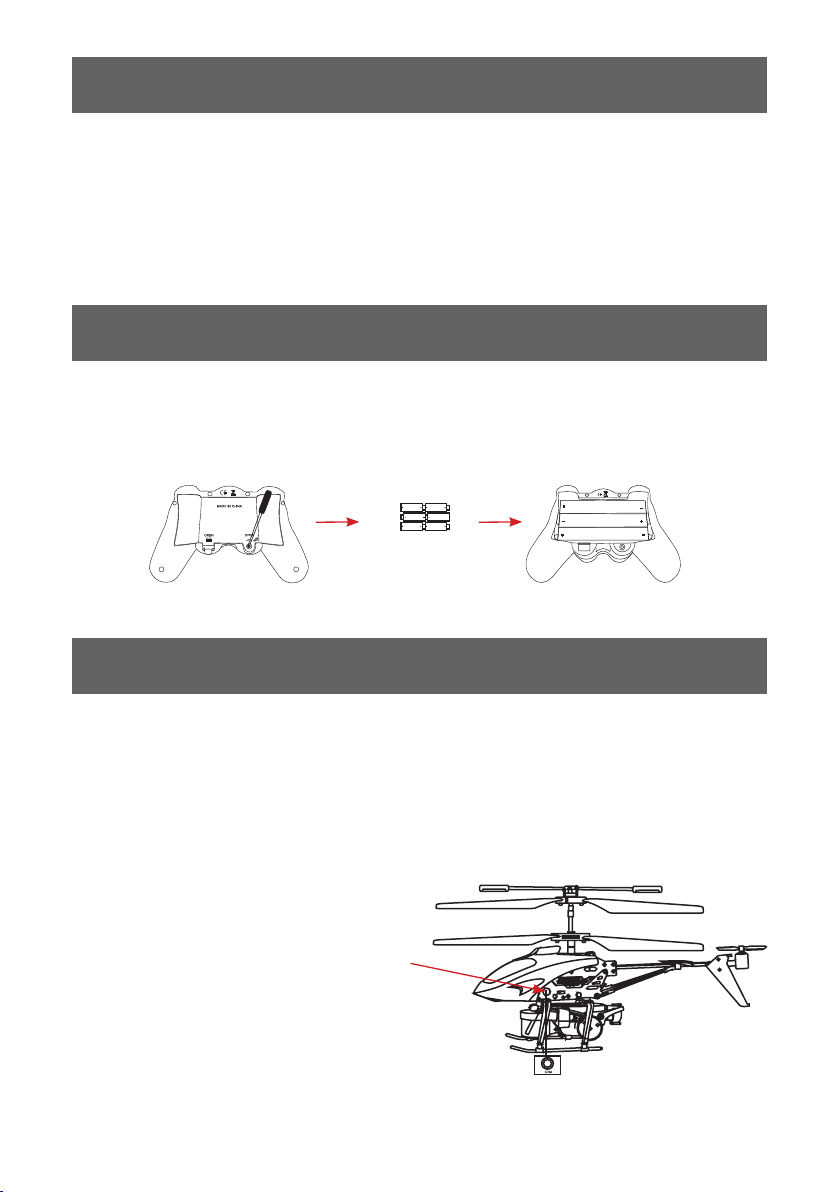
Installing batteries
Remove the batter y cover on the back of the controller, and insert 6 new “AA” batteries inside the
battery compartment. Follow the polarity (+/-) markings, and then replace the batter y cover.
Charging the Bubble Bomber
The Bubble Bomber is equipped with a 3.7V Li-ion battery and is not fully charged at shipment. There
are multiple ways that you can charge the Li-ion battery. You can use the pr ovided USB cable connected
to your computer to charge, or you can use the charging cable located on the side of the controller.
For best performance, charge the Li-ion battery for the first time for at least 2 hours before use.
Subsequent charges should take around 30 to 60 minutes.
Charging via USB
Plug the USB end of the charging cable into
a spare USB port on your computer. Then,
connect the other end to the Bubble Bomber.
Never connect the Bubble Bomber to a USB
port supplying anything other than 5V @
500 mA. There is a red LE D inside the USB plug,
this will turn off when the cable is connected to
the “CH A” socket on the Bubble Bomber. The
LED will turn on when the Bubble Bomber is
fully charged. Make sure the “ON/OFF” switch
on the Bubble Bomber is on the “OFF” position
when charging. The Bubble Bomber takes 30
to 60 minutes to charge.
2
Page 4

Charging the Bubble Bomber (ctd)
Charging via Remote Control
Open the charging lead compartment located
on the right-hand side of the remote control
and extend the lead. Turn on the remote
control and connect the charging lead to the
“CHA” socket on the Bubble Bomber. You will
see a red LED, which indicates that the remote
control is turned on, and a green LED, which
indicates that the Bubble Bomber is charging.
The gre en LED will tur n off when fully charged.
Make sure the “ON/OFF” switch on the Bubble
Bomber is on the the “OFF” position when
charging. The Bubble Bomber takes 30 to 60
minutes to charge.
Prepairing for Flight
Balance Bar
Upper Rotors
3
Lower Rotors
Power Switch
Bubble Tank
Throttle Control
Demo B utton
Bubble Button
Light Button
Bubble Output
Power LED Char ge LED
Power Switch
Trim Controls
Tai l Roto r
Turbo Button
Rudder Control
Page 5

To start flying, turn on the remote control and the Bubble Bomber. The remote control and the Bubble
Bomber will automatically pair with each other. You will see a red LED on the remote control and a set
of flashing lights on the Bubble Bomber. You are now ready to fly.
Bubble Solution: Included with the Bubble Bomber, is a bottle of bubble solution and an injection bottle.
Unscrew the cap and puncture the protective foil with the injection bottle. Insert the injection bottle into
the bottle of bubble solution and squeeze to fill. Insert the injection bottle into the bubble tank located
on the Bubble Bomber and squeeze to fill. Wipe up any excess solution before flying.
Do not fill beyond
this point.
Basic Maneuvers
Moving up and down: The Bubble Bomber moves up and down by var ying the speed of its main rotors.
You can control how fast these spin by using the throttle control (left stick) on the remote control.
Pushing the throttle control up will increase the throttle.
To get the best r esults, u se gentle and sub tle movement s. Small adju stments mad e slowly and c arefully
are the best way to get the Bubble Bomber to fly well. Be careful when easing off the throtle - if the
throttle stalls, the Bubble Bomber will fall to the ground and might not be able to recover in time, even
if you jam the throttle back on.
4
Page 6

Basic Maneuvers (ctd)
Rotation: To rotate the Bubble Bomber, move the rudder control (right stick) to either side. This will
cause the rotors to change their speeds relative to one another, causing the bod y of the Bubble Bomber
to spin on the spot. While moving forward, moving the rudder control to the left or right will turn the
Bubble Bomber in the direction that you want to fly to.
Forward & Backwards: The rudder control (right stick) also affects the Bubble Bomber’s direction of
travel.
Pushi ng the rudder c ontrol up will p itch the Bubble B omber for wards. T he opposite is a lso true, p ushing
the rudder control down will pitch the Bubble Bomber backwards and move it in reverse.
Demo Button: Pressing the “Demo Button” allows the Bubble Bomber to take over the rudder control
automatically for a brief time. All you need to do is control the throttle.
Bubble Button: Pressing the “Bubble Button” allows the Bubble Bomber to blow bubbles while flying.
Light Button: Press the “Light Button” to turn the flashing lights off and on.
Turbo Button: Press and hold the “Turbo Button” to make the Bubble Bomber fly faster.
5
Page 7

Adjusting the Trim
If you find that the Bub ble Bomber is turning slo wly left or r ight when you’re not using the rudder control
(right stick), then you’ll need to adjust the trim.
If the Bubble Bomber is rotating clockwise, press the “ L” button until it stops moving. If the Bubble
Bomber is rotating counter-clockwise, press the “R” button until it stops moving.
Flying Guide
Wind: Ba sically, the B ubble Bomb er is a replic a of a full-siz ed helicopt er. A full- sized helic opter would n’t be able to fly
in high w inds – and neither can the Bubble Bo mber. If a full-sized helico pter would have difficulty overcom ing 50mph
winds, then the Bubble Bomber will have the same difficult y with 0.625mph winds (i.e. 1/8 0th as much).
Air conditioning: Hot air rises and cool air falls – this creates movement in the air, leading to an effect called “wind
shear ”. Bas ically, this i s when there’s a co lumn of hot air go ing up next to c old air going d own. Many f ull-scale a ircraft
accidents have been caused by wind shear. Air conditioners create heaps of wind shear. If the Bubble Bomber flies
through wind shear, it will seem to suddenly fly up or down (depending on the direction of the wind shear).
The Ground Effect: When the Bubble Bomber is near the ground, the air it pushes down with it s rotor has nowhere
to go – the ground is in the way. Some of this air bounces back; this pushes the Bubble Bomber up. W hen the Bubble
Bomb er is near the gr ound, it wil l get slightl y more lift t han it norma lly would. T his is somet hing to keep in mi nd when
landing.
The Ceiling Ef fect: Conversely to the groun d effect, w hen you fly too close to a ceiling, a small pocket of low pressure
is created above the Bubble Bomber, and it will be sucked upwards. This could be bad – if you hit the ceiling, the
Bubble Bomber will stall, fall and possibly be damaged.
Places to Fly: Because high w inds can be a problem, we recommend flying indoors. However, you really do need a
bit of space to get the most out of the Bubble Bomber. Some places w hich are good for flight include large garages
(whilst the car’s not par ked there), indoor spor ts areas or a reasonably sized lounge room.
FCC Compliance Information (for USA)
This device complies with par t 15 of the FCC Rules. Operation is subject to the following two conditions: (1)
This device may not cause harmful interference, and (2) This device must accept any inter ference received,
including interference that may cause undesired operation.
WARNING
Modifications not approved by the party responsible for compliance could void user’s authority to operate the
equipment.
6
Page 8

Helpdesk / Technical Support Details
Swann Technical Support
All Countries E-mail: tech@swann.com
Telephone Helpdesk
USA Toll Free 1-800-627-2799
USA Exchange & Repairs 1-800-627-2799 (Option 1)
(M-F, 9am-5pm US PT)
AUSTRALIA 1300 138 324
NEW ZEALAND Toll Free 0800 479 266
UK 0203 027 0979
7
© Swann Communications 2013
MBUBBLE010713E
 Loading...