


Get Started in Three Easy Steps
At a Glance
Questions? Get more information regarding the setup and use of your
SwannOne products on the web at swannone.com, or simply email us at
support@swannone.com.
Thank you for choosing the SwannOne™ SoundView Indoor Camera. Please take a
moment to familiarize yourself with key areas of the camera.
Set up SwannOne
account
1
2
3
QHSVC01K130715E
© Swann Communications 2015
EN
Quick Start Guide
SwannOne Warranty
Your SwannOne products are backed by a full 12 month guarantee from the date of purchase. In the
unlikely event of anything going wrong, you can have confidence that your purchase is protected.
Refer to swannone.com for terms and conditions.
SoundView
Indoor Camera
INPUT:5V 2A
MAC ID:XX- XX-XX -XX-X X-X
X
FCC ID:VMI SWO-H UB01K
S/No:XXX XXMMY YXXXX X
Model:SW O-HUB 01K
IC:XX123A-B123 45678 90
Each USB:5 V 500mA
MAC ID:XX -XX-X -XX-XX-XXX
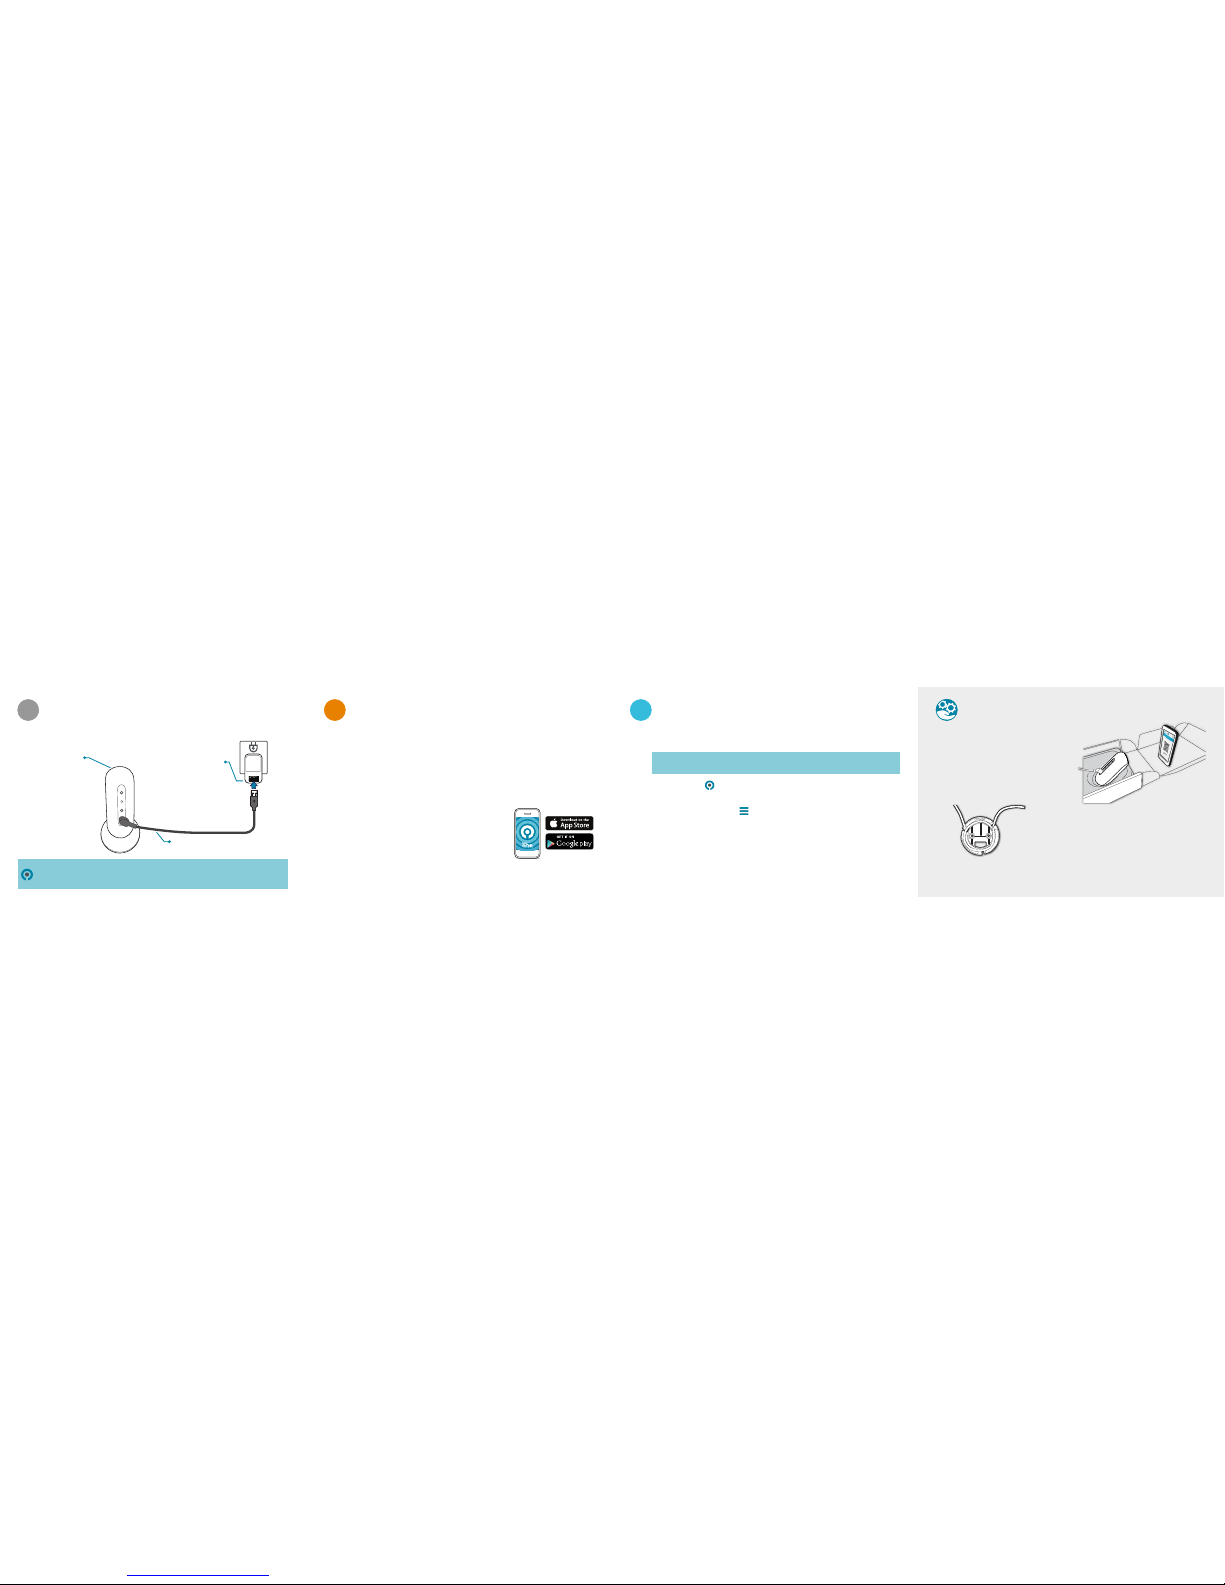
Power camera
Register camera
MIC
RST/WPS
Microphone
WPS/Reset Button
Power Port
Magnetic
Camera Dock
Camera Lens
Status LED
Infrared LEDs
www.swannone.com
FCC Statement
This device complies with part 15 of the FCC Rules. Operation is subject to the following two
conditions: (1)This device may not cause harmful interference, and (2) This device must accept any
interference received, including interference that may cause undesired operation.
READ ME
FIRST
Power Camera Set up SwannOne Account Register Camera Top Tips
Plug the camera into a wall outlet using the included power adapter and
USB cable.
Creating a SwannOne Account
Downloading the SwannOne App
Before you can register and view the camera, you will need to create a
SwannOne account. Your SwannOne account is what you use to control
and manage all your SwannOne devices and services from anywhere.
Once your SwannOne account is created,
download the SwannOne App for iOS or
Android on your smartphone or tablet from
the Apple App Store or Google Play.
Go to home.swannone.com using your web browser, and sign up for
a SwannOne account.
Now that you have your SwannOne account and app ready, let's get the camera
connected to the internet via your Wi-Fi network with your smartphone so it can be
added to your account.
• The camera packaging box comes
with a camera holder and smartphone
placement markings to help you scan
the QR code easily. Simply position
your camera and smartphone as
shown on the right.
1 2 3
MIC
RST/WPS
Before starting, make sure your smartphone is connected to a 2.4GHz 802.11 b/g/n
Wi-Fi network. The camera is not compatible with the 5Ghz network band.
The status LED lights up in purple when you first power up the camera. Once the
camera has booted up, the status LED turns blue indicating the camera is ready to
scan the QR code on your smartphone.
1. Launch the SwannOne App on your smartphone and sign in.
The app should automatically load the QR code generator screen for you to
enter the password for your wireless network. You can also bring up this screen
at any time by touching > QR Code.
2. Enter your wireless network password (case-sensitive) and then touch Continue.
The app generates a QR code (containing your wireless network details) that
you can scan with the camera.
3. Scan the QR code with the camera. The camera status light will blink green
twice when you scan the QR code successfully. You’ll know your camera is
connected to the Internet once the status light starts blinking purple.
4. To complete setup, go to home.swannone.com, sign in and add the camera
to your account using the camera MAC ID.
• Keep excess USB cable tidy by removing the base
of the camera dock and threading the cable along
the channels on the inner side of the base. Replace
the base once cable is neatly routed.
Power Adapter
(Your adapter may look
different, depend ing on
your location)
USB cable
Peel off the clear
film protecting the
lens
• You can reset the camera to factory settings by pressing and holding the Reset
button until the camera status LED turns off. Wait for the camera status LED to turn
blue before scanning the QR code.
 Loading...