

Page 1
SwannOne™ SoundView Indoor Camera Wi-Fi Setup Guide
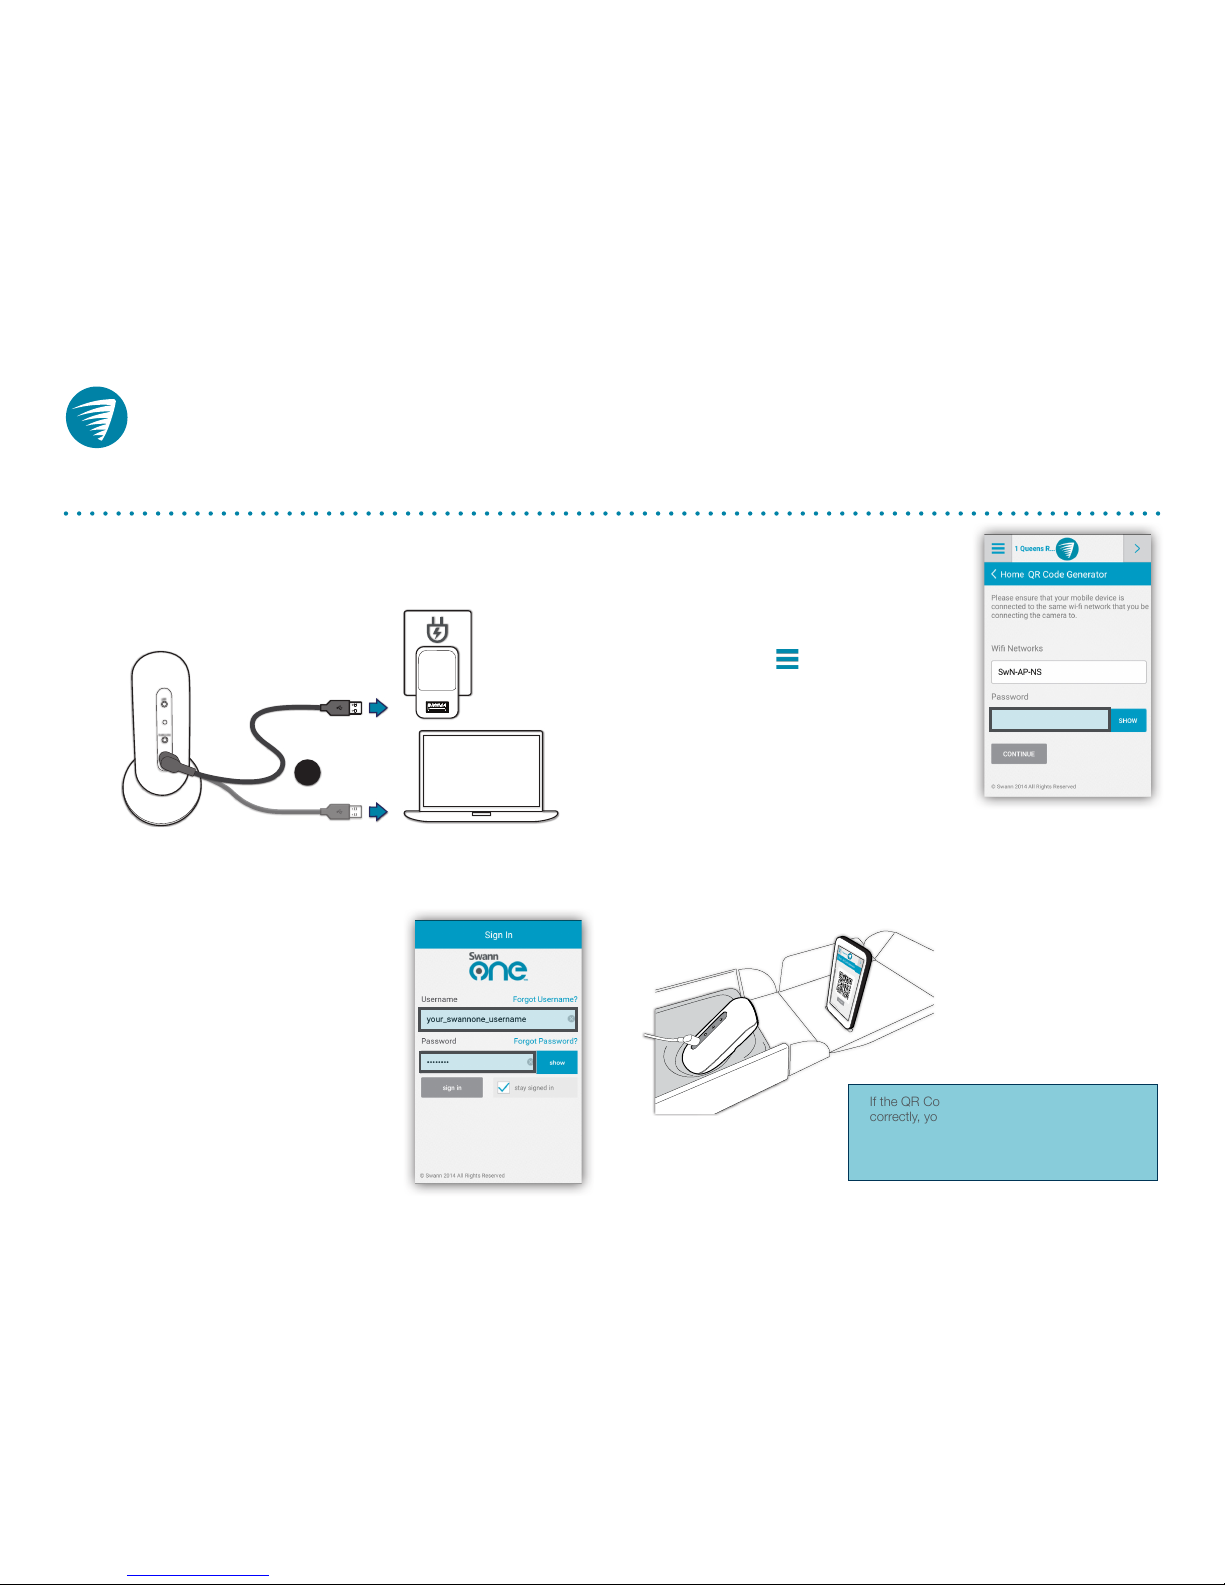
1 Power your camera by plugging it into a wall outlet using the
included power adapter and USB cable. You can also connect the
USB cable directly to a computer to power your camera.
Your SoundView Indoor Camera needs to connect to the Internet before it can be registered and viewed online.
In this guide, you will learn how to set up a Wi-Fi network connection for your camera using the SwannOne app in a few easy steps.
4 The SwannOne app automatically loads
the QR code generator screen for you
to enter the password for your wireless
network.
You can also bring up this screen at any
time by touching > QR Code.
Enter your wireless network password
(case-sensitive) and then touch Continue.
The app generates a QR code
(containing your wireless network details)
that you can scan with your camera.
5 Aim your camera at the QR code on the app screen as shown
below. The camera status light will blink green twice when you scan
the QR code successfully. You’ll know your camera is connected to
the Internet once the status light starts blinking purple.
If the QR Code method does not work
correctly, you can try holding the WPS Button
for 3 seconds on your Wi-Fi Access Point/
Router as well as your camera to connect to
the Wi-Fi network.
MIC
RST/WPS
OR
2 Download the SwannOne app for your smartphone from the Apple
App Store or the Google Play Store.
3 Make sure your smartphone is
connected to your wireless network
(2.4GHz network only. Your camera
cannot connect to a 5GHz network),
then launch the SwannOne app and
sign in.
© Swann Communications 2015
 Loading...