

Swann PRO-781 User Manual
1
PRO-781 Dome
M781CAM190312E
English

222
About the Camera
Congratulations on your purchase of this PRO-781 from Swann! You’ve chosen
well: we think this is one of the finest vari-focal CCTV video cameras available.
The adjustable lens and on-screen menu system make the PRO-781 ideal for
monitoring any kind of space in almost any lighting conditions... even no light at
all, as it can see up to 30m/100ft in complete darkness!
Our two cents: you’ve spent the money on a great camera. It’s worth spending a
bit of time making sure it’s set up right. This manual will take you through what
you need to do to get the camera delivering high quality images, and will let you
know a little about how you can tweak it further.
The Process: An Overview
1. Choose a spot for your camera. This will be influenced by what you need
to monitor, the places nearby which could support a camera, the lighting
conditions of the environment and so on.
2. Connect the camera to a monitor. We suggest connecting it directly to a
monitor during setup, and to your DVR (or other recording device) afterwards.
Having a monitor on hand in the same location as the camera is a real time
saver during setup.
3. Set the zoom. This will set the viewing angle of the lens, which determines
how much the camera can see (page 3).
4. Set the focus. This will allow you to choose which parts of what the camera
can see is in focus. In actuality, you’ll probably go back and forth between
steps 3 and 4 until you’re happy with the image (page 3).
5. Connect the camera to your DVR (or other recording/monitoring device) see page 4.
Choosing a Location
The PRO-781 is very flexible, and can be installed practically anywhere. Some of
the things you’ll have to consider when choosing a location are:
• What you want to monitor, and where you’ll get the best view of it.
• How you’re going to connect the camera to your monitoring system.
• How to keep the camera out of harm’s way. Up high in protected corners is a
good option.

3
Rules is Rules
Regardless of all the tweaking of the lens and image processing you do, there are
a few immutable things that are true for all cameras, CCTV or otherwise.
• The closer the camera is to what you want to see, the more detail
you’re going to get. You can make some alteration by tweaking the zoom,
but there’s no substitute for proximity.
• Areas with varied lighting conditions are hard to view completely,
with any camera. If the bright bits are exposed correctly, then the shadows
will “black out”. If the shadowy areas are exposed correctly, then the bright
bits will overexpose and “white out”. Aiming the camera at an evenly lit area
will always give the best results.
• That “image enhancement” stuff that they do on CSI or 24 is all lies. You
can’t zoom in indefinitely on a video image. Licence plates are only readable
from a few meters (a dozen or so feet) away. If someone’s head is represented
by three pixels, that’s it. Sorry. This is technology, not magic. This is a great
CCTV camera, but it’s still just a video camera - it can’t see that much better
than you can! Still, it does make for good television.
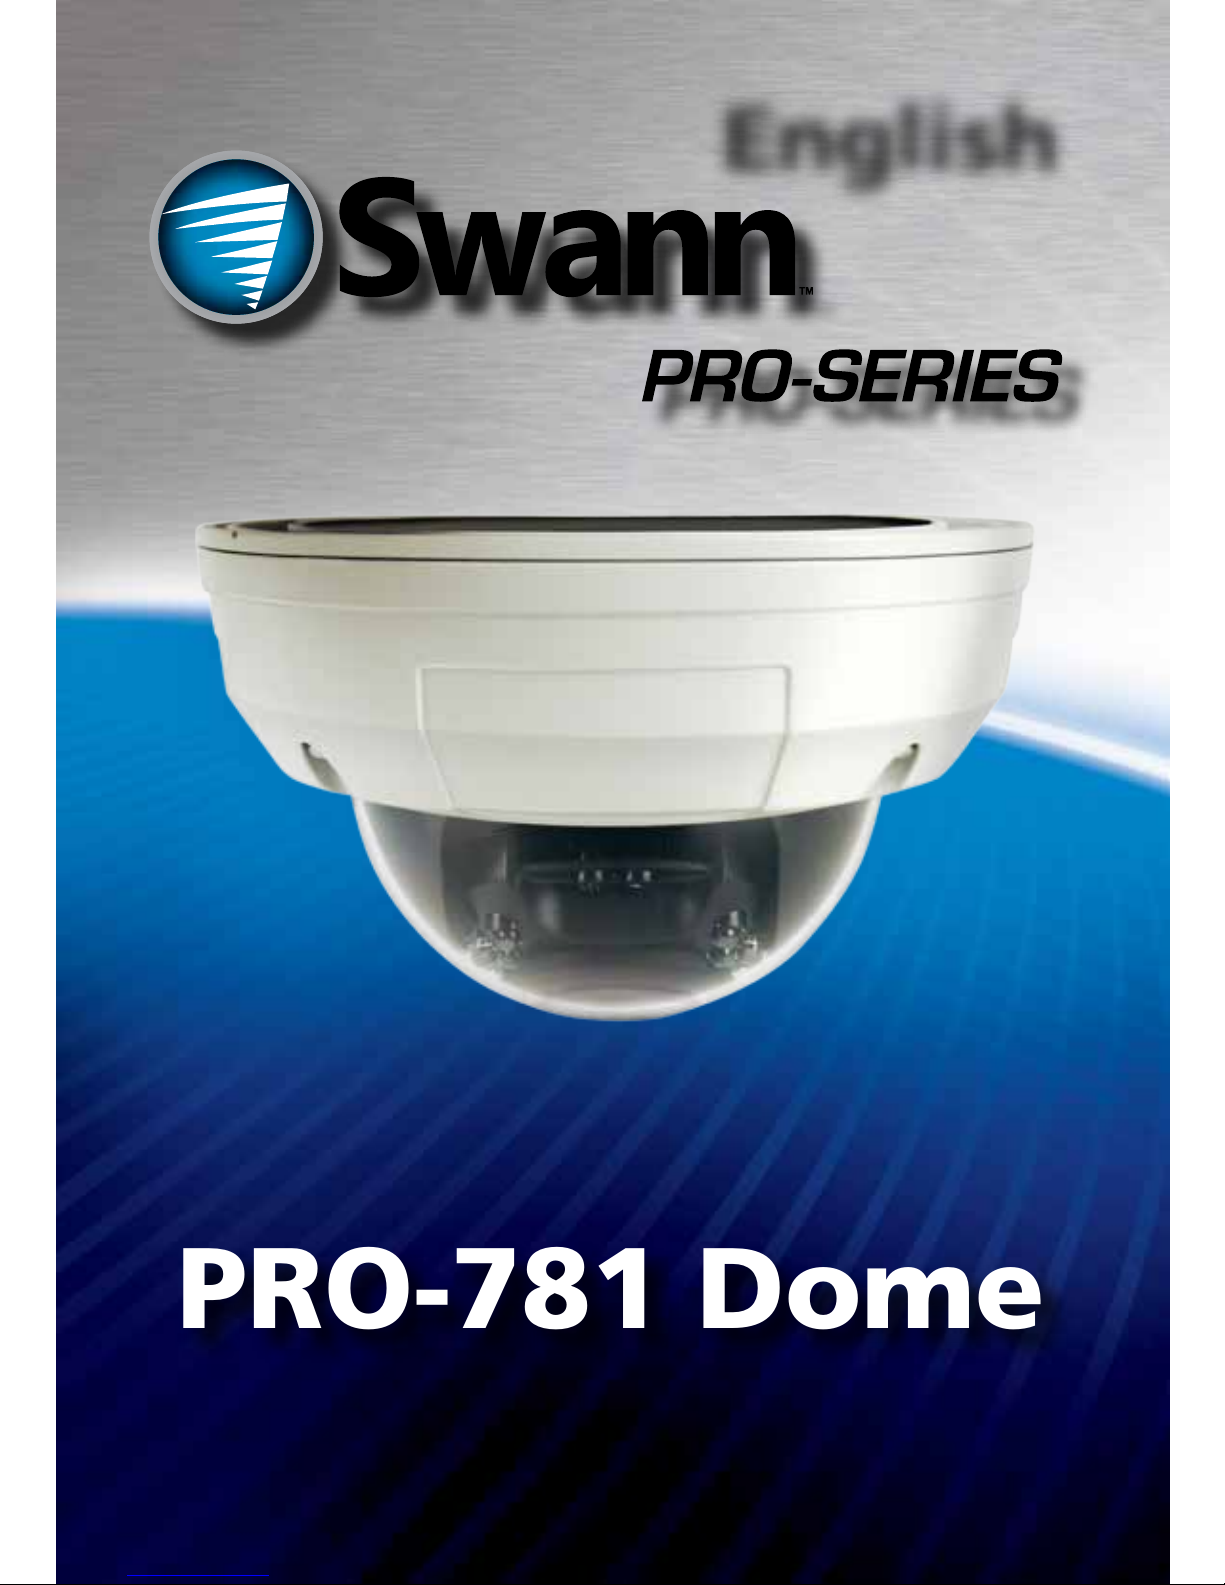
Adjusting Focus and Zoom
• To access the zoom and focus, remove the dome cover. To open the dome
cover, use the included star-key tool.
• Use a small flat-blade screwdriver to turn the now exposed control rods. The
zoom is located on the top left, and focus on the lower right.
• Be sure to securely replace the dome cover after adjusting the positioning of
the camera, or the zoom and focus: otherwise the camera will no longer be
weather-proof.
444
The zoom and focus controls are located on the interior of the dome, just above
the lens. You’ll need to remove the cover of the dome (using the included star-key
tool) to access them.
Important: When you change the zoom, you’ll also have to change the focus.
Why? Lenses are complicated, and all the bits are joined together. Changing the
zoom will also change the focus. In fact, it can sometimes feel like the controls are
reversed, so profound are their effect on one another.
ZOOM: The right hand dial
(when viewed from the
front, as shown to right)
controls the level of zoom.
You can vary the viewing
angle between 23° and 81°.
This is an approximately
3x optical zoom, which
operates in a similar manner
to the zoom on your digital
camera. Basically, zooming
in makes everything appear
to be larger, at the expense
of the viewing area.
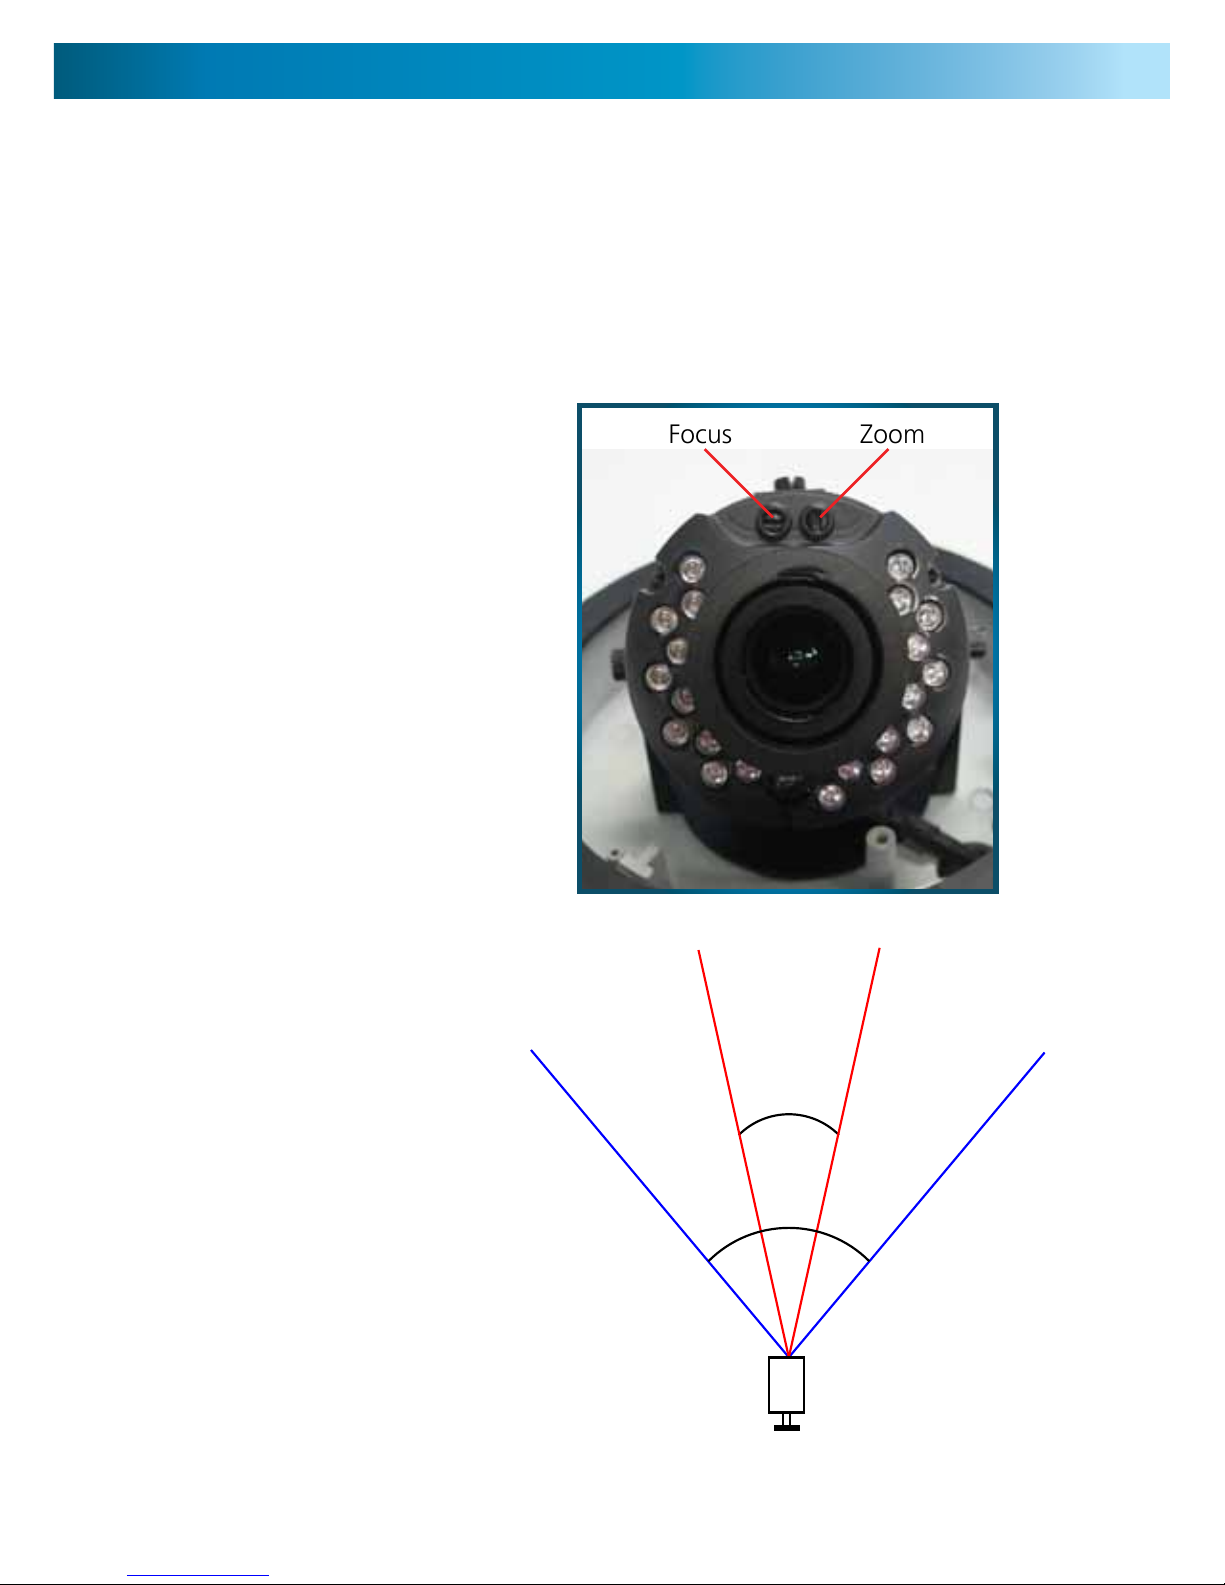
Check out the diagram
to the lower right for a
visual representation of the
zooming process.
The smaller viewing angle
(marked 23°) represents
the camera’s view when
“zoomed in”, and the
larger angle (81°) represents
the camera’s view when
“zoomed out”.
You can set the zoom to
either of these extremities,
or anywhere in between.
Focus Zoom
Adjusting Zoom and Focus
81°
23°
 Loading...