

Swann PRO-754 Instruction Manual
1
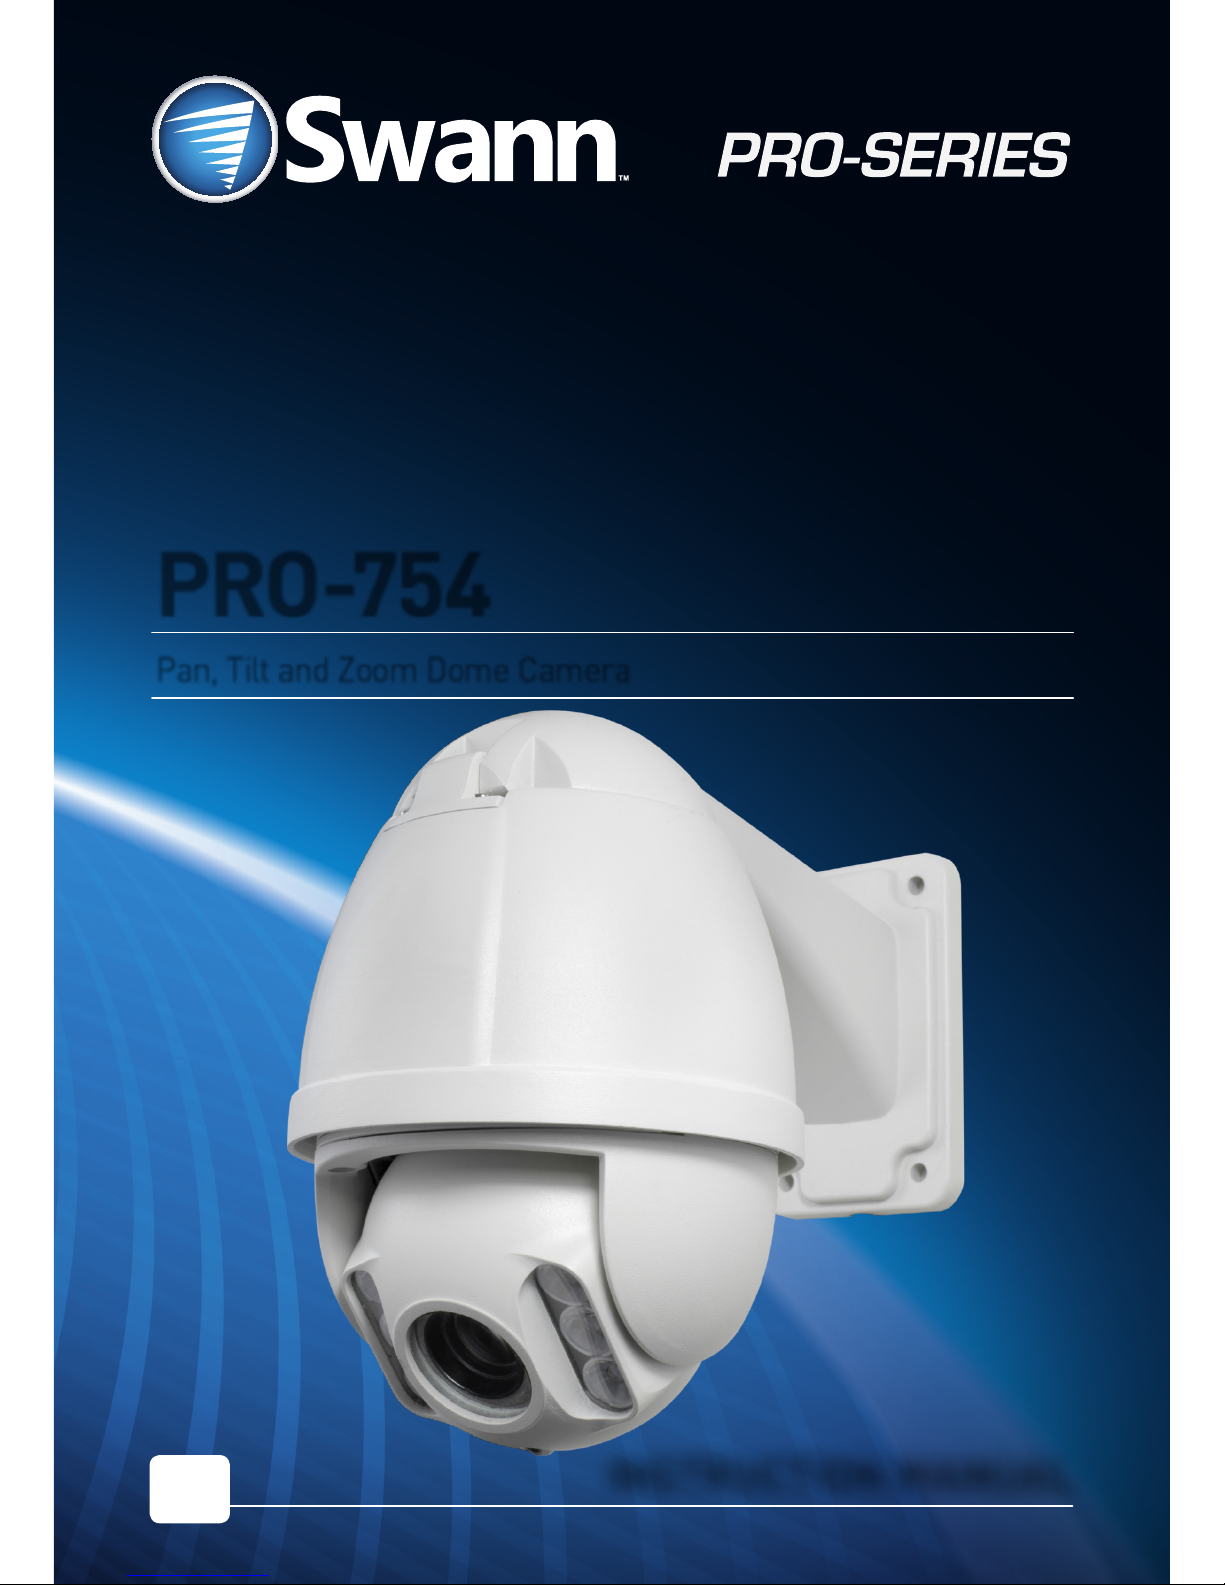
PRO-754
Pan, Tilt and Zoom Dome Camera
INSTRUCTION MANUAL
EN

1
Limited Warranty Terms & Conditions
Swann Communications warrants this product against defects in workmanship and material for a period of one
(1) year from its original purchase date. You must present your receipt as proof of date of purchase for warranty
validation. Any unit which proves defective during the stated period will be repaired without charge for par ts or
labour or replaced at the sole discretion of Swann. The end user is responsible for all freight charges incurred
to send the product to Swann’s repair centres. The end user is responsible for all shipping costs incurred when
shipping from and to any country other than the country of origin.
The warranty does not cover any incidental, accidental or consequential damages arising from the use of or the
inability to use this product. Any costs associated with the fitting or removal of this product by a tradesman or other
person or any other costs associated with its use are the responsibility of the end user. This warranty applies to the
original purchaser of the product only and is not transferable to any third party. Unauthorized end user or third
party modifications to any component or evidence of misuse or abuse of the device will render all warranties void.
By law some countries do not allow limitations on certain exclusions in this warranty. Where applicable by local
laws, regulations and legal rights will take precedence.
For Australia: Our goods come with guarantees which cannot be excluded under Australian Consumer Law. You are
entitled to a replacement or refund for a major failure and for compensation for any other reasonably foreseeable
loss or damage. You are also entitled to have the goods repaired or replaced if the goods fail to be of acceptable
quality and the failure does not amount to major failure.
FCC Verification
NOTE: This equipment has been tested and found to comply with the limits for Class B digital device, pursuant to part
15 of the FCC Rules. These limits are designed to provide reasonable protection against harmful interference in a
residential installation. This equipment generates, uses and can radiate radio frequency energy and, if not installed
and used in accordance with the instructions, may cause harmful interference to radio or television reception, which
can be determined by turning the equipment off and on, the user is encouraged to try to correct the interference by
one or more of the following measures:
• Reorient or relocate the receiving antenna
• Increase the separation between the equipment and the receiver
• Connect the equipment into an outlet on a circuit different from that to which the receiver is connected
• Consult the dealer or an experienced radio/TV technician for help
These devices comply with part 15 of the FCC Rules. Operation is subject to the following two conditions:
• These devices may not cause harmful interference, and
• These devices must accept any interference received, including interference that may cause undesired
operation.
Important Note:
All jurisdictions have specific laws and regulations relating to the use of cameras. Before using any camera for any
purpose, it is the buyer’s responsibility to be aware of all applicable laws and regulations that prohibit or limit the use
of cameras and to comply with the applicable laws and regulations.
WARNING
Modifications not approved by the party responsible for compliance could void user’s authority to
operate the equipment.
IMPORTANT SAFETY INSTRUCTIONS
• Make sure product is fixed correctly and stable if fastened in place.
• Do not operate if wires and terminals are exposed.
Before You Begin

2
Contents
Quick Reference
Power Supply
Before You Begin 1
Contents 2
Quick Reference 2
Power Supply 2
Introduction 3
Layout of the Camera 3
Layout of the OSD Controller 4
Notice about this Manual 4
Camera Installation
Choosing the Location 5
Attaching the Mount 6
Mounting the Camera 6
Connection Guide 7
DVR Configuration
Configuring the PTZ Settings 8
Changing the Camera’s Command Address 8
Camera Operations 9
Advanced Feature: On-Screen Display 9
Troubleshooting 10
Helpdesk / Technical Support Details Rear Cover
Default PTZ Configuration
Command Address: 1
Protocol: Pelco-D
Baud Rate: 9600bps
RS485 Polarity: +A Red Wire
-B Black Wire
• Be sure to use only the 15V power adapter that is supplied with the PRO-754. Basically,
it’s got a little extra juice to power the infrared LED arrays in the dome at the same
time as the camera.
• Don’t use the 15V power supply for other cameras. Likewise, don’t use other camera’s
power supplies with the PRO-754. Doing so may cause unintended damage to the
camera.

3
Introduction
Layout of the Camera
C
ongratulations on your purchase of this PRO-754 Pan, Tilt and Zoom (PTZ) dome camera!
You’ve made a fine choice for keeping a watchful eye over your home or business. It is an
ideal solution for monitoring any kind of space whilst maintaining a high level of detail, even
at night as it can see clearly up to 50m/164ft in the dark - a combination of a high quality CCD
image sensor and six built-in infrared LED arrays.
Powered by an electronically controlled pan and tilt system that rotates 360º with a 10x
optical zoom lens that’s great for getting up close to what you want to see, the PRO-754 lets
you effectively monitor a large range of locations without the hassle of multiple cameras nothing will be out of sight for long!
Also included is a fully functional OSD controller that gives more experienced users the
option to play with various advanced camera settings through the On-Screen Display menu.
3
4
1
2
1. Mounting Bracket
• Use wall-mount arm for mounting to a wall, post or similar vertical surface.
• Use ceiling-mount bracket for mounting to the underside of a ceiling or overhang.
2. Camera Housing
Contains the camera, associated circuitry and electronic components.
3. Infrared LED Array
High-powered LEDs used to illuminate targeted areas when in complete or near-total
darkness and help see farther than conventional infrared LEDs. This light is invisible to the
human eye, although you might notice a faint red glow coming from the front of the camera.
Depending on lighting conditions in the surrounding environment, sometimes not all arrays
will be used at the same time - this is normal.
4. Infrared LED Array Sensor
Detects incoming light to control the infrared LED arrays.
 Loading...