

Page 1
4
4
© Swann Communications 2011
Warranty Information
Helpdesk / Technical Support Details
Swann Technical Support
All Countries E-mail: tech@swannsecurity.com
Telephone Helpdesk
See http://www.worldtimeserver.com for information on time zones and the
current time in Melbourne, Australia compared to your local time.
USA toll free
1-800-627-2799
(Su, 2pm-10pm US PT)
(M-Th, 6am-10pm US PT)
(F 6am-2pm US PT)
USA Exchange & Repairs
1-800-627-2799 (Option 1)
(M-F, 9am-5pm US PT)
AUSTRALIA toll free
1300 138 324
(M 9am-5pm AUS ET)
(Tu-F 1am-5pm AUS ET)
(Sa 1am-9am AUS ET)
NEW ZEALAND toll free
0800 479 266
UK
0203 027 0979
Swann Communications USA Inc.
12636 Clark Street
Santa Fe Springs CA 90670
USA
Swann Communications
Unit 13, 331 Ingles Street,
Port Melbourne Vic 3207
Swann Communications LTD.
Stag Gates House
63/64 The Avenue
SO171XS
United Kingdom
Swann Communications warrants this product against defects in workmanship and material for a period
of one (1) year from it’s original purchase date. You must present your receipt as proof of date of purchase
for warranty validation. Any unit which proves defective during the stated period will be repaired without
charge for parts or labour or replaced at the sole discretion of Swann. The end user is responsible for all
freight charges incurred to send the product to Swann’s repair centres. The end user is responsible for all
shipping costs incurred when shipping from and to any country other than the country of origin.
The warranty does not cover any incidental, accidental or consequential damages arising from the use of
or the inability to use this product. Any costs associated with the tting or removal of this product by a
tradesman or other person or any other costs associated with its use are the responsibility of the end user.
This warranty applies to the original purchaser of the product only and is not transferable to any third
party. Unauthorized end user or third party modi cations to any component or evidence of misuse or
abuse of the device will render all warranties void.
By law some countries do not allow limitations on certain exclusions in this warranty. Where applicable by
local laws, regulations and legal rights will take precedence.
FCC Verifi cation
This equipment has been tested and found to comply with the limits for Class B digital device, pursuant to part 15 of
the FCC Rules. These limits are designed to provide reasonable protection against harmful interference in a residential
installation. This equipment generates, uses and can radiate radio frequency energy and, if not installed and used
in accordance with the instructions, may cause harmful interference to radio or television reception, which can be
determined by turning the equipment off and on, the user is encouraged to try to correct the interference by one or
more of the following measures:
• Reorient or relocate the receiving antenna
• Increase the separation between the equipment and the receiver
• Connect the equipment into an outlet on a circuit different from that to which the receiver is connected
• Consult the dealer or an experienced radio/TV technician for help
WARNING: Modifi cations not approved by the party responsible for compliance could void user’s authority to
operate the equipment.
1
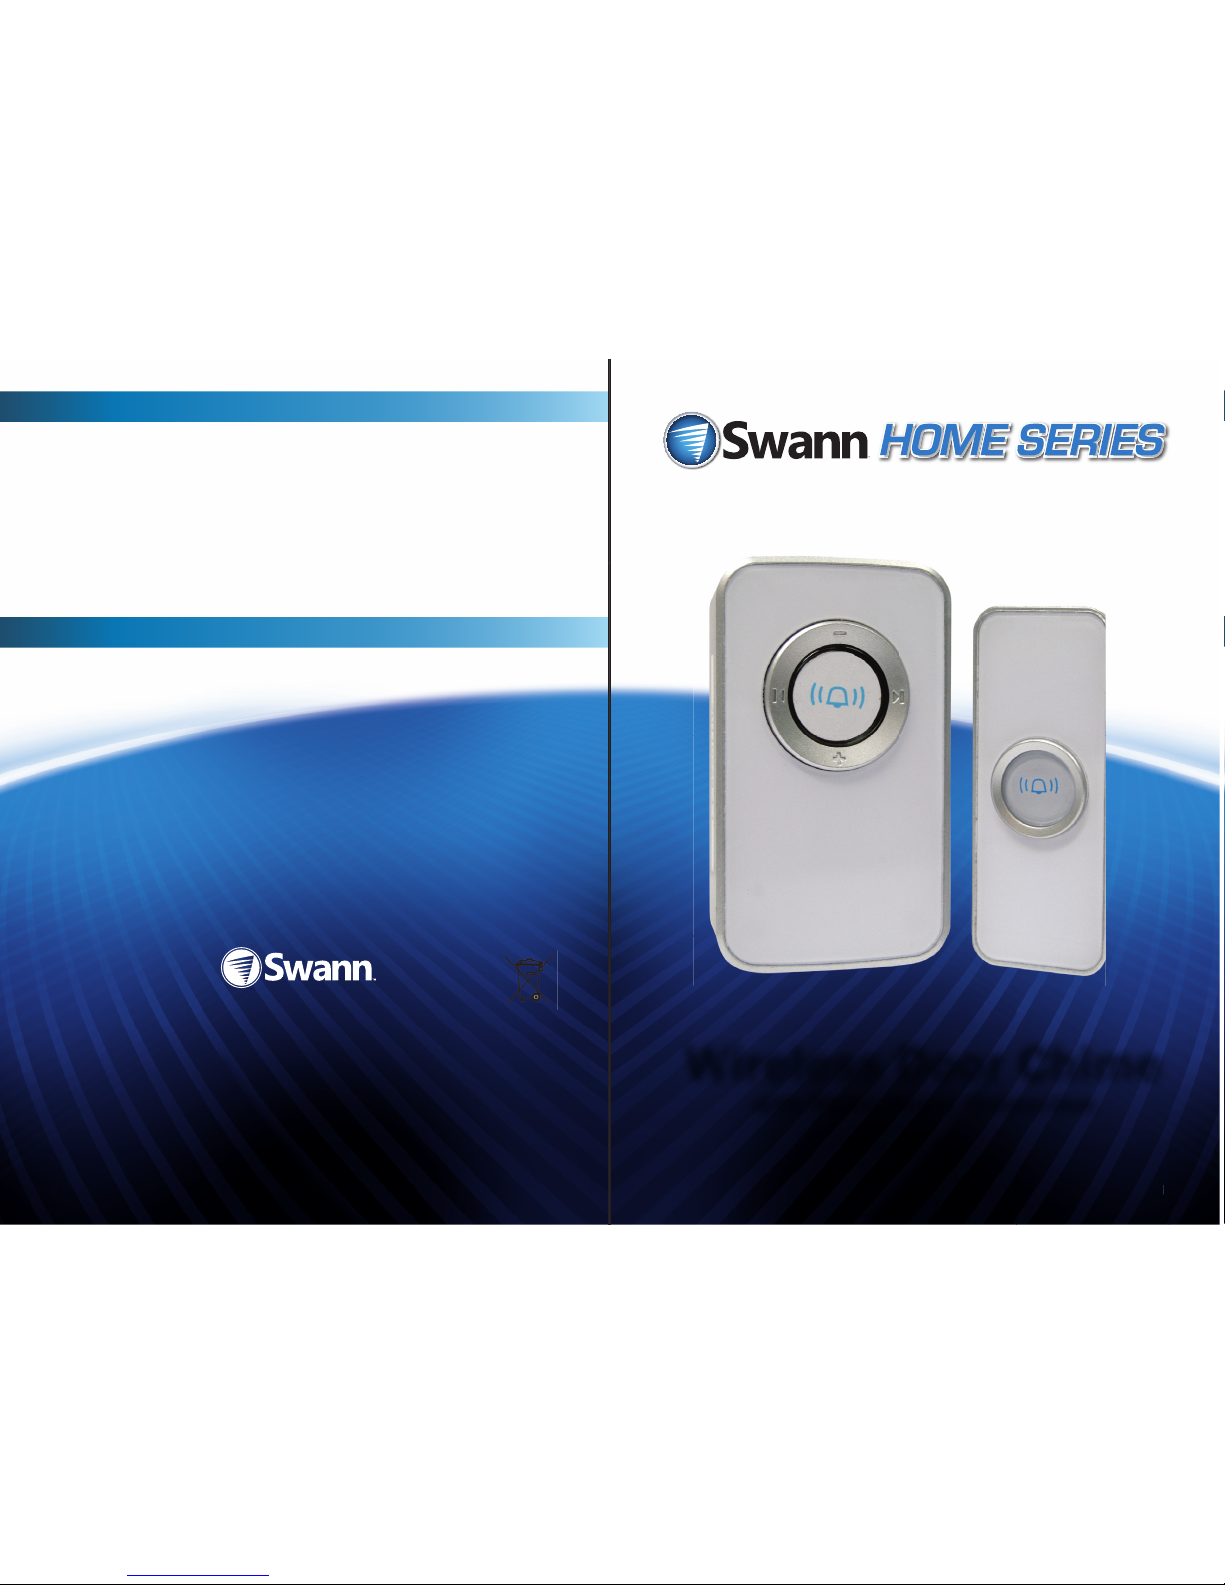
Wireless Door Chime
with Mains Power Connection
MDC820P290611E
Page 2
2
Thank you for choosing the Swann
Wireless Doorbell. It’s an ideal
unit for easily installing a doorbell
without the hassle of wiring. Simply
plug into a mains outlet, mount the
doorbell where needed and you are
ready to go!
The doorbell features 32 chimes
and adjustable volume to suit your
needs and can reach a distance of
up to 100m/approx 330ft when
there are no obstructions.
Doorbell receiver
• The doorbell receiver does not require any
mounting or batteries. Simply plug it into any
mains power socket and you are ready to go.
Batteries (doorbell unit)
• The doorbell requires 1 x 23A/12V battery (included).
• To install the battery, pry o the back cover using a small, at-head screwdriver in
the small notch at the bottom of the doorbell.
• To nish, clip the back cover back onto the doorbell unit making sure the rubber
seal is tted properly to ensure the unit remains water resistant.
Mounting the doorbell
The doorbell is mounted by simply sticking it to a wall using the included adhesive
strip(s).
• Peel o one side of the adhesive strip and attach it to the rear of the backing
plate, ensuring none of it is visible from the front.
• Find the area you want to mount the doorbell. Flat, smooth surfaces are ideal.
Make sure they are clean and dry before mounting.
• Peel o the other side of the adhesive strip and attach the doorbell to the
mounting surface.
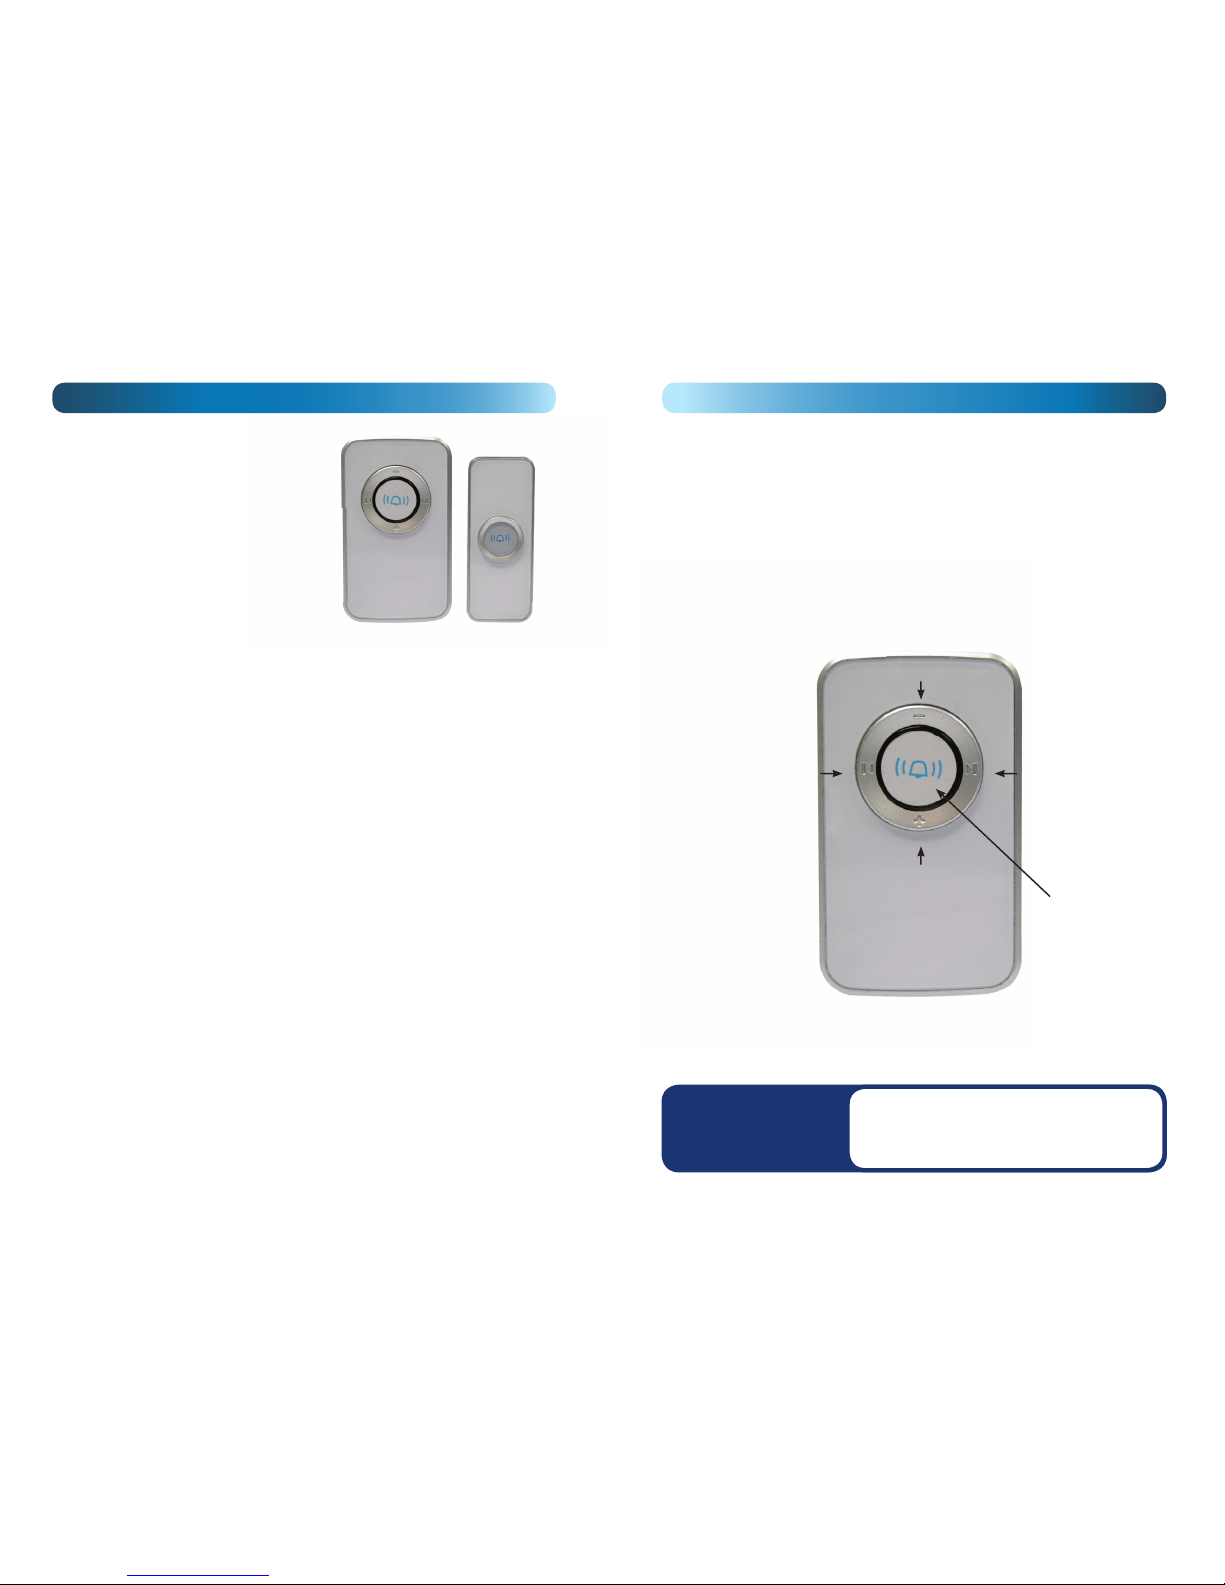
Operating Guide
Doorbell Receiver
(speaker)
Doorbell
nn
l
bell
ply
the
are
es
our
o
f
en
3
Volume Decrease button
Setting the volume and chime
• To increase the volume, press the Volume Increase button.
• To decrease the volume, press the Volume Decrease button.
• To change chimes, press the Chime Select button (next) to move to the next chime
or the Chime Select button (previous) to move to the previous chime. A chime
will play each time you move forwards or backwards through the chimes. You do
not need to con rm your selection. The chime playing is the chime selected and
the one which will be heard when the doorbell is pressed.
• The Chime Test button can be used to ring the current doorbell.
Operating Guide
Operating current (receiver unit):
Operating current (doorbell unit):
Transmission Frequency:
Transmission Range:
Internal Sounds:
240v
12V (1 x 23A Battery, included)
433Mhz
Up to 100m/330ft (line of sight) - 50m/165ft typical
32 chimes
Volume increase
button
Chime Select button
(next chime)
Chime Test button
Chime Select button
(previous chime)
 Loading...