

Page 1
Help Desk / Support Details
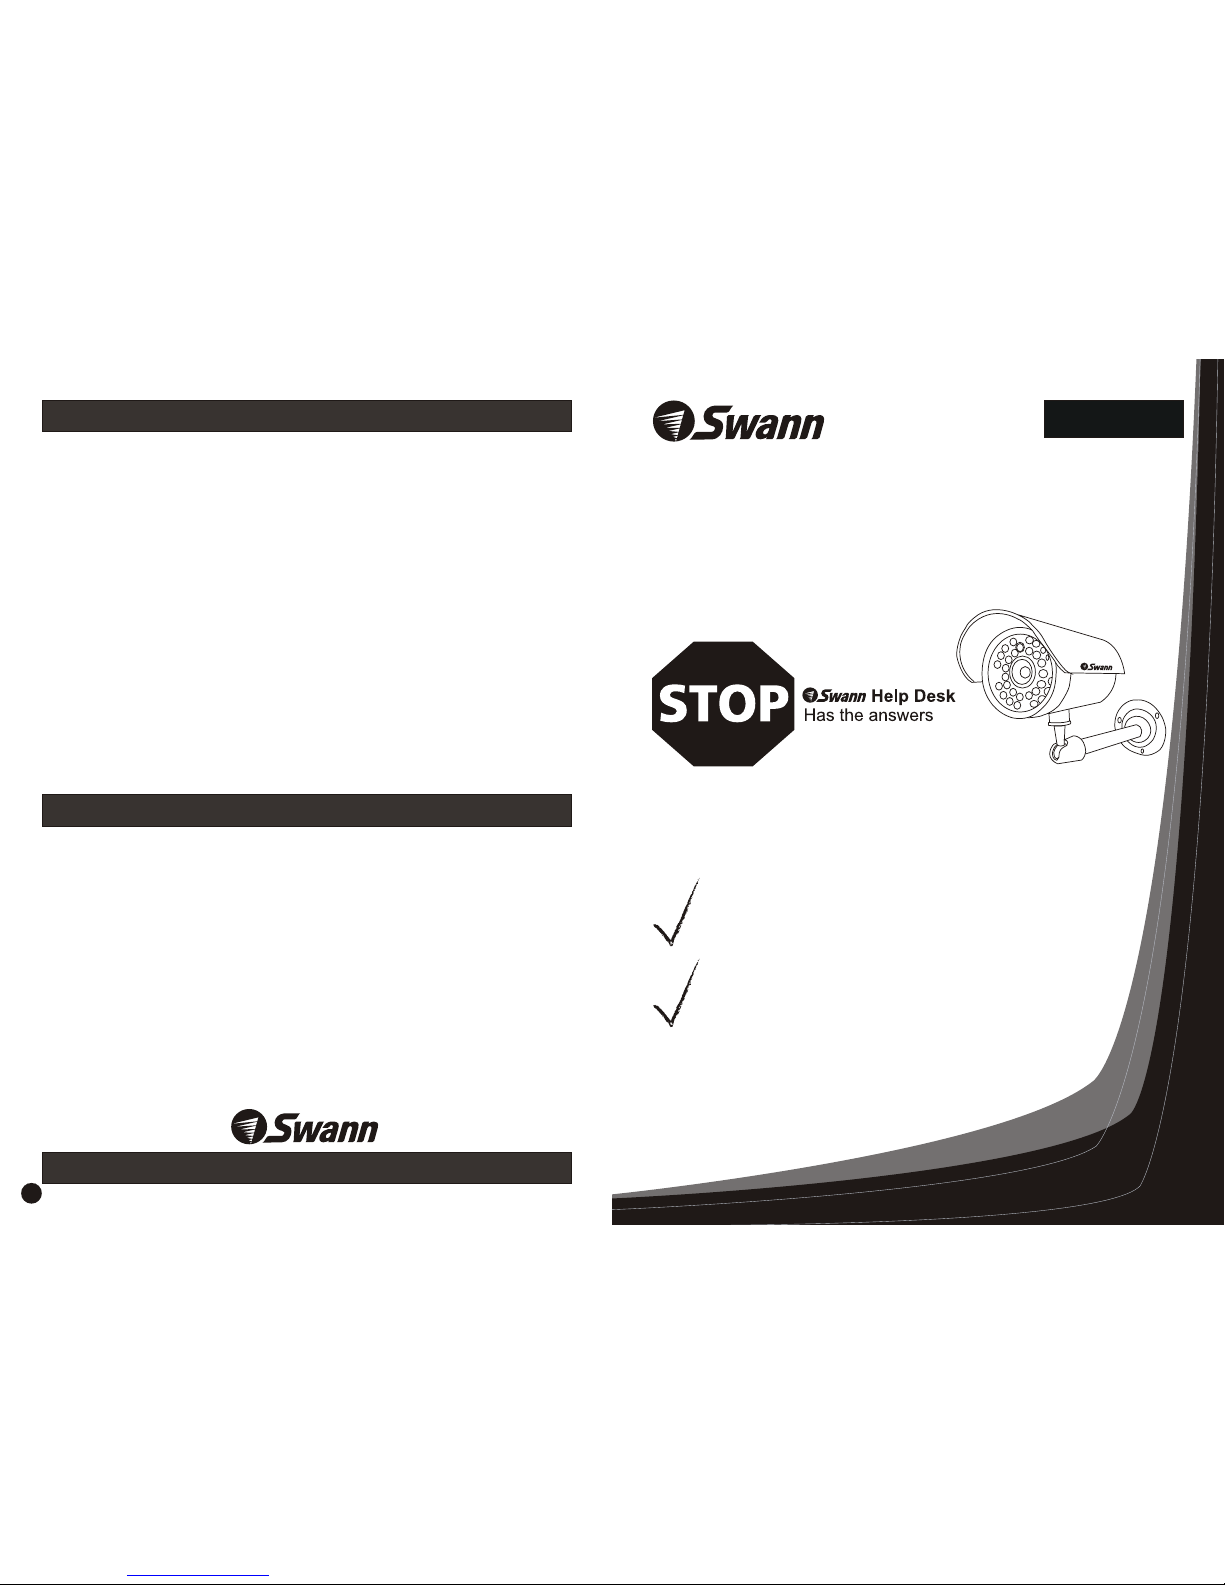
Maxi-Brite Cam
Security Camera
If this device does not work when you first plug it
in, do not take it back to the store.
Contact the Swann Helpdesk using our fast e-mail service
tech@swann.com.au or call us on one of the Toll-Free
numbers shown on the back cover of this booklet.
Most problems can be quickly and easily fixed with a simple
e-mail or a quick chat with one of our friendly technical staff.
(Toll-Free available in the US and Australia only)
Installation Guide
Keeping an eye on your home and business
Swann Technical Support
All Countries E-mail: tech@swann.com.au
Telephone Helpdesk
UNITED STATES toll free
877-274-3695
(Sun-Thurs, 2pm-10.30pm PST)
800-627-2799
(Mon0Fri, 9am-1pm PST)
USA Exchange & Repairs
562-777-2551
(Mon-Fri, 9am-5pm PST)
AUSTRALIA toll free
1300 13 8324
(Mon-Fri, 9am-5.30pm Aus EST)
International
+61 3 8412 4610
(Mon-Fri, 9am-5.30pm Aus EST)
See http://www.worldtimeserver.com for information on different time zones
and the time in Melbourne Australia compare to your local time.
Swann Communications warrants this product against defects in workmanship and
material for a period of one (1) year from it’s original purchase date. You must
present your receipt as proof of date of purchase for warranty validation. Any unit
which proves defective during the stated period will be repaired without charge for
parts or labour or replaced at the sole discretion of Swann. The repair or
replacement will be warranted for either ninety days or the remainder of the
original one year warranty period, whichever is longer. The end user is responsible
for all freight charges incurred to send the to Swann’s repair centres.
shipping from and to
any country other than the country of origin. The warranty does not cover any
incidental, accidental or consequential damages arising from the use of or the
inability to use this . Any costs associated with the fitting or removal of
this product by a tradesman or other person or any other costs associated with its
use are the responsibility of the end user. This warranty applies to the original
purchaser of the only and is not transferrable to any third party.
Unauthorised end user or third party modifications to any component or evidence
of misuse or abuse of the device will render all warranties void.
product The
end user is responsible for all shipping costs incurred when
product
product
Help Desk / Support Details
Warranty Information
www.swannsecurity.com
8
English
Page 2
Introduction
Your package comes with
Connect the Maxi-Bright Camera to your monitoring device
Connect the Maxi-Bright Camera to your monitoring device (continued)
Important Information about this product
Tips for using your Swann Security Camera
Tips for locating your camera
Technical Specifications
Help Desk / Support Details
Warranty Information
2
2
3
4
5
5
6
7
Back Cover
Back Cover
2
2
3
4
5
5
6
7
Back Cover
Back Cover
The Maxi-Brite Camera is a day and night security camera that includes Infra-Red
LEDs and a lens that give you the capability of viewing the images produced under
most lighting conditions, even at night. It can be used to provide your home or office
with a clear picture that can be easily displayed on a DVR, TV, VCR or Security
Monitor.
The Maxi-Brite camera is designed for best performance when used with Swann
DVRs and Security Monitors, but will just as easily work with your existing CCTV
Equipment, TV, VCR or a Computer with a video capture card. The Maxi-Brite
camera can be used for a variety of purposes including monitoring callers at the door
or keeping your car, yard, shop or children’s play area under observation.
INSTALLATION
• Maxi-Brite camera
• BNC female to RCA male Adaptor
• Extension signal cable
• Camera Bracket
• Power Adaptor
• Security Stickers
• This Instruction Sheet
If any of these items are missing, please contact your retailer.
Contents Technical Specifications
1
Image Sensor: / ” Ominivision CMOS
3
Picture Element: PAL - 628 (H) x 582 (V)
NTSC - 510 (H) x 492 (V)
Video System*: NTSC - USA & CANADA
PAL - AU, UK & EU
Horizontal Resolution: 380 TV Lines
S/N Ratio: > 48db
Minimum Illumination: 0 Lux (IR LEDs on) @ F1.2
Video Output: 1.0v (P-P) @ 75ohm
Power Supply: 12V DC
Operating Current: 150mA - 500mA (IR On)
Video Cable Connector: BNC female
Infra-Red LED Wavelength: 850nm
Maximum IR Illumination Range: 30 ft (9 m)
IR Activation: Automatic from PE Cel
Auto On at Night
Auto Off during Day
Housing Material: ABS Plastic
Dimensions: 5.5” x 3.5” x 3.5”
140mm x 90mm x 140mm
Operating Environment: 14°F ~ 122°F (10°C ~ 50°C)
Weight: 0.6 lbs (290g)
*Please note that this camera ships in the appropriate TV/Video system for the country
of sale. In countries using the NTSC TV standard for the camera will be built to the
NTSC standard, and in countries using PAL TV standard, the camera will be built to
the PAL standard. The camera cannot switched from one standard to the other.
Introduction
Your package comes with…
2 7
FCC N OTICE
Thi s device compl ies with Part 15 of F CC Rule s.
Ope ratio n is subj ect to the follo wing co nditi ons:
(1) T his devi ce may n ot cause harmf ul interf ere nce, an d
(2) thi s devi ce must accep t any interf ere nce re ceive d,
incl udin g interf eren ce that m ay cause undesi red op erati on mistake s.
WARNING: IMPORTANT
NOTICE ABOUT CORRECT
USE OF POWER ADAPTER
The correct orientation
for the enclosed power
adapter is in a vertical
or floor mount position.
L’orientation correcte pour
L’adapteur secteur fourni
est dans une position
verticale ou plancher-
monte.
La orientacion correcta para
el adaptador electrico incluido
es en posicion vertical o instalado
en el suelo.
Page 3
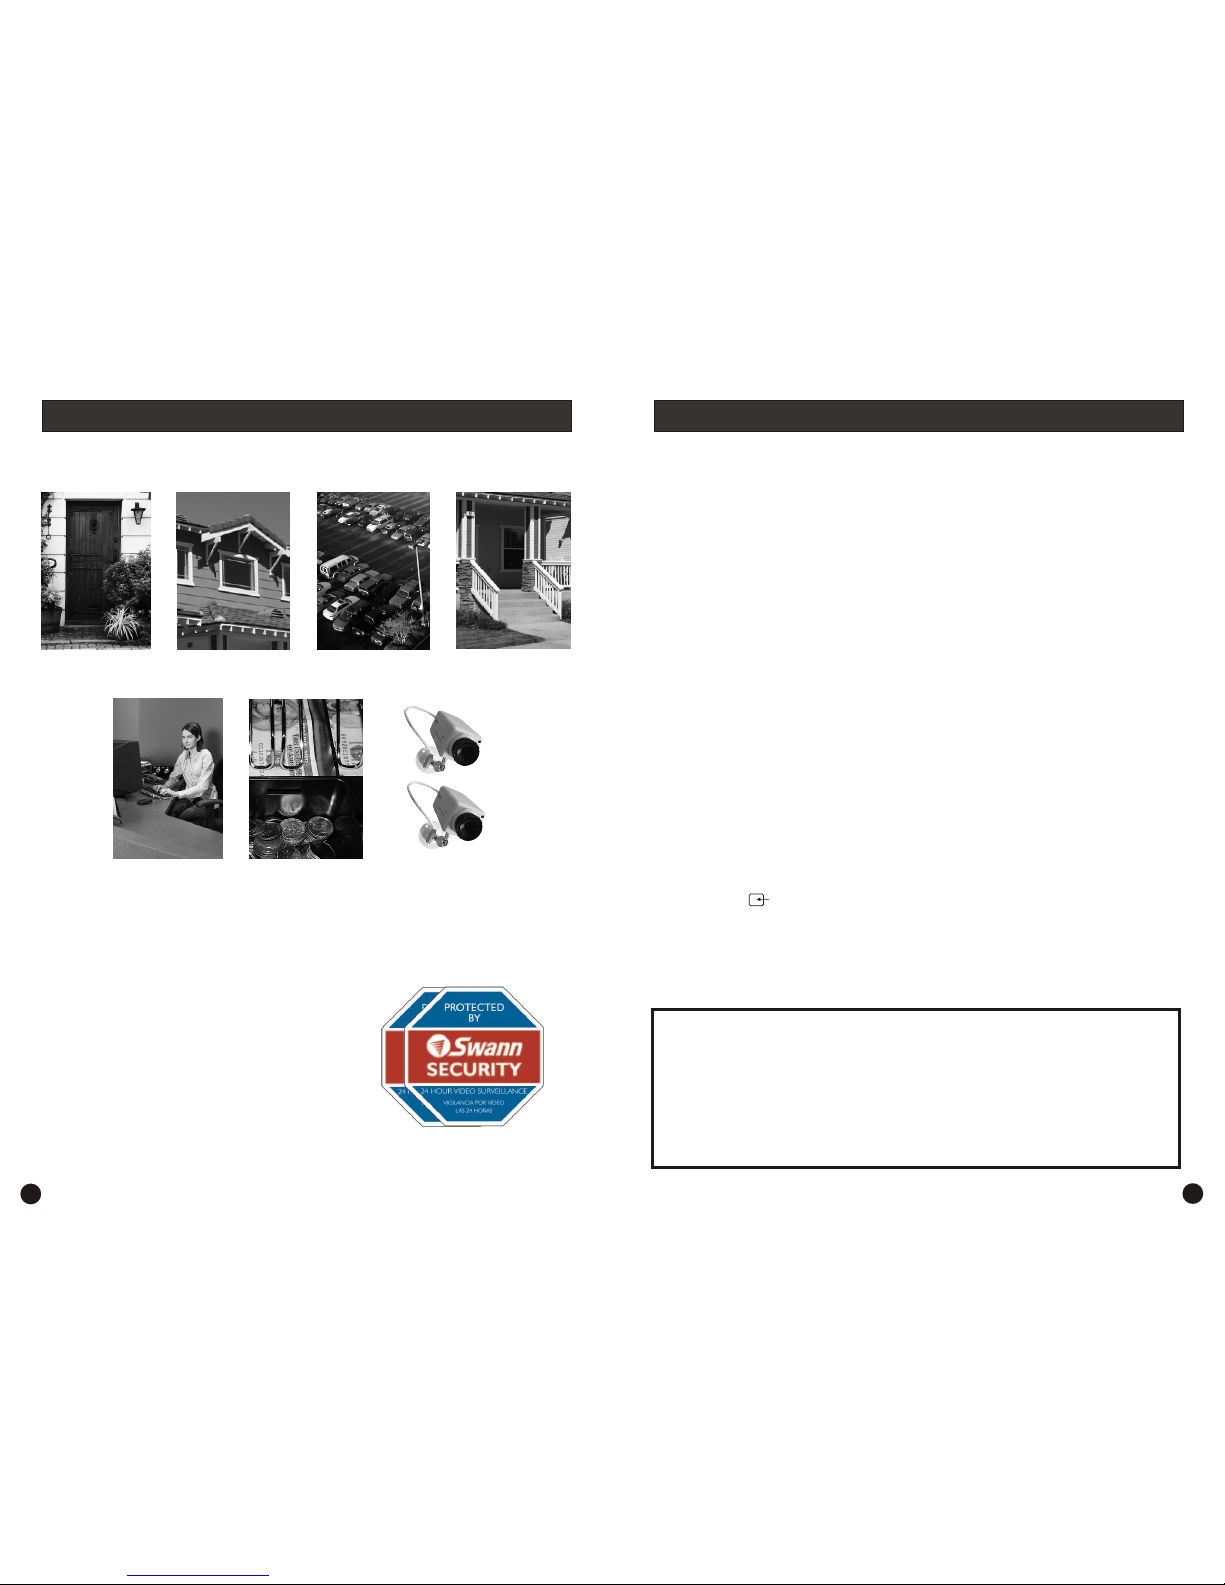
You should position your cameras to cover the areas most exposed to risk.
See our suggestions below for some ideas:
Where to Place The Security Stickers:
1. On your front window
2. On side windows
3. Near entrance points - doors, gates
4. Next to a dummy camera mounted outside
5. On the front counter
6. On the cash register
7. Next to an obvious camera
1. Doorways
5. Reception
areas
6. Cash
register
7. Mix
dummies
& real
cameras
2. Windows 3. Car Parks
4. Verandahs
Tips for locating your camera Connect the camera to your monitoring device
6
3
NOTE:
All jurisdictions have specific laws and regulations relating to the use of cameras.
Before using any camera for any purpose, it is the buyer’s responsibility to be
aware of all applicable laws and regulations that prohibit or limit the use of
cameras and to comply with the applicable laws and regulations.
The legality of watching people other than yourself changes from country to
country and even state to state. Contact your local government's privacy
information body or your local Police for more information on what if any
restrictions you may face.
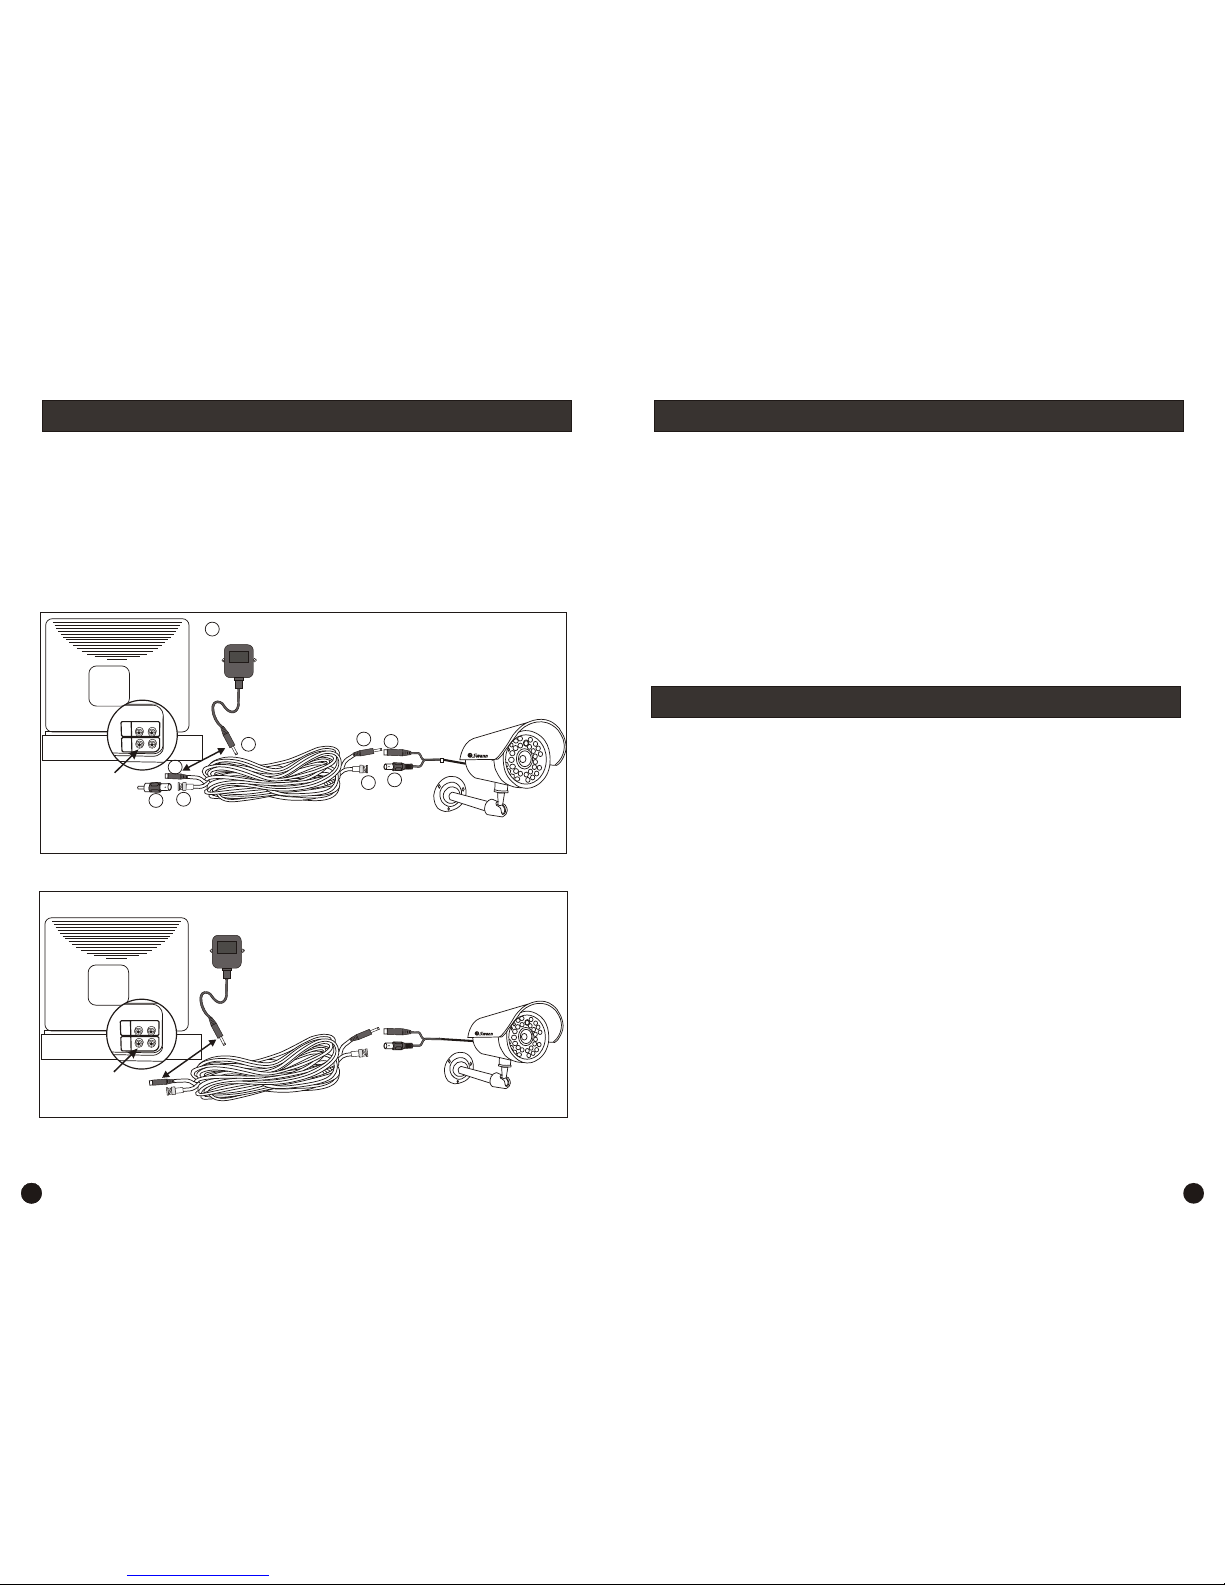
These step by step instructions are provided for you to enable a quick and simple
installation of your camera. Please refer to the diagram over the page for component
identification details.
Step 1: At the end of your Maxi-Brite Camera cable you will find two plugs:
•Video BNC Female Connector (1a)
•DC Power Socket (1b)
Step 2: Plug the BNC Female (1a) into the BNC Male Connector (3a) on the
extension cable and turn the outer ring to lock the connectors. Plug the BNC
to RCA Adaptor (4) into the other BNC Male Connector (3b) at the other end
of the extension cable and then into the RCA Video In socket on your TV or
VCR (usually located at the back). This is the best method of connecting the
camera initially to test it for correct operation.
Step 3: Connect the DC Power Plug (2a) at the end of the power adaptor (2) into the
DC Power Jack (3c) on the extension cable, and plug DC power plug (3d)
into your Maxi-Brite Camera’s DC Socket (1b).
Step 4: Plug the power adaptor (2) into the mains power point on your wall and
switch on.
Step 5: If you have an A/V TV with RCA sockets you will need to switch the TV to the
AV channel to view the camera.
To view the camera connected to your VCR, you will need to select the AV
input you have connected the camera to on the VCR, turn your TV onto the
channel you would normally use to view a tape or movie on your VCR. This
channel may be activated by a button on your remote that is marked with this
symbol , or L1 or L2 or possibly AV1 or AV2 . Please read the instructions
for your VCR or TV for more information on using their A/V inputs.
Note: The Maxi-Brite Camera will automatically change to a black & white image
using the Infra-Red LEDs when available light is too low to support a clear
color picture.
Page 4
!
!
! Please test all devices before final installation as it is far easier to rectify
problems at this stage.
! To avoid the risk of damage to your product, use only the supplied power
adaptors.
! Areas with a bright background may cause degradation of the image. If possible
position your camera so that it doesn’t point towards a very bright light source.
! Do not cut the DC power cable of the Camera to fit with another power source.
This may result in damage to the Camera & any unauthorised modifications will
void your warranty.
Best Results are achieved when the camera is looking down on the subject area.
The hood can be used to stop sunlight entering the lens and causing the picture
to wash out during bright daylight.
1. Deterrence is the best and most cost effective security method for:
- preventing criminal activity before it occurs is preferable to, and cheaper
than, cleaning up after it occurs
- the Swann Maxi-Brite Camera is an example of cost effective security
utilising the 'art of deterrence' to outsmart thieves and criminals
2. Always place cameras high enough that they can't be closely inspected or
easily accessed
3. Position cameras and dummies where they can be easily seen for maximum
deterrence
4. Position a monitor where it can be seen but not touched
5. If you have more than one camera use a monitor with channel switching
function, a Quad Processor or DVR with multiple views to show potential
offenders the level of coverage you have protecting your site.
6. Add extra Swann dummy cameras to give the impression of heightened
security
7. Purchase a Swann DVR to monitor and record activity on your cameras.
Depending on the settings used, DVRs can record for months.
Your Maxi-Brite Camera is designed to transmit high quality color images to your
Security Monitoring Device, Television or VCR and is operated by mains power. To
help guide you through the process of setting up the Maxi-Brite Camera, we have
outlined the steps and numbered each of the components required in the diagram
below.
Tips for using your Swann Security camera
Connect the camera to your monitoring device (continued) Important Information about this product
4
5
3a
BNC Female
DC POWER
CONNECTOR
POWER
ADAPTOR
DC socket
2a
1a
POWER
ADAPTOR
2
1b
3b
DVR or MONITOR
With BNC Sockets
T
O
U
N
I
E
O
V
D
I
D
I
O
V
E
U
A
IO
D
D
U
A O
I
BNC VIDEO IN
Connection to VCR, TV or MONITOR with RCA Sockets
Connection to or DVR MONITOR with BNC Sockets
Extension
Cable with
BNC Male
Connectors
DC socket
4
BNC
Female
DC POWER
PLUG
Extension
Cable with
BNC Male
Connectors
DVR or MONITOR
With RCA Sockets
T
O
U
N
I
E
O
V
ID
D
I
O
V
E
U
A
IO
D
D
U
A
O
I
RCA VIDEO IN
4
BNC to RCA
adaptor
BNC
male connector
3c
3d
 Loading...