


All rights reserved. Copying in whole or in part is prohibited
All rights reserved. Copying in whole or in part is prohibited
without expressed written authorization from the manufacturer.
without expressed written authorization from the manufacturer.
1
Endoscope Digital Video Recorder
(SDV-02)
User Manual

All rights reserved. Copying in whole or in part is prohibited
All rights reserved. Copying in whole or in part is prohibited
without expressed written authorization from the manufacturer.
without expressed written authorization from the manufacturer.
2
CONTENTS
1. GENERAL INFORMATION……………………3
2. PRODUCT OVERVIEW….……………………4
3. INTERFACE DESCRIPTION………………….5
4. BUTTON USAGE……………………………….6
5. FUNCTION SELECTION………………………7
6. OPERATING DVR………………………………9
7. IMPORTANT SAFETY INSTRUCTION……..15
8. SPECIFICATION……………………………….16

All rights reserved. Copying in whole or in part is prohibited
All rights reserved. Copying in whole or in part is prohibited
without expressed written authorization from the manufacturer.
without expressed written authorization from the manufacturer.
3
IMPORTANT INFORMATION
Before you use the product, please read and retain the instruction. We do not
assume any liability arising out of improper operation.
Endoscope DVR(Digital Video Recorder)
- Professional borescope
- Portable Media Recorder and Player
- Long duty hour
- 3.5” Extra-wide view angle TFT
Main Features
• Support Mini USB 1.1
• Recorded data can be transferred into PC to play.
• It can play PC media files on TV through DVR.
• Support external memory card - SD card (Up to 2G)
¾WARNING
Only 5V adapter is acceptable, please do not connect any other adapter
or it may cause of serious damage.
GENERAL INFORMATION
GENERAL INFORMATION

All rights reserved. Copying in whole or in part is prohibited
All rights reserved. Copying in whole or in part is prohibited
without expressed written authorization from the manufacturer.
without expressed written authorization from the manufacturer.
4
LED Switch
Recording
Photo
Power
Esc.
OK/MenuPrevious
Next
Camera Connector
USB Port
AV OUTDC IN
AV IN
AV OUT
AV IN
DC IN
SD PORT
PRODUCT OVERVIEW
PRODUCT OVERVIEW
Camera
Connector
Camera

All rights reserved. Copying in whole or in part is prohibited
All rights reserved. Copying in whole or in part is prohibited
without expressed written authorization from the manufacturer.
without expressed written authorization from the manufacturer.
5
INTERFACE DESCRIPTION
INTERFACE DESCRIPTION
This device contents three modes :
Preview mode
The DVR will be in preview mode when
power on.
While the camera is connected with DVR,
the DVR screen will display the real-time
image. You may start the video recording
or snap photos under this the mode.
Review mode
To review recorded files.
Menu mode
DVR settings and file management.
Notes: When DVR is in the function mode, it will automatically go
back to preview mode if there is no action taken in 10 seconds.

All rights reserved. Copying in whole or in part is prohibited
All rights reserved. Copying in whole or in part is prohibited
without expressed written authorization from the manufacturer.
without expressed written authorization from the manufacturer.
6
Function
Key
Preview Mode Review Mode Menu Mode
UP
Enter review mode
to review saved
files.
Go to last photo or
video file.
Move cursor up to
select a function.
DOWN
Enter review mode
to review saved
files.
Go to next photo or
video files.
Move cursor down to
select a function.
OK/MENU
Enter menu mode. Delete photo or video
files.
Enter the selected
function.
ESC
Go back to preview
mode.
Go back to preview
mode.
Go back to preview
mode.
REC
Start and stop
video recording.
Go back to preview
mode.
Go back to preview
mode.
SNAP
Take photos. 1. While reviewing
photos, it functions as
“Next.”
2. While playing video,
it functions as
“Start/Stop playing.
Show software
information (for DVR
maintenance use only.)
BUTTON USAGE
BUTTON USAGE

All rights reserved. Copying in whole or in part is prohibited
All rights reserved. Copying in whole or in part is prohibited
without expressed written authorization from the manufacturer.
without expressed written authorization from the manufacturer.
7
Menu
Menu
FUNCTION SELECTION
FUNCTION SELECTION
DELETE ALL
When enter the delete function, the
screen will show up a “yes” “no” box,
press UP or DOWN to make yes or no
selection, press OK to delete file or quit.
VIDEO OUTPUT
While the DVR is connected with TV
(please use AV out cable), the video
image may be switched between TV
and DVR screen under this function.
Press MENU to enter function selection. Press UP or DOWN to move cursor to
make selection and press OK to enter the selected function.
There are six functions under menu, a brief introduction for each function is as
follow:
DELETE ALL
VIDEO OUTPUT
DATE/TIME SETUP
LANGUAGE
VIDEO FORMAT
AUTO POWER OFF

All rights reserved. Copying in whole or in part is prohibited
All rights reserved. Copying in whole or in part is prohibited
without expressed written authorization from the manufacturer.
without expressed written authorization from the manufacturer.
8
LANGUAGE
Select language for DVR operation.
Currently only English is available.
VIDEO FORMAT
For TV output format setting, NTSC/PAL.
AUTO POWER OFF
To setup a time for auto shut down for
power saving.
DATE/TIME SETUP
To setup date and time, please press UP
or DOWN to move between year/mon/date,
and hour/min/sec. Press REC to adjust
the number. Select the Display ON/OFF
for time to or not to show on the snapped
pictures.

All rights reserved. Copying in whole or in part is prohibited
All rights reserved. Copying in whole or in part is prohibited
without expressed written authorization from the manufacturer.
without expressed written authorization from the manufacturer.
9
BASIC OPERATION
BASIC OPERATION
1. Please connect camera with DVR and screw it up.
2. Insert SD into SD port, please mind the insertion direction of SD
card.
3. Press (power button) 3 seconds to turn on/off DVR.
The SD and power volume will show on the screen while power on
and disappear after 5 seconds.
OPERATING DVR
OPERATING DVR

All rights reserved. Copying in whole or in part is prohibited
All rights reserved. Copying in whole or in part is prohibited
without expressed written authorization from the manufacturer.
without expressed written authorization from the manufacturer.
10
SNAP Under the preview mode,
press “SNAP” button
or hold it, the screen will
continually display the photo.
Status: After finishing snapping, the screen will go
back to preview mode automatically.
REC (Recording) 1. Under the preview mode,
press “REC” button to start
recording.
Status: The recording sign
displayed at the left bottom corner
shows it’s recording.
2. Press “REC” again to stop the recording.
Status: The recording sign will disappear at the left
bottom corner while the recoding ends.
Reminder:
No matter it’s under the displaying mode or function
mode, simply just press “REC” button to go back to
preview mode to take a snap shot or record the
video.
Attention:
Press “SNAP” button during the recording, the
recording will be stopped and the file will be saved
immediately, then a snap shot will be taken.
OPERATING DVR
OPERATING DVR

All rights reserved. Copying in whole or in part is prohibited
All rights reserved. Copying in whole or in part is prohibited
without expressed written authorization from the manufacturer.
without expressed written authorization from the manufacturer.
11
View Photo and Video
1. Under the preview mode, press “UP “ or “DOWN”
Status: It will display the previous photo or Video.
2. Then, press “UP” or “DOWN” to view the
previous or next photo or video.
Status: The files are arranged in the sequence of
video/photo taken time.
Addition: When switch to the Video File, the DVR
will automatically play the Video file till the end, and
then go back to next photo or Video.
Date/ Time Setup 1. Press OK.
2. Press “UP”
or “DOWN” to
switch to
DATE/TIME.
3. Press “OK” button.
4. Press “SNAP” (increase) or “REC” (decrease)
to adjust the year.
5. Press “DOWN” to move the blinking square to
the next to-be-adjusted item.
6. Repeat Step 4 and 5 until the DATE/TIME are
correct.
7. After finishing the setting, Push “OK” to quit.
All rights reserved. Copying in whole or in part is prohibited
All rights reserved. Copying in whole or in part is prohibited
without expressed written authorization from the manufacturer.
without expressed written authorization from the manufacturer.
12
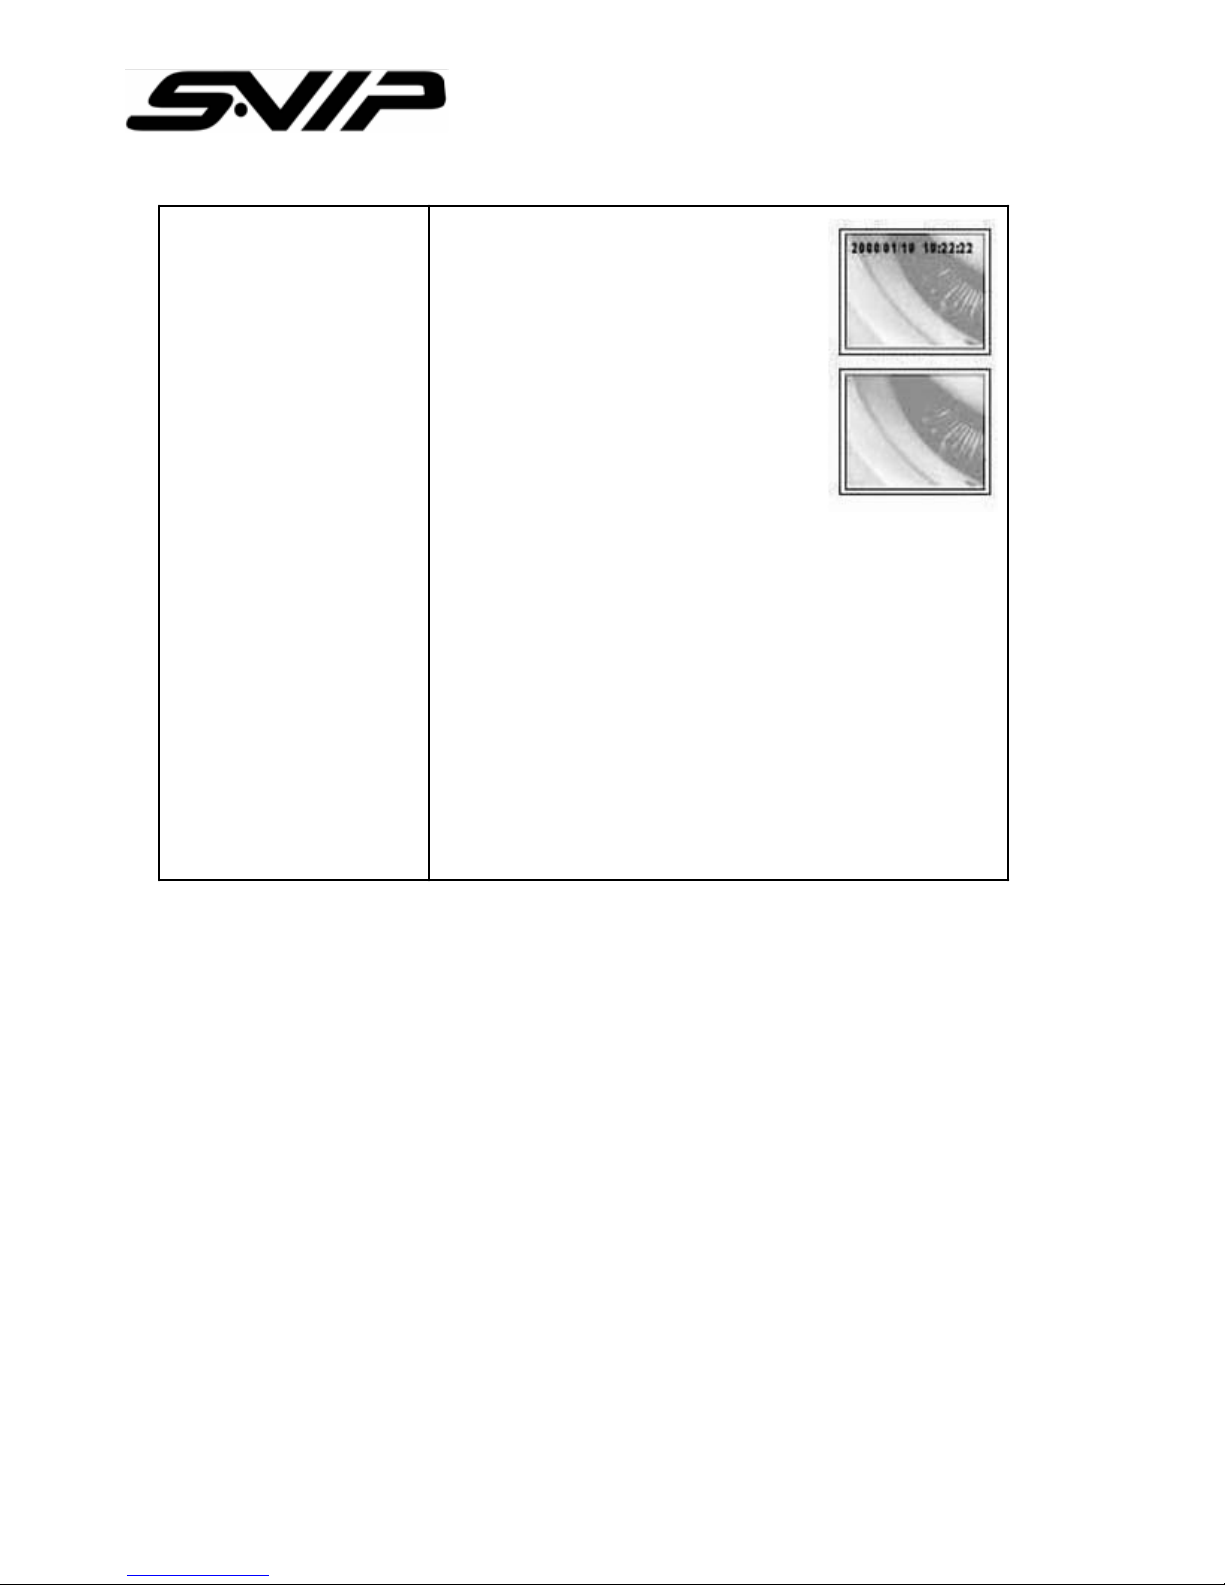
Display or Hid
DATE/TIME
1. Press “OK” button
2. Press “UP” or “DOWN” to
switch to “Date/Time”
3. Press “OK”
4. Press “UP” or “DOWN” to switch
to Display Option
5. Press “SNAP” to switch between this function.
Status: Push “SNAP” once to switch to “on” and
push again to “off.”
6. After finishing setting, Push “ OK “ to end setting.
7. Press “ESC” to go back to preview mode.
P.S.: When settled time displays on the monitor,
the time information will be showed on the snapped
photos as well.

All rights reserved. Copying in whole or in part is prohibited
All rights reserved. Copying in whole or in part is prohibited
without expressed written authorization from the manufacturer.
without expressed written authorization from the manufacturer.
13
Video Out/In to an
External Monitor
1. Plug AV cable into the AV port on the right side
of DVR.
Note: Please correctly plug another end of
connector into an external monitor.
2. Press “OK”
3. Press “UP” or “DOWN” to switch to Video Output
function.
4. Press “OK,” the images will be sent to the
external monitor.
Note: This function will automatically detect whether
the AV cable has been plugged, if the AV
cable is not plugged and implement this
function, the images will be automatically
switched back to the DVR screen .
Adjust Video-Out
Format
1. Press “OK”
2. Press “UP” or “DOWN” to switch to Video
Format.
3. Press “OK”
4. Press “UP” or “DOWN” to select NTSC or PAL.
5. Press “OK”

All rights reserved. Copying in whole or in part is prohibited
All rights reserved. Copying in whole or in part is prohibited
without expressed written authorization from the manufacturer.
without expressed written authorization from the manufacturer.
14
Delete a Single Picture
(only in Preview Mode)
1. Enter Preview Mode,
press “UP” or “DOWN” to
select picture or video
which you want to delete.
2. Press “OK” (“YES” “NO” box will show up)
3. Press “UP” or “DOWN” to delete the pictures
( “YES “ is flashing at this moment)
4. Press “OK” again and the picture will be deleted.
2 ways to cancel deletion:
a. Press “ESC”
b. Press “UP” or “DOWN” once again and then
press “OK”
Delete All Pictures
1. In preview mode, press “OK” (MENU shows up)
2. Press “UP” or “DOWN” to select “Delete All”
function.
3. Press “OK” again to enter this function.
4. Press “UP” or “DOWN” to switch to “YES”
5. Press “OK” again to delete all files.

All rights reserved. Copying in whole or in part is prohibited
All rights reserved. Copying in whole or in part is prohibited
without expressed written authorization from the manufacturer.
without expressed written authorization from the manufacturer.
15
The important safety instruction ought to be read before operating the product.
Electricity sound or smoke comes from AC adapter, it causes of electric shock and fire. In occasion,
please turn off the power and plug out the AC immediately
If AC adapter is broken, the product temperature will increase it cause of damage the product and
break down. Plug out the adapter from wall outlet immediately.
Use provided power source. Do not use other power sources it causes of fire or electric shock.
Do not touch AC adapter with wet hand.
Do not unplug the connection cord; take out main body of Adapter.
Do not bend or twist the cable, it causes of fire or electricity shock
Do not load any things on the power; it damages the cord and cause of electricity shock.
Use 110V or 220V only.
Do not use damaged cable, it causes of fire and electricity shock.
For added protection, if there is lighting or storm, please unplug the AC adapter it may be risk of
electric shock or serious injury
If there is lighting outside, do not touch and reach to adapter.
Do not use either damaged product or malfunction state, it cause of fire or electricity shock. Unplug
the power immediately. Do not try to fix the product yourself.
Please pull out connection cable and unplug when you carry DVR
Do not fall the product and keep children away. It causes of breaking the product.
Do not use the cable inadequate way such rolling neck with cable and do not give to who under 3
years
Do not replace or dismantle the product, it cause of hazard
Do not use in inadequate place or purpose, it causes of damage of product
While carrying the product, please unplug AC adapter.
Do not drop the product
While carrying DVR, be careful with shock. It could be main reason of breaking down
Do not place the product or cable near heat places.
If it is not used for a longer period of time, please unplug the AC adapter for the safety.
If you do not use for a long period, turn off the DVR and unplug the AC adapter.
Be careful with +, - of DC Jack.
If the memory card is not ejected correctly, contact technical support immediately. Do not force the
card in/out of the slot as this could damage the memory card and or the unit itself.

All rights reserved. Copying in whole or in part is prohibited
All rights reserved. Copying in whole or in part is prohibited
without expressed written authorization from the manufacturer.
without expressed written authorization from the manufacturer.
16
Image Sensor CMOS Image Sensor
Resolution (Dynamic/Static) 320(H)*240(V) / 640(H)*480(V)
Size (Tip, insertion tube diameter) Ø 6 mm
Frame rate -30 fps
S/N Ratio 42 dB
Exposure Automatic
White balance Fix
Field of view (FOV) 67 °
Depth of Field (DOF) 1.5cm~10cm
Light Source 4 White LED
SPECIFICATION
SPECIFICATION
Insertion Tube & Light Source Specification
Insertion Tube & Light Source Specification
Power DC5V
Display 3.5” TFT LCD Monitor 320*240 Pixels
Interface Mini USB 1.1 / AV out
Battery Rechargeable Li-Polymer Battery (3.7V)
Video Output Format NTSC & PAL
Recording Media SD card (up to 2G)
Compression Format MPEG4
Still Image Storage Format JPEG (640*480)
Video Recording Format ASF (320*240)
Language English
System Specification
System Specification

All rights reserved. Copying in whole or in part is prohibited
All rights reserved. Copying in whole or in part is prohibited
without expressed written authorization from the manufacturer.
without expressed written authorization from the manufacturer.
17
Function
Function
Quick Snap
Quick Video Recording
Quick Review
AV Out
Video / Picture Viewer
List of Accessories
List of Accessories
DVR
Insertion-Tube Camera
USB Cable
AV Cable
5V Adapter
Aluminum Carry Case
DVR Operating temperature -20 ~ 60 °C
Insertion tube operating temperature -20 ~ 70 °C
Preserving te m perature -20 ~ 60 °C
Environment temperature when charging
the device
0 ~ 40 °C
Operating Temperature
Operating Temperature
 Loading...