

SVAT Spy Eye WSE 100, Spy Eye WSE 200 Instruction Manual
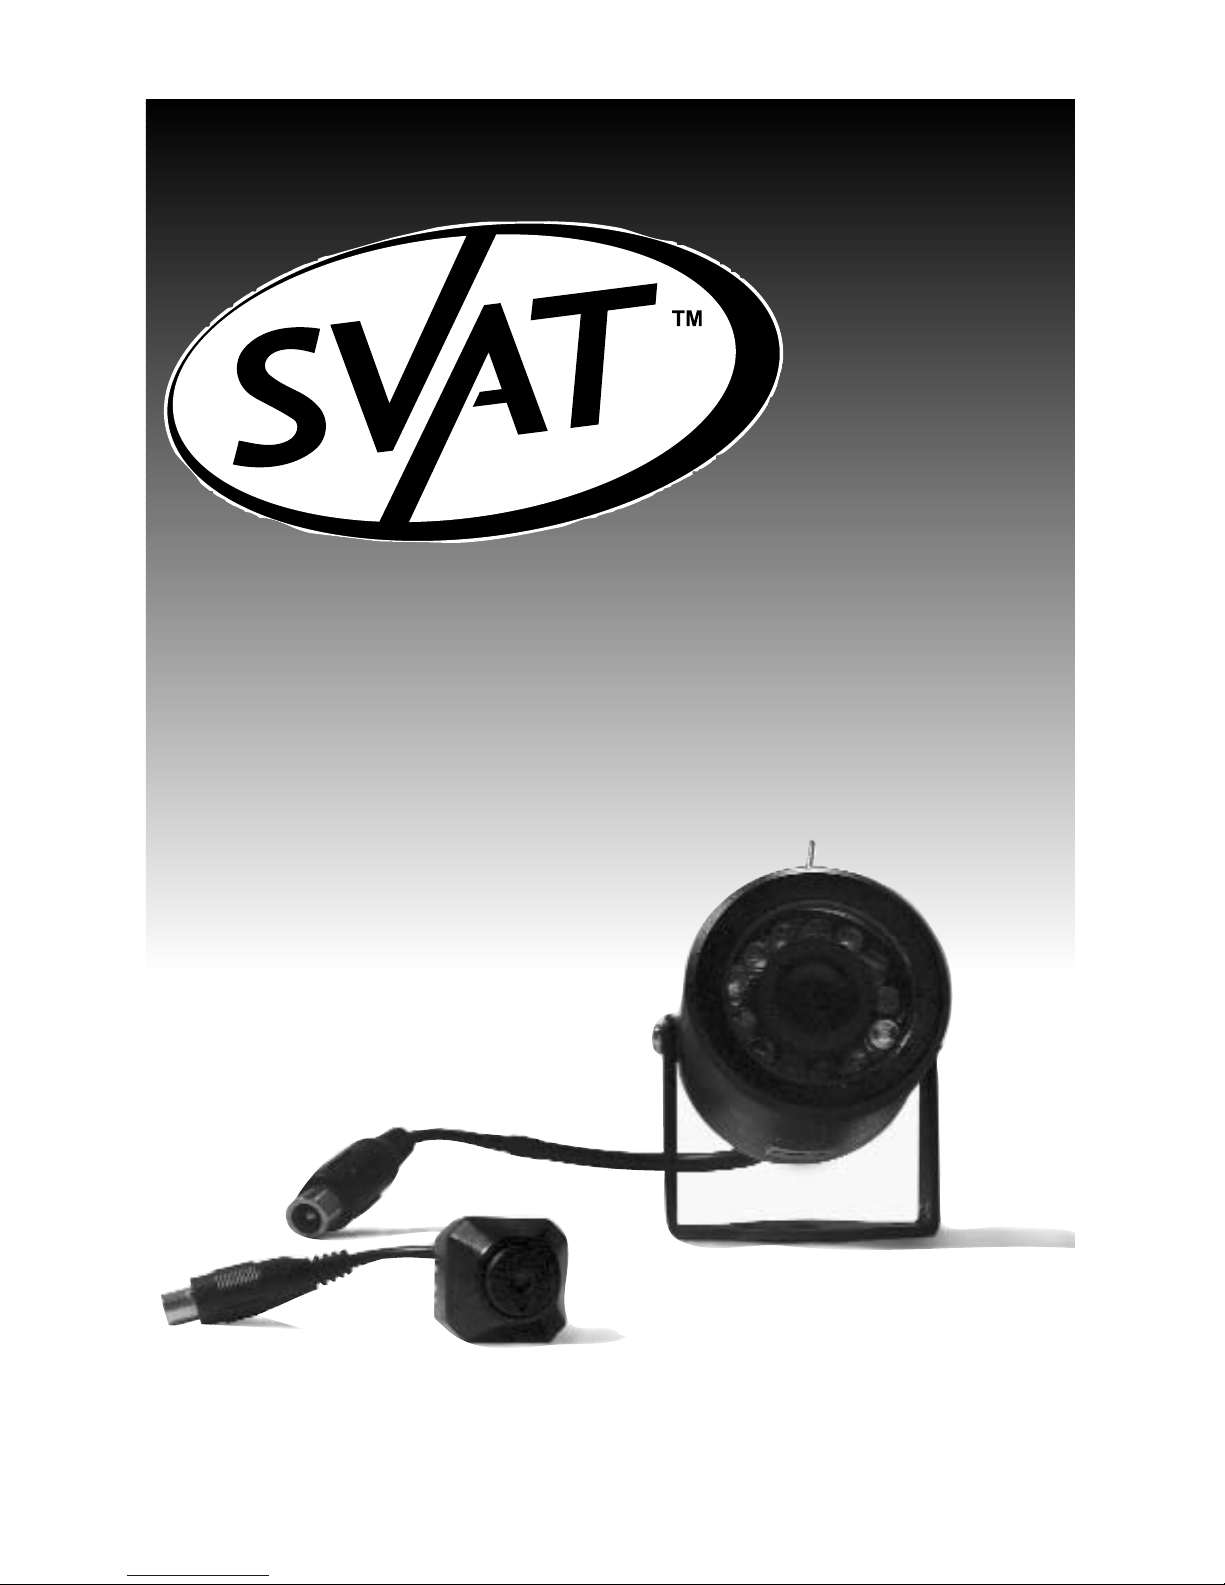
Wireless Spy Eye Products
Instruction Manual
WSE 200
WSE100
www.svat.com
now you can see

www.svat.com
SPY EYE CAMERAS
Wireless Spy Eye Brand WSE100 & WSE200
The line of wireless Spy Eye miniature cameras have been designed to
provide you with the same great functionality of our wired line, but has
been endowed with the convenience of wireless technology.
The applications for the wireless Spy Eye are endless. You can keep an
eye on your car, your children, your safe at home or work, your babysitter
and you can do it all discretely. Please note that we do not promote the
use of the Spy Eye cameras for peeping.
For more information on your wireless Spy Eye and on any other SVAT
product, visit www.svat.com.
What's included:
The following devices should be included in the box. Please check that
you have them all before installation:
A one wireless miniature camera (either WSE•100 or WSE•200)
B one receiver
C two power adapters
D Audio/Video cables
E one battery power adapter
F one mounting bracket (For the WSE 100 unit)
A
B
C
D
E
F
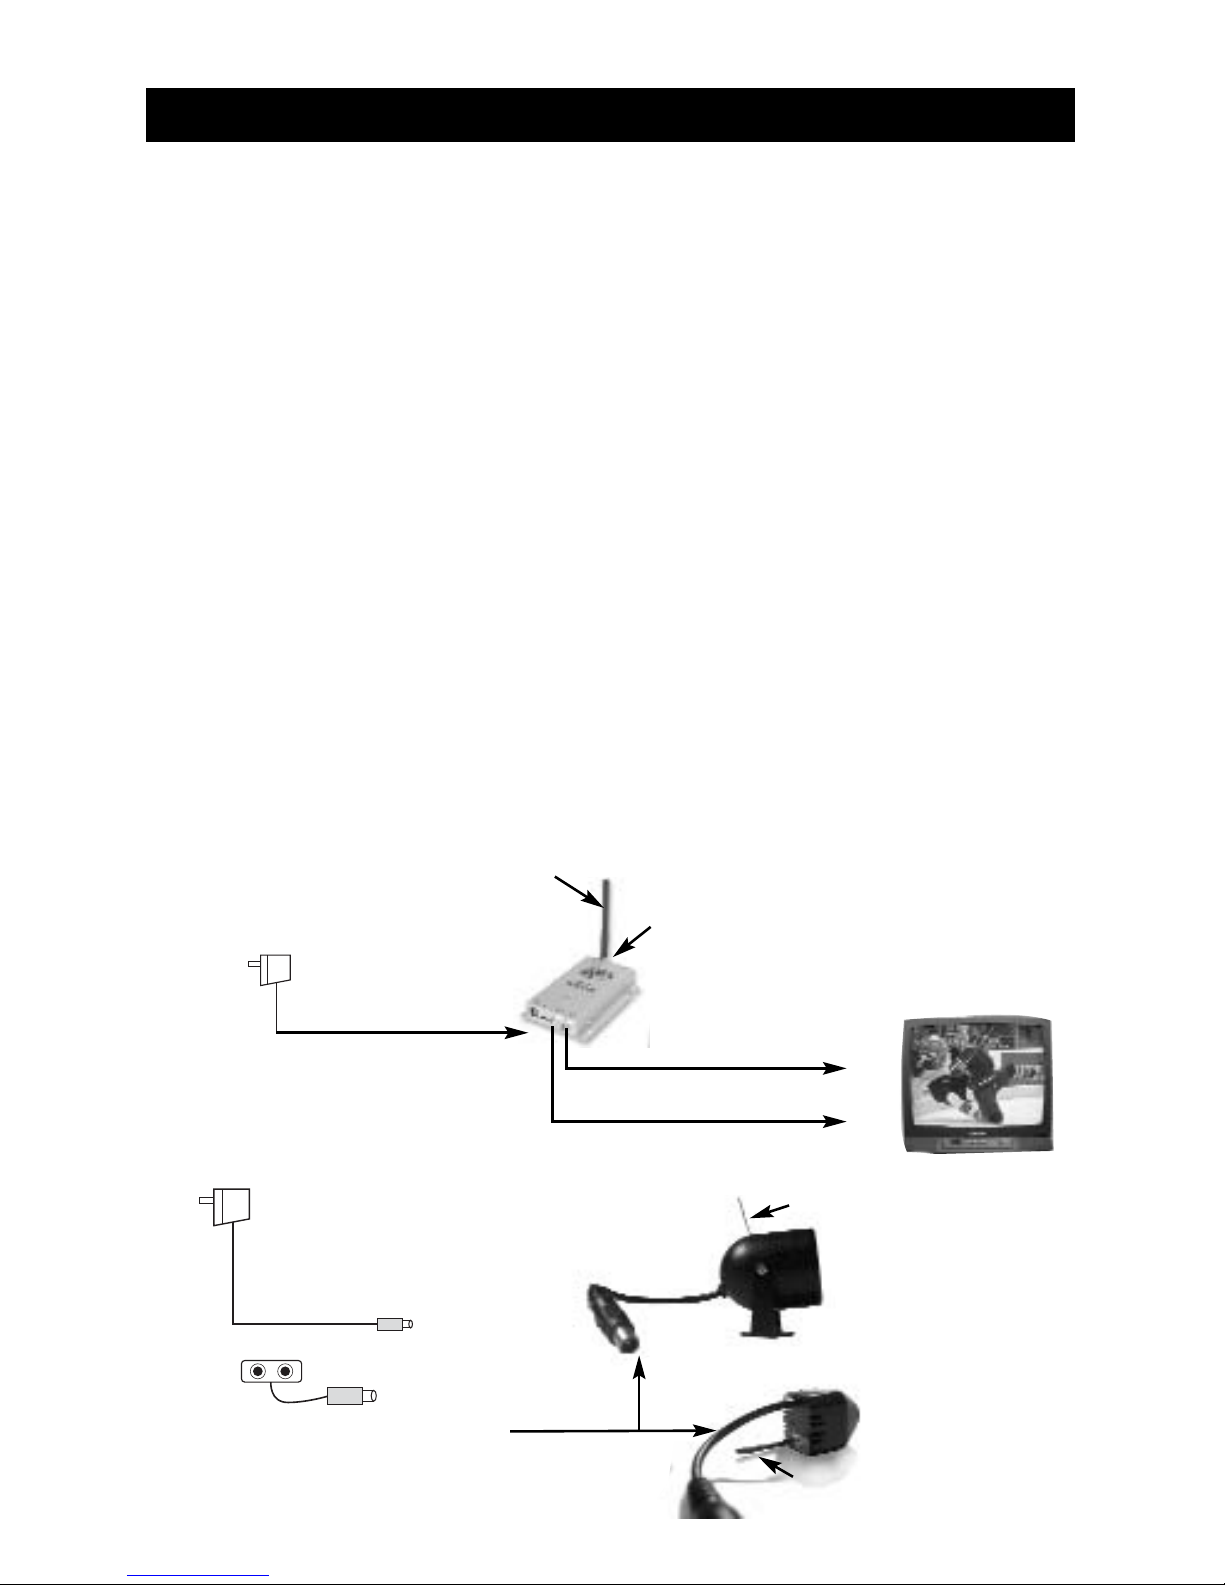
Installation Procedures (see diagram below)
1. Connect the antenna to the receiver
2. Plug the DC 12V power adapter to the receiver. This will activate
the unit and the power indicator LED will turn on.
3. Connect the audio/video cables to the receiver audio and video
out terminals. Note that the terminals are colour coded to match
the cables. Plug the other ends of the Audio/Video cables into your
TV or VCR.
4. Match the channel of the receiver to the channel of the camera.
This channel will be indicated by a sticker on the camera.
5. Plug the DC 8V power adapter into the power socket of the
camera (you may use the battery adapter as well).
6. If you are using the WSE100 indoor model, you can focus the lens of
the camera to its best position. Adjust the lens clockwise or counter
clockwise with your fingers or with an object placed in the
indentations on the front of the camera.
7. If necessary, you can mount the WSE 100 with the accompanying
mounting brackets.
8. Turn the viewing station on your television or VCR to the input
channel and now you can see.
Troubleshooting
www.svat.com
Receiver Antenna
Antenna Socket
Audio out
Video out
Wireless Receiver
DC power 5V/8V
DC power 9V/12V
Camera Antenna
Wireless Cameras
Power Jack
Monitor
Battery adapter
Camera Antenna

Please read this manual carefully before using the Wireless Spy Eye. If you
have any difficulties using this unit, please consult the following checklist.
No picture or sound
1. Check and make sure that the power adapters are properly
attached to the units.
2. Make sure that all cables are connected to the proper colours and
are snug with the jacks.
3. Make sure that the camera and the receiver are both on the same
channel
4. Make sure that the proper adapter is connected to each unit.
(12V adapter for the receiver and 8V adapter for the camera.)
Interruption in Image and Sound (audio only on the WSE200)
1. If there is a microwave oven close by, turn the microwave oven off.
2. You may have other units that run on the 2.4GHz signal. Move their
base away from both the camera and/or the receiver.
3. If the picture is fuzzy, adjust the focus of the lens until the picture
becomes more clearer.
4. Your home may have a metal frame that reduces the range of the
unit. Contact SVAT customer service for more information.
Poor Reception Quality
1. Move the receiver around to see it reception improves.
2. Make sure all the A/V cables are plugged firmly and tightly.
3. Make sure the channel selection on the transmitter and receiver
match each other.
Note: Wireless transmissions are not secure and can be intercepted.
www.svat.com
 Loading...