

SVAT ClearVu Q1404, ClearVu Q4 Instruction Manual

14" Quad System with 4 B/W CCD Cameras
Instruction Manual
www.svat.com
now you can see
Système de quadruple de 14"avec 4 appareils-photo
de CCD de B/W
Manuel D'Instruction
Q
1404

www.svat.com
TABLE OF CONTENTS
ENGLISH PAGE #
Table Of Contents . . . . . . . . . . . . . . . . . . . . . . . . . . . . . . . . . . . . . . . . . . . . . . . . . . 2
Introduction / What's Included . . . . . . . . . . . . . . . . . . . . . . . . . . . . . . . . . . . . . . . . . 3
System Features . . . . . . . . . . . . . . . . . . . . . . . . . . . . . . . . . . . . . . . . . . . . . . . . . . . 4
Installation . . . . . . . . . . . . . . . . . . . . . . . . . . . . . . . . . . . . . . . . . . . . . . . . . . . . . . . 5
Wiring Diagram . . . . . . . . . . . . . . . . . . . . . . . . . . . . . . . . . . . . . . . . . . . . . . . . . . . 5
How To Operate . . . . . . . . . . . . . . . . . . . . . . . . . . . . . . . . . . . . . . . . . . . . . . . . . . . 6
System Setup . . . . . . . . . . . . . . . . . . . . . . . . . . . . . . . . . . . . . . . . . . . . . . . . . . . . 7
Troubleshooting . . . . . . . . . . . . . . . . . . . . . . . . . . . . . . . . . . . . . . . . . . . . . . . . . . . 8
Specifications . . . . . . . . . . . . . . . . . . . . . . . . . . . . . . . . . . . . . . . . . . . . . . . . . . . . . 9
Warranty . . . . . . . . . . . . . . . . . . . . . . . . . . . . . . . . . . . . . . . . . . . . . . . . . . . . . . . . . 10
FRANCAIS PAGE #
Introduction/Ce qui Est Inclus . . . . . . . . . . . . . . . . . . . . . . . . . . . . . . . . . . . . . . . . . 11
Caractéristiques du système . . . . . . . . . . . . . . . . . . . . . . . . . . . . . . . . . . . . . . . . . . 12
Installation . . . . . . . . . . . . . . . . . . . . . . . . . . . . . . . . . . . . . . . . . . . . . . . . . . . . . . . 13
Diagramme De câblage . . . . . . . . . . . . . . . . . . . . . . . . . . . . . . . . . . . . . . . . . . . . . 13
Comment Fonctionner . . . . . . . . . . . . . . . . . . . . . . . . . . . . . . . . . . . . . . . . . . . . . . 14
Installation De Système . . . . . . . . . . . . . . . . . . . . . . . . . . . . . . . . . . . . . . . . . . . . . 15
Dépannage . . . . . . . . . . . . . . . . . . . . . . . . . . . . . . . . . . . . . . . . . . . . . . . . . . . . . . . 16
Caractéristiques . . . . . . . . . . . . . . . . . . . . . . . . . . . . . . . . . . . . . . . . . . . . . . . . . . . 17
Garantie . . . . . . . . . . . . . . . . . . . . . . . . . . . . . . . . . . . . . . . . . . . . . . . . . . . . . . . . . 18
2
www.svat.com
INTRODUCTION
Congratulations on your purchase of SVAT’s ClearVu Q4. You will soon
find out that this product has many applications, some that we may not
even have mentioned. The following instruction manual will go over your
products, its features, and how to install it. Please read over all of the
instructions and maintenance information so you can extend the life of
this great product.
For more information on your wired security system and on any other
SVAT product, visit www.svat.com.
Please note that SVAT does not endorse any applications of this unit for any illegal activities.
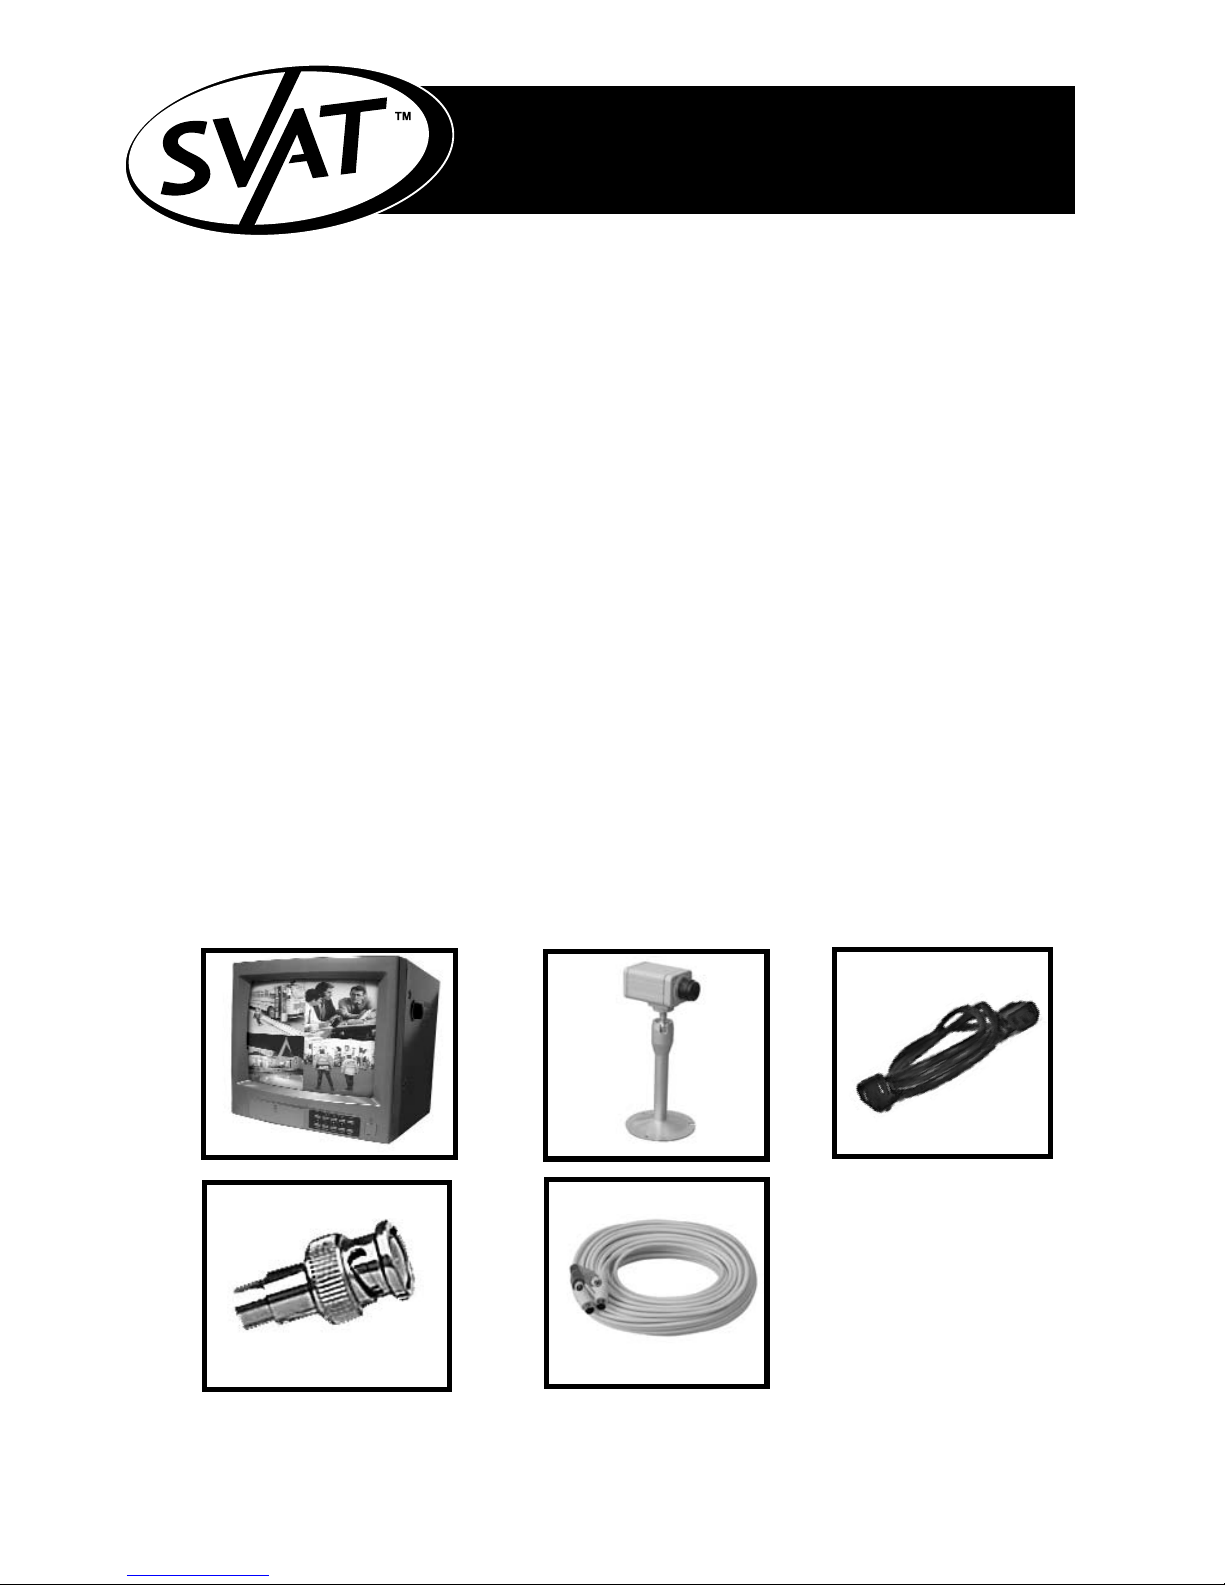
What's included:
The following components should be included with your system. Please
check that you have them all before beginning installation:
A: 14” B/W Monitor
B: 4x B/W CCD Cameras with Stand
C: Power Cable
D: 5x BNC to RCA Connectors
E: 4x 60 feet Of DIN to DIN/RCA Cable
Not Shown: Warning Stickers, Warranty Registration, Crime Stoppers insert,
and Manual
A
B
E
C
D
3
*Actual Product May Not Be Exactly As Shown

www.svat.com
1. Microphone
2. V-HOLD control
3. Brightness control
4. Contrast control
5. Audio control
6. SETUP/ZOOM key
7. ENTER/MODE key
8. VCR/FREEZE key
9. AUTO sequencing key
10. CH1/ key
11. CH2/ key
12. CH3/ key
13. CH4/ key
14. Power Indicator LED
15. Power On/Off Switch
FRONT VIEW
BACK VIEW
4
SYSTEM FEATURES
1. Power Source Input
2. Audio/Video Input (DIN)
3. Video Output (BNC)
4. VCR Input (BNC)
5. Video Input (BNC)

www.svat.com
WIRING DIAGRAM
INSTALLATION
CAUTION: Before connecting the power and switching the unit ON make sure all wiring is
connected properly.
1. Connect the power cable (supplied) to the back of the monitor.
2. Using the DIN cable connect the four cameras to the back of the monitor. Each end of the cable
will only fit in either the camera or the monitor. Align the pins on the connection jack, do not
force the plug, it should go in freely. (FIG-1)
4. When using only 1-2-3 cameras the empty channel will remain grey.
5. Using a standard RCA Cable (not supplied) you can connect the monitor to an extra monitor/vcr
or add additional cameras (use the BNC adapters provide to convert the BNC slots to RCA)
WARNING: When using BNC camera input jacks do not connect another camera to the same channel
using a DIN connection. There is only one camera allowed per channel.
5
(FIG-1)
1. Turn the unit on by pressing in the button marked I .You may encounter a buzzing noise
when powering up. The system just reminds you that you have unused channels (no camera
connected)
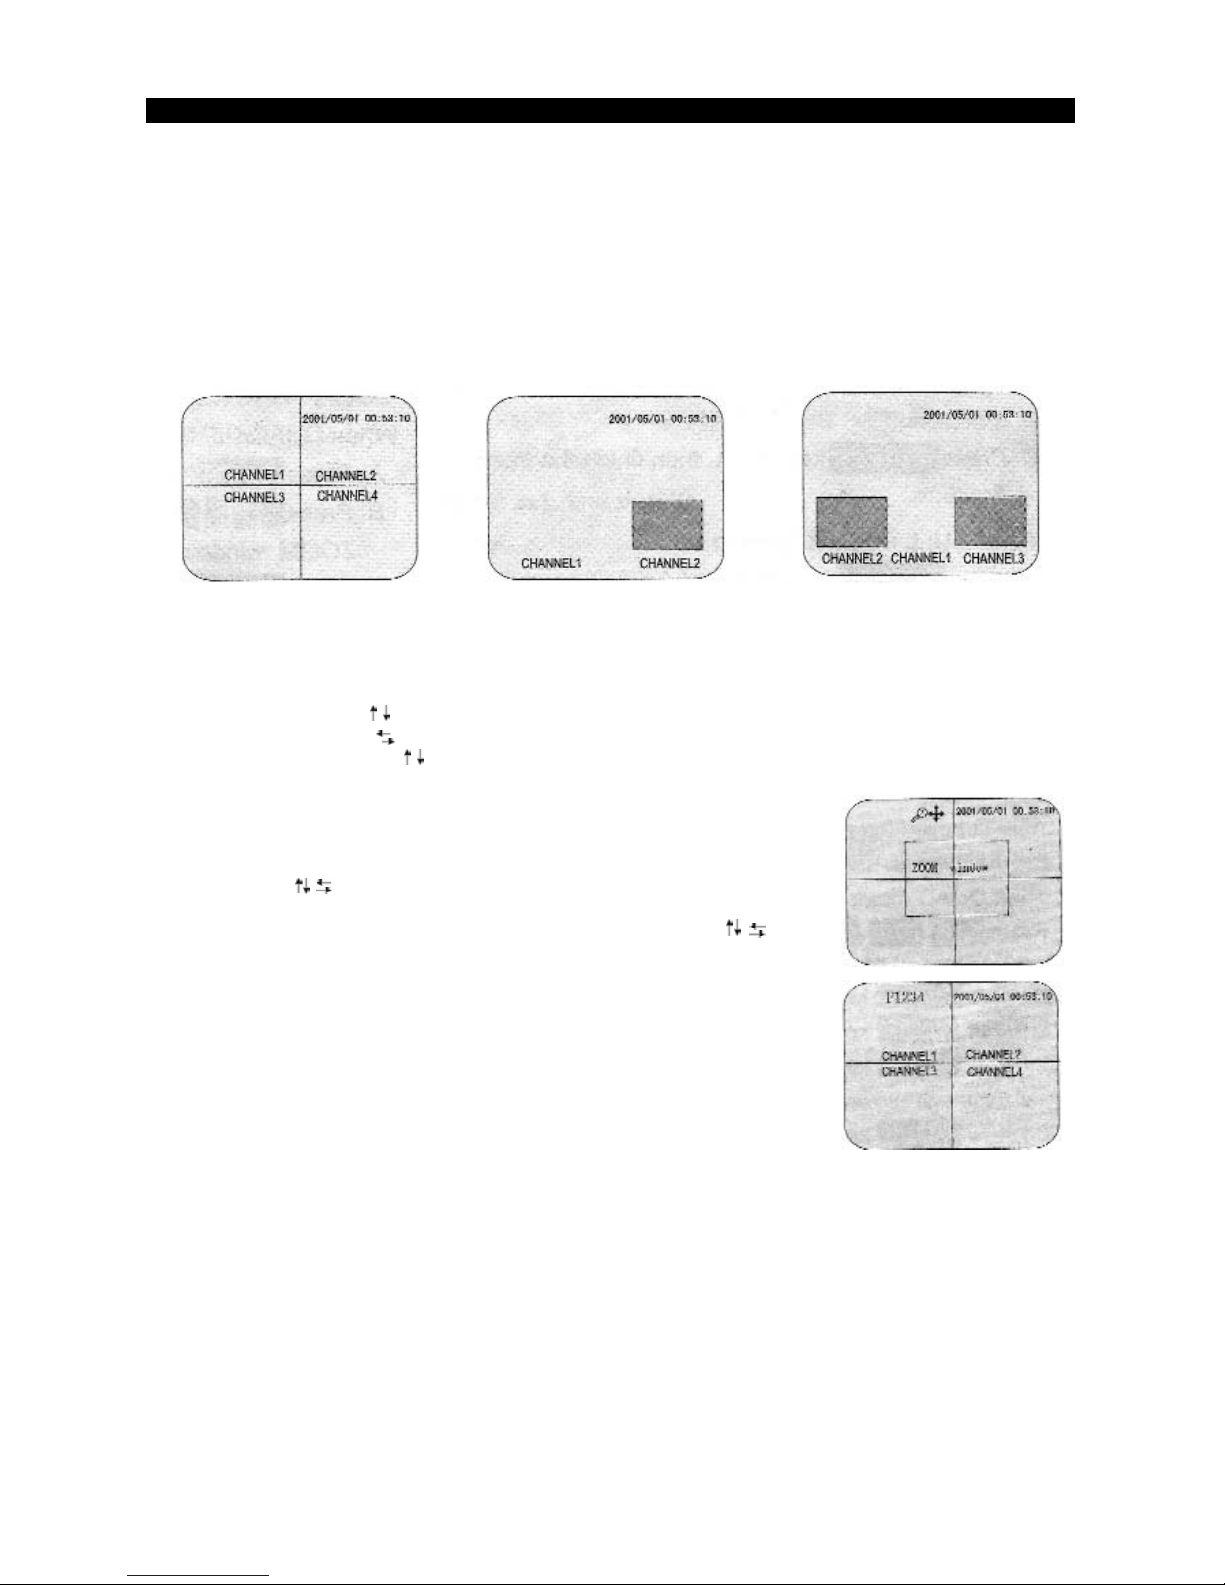
2. FULL SCREEN MODE:
- Pressing CH1 - 4 key will display the desired channel in full screen
- Press MODE key to go back to QUAD mode (FIG-2)
3. PIP MODE:
- Press MODE key once will go to PIP1 mode (FIG-3)
- Press MODE key twice will go to PIP2 mode (FIG-4)
- Press MODE key three times will go back to PIP1 mode (with auto switching)
- Press MODE key four times to go back to the main QUAD screen (FIG-2)
4. DEFINING PIP CHANNELS:
- When in PIP1/PIP2 mode press and hold MODE key for 2-3 seconds, channel name should
start blinking
- Press CH1 or CH2 key to select different picture for CHANNEL 1
- Press CH3 or CH4 to switch left and right and you can change the image for the PIP
windows by pressing key
- Press MODE key again to save settings and quit
5. ZOOM FUNCTION:
*Performed in QUAD/PIP1/PIP2/FULL screen mode:
- Press the ZOOM key, a ZOOM window appears
- Press the key to adjust the position of the ZOOM window
- Press the ENTER key to zoom in the selected area
- Once zoomed in you can still adjust the area by using the key
- Press the ZOOM key again to zoom out
6. FREEZE FUNCTION:
*Performed in QUAD/PIP1/PIP2 screen mode:
- Press the FREEZE key, F1234 is displayed in the top left corner
- Press the CH1 - CH4 keys to freeze the desired camera.
- Pressing the same CH key will unfreeze it
- Press FREEZE again to unfreeze all cameras
*Performed in FULL screen mode:
- Press the FREEZE key, F1234 is displayed in the top left corner
- Press FREEZE again to unfreeze current camera
7. AUTO SWITCHING FUNCTION:
- Press the AUTO key, signal will automatically switch between QUAD-CH1-CH2-CH3-CH4-QUAD
- Press the MODE key to disable auto switching and go back to QUAD mode
(Time delay can be adjusted in SYSTEM SETUP, see below)
www.svat.com
6
(FIG-2)
(FIG-3) (FIG-4)
HOW TO OPERATE
 Loading...