

SVAT 2.4 GHz Wireless B/W Security, 2.4 GHz Wireless B/W Security System System User Manual


Contents
What You Get ...............................................................................................................................................1
Product Layout ............................................................................................................................................2
Setting Up ....................................................................................................................................................6
Setting Up-Camera .....................................................................................................................................7
Setting Up-Monitor ....................................................................................................................................9
Setting Up-Other Application ..................................................................................................................11
Orienting Units for Optimal Performance ..............................................................................................12
Auto-Sequence Function for Multiple Location Monitoring ...............................................................13
Troubleshooting .........................................................................................................................................15
Care and Maintenance ..............................................................................................................................16
Specifications ..............................................................................................................................................17
FCC Statement ..........................................................................................................................................18
Declaration of Conformity .......................................................................................................................18
Receiver
What You Get
English
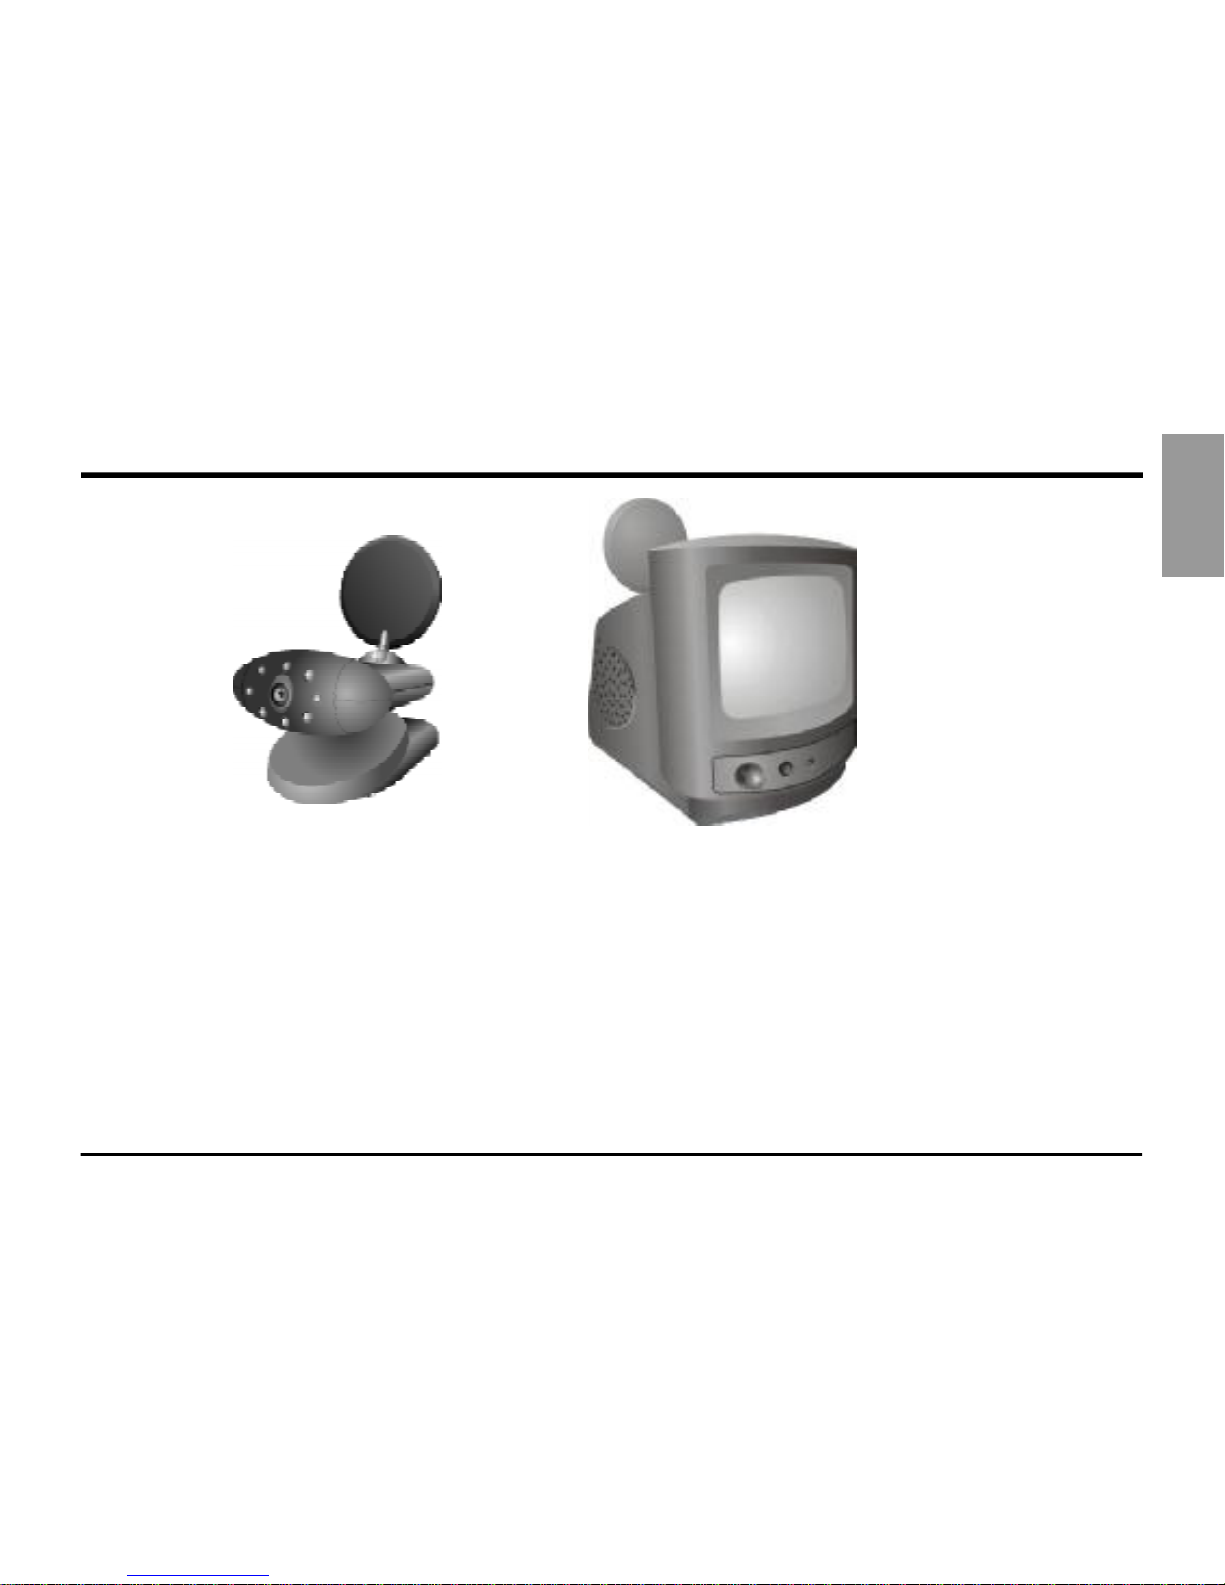
Camera
Monitor
• One Camera
• One Monitor
• Two Power Adapters
• One Quick Installation Guide
• This User's Manual
Note: The AC adapters CANNOT be interchanged. Use only the adapter labeled OUTPUT: 9V DC
with the camera. Use only the adapter labeled OUTPUT: 13.5V DC with the monitor
1
Product Layout
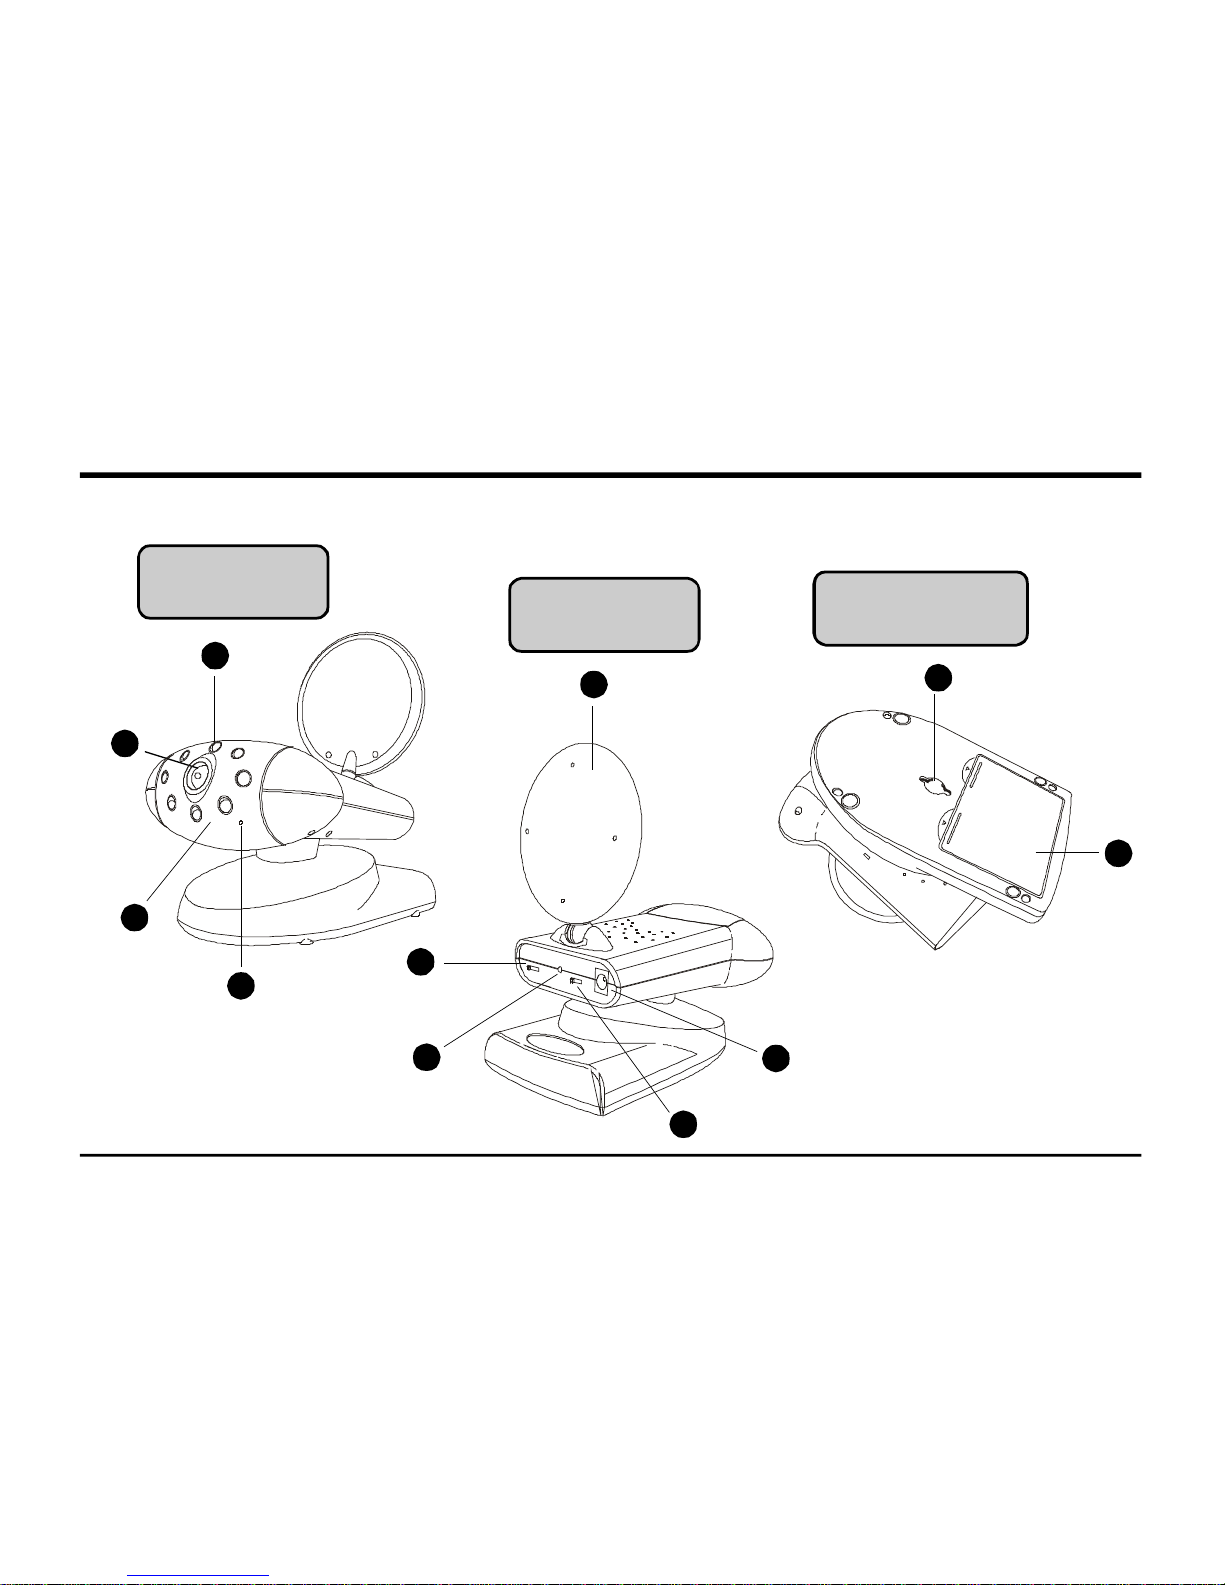
Front View of
Camera
1
2
3
6
4
Rear View of
Camera
5
Bottom View of
Camera
10
11
2
7
8
9

Product Layout
Infrared LEDs
1
Eight LEDs to provide infrared light for night vision.
Lens
2
Focuses image automatically without any adjustment.
Lens Body
3
Rotates up to 180 degrees.
4
Microphone
5
2.4 GHz Audio/Video Antenna (Front )
Transmits audio/video signals. Caution: Antenna does not rotate freely through 360 degrees. (See "Orienting
Units for Optimal Performance", on page 12
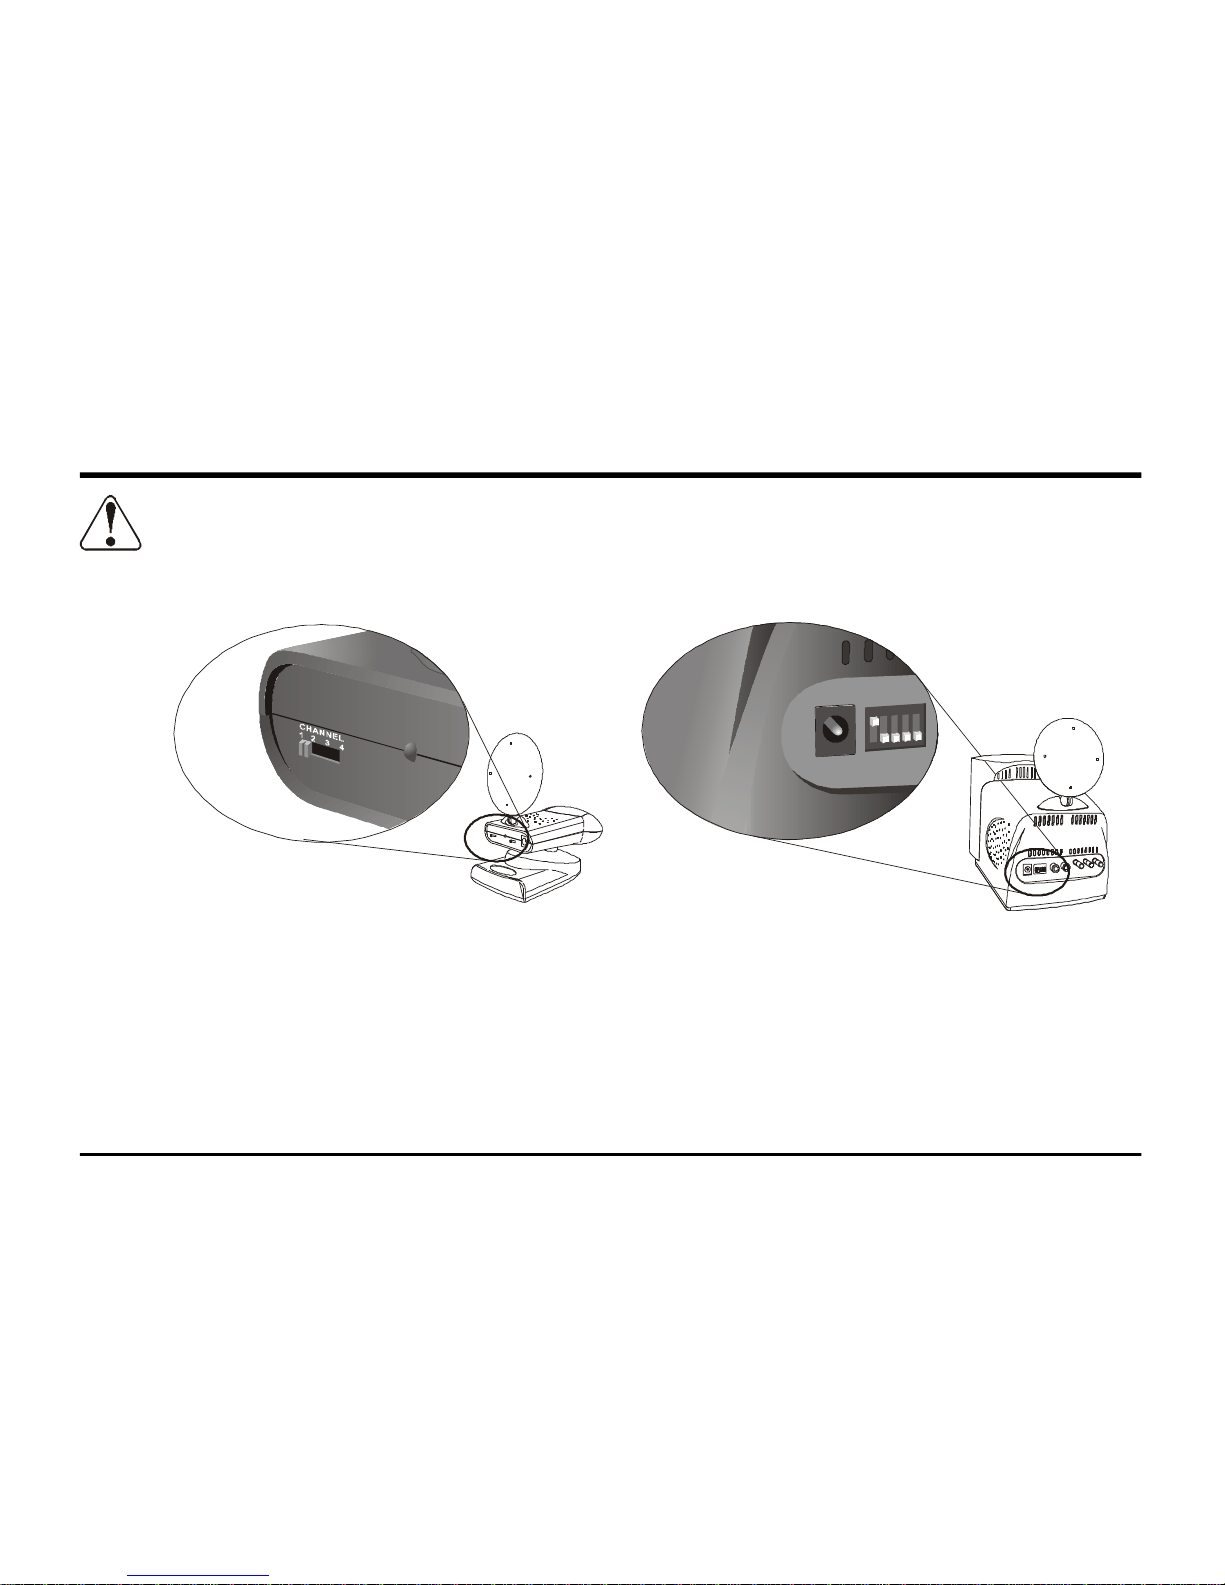
6
Channel Selection Switch
Select the channel by sliding the slide switch to the channel number you want.
Must select the same channel on both the camera and monitor.
7
Power Indicator LED
OFF/ON/NIGHT
8
POWER ON/POWER OFF and NIGHT VISION ON switch.
9
9V Power Adapter Plug
10
Mounting Hole
11
Battery Compartment
3
Product Layout
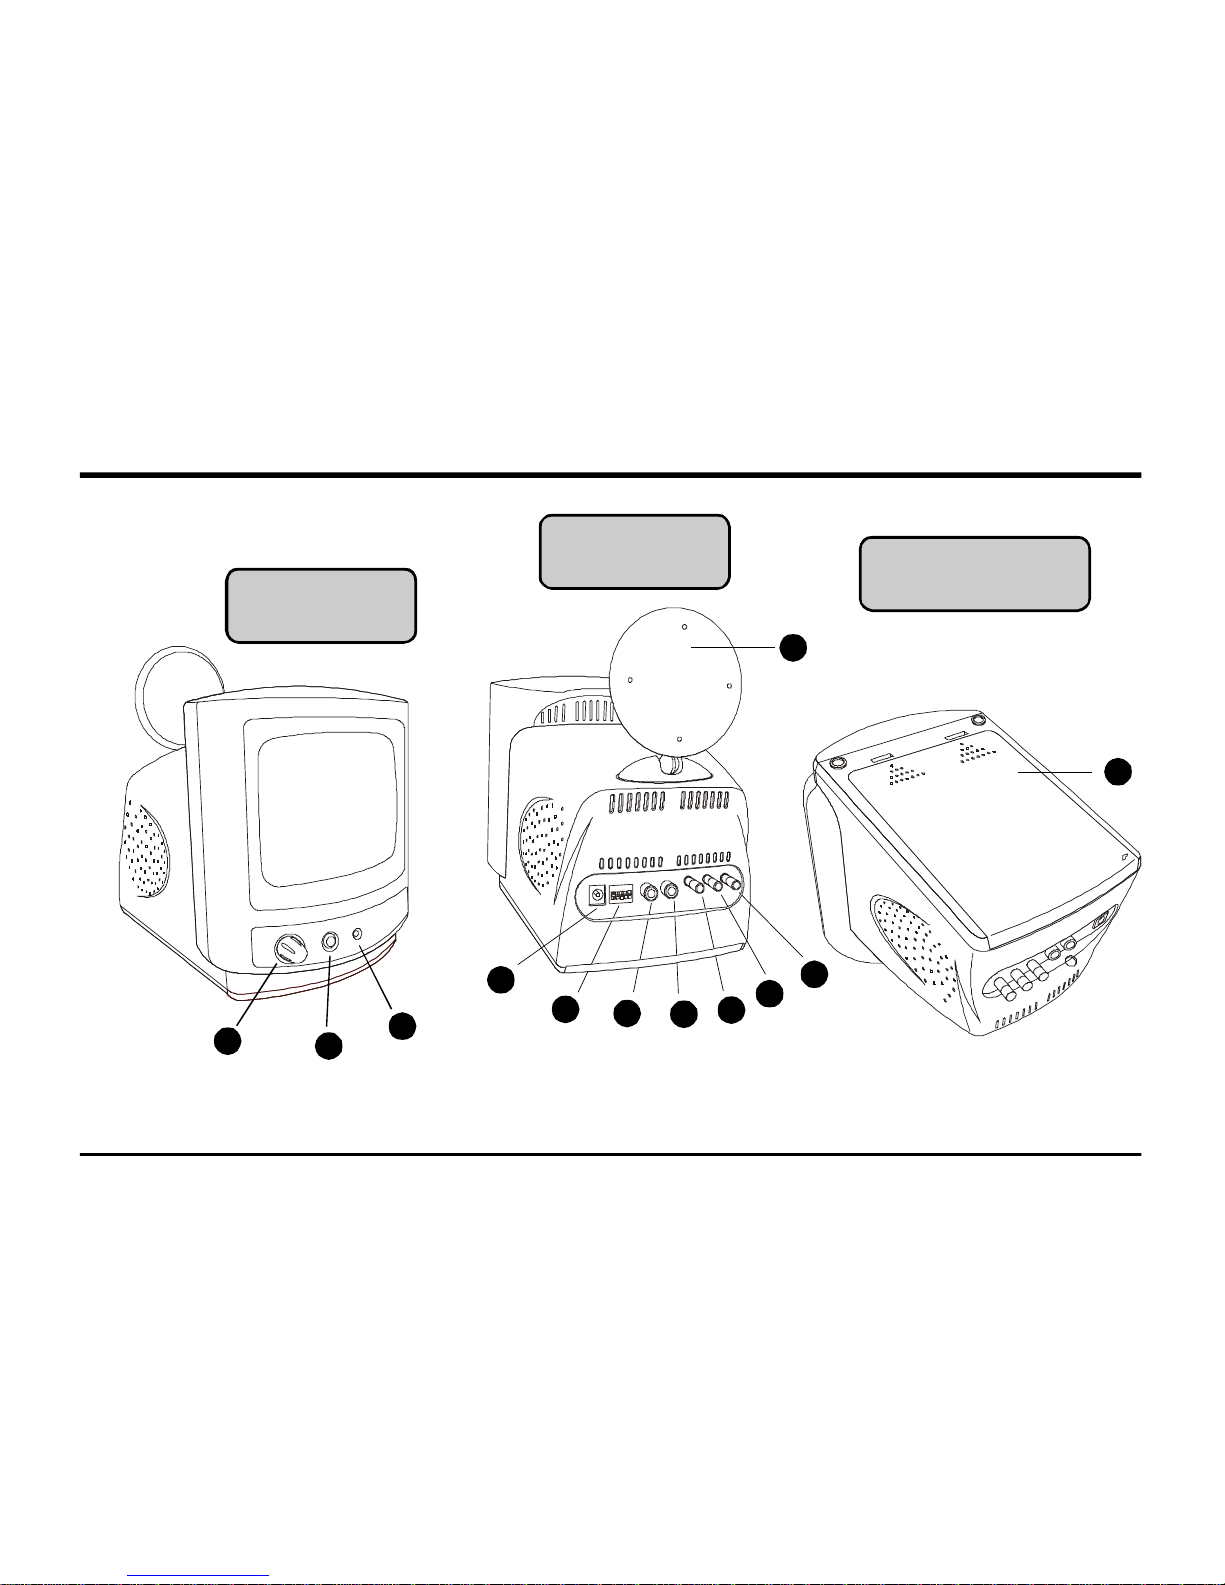
Front View of
Monitor
Rear View of
Monitor
Bottom View of
Monitor
11
12
4
1
2
3
5
6
8
7
10
9
4

Product Layout
Volume/Power Control
1
Screen ON/OFF
2
Screen can be turned off for audio monitoring only.
3
Power Indicator LED
4
13.5V Power Adapter Plug
Channel Selection Dipswitches
5
Select the channel by setting the channel dipswitch to the ON position. The number 5
dipswitch sets the timer for the auto-sequence function (see "Auto-Sequence Function for
Multiple Location Monitoring", on page 13 ).
Must select the same channel both on monitor and receiver.
6
Audio Output Jack (White)
Video Output Jack (Yellow)
7
V-HOLD
8
9
BRIGHTNESS
10
CONTRAST
11
2.4 GHz Audio/Video Antenna (Front )
Receives Audio/Video signals.
Caution: Antenna does not rotate freely through 360 degrees. (See "Orienting Units for Optimal Performance",
on page 12)
12
Battery Compartment
5
Setting Up
Before you make the connection:
• Always make sure the unit ON/OFF switch is in the OFF position.
• Set the channel switches on the back of the camera and monitor to the same channel.
Camera
Monitor
• If you wish to wall mount the camera, it is recommended that the receiver reception be
tested before fixing in place. Have one person hold the camera against the wall in the
selected mounting area while another checks reception on the monitor. If interference or
other problems are present, refer to the Troubleshooting section on page 15 of this manual.
You may need to select a different location in the room for mounting the camera.
6

Setting Up-Camera
1
Power Supply
The camera uses either batteries (AA-size) or household AC current.
To Load Batteries
Open the battery compartment cover.
1
Insert batteries so their plus (+) and minus (-) ends are
2
facing as shown in the illustration.
Close the battery compartment cover. Make sure the
3
battery compartment cover is locked securely.
Never mix old batteries with new ones.
Remove batteries from the camera if you do not plan to use it for a period of time.
Using AC Power
Plug one end of the provided power adapter into a wall outlet and the other end into the rear
of the camera. Note: Use the adapter labeled OUTPUT: 9V DC.
Slide the POWER Switch to the ON position. The LED on the back of the camera should
light.
7
Setting Up-Camera
2
3
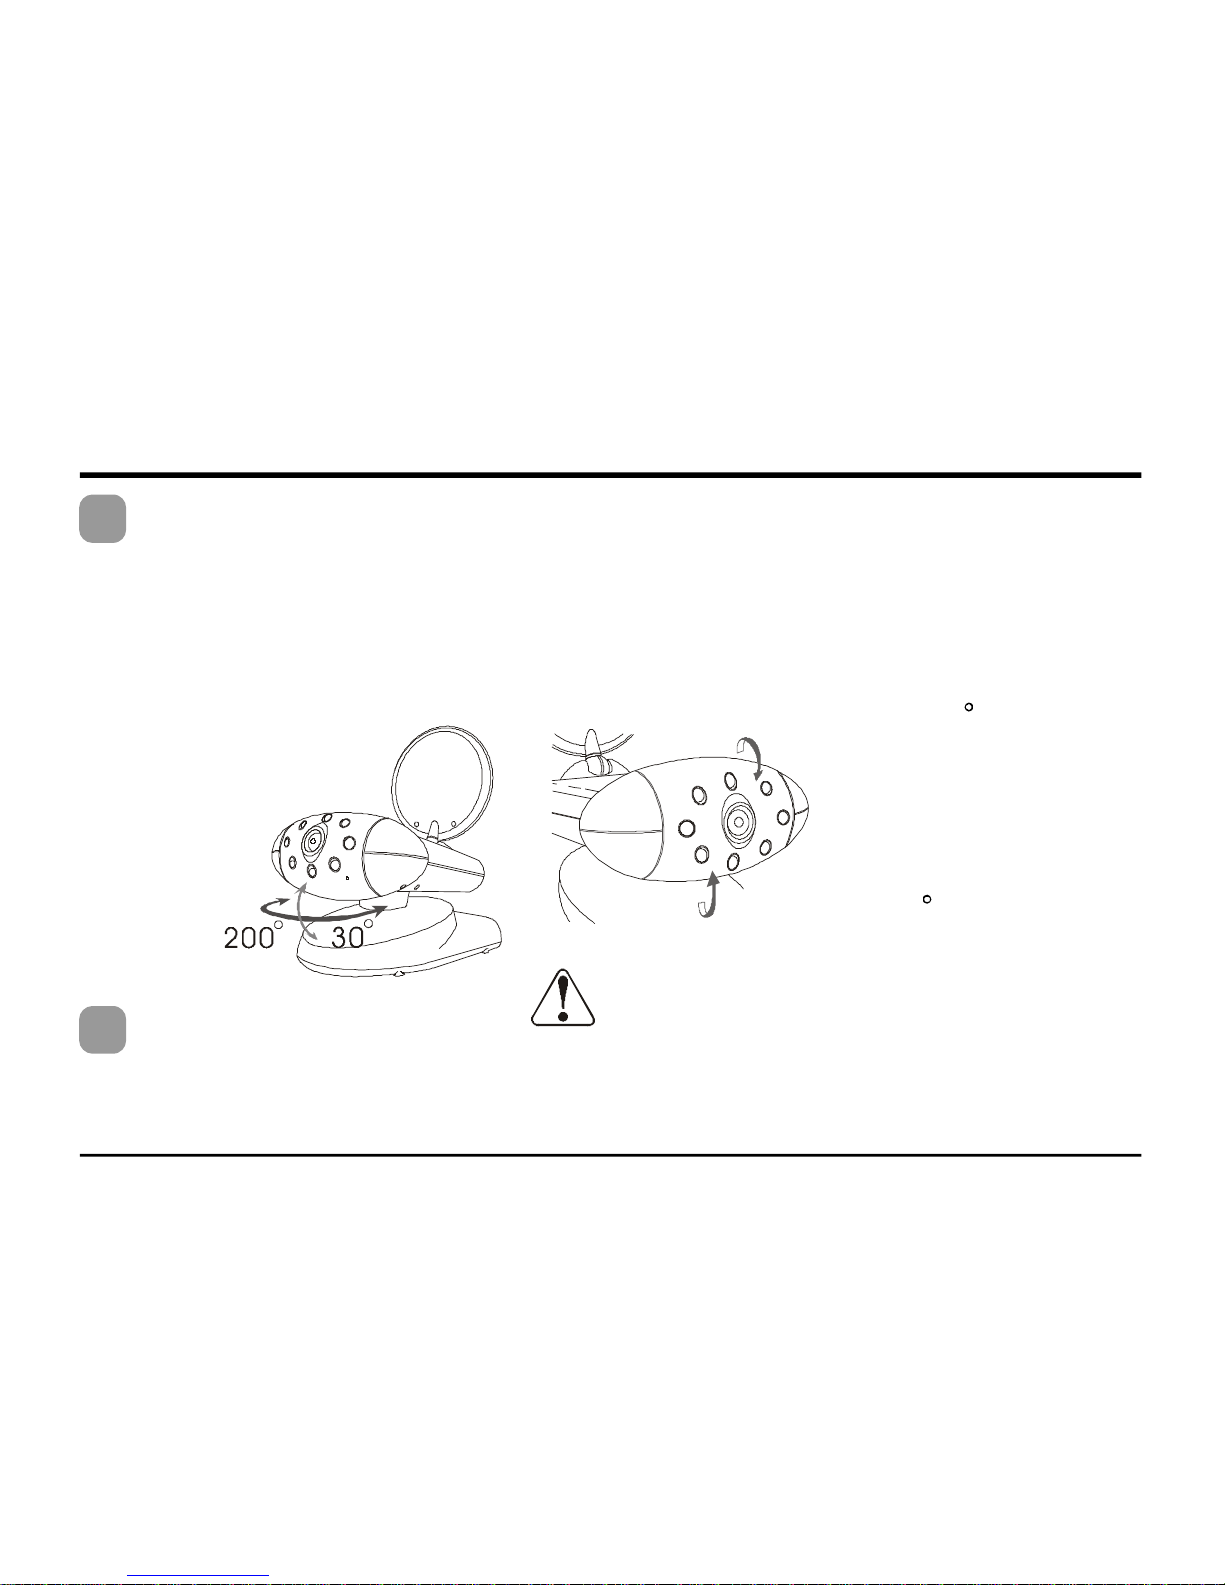
Changing the Lens Orientation
Place the camera in a convenient location, point the lens towards the observation area and adjust
the angle by rotating the lens body. The camera's auto focus feature automatically focuses the
image.
The camera's head rotates horizontally up to 200 degrees and vertically up to 30 degrees. The
lens is built into a lens body that is designed to rotate vertically up to 180 degrees, allowing the
camera to cover the widest angles.
Do not apply excessive force when rotating.
Fine Tuning
Adjust the antenna so that the front (curved side) faces the room where the monitor is to be set
up. See "Orienting Units for Optimal Performance", on page 12.
Doing so can cause serious damage to the camera.
Rotates up to 90
towards the back
Rotates up to 90
towards the front
8
 Loading...