

SuperStick EXP 42"" Plus Owner's Manual
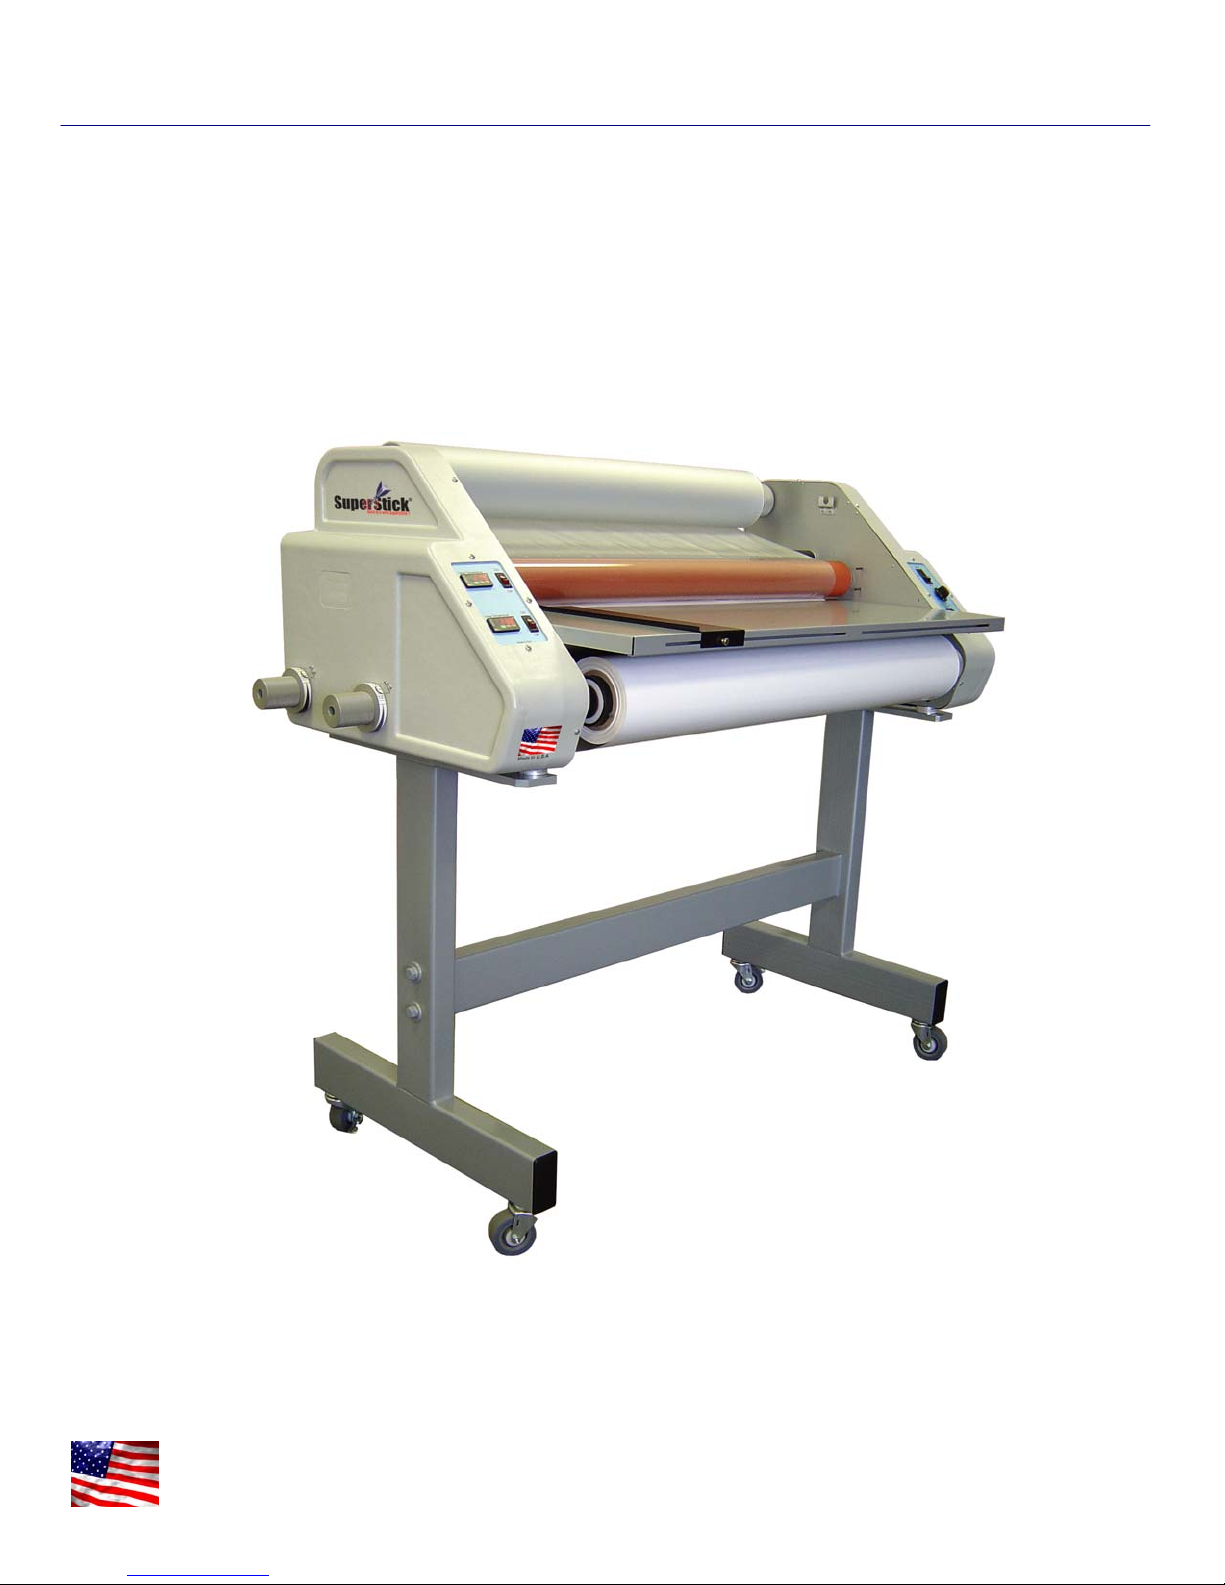
EXP 42” Plus Laminator
Laminator.com
www.laminator.com
Owner’s Manual
MADE IN U.S.A. Part#652821

Table of Contents
Laminator.com
www.laminator.com
About the Manual.............................................................................................................2
Safety Precautions...........................................................................................................3
Finding a Work Area........................................................................................................4
Unpacking Your Laminator ..............................................................................................4
Loading Film ....................................................................................................................5
Operation Instructions for Release Liner Rewind (optional).............................................6
Tension............................................................................................................................6
Setting Roller Temperature..............................................................................................7
Control Panel Left Diagram ..............................................................................................7
Control Panel Right Diagram ...........................................................................................7
Nip Adjusters Diagram.....................................................................................................8
Mounting Using a SuperStick® Pouch Mounting System ................................................9
Mounting and Laminating Using a SuperStick® Pouch Board.........................................10
Encapsulating with a SuperStick® Flexible Pouch or Release Board..............................11
Cleaning Your EXP 42” Plus Laminator...........................................................................12
Specifications...................................................................................................................12
Trouble Shooting..............................................................................................................13
Warranty ..........................................................................................................................14
Webbing Diagrams ..........................................................................................................15 - 16
Parts List..........................................................................................................................17 - 19
1

About this Manual:
Laminator.com
www.laminator.com
READ ME FIRST!
This manual contains all of the information that you will need to properly unpack, operate and
maintain your Laminator. Before unpacking your laminator we suggest that you read and follow the
manual step by step. This manual contains essential information about each and every facet of your
laminator. Be sure to pay special attention to the work environment and safety precautions
necessary for your laminating unit.
Also, pay special attention to any particular notes and caution statements. These comments alert you
to information that we feel is essential to operator safety and damage prevention to the laminator.
Copyright Information:
IMPORTANT: This manual is copyright protected by your dealer in accordance with the laws and
requirements of the United States Government. Any reproduction of this manual, in part or in full,
without the written permission of your dealer constitutes a violation of the U.S. copyright laws and is
subject to prosecution.
2

Safety Precautions
Laminator.com
www.laminator.com
WARNING: Please review the following safety precautions before unpacking your new
laminator.
Use care in unpacking and lifting the laminator. Be sure to keep the laminator level when
lifting or moving. The laminator weighs approximately 300 pounds.
Consider your work area. A cluttered work space can lead to accidents. The laminator
should be placed on a level, sturdy surface. Do not attempt to operate the laminator in a damp
or wet environment. Do not operate electrical devices in the presence of flammable liquids,
solvents or in gaseous/explosive atmospheres. Keep the work area well lit. Allow sufficient
access to the front and the back of the machine. See page 4 for additional work space
requirements.
Respect the feed rollers. Keep your hands away from the feed rollers and any other moving
parts. Turn the drive switch to the OFF position before attempting to clear any film
wraparounds or jams. Use the automatic reverse to clear any film. Do not wear any loose
clothing, ties, jewelry, etc., which can be caught in the feed rollers.
Do not operate the laminator when any panels or guards have been removed. Panels
and guards protect operators from such moving parts as the drive chain and sprockets, roller
ends, etc.
Turn the power switch OFF before walking away or leaving the laminator unattended.
Before lifting or moving the laminator, turn the power switch OFF, unplug the unit and allow
the laminator to cool to room temperature. Remove any film rolls before lifting or moving the
machine. Film is easy to rethread, see pages 15 - 16.
Keep children away. Make sure visitors are kept well back from an operating laminator.
Do not abuse the electrical cord. Never pull the cord in order to disconnect it from the
receptacle. Do not allow the cord to have contact with heat, oil or sharp edges. Do not cut off
or otherwise bypass the grounding prong on the plug.
If an extension cord is necessary, be sure that it is properly rated and of the same wire
gauge or smaller as the laminator cord. The capacity of the cord must prevent loss of power
and overheating. Before using, inspect the extension cord for any damage, including loose or
exposed wires, broken fittings, damaged insulation, etc.
For service on your laminator call your dealer. Use only your dealer’s parts for service or
replacement. Failure to use your dealer’s parts could void the manufacturer’s warranty.
Use common sense. Be cautious when operating your laminator. Do not operate the
laminator when you are tired or your reactions are impaired in any way.
Do not allow anyone to operate the laminator who has not received proper instruction and
has not read the safety instructions
3

Find a Work Area
Laminator.com
www.laminator.com
A separate work station is required to house your laminator. Ample room is necessary to access the
laminator from all four sides. If the laminator is backed against a wall, the laminating film may back
up and jam the equipment. Your laminator must be on a stable, level surface.
Tools necessary to set up your laminator include cutting shears and adhesive tape. For future service
or maintenance, an assortment of Allen wrenches, a flat head screwdriver and a Phillips head
screwdriver are necessary.
Unpacking Your Laminator
The shipping carton contains:
1 Laminator
1 Top Supply Mandrel
1 Bottom Supply Mandrel
1 Feed Table
1 Operating Handbook
*Be sure to save the shipping carton . . .
Should your laminator ever need to be returned for service, the foam-filled carton ensures safe
transit.
NOTE: Each laminator is test run after it is assembled. Your laminator may have a piece of test film in
the rollers when you receive it. If so, before threading, remove the test film by turning the drive switch
to the “ON” position. The test film will exit the laminator.
4

Loading Film
Laminator.com
www.laminator.com
Step 1:
The laminator should be preheated before loading the laminating film. To heat the machine see page
6 “Setting Roller Temperature”.
Step 2:
When the laminator is heating, the rollers MUST be turning at all times in order to heat the rubber
rollers evenly and to reduce the risk of “heat spots” on the rollers. To turn the rollers, turn the drive
switch to the forward position and rotate the speed control knob until the rollers are moving slowly.
Heat for approximately 15 minutes.
NOTE: Do not apply excessive force to the ends of the mandrel (i.e. with a hammer). Excessive force
will cause damage. Also, be sure to center the film rolls on the supply mandrels. If the film rolls are
not aligned, hot adhesive will be deposited on the heated rubber rollers, necessitating a cleaning
operation. Poly-Off Cleaning Kit, see page 12.
Choose your laminating film. For encapsulating, both types of film should be of the same size, type
and thickness.
To load your film rolls, first un-hook the bottom supply mandrel from both sides and insert the mandrel
into the roll of film. Then, place the lower mandrel back on the laminator. Next, un-hook the top supply
mandrel from both sides and insert the mandrel into the second roll of film. Then, place the top
mandrel back on the laminator.
NOTE: When loading your laminating film, check for film splices. These rolls will be clearly marked.
Splices are not common but are unavoidable. If you find a splice, place that film roll on the top
position so the splice can be monitored carefully. When the splice is ready to come through the
laminator, turn the drive off, and rotate the roll of film by hand so that the film is very loose. Turn the
drive switch on and allow the splice to run through the laminator. If necessary, keep turning the roll of
film to keep the slack until the splice is out.
Step 3:
Thread the top roll of film under the idler roller. Pull the film down so that the film’s lead edge is below
the lower roller. Next, thread the bottom roll of film under the lower idler bar pulling the film upward
until it is even with the top roller shoe and is parallel side to side with the top roll of film. “Tack” it to
the top film edge, this creates a film “Web”.
NOTE: Use caution when threading your film around the rollers.
Step 4:
Loosen the tension on both rolls of laminating film. Turn on the “Drive” switch. While using the
threading board, push the film web into the laminating rolls. This process will push the web into the
pull rolls and exit. Be sure to take extra care to ensure that the film exits between the rear rollers.
Your laminator is now loaded. Remove the threading board and save for your next use.
NOTE: Slowly run the laminator while threading to help maintain control.
NOTE: Create your own threading board from a piece of 12”x40” poster board.
5
 Loading...