

Super Circuits MDVR-10 User Manual
3.
Video System:
Please select NTSCPAL Video
System matches your location.
PORTABLE SECURITY
RECORDER KIT
Quick Installation Guide
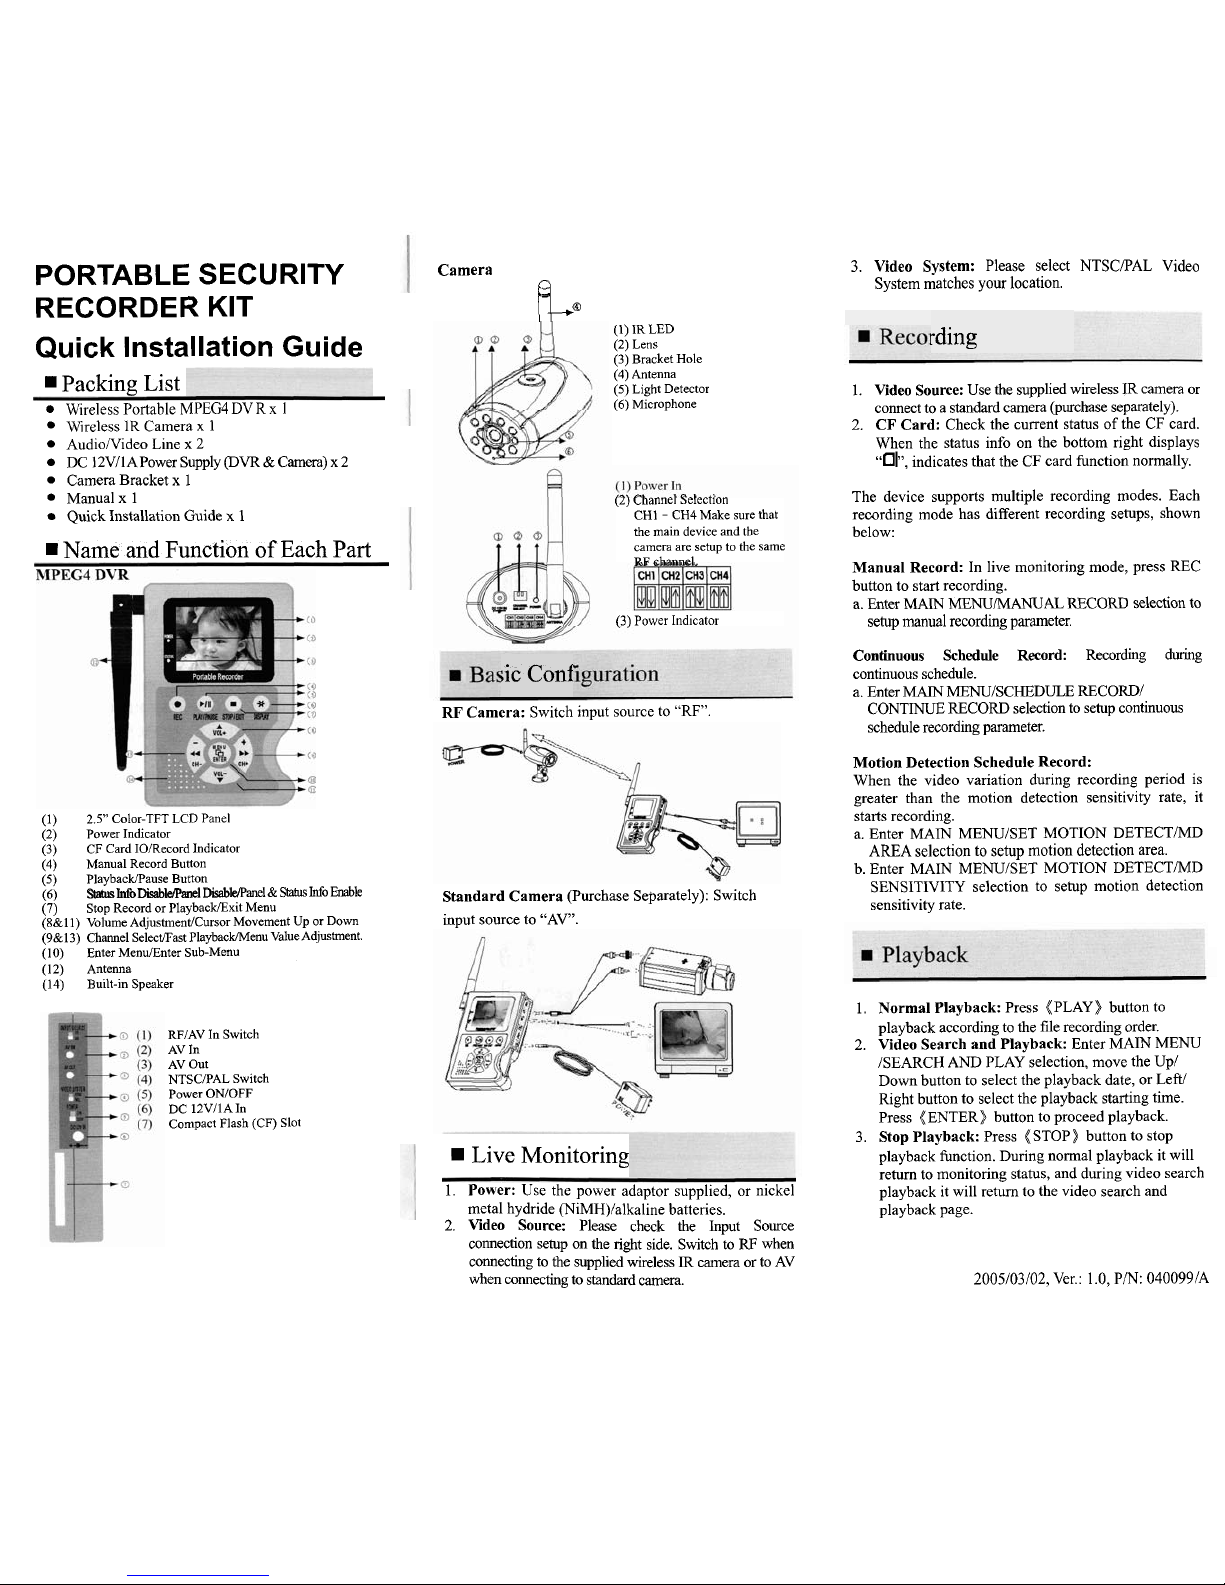
Camera
b@
rding
(1) IR LED
(2)
Lens
(3)
Bracket Hole
(4) Antenna
(5) Light Detector
(6) Microphone
1. Video Source:
Use the supplied wireless IR camera or
connect to a standard camera (purchase separately).
2.
CF Card:
Check the current status of the
CF
card.
When the status info on the bottom right displays
"01",
indicates that the CF card function normally.
.I
Packing
List
W~reless Portable
MPEG4
DV R x 1
W~reless
lR
Camera
x
1
AudioNideo Line x 2
DC 12VIlAPower Supply @VR & Camera) x 2
Camera Bracket
x
1
Manual
x
1
Quick Installation Guide
x
1
(2) Channel Selection
CHI - CH4 Make sure that
the main device and the
camera are setup to the same
RF
channel.
(3) Power Indicator
The device supports multiple recording modes. Each
recording mode has different recording setups, shown
below:
.I
Name
and
Function
of
Each
Part
Manual Record:
In live monitoring mode, press REC
button to start recording.
a. Enter
MAIN
MENUMANUAL RECORD selection to
setup manual recording parameter.
Continuous Schedule Record:
Recording during
continuous schedule.
a. Enter
MAIN
MENUJSCHEDULE RECORD/
CONTINUE RECORD selection to setup continuous
schedule recording parameter.
;ic
Conf
RF
Camera:
Switch input source to "RF".
Motion Detection Schedule Record:
When the video variation during recording period is
greater than the motion detection sensitivity rate, it
starts recording.
a. Enter
MAM MENUISET MOTION DETECTMD
AREA selection to setup motion detection area.
b. Enter MAlN MENUISET MOTION DETECTMD
SENSITIVITY selection to setup motion detection
sensitivity rate.
(1)
2.5" Color-TFT LCD Panel
(2) Power Indicator
(3) CF Card
IOlRecord Indicator
(4) Manual Record Button
(5)
PlayhackPause Button
(6)
Status
Info DkahlePanel DkahIeiPanel&
Status
Info
Enable
(7)
Stop Record or PlaybackExit Menu
(88~11) Volume Adjustment/Cursor Movement Up or Down
(9&
13) Channel SelectRast PlaybackMenu Value Adjustment.
(10) Enter
MenuiEnter Sub-Menu
(12) Antenna
(14) Built-in Speaker
Standard Camera
(Purchase Separately): Switch
input source to
"AV".
1. Normal Playback:
Press (PLAY) button to
playback according to the file recording order.
2.
Video Search and Playback:
Enter MAIN MENU
/SEARCH AND PLAY selection, move the
Up/
Down button to select the playback date, or Left/
Right button to select the playback starting time.
Press ((ENTER) button to proceed playback.
3.
Stop Playback:
Press (STOP)) button to stop
playback function. During normal playback it will
return to monitoring status, and during video search
playback it will return to the video search and
playback page.
RFIAV In Switch
AV In
AV Out
NTSCRAL Switch
Power
ONIOFF
DC 12VllAIn
Compact Flash (CF) Slot
Live
Monitoring
1.
Power:
Use the power adaptor supplied, or nickel
metal hydride
(NiMH)/alkaline batteries.
2.
Video Source:
Please check the Input Source
connection setup on the right side. Switch to
RF
when
connecting to the supplied wireless
IR
camera or to AV
when connecting to standard camera.
2005/03/02, Ver.: 1.0, PIN: 040099lA
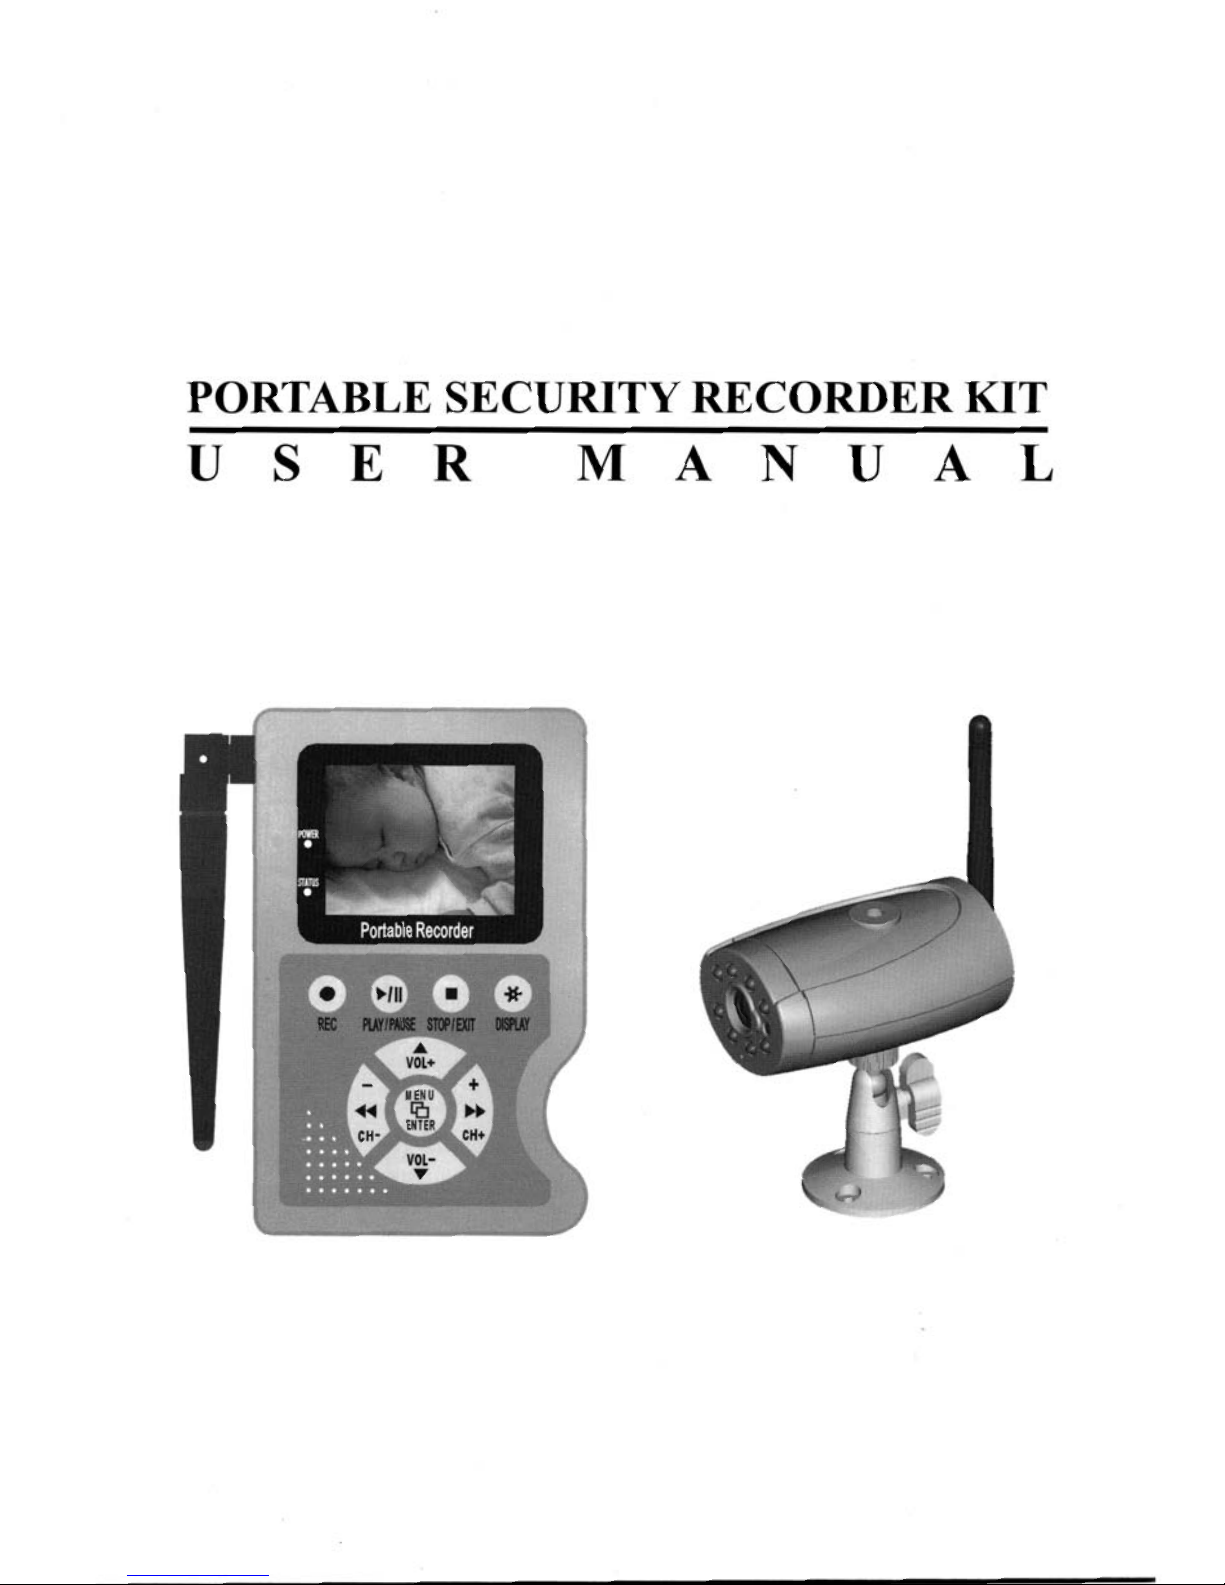
PORTABLE SECURITY RECORDER KIT
USER MANUAL
CONTENTS
1 . SAFETY PRECAUTIONS
........................................................................................................
2
2 . FEATURES
.................................................................................................................................
3
3
.
PACKING LIST
.........................................................................................................................
4
4
.
NAME AND FUNCTION OF EACH PART
...........................................................................
5
4.1 MPEG4 DVR . FRONT VIEW
....................................................................................................
5
4.2 MPEG4 DVR - SIDE VIEW
.....................................................................................................
6
4.3 IR CAMERA
-
FRONT VIEW
.....................................................................................................
7
4.4 IR CAMERA
-
BACK VIEW
......................................................................................................
7
5
.
CONFIGURATION
...................................................................................................................
8
6 .
OPERATION
..............................................................................................................................
9
6.1 POWER ON
...............................................................................................................................
9
6.2 LIVE MODE
.............................................................................................................................
9
6.3
RECORD
MODE
......................................................................................................................
10
6.4 PLAYBACK MODE
..............................................................................................................
11
6.5 PC PLAYBACK
....................................................................................................................
13
6.6 CF CARD
MAINTENANCE
......................................................................................................
13
6.7 HOW
TO
DOWNLOAD
THE
UPDATE SOFTWARE
.......................................................................
13
7
.
MENU SETUP
..........................................................................................................................
14
7.1 MAIN MENU
..........................................................................................................................
14
7.2 DATEITIME
............................................................................................................................
14
7.3 MOTION DETECTION
.............................................................................................................
15
7.4 RECORD SETUP
......................................................................................................................
16
7.5
CF
CARD FUNCTION
..............................................................................................................
17
7.6 SYSTEM STATUS DISPLAY
....................................................................................................
17
7.7 POWER ON SETUP
..................................................................................................................
18
7.8
RETURN
TO
FACTORY DEFAULT VALUE
..................................................................................
18
8 . SPECIFICATION
....................................................................................................................
19
8.1 WIRELESS MPEG4 DVR
.......................................................................................................
19
8.2 WIRELESS IR CAMERA
..........................................................................................................
20
9 . TROUBLESHOOTING
..........................................................................................................
21
The
author assumes no responsibility for any errors or omissions that may appear in this
document nor does it make a commitment to update the information herein
.
2005107/12.
Ver
.
.
1 .O. PIN: 04009911
1

$A-
Rl$k
oF
Do
bLt(
NOT
TRlc
OPEN1
siioc
h
CAUTION
:
A
TO REDUCE THE RISK OF ELECTRICAL SHOCK,
NOT OPEN
(
1SER SERVIC
!FER SERVIC
SERVICE
-OVERS (OR
EABLE PART
ING TO QUA
PERSONNEL
BACK)
S INSIDE.
LIFIED
iude
throug
my
possible
*..,
,.
,
,
It
is
advised
to
read
the
Safety Precaution
C
h
carefully before operating the product,
to
prevent
i
danger.
WARNING:
The lightning flash with an arrowhead symbol within an equilateral
triangle is intended to alert the user to the presence of un-insulated "dangerous
voltage".
CAUTION:
The exclamation point within an equilateral triangle is intended to alert the
user to presence of important operating and maintenance.
Do not Plug and unplug the power cord, it may result product malfunction.
Do not install the product in an environment where the humidity is high.
Unless the product is waterproof or weatherproof, otherwise poor image quality may
occur.
Do not drop the product or subject them to physical shocks.
Except for vandal-proof or shockproof product, otherwise malfunctions may occur.
Never keep the product to direct strong light.
It can damage the product.
Do not spill liquid of any kind on the product.
If it gets wet, wipe it dry immediately. Alcohol or beverage can contain minerals that
corrode the electronic components.
Do not install the product in extreme temperature conditions.
Use the camera under conditions where temperatures are between 0°C(32" F) -45"C(113" F).
Be especially careful to provide ventilation when operating under high temperatures.
Do not replace or remove the antenna at will.
It can damage the product.
The kit includes one MPEG4 DVR and one camera both build in 2.4 GHz wireless
modules. The effective wireless transmission range of
audiolvideo signal up to 50 M
in open area.
The camera builds in IR LED whose effective lighting distance is around 5 M. The
i
video image is distinguishable even at dark place.
The portable DVR builds in
2.5" Color TFT-LCD panel, speaker, and 4xAA battery
power supply. There is no limitation for the place you can see the video and hear the
voice wireless transmitted
from the camera.
The DVR supports NTSC or PAL video system, and auto detects video loss. AV line
in or 4 channels
RF
input source is selectable.
The DVR builds in MPEG4-SP video and G.726 audio codec.
It supports 1 channel
video and 1 channel audio record and playback operation. For 128 MB CF card, the
record time is about 40 minutes at Middle Quality for NTSC: 30
fps @ 352 x 240 and
PAL: 25 fps
@
352 x 280.
Audio1 Video data are recorded directly on the Compact Flash card with FAT16 file
system and ASF file format. You can backup the data to a PC, and playback those
ASF files with popular media players.
Recording date and time are video overlay with video images
in
ASF files.
The DVR supports: manual, motion detection, and schedule recording mode with
independent video size, quality, and frame rate set up.
For motion detection, multiple detection blocks and appropriate motion trigger level
can be set up.
Check to make sure all of the items shown below are included in your Portable Security
Recorder Kit. If something is missing, contact your dealer as soon as possible.
i
4.1
MPEG4
DVR
-
Front
View
Wireless Portable MPEG4
Wireless IR Camera
Audio Nideo Cable
Power Adapter 12VI 1A
@VR & Camera)
Camera Bracket
User Manual
Quick Installation Guide
(1) LCD
:
2.5"
COLOR TFT-LCD
(2)
POWERLED
:
Lights when POWER ON.
(3)
STATUS LED
:
Lights when recording, flashes when
storage or otherwise unlit.
(4)
REC BUTTON
:
Press to start manual recording.
(5)
PLAY/ PAUSE
b
/
II
BUTTON : Press to pause or restart playback.
(6)
DISPLAY *BUTTON
:
Press to switch ON/ OFF status info or
LCD monitor.
(7)
STOP/ EXIT BUTTON
:
Press to stop playback or manual recording
Press to exit the menu.
(88~11) AVOL
+
/
VVOL - BUTTON : Press to adjust the volume level.
Press
to
move the cursor
up
or down
(98~13) NCH- / HCH+ BUTTON
:
Press to switch camera channels
Press to fast forward or fast rewind.
1
Press to step play.
(10)
Q
MENU/ ENTER BUTTON : Press to enter menu setup.
(12) ANTENNA
I
(14) BUILD-IN SPEAKER.
 Loading...