

Page 1
CD25IP
DC 12V/48V
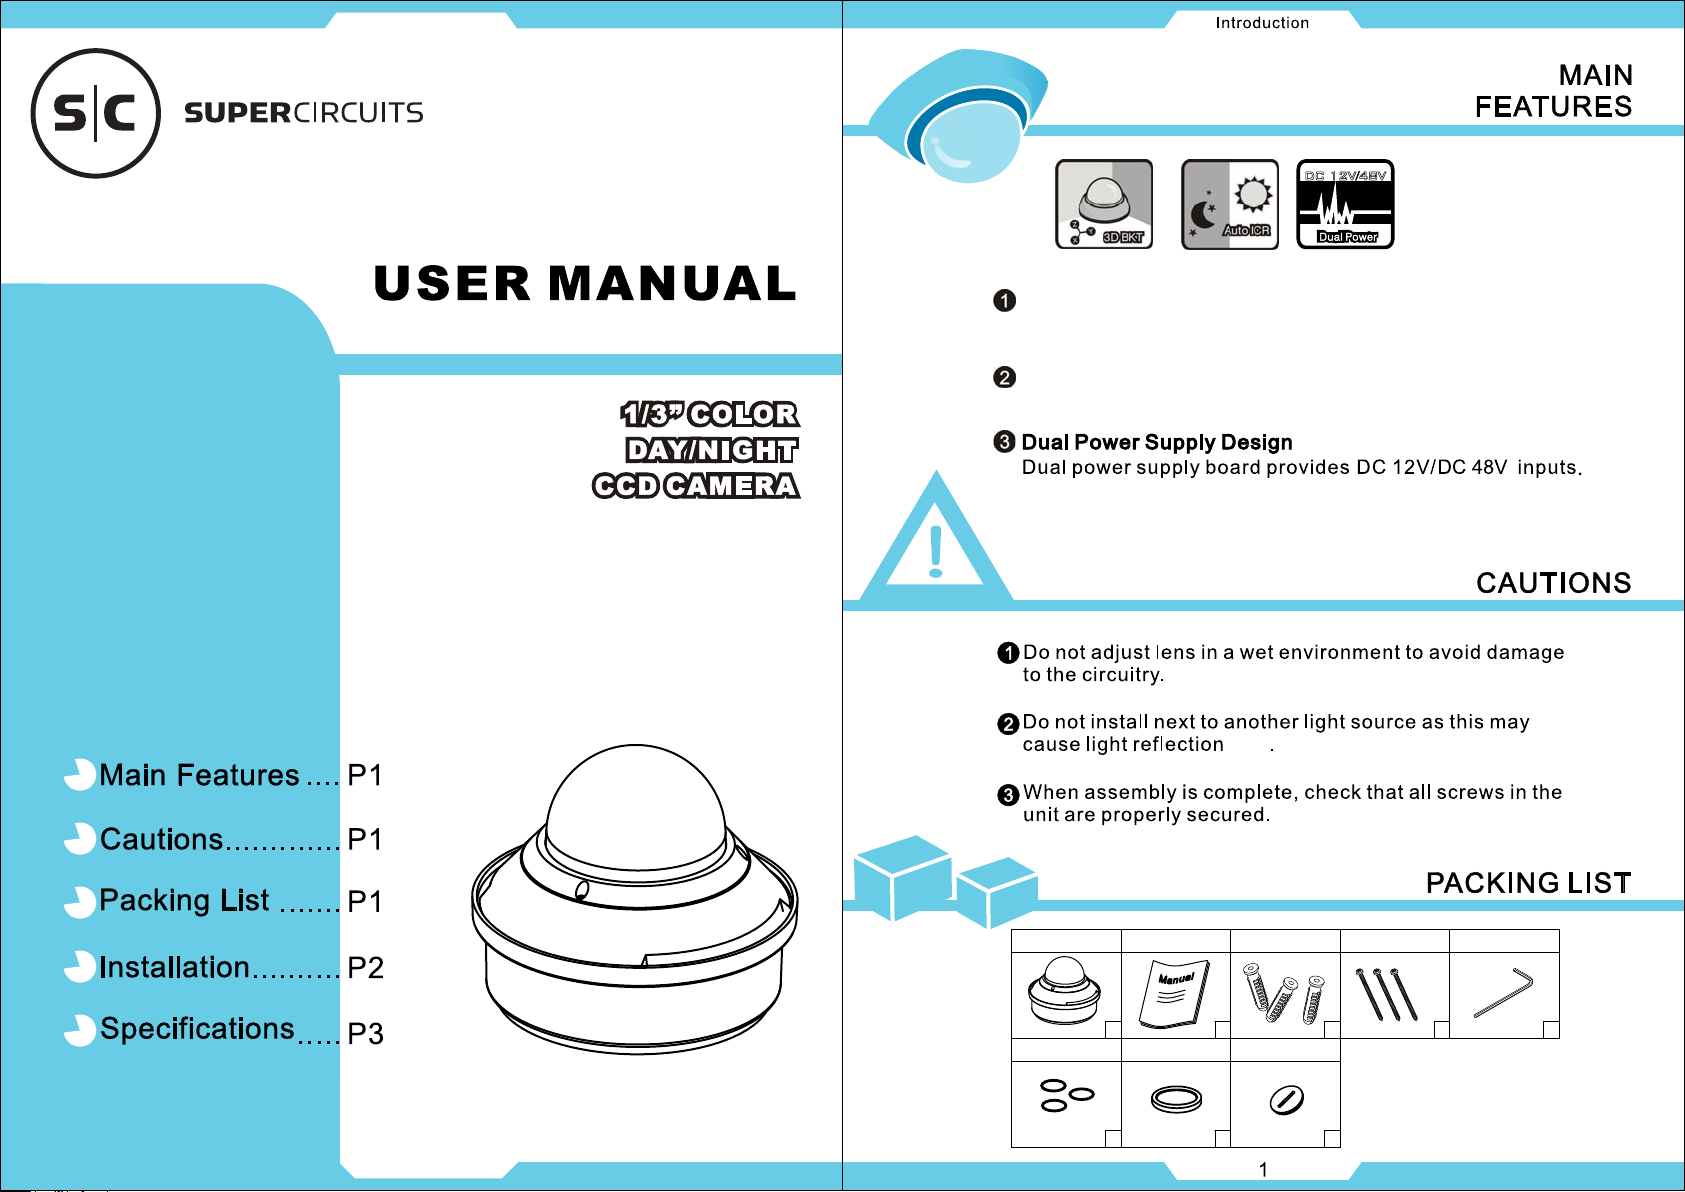
3-Axis Bracket
Support can rotate separately in the XYZ axes Vandal-proof design.
Auto ICR
For lowlight conditions automatically switches IR Cut Filter on/off.
Camera unit User manual Wrenches
O-ring X3
1 2 3 4 5
Sponge rubber
6 7
Wall anchors plastic
sheath X3
Plugs
Wall anchors X3
8
Page 2
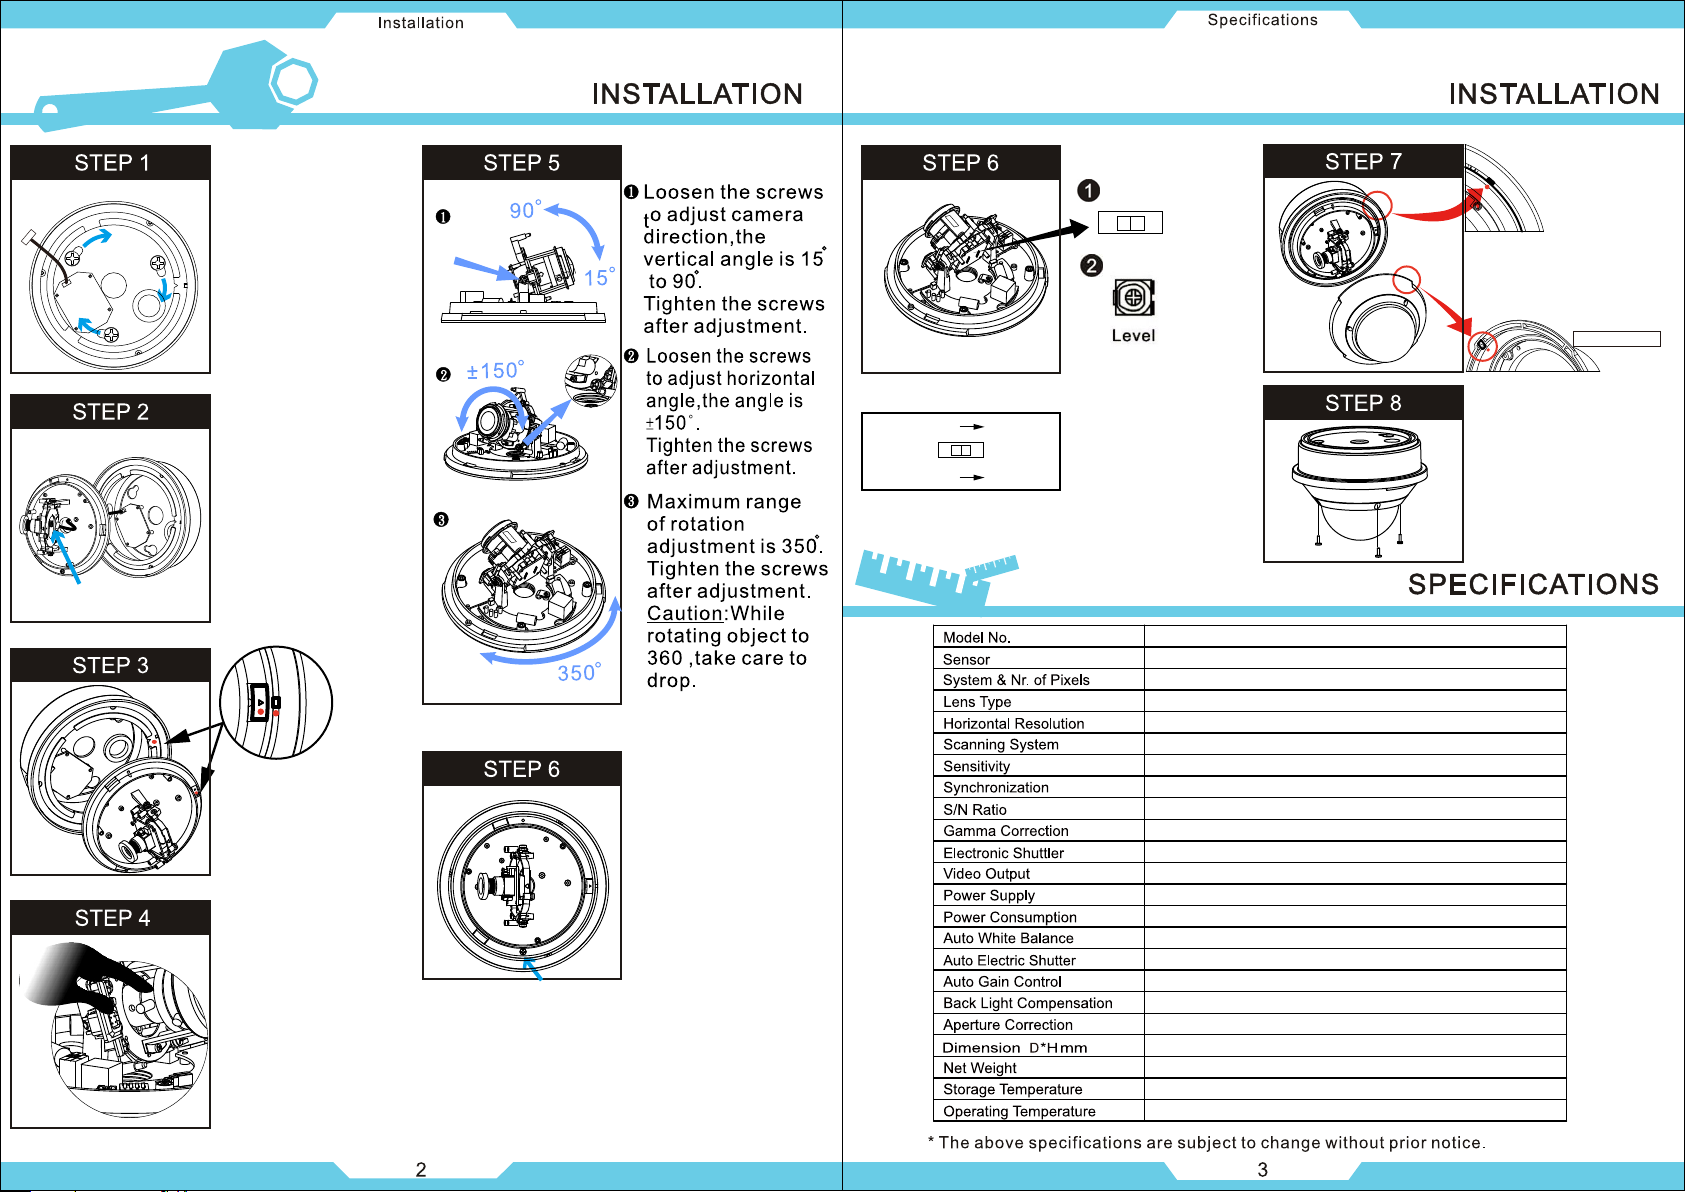
Position the Junction
box to the right place
and screw half into
3 big hole.
Revolve the Junction
box to the smaller
side and screw in
tightly.
Connect the cable to
the camera power
connector.
Find the 2 red dots,
one in ;
another one on the
Junction box.
Position the camera
box into the fillister.
Adust the zoom and
focus.
Turn the camera base
to the diretion you want
to project and fix the
plate by nickel screw.
1
ON
PS.The explanation of the switch on the board
Outdoor use AES ON
1
ON
Indoor use AES OFF
CD25IP
1/3” SONY CCD Sensor
NTSC: 768(H)*494(V) / PAL: 752(H)*582(V)
3.5~9.5mm V.F. lens MOR
540 TV lines
2:1 interlace
0.1 Lux/ F1.2
Internal
More than 48dB
0.45
Auto and up 1/100,000
1 Vp-p output, 75 Ohm Composite
DC 12V / DC 48V
230mA ±10% under DC 12V
MCT-AWB Technology (Multi-color Temp.)
ON(Outdoor) / OFF(Indoor)
Full Auto
Full Auto
2H Mode of H.V aperture correction
165mm* 120mm
910g
-30° ~ +60° C
-10° ~ +45° C
Find the indentation
inside the dome cover
and position the red
bulge in camera base.
Internal View
Screw tightly to
complete the
installation.
 Loading...