

Page 1
Important: Read all instructions prior to installation.
LED-Ready Landscape Lights
Troubleshooting
Problem Possible Cause Probable Solution
Fixture does not light 1. There is no power to 12 V power
Light ickers
(one xture)
supply.
2. Wire connection loose.
3. Primary landscape wire is not
connected to 12 V power supply or
wire has a disconnection.
4. Minimum load requirement not
met.
1. There is a loose connection to
primary landscape wire.
1. Check the outlet to 12 V power supply and ensure that a breaker
or GFCI circuit has not been tripped.
2. Check wiring to ensure it is securely connected.
3. Check primary landscape wire connection to 12 V power supply.
Next, follow wires from xture to 12 V power supply to ensure
continuous run and/or follow wires between problematic xture
and nearest working xture.
4. Consult power supply specications/manual and make certain
minimum load requirement is met.
1. Check wire connections.
User Manual
Part Number:
LSxF-BZ
LED-Ready Landscape Lights
LSxF-BZ
Installation Manual
Light ickers
(multiple xtures)
Light is dim 1. Maximum load of 12 V power
* For superbrightleds.com technical help call 866-590-3533 or use our online chat service.
1. There is a loose connection to
12 V power supply.
2. Minimum load requirement not
met.
supply has been exceeded.
2. Recommended run length of
the landscape wire has been
exceeded.
1. Disconnect power to power supply. Check primary landscape
wire for loose connections or possible short.
2. Consult power supply specications/manual and make certain
minimum load requirement is met.
1. Check for other lights or load on same system and/or increase
12 V power supply wattage.
2. Increase primary landscape wire guage size.
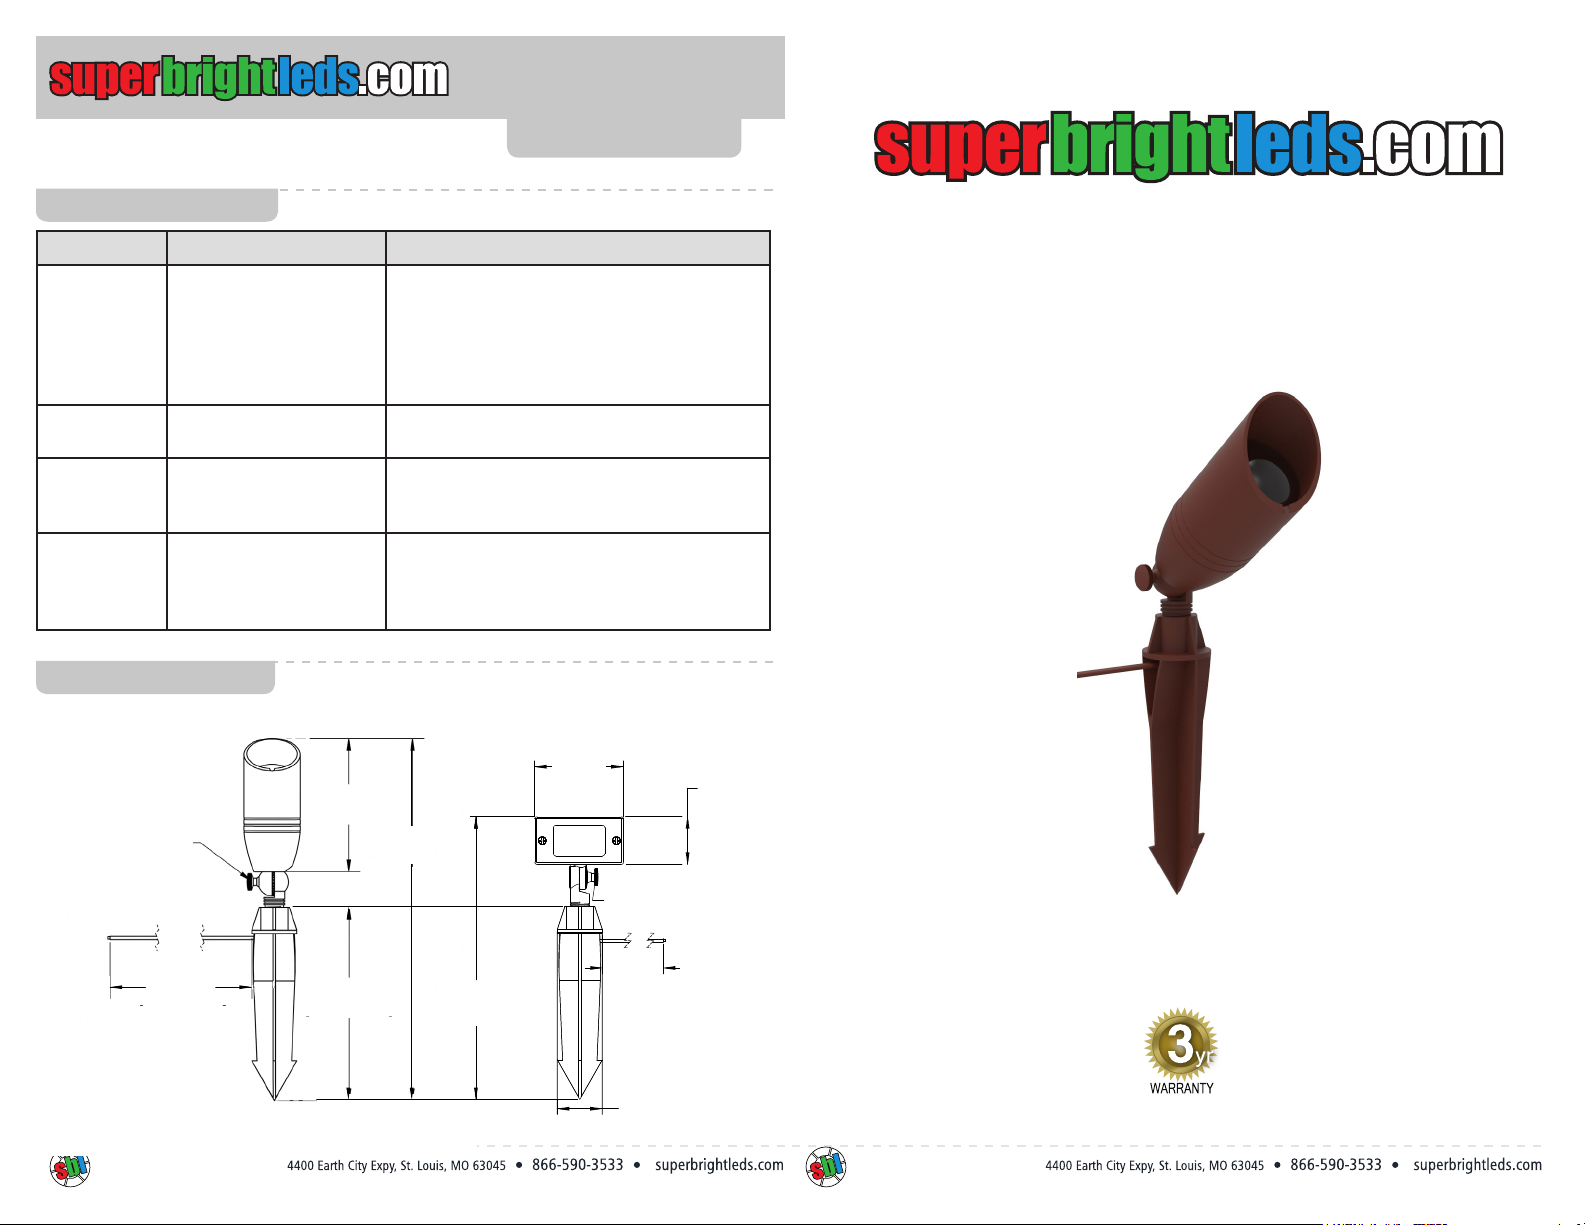
Dimensional Drawings
LSBF-BZ LSFF-BZ
5.87 in.
(149 mm)
8.5 in.
15.9 4 i n.
(40 5 mm)
12.46 in.
(316 mm)
Adjustment Knob
33.01 in.
(838 mm)
(216 mm)
3.91 in.
(99 mm)
2.1 i n .
(53 mm)
Adjustment Knob
LSBF-BZ
33.01 in.
(838 mm)
1.98 in.
(50 mm)
Rev Date: V0.1 07/23/2018Rev Date: V0.1 07/23/2018
Page 2
User Manual
Part Number:
Important: Read all instructions prior to installation.
LSxF-BZ
LED-Ready Landscape Lights
Safety and Notes
• For use with OUTDOOR, low-voltage landscape lighting systems ONLY.
• Do not submerge in water—NOT FOR USE with submersible or pool/spa equipment.
• This light xture is only suitable for a 12–15 Volt AC or DC power supply. Do not exceed 80% of power supply max output.
• Use appropriate landscape wire (SBL product numbers WP14-2DB or WP12-2DB)
• Spikes are very sharp, handle with care.
• The images shown are for illustration purposes and may not directly represent all models.
Parts Included Recommended Accessories
Installation Instructions
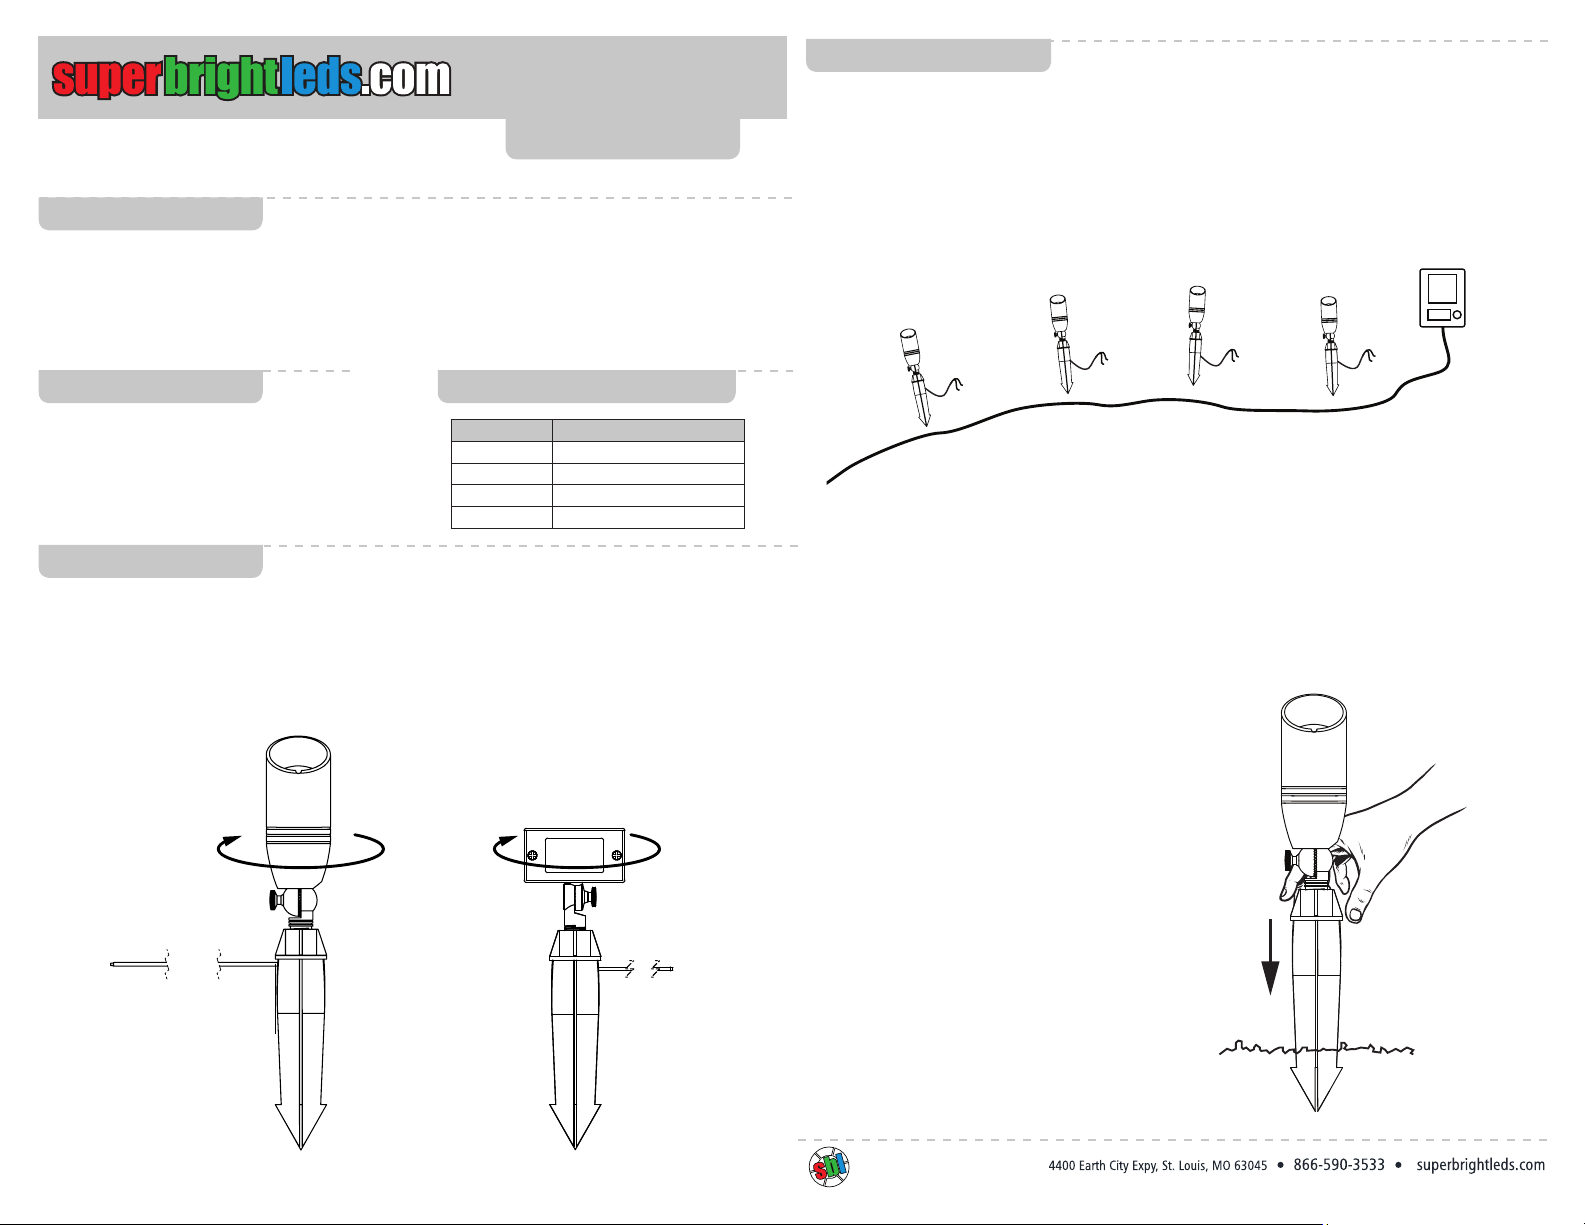
1. After assembly, lay xtures out as they will be installed.
2. Run landscape wire (WP14-2DB or WP12-2DB available at
superbrightleds.com) from 12 V supply past each light. Wire must be
within 30” of mounting stake to allow power connections to be made.
Power
Supply
1- Low Voltage Path Fixture (bulb not included)
1 - Mounting Stake
Note: Bulbs must be purchased separately.
LSBF lights require an MR16 bulb. LSFF lights
require a G4 bulb.
SBL Part No. Description
WWN-2212 Silicone Filled Wire nut
SFT-20 Self Fusing Silicone Tape
WP14-2DB 14 Guage Landscape Wire
WP12-2DB 12 Guage Landscape Wire
Assembly
1. Install bulb (purchased separately).
LSBF - Turn the top of the housing counterclockwise to release and gently pull
apart. Install MR16 bulb and reinstall top housing.
LSFF - Unscrew 2 lens retaining screws. Install G4 bulb and replace lens.
2. Run cable through stake and thread xture into it.
LSBF-BZ
LSFF-BZ
3. Properly connect each light to landscape wire. Wrap all connections
in self-fusing tape (available at superbrightleds.com).
4. Using a trowel (and water as needed), loosen ground where xture will be
installed. Gripping the stake ONLY, press stake into ground.
Caution: Do not use a hammer or exert force on xture itself during
installation as doing so may cause damage.
LSBF-BZ
5. Turn on 12 V supply and ensure all xtures are
working. If there are any issues, refer to the
troubleshooting guide in this manual.
6. Dig a small channel—depth of 3” is
recommended—and bury landscape wiring and
connections. Stone and mulch are also
suitable coverings.
Rev Date: V0.1 07/23/2018
 Loading...