

Page 1
Installation Instructions
for Burner Igniter Kit SDE362
Replaces:
Whirlpool 279311 Robertshaw 41-311 Maytag LA1021
To replace round igniter, follow steps below and refer to Figure 1.
1. Unplug dryer or disconnect power.
2. Remove lower front toe panel or full front panel, depending on your model.
3. Shut off gas supply.
4. Remove the brass nut (union) located between the burner and shut off valve.
5. Remove the two (2) screws holding the burner base to the cabinet base.
6. Keep these two (2) screws, as they will be reused.
7. Remove the WHITE (FS2) wire and the BLUE (FS1) wire from the sensor.
8. Pull apart the connectors with the BLUE and BLACK wires coming from the gas
valve to the cabinet wiring harness.
9. Remove burner assembly from the dryer.
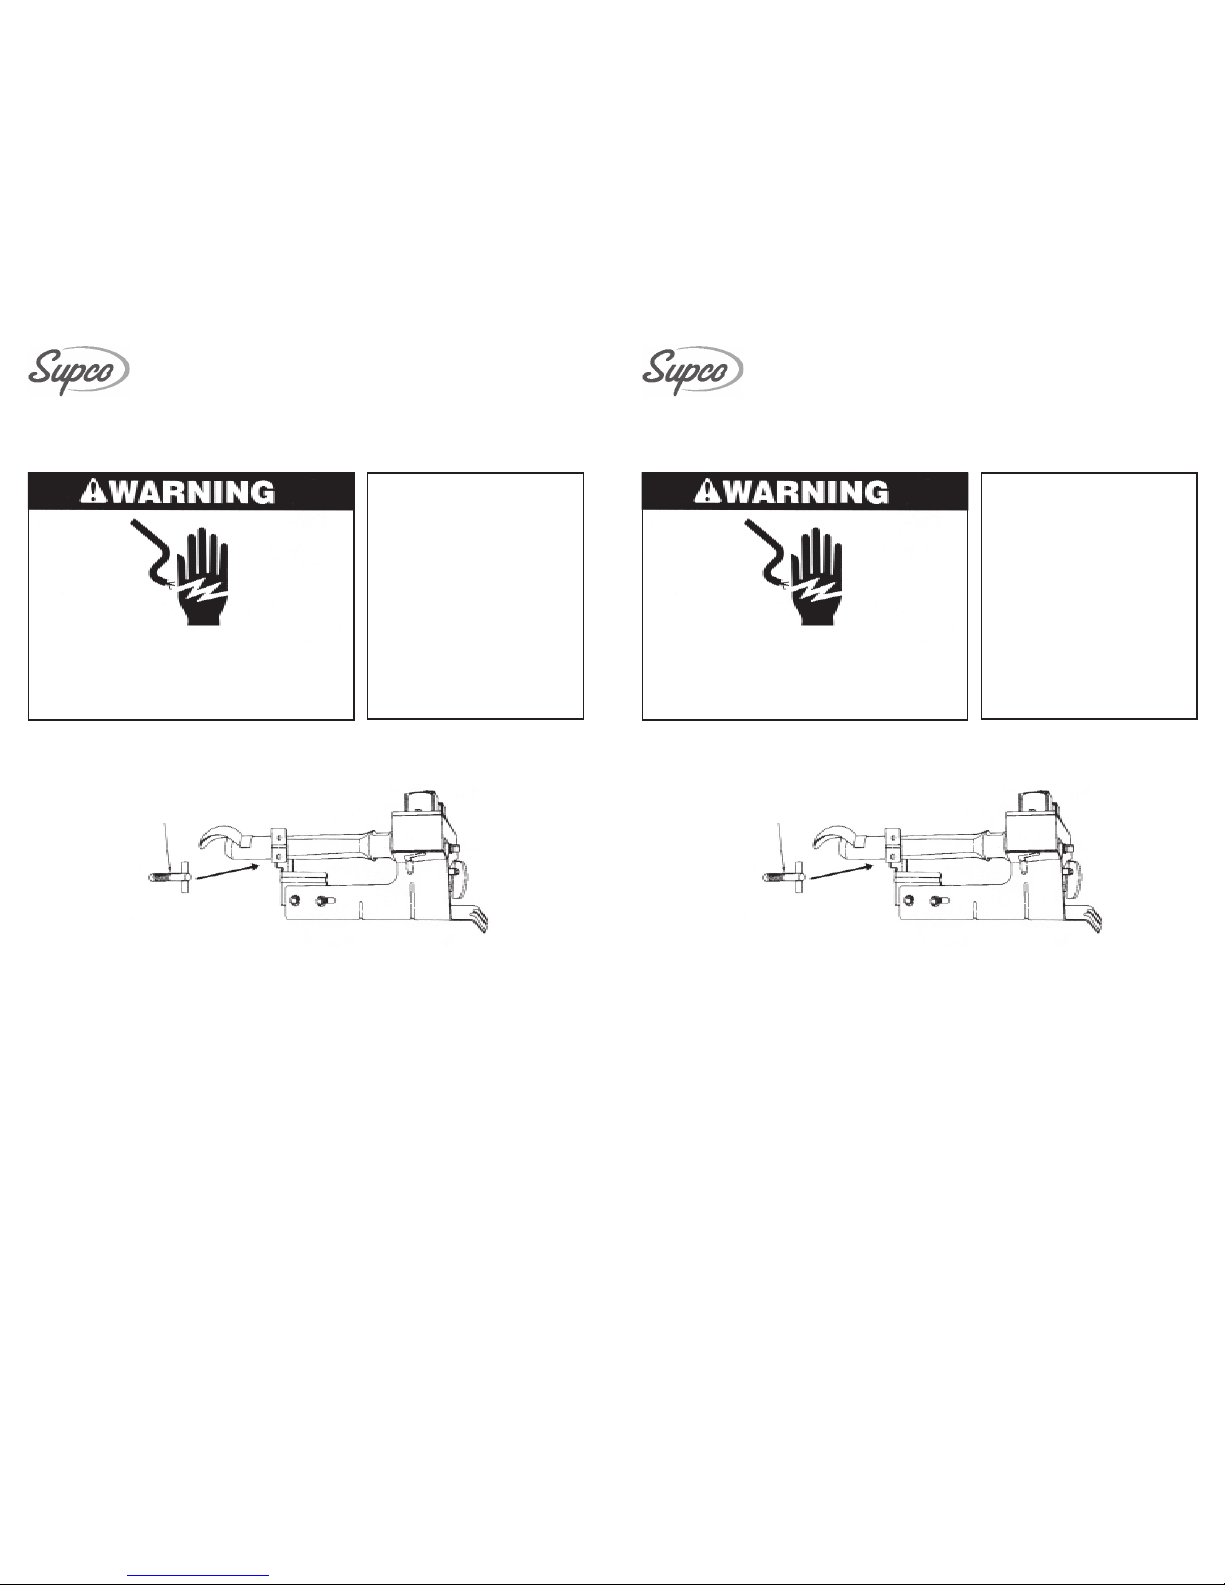
Electrical Shock Hazard
Disconnect power before servicing.
Replace all panels before operating.
Failure to do so can result in death or electrical shock.
This new igniter may be
different from your
original igniter.
Note: Igniter is fragile, Do not remove igniter from this foam
protector by the wires. Hold by the porcelain block and lift up.
Installation Instructions
for Burner Igniter Kit SDE362
Replaces:
Whirlpool 279311 Robertshaw 41-311 Maytag LA1021
To replace round igniter, follow steps below and refer to Figure 1.
1. Unplug dryer or disconnect power.
2. Remove lower front toe panel or full front panel, depending on your model.
3. Shut off gas supply.
4. Remove the brass nut (union) located between the burner and shut off valve.
5. Remove the two (2) screws holding the burner base to the cabinet base.
6. Keep these two (2) screws, as they will be reused.
7. Remove the WHITE (FS2) wire and the BLUE (FS1) wire from the sensor.
8. Pull apart the connectors with the BLUE and BLACK wires coming from the gas
valve to the cabinet wiring harness.
9. Remove burner assembly from the dryer.
Electrical Shock Hazard
Disconnect power before servicing.
Replace all panels before operating.
Failure to do so can result in death or electrical shock.
This new igniter may be
different from your
original igniter.
Note: Igniter is fragile, Do not remove igniter from this foam
protector by the wires. Hold by the porcelain block and lift up.
Handle replacement ignitor with care - fragileHandle replacement ignitor with care - fragile
Round ignitorRound ignitor
Page 2

10. Cut off BLACK and RED wirese two (2) inches back from bracket.
11. Remove and throw away failed igniter and bracket.
12. Keep the #10-16 x 1/2 screw, as this will be reused (bracket to burner).
13. Take off the insulation from the BLACK and RED wires 3/8 inch from cut end.
14. Mount the replacement igniter to the new bracket, using the #8-32 x 5/8 screw/
washer packed in kit.
15. Mount the replacement igniter and bracket assembly to the burner tube, reusing
the #10-16 x 1/2 screw, mentioned in step 12.
16. Cut off flush at the connector on the replacement igniter and take off the
insulation 3/8 inch from end.
17. Using one (1) of the wire connectors supplied, put the RED wire from the gas
valve and one (1) of the WHITE wires from the replacement igniter together.
18. Using the remaining wire connector supplied, put the BLACK wire from the gas
valve and the remaining WHITE wire from the replacement igniter together.
19. Reassemble in reverse order, starting with steps 9, 8, 7, 6, 5, 4, 3, 2, and 1.
20. NOTE: Check for gas leaks by using soap on the threads of the brass nut. Do not
use a match or flame of any kind.
NOTE: Keep all wires away from the burner flame or igniter when reassembling
the burner to the cabinet base.
21. Plug in dryer or reconnect power.
SEALED UNIT PARTS CO., INC.
P.O. Box 21, Allenwood, N.J. 08720
www.supco.com info@supco.com
Replacement
ignitor & bracket
(Steps 14 & 15)
Cut off here
& strip back
(Step 16)
Wire connectors
(Steps 17 & 18)
To cabinet
wiring harness
(Step 8)
Remove & throw
away old ignitor
& bracket
(Step 11)
Gas valve knob
(Step 3)
Brass nut
(Step 4)
Screws
(Steps 5 & 6)
Cut off here
and strip back
(Steps 10 & 13)
Screw
(Steps 12 & 15)
To sensor
(Step 7)
Blue
Black
Blue
Black
Red
White
Figure 1
 Loading...