

Page 1
99 Washington Street
Melrose, MA 02176
Phone 781-665-1400
Toll Free 1-800-517-8431
Visit us at www.TestEquipmentDepot.com
EM10
TEMPERATURE / HUMIDITY
/DEW POINT METER
User
Manual
- 1 -
Page 2

■ Introduction
Thank you for purchasing the
temperature/humidity/dew point meter from SUPCO.
Please take a few minutes to browse through this user
manual before you begin to operate the meter to
ensure that you are fully familiarized with how best to
operate the meter as accurately and safely as
poss ble.
The meter is a temperature and humidity measuring
instrument. It is normally used to measure the humidity
and temperature in offices, storerooms, buildings and
greenhouses.
1.1 Precautions safety measures
To get the best performance from this meter, please
read this user manual carefully and observe the
detailed safety precautions strictly.
1.1.1 During use
1. Do not touch the humidity sensor.
2. Don not expose the sensor to direct light, this
causes a false reading.
- 2 -
Page 3

3. Never store the product together with solvents,
acids or other aggressive substances.
1.1.2 Maintaining the product
Do not measure in a high ambient temperature
location.
When not using the instrument for a long time,
please remove the battery and avoid locations with
high temperature and high humidity.
■ Features
1. Display: 4 digit LCD Display
2. Parameters: ℉,℃, %RH (relative humidity),
Td (dew point temperature)
3. Resolution: 0.1℉, 0.1℃, 0.1%RH
4. Range: 14℉ to 122℉ (-10℃ to +50℃)
0 to 100%RH
5. Accuracy: ±1.8℉, ±1.0℃, ±3%RH(5 to 95%RH)
6. Sample rate: 1 time /sec
- 3 -
Page 4

7. Auto power off: about 20 minutes
8. Operating Temperature:
14℉ to 122℉ (-10℃ to +50℃)
9. Storage Temperature:
-4℉ to +140℉ (-20℃ to +60℃)
10. Dimensions:
4.76”(L) x 2.36”(W) x 1.18”(H)
121mm(L) x 60mm(W )x 30mm(H)
11. Weight:
6.35 oz. (app.) 180g (app.)
12. Accessories: DC1.5V (AAA) x 3, lanyard, manual
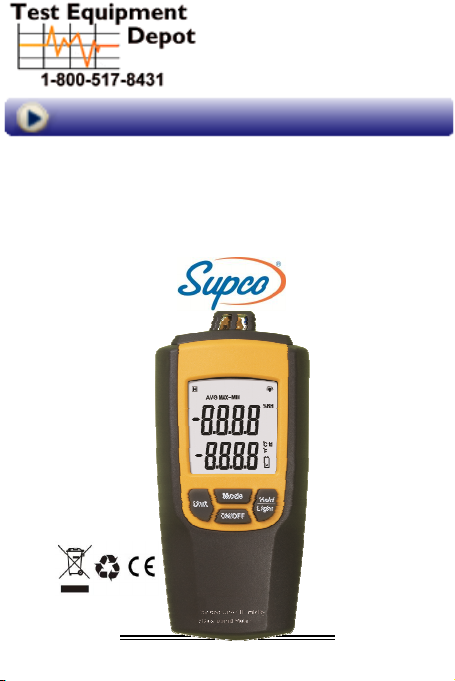
■ Instrument Description
1. Sensor cover
2. Sensor
3. LCD display
4. Function key
- 4 -
M e
emperature Humidity
/Dew point Meter
Page 5

99 Washington Street
Melrose, MA 02176
Phone 781-665-1400
Toll Free 1-800-517-8431
Visit us at www.TestEquipmentDepot.com
LCD Display
Symbol Designations:
1. Indicates Data Hold
2. Back light ON
3. Measurement
4. Measurement
5. Maximum / Minimize
6. Humidity units
7. Temperature units
8. Low Battery Indicator
- 5 -
Page 6

■ Operating Instructions
*NOTE: In order to ensure the accuracy of the
measurement readings, all the interference sources
which may affect the measurement results about
temperature and humidity (such as the hand) must be
kept away from the sensor.
1. Press the ON/OFF key to turn the power on. The
LCD will display the current value of temperature and
humidity. The default humidity / temperature unit is %
RH / ℃.
2. Press Unit to change the humidity / temperature
units. The adjustable parameters are %RH (Relative
Humidity), td(Dew-point Temperature), ℃, ℉; press
The Mode and keys to change MAX/MIN and HOLD
mode.
3. Switching the back light on
When the meter is on, press key for more than
HOLD
Light
HOLD
Light
2 seconds; the back light will be turned on, and the
icon will be displayed on the LCD. Press the key
- 6 -
Page 7

again for more than 2 seconds and the backlight will be
turned off, and the icon will disappear.
■ Function keys
1. ON/OFF key
Press the key to turn the power ON and press the key
again for more than 2 seconds to turn the power OFF.
2. Mode key
Press the key to select MAX/MIN. The LCD will
display the max/min values since the instrument was
last switched on or last reset.
3. Unit key
Press the key to change the parameter units.
Adjustable units: %RH/℃,td/℃,%RH/℉,td/℉.
HOLD
4. key
Light
When pressed, a icon is displayed on the LCD and
the readout is held. Press the key once more to cancel
- 7 -
Page 8

the hold function.
Press the key for more than 2 seconds and the back
light will be turned on, The icon will be displayed
on the LCD. Press the key again for more than 2
seconds, and the backlight will be turned off; the icon
will disappear.
5. Auto power off setting
The meter will power itself off after 20 minutes if there
is no key operation.
To cancel auto power off function: Press the Hold key
when power is on until the LCD displays AP OFF, then
press the Hold key again to confirm the setting.
■ Maintenance
1. CLEANING INSTRUCTIONS
The meter may be wiped down with a wet sponge or
cloth using a mild water based detergent.
NOTE:
This unit is not designed for complete submersion or
washing in water.
- 8 -
Page 9

2. BATTERY REPLACEMENT
Use the following procedure:
When the battery voltage drops below proper
operation range the symbol will appear on the
LCD display and the battery needs to be replaced.
∞ Press the battery cover towards the arrowhead
direction to open the battery cover.
∞ Replace the battery with three new AAA (1.5V)
batteries.
∞ Replace the battery cover.
- 9 -
Page 10

99 Washington Street
Melrose, MA 02176
Phone 781-665-1400
Toll Free 1-800-517-8431
Visit us at www.TestEquipmentDepot.com
- 10 -
Page 11

- 11 -
 Loading...