

Supakwik Water Heaters Pty Ltd
Installed By:
Company:
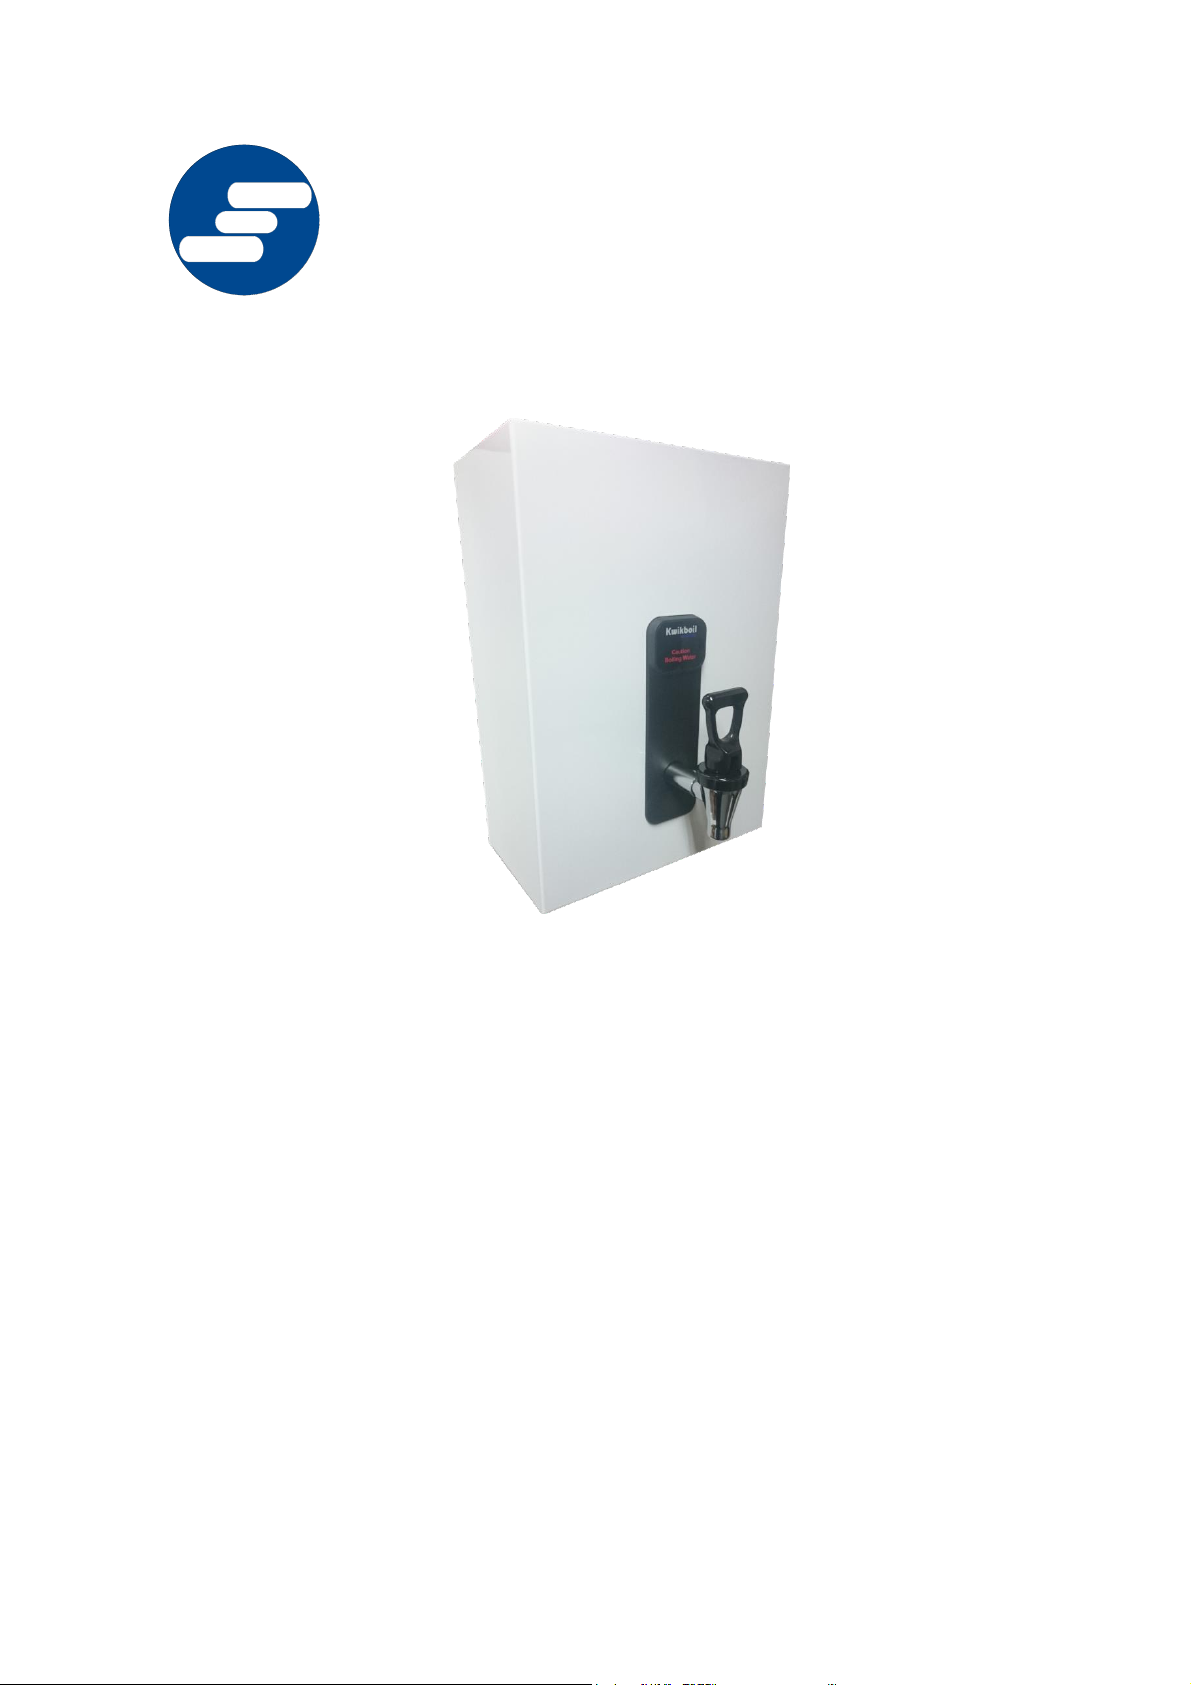
“M & S” Series Boiling Water
Dispensers
Date:

Contents
Page
Introduction 3
Installation Requirements 3
Warnings 3
Safety, Operation, Care & Cleaning 4
Warranty, Terms & Conditions 5
Installation Instructions 7
Contents of Carton
Boiling Water Dispenser
Tap
Owner’s manual / Installation instructions
Filter (Optional)
Tun dish (Optional)
DD11280B036
2

Introduction
Thank you and congratulations on purchasing the Supakwik Boiling Water Dispenser, one of the most
advanced Boiling Water Dispensers on the market today.
This booklet contains useful information on the operation and care of your Boiling Water Dispenser as
well as important safety tips. Please take a few moments to read this booklet so you can enjoy many
years of trouble free instant boiling water.
At Supakwik we are proud of our high standard of quality and Customer service. If you have any
feedback or require further information on our products or service please contact us using the details
on the back page of the manual.
Installation and Service
This appliance is intended to be used in household and similar applications such as:
Staff kitchen areas in shops, offices and other working environments.
Farm houses.
By clients in hotels, motels and other residential type environments.
Bed and breakfast type environments.
This unit must be installed by a qualified person in accordance with AS3498 AS/NZS603350.2.15,
AS/NZ3500.4 and all other local plumbing, electrical, and building Regulations.
This Heater must be permanently connected to a mains potable water supply, and not by a hoseset.
The Boiling Water Dispenser must be installed as per the Manufacturers Installation Instructions
supplied.
Warranty repairs can only be performed by approved Service Agents - contact the manufacturer
for your nearest Service Agent (ref. details on back).
The Boiling Water Dispenser is not designed to operate outdoors.
If a filter is installed a pressure limiting valve must be installed to protect the filter.
WARNING
This appliance should only be operated in line with the manufacturer’s instructions by persons
that are capable and have the required operational knowledge.
The appliance should be handled with caution at all times to avoid any damage that may cause
improper operation.
If the supply cord is damaged it must be replaced by Supakwik Water Heaters Pty. Ltd, a service
agent or a suitably qualified tradesperson.
DD11280B036
3

Safety, Operation, Care & Cleaning
Safety
Appliances can be used by persons with reduced physical, sensory or lack of experience and
knowledge if they have been given supervision or instruction concerning use of the appliance
in a safe way and understanding the hazards involved.
Children shall not play with this appliance.
The installation of a residual current device (safety switch), is recommended to provide full
safety protection for this electrical appliance.
Avoid touching the body of the tap as it can reach the temperature of boiling water.
When pouring water into a vessel ensure that it is not too far from the tap as splashing may
occur. Do not, however lose sight of the water level in the vessel being filled.
Avoid placing hands near the end of the vent pipe (this is a precautionary measure as the
vent will not emit steam during normal operation).
Appliances can be used by persons with reduced physical, sensory or lack of experience and
knowledge if they have been given supervision or instruction concerning use of the appliance
in a safe way and understanding the hazards involved.
Operation
To open the tap either push or pull the handle. The tap handle is spring loaded - if it is pulled
towards the user it will close when released. (The supply of boiling water will only run out if
the Boiling Water Dispenser is used beyond its capacity).
The handle can be locked in the open position if it is pushed fully towards the Boiling Water
Dispenser. It must then be pulled forwards to close.
This appliance should be left on at all times. If power is interrupted, the heater will first fill and
complete a heating cycle before boiling water will be available again.
Supaboil (M Series)
If you have purchased the Supaboil, your appliance incorporates patented motion detection power
saving. These features ensure that the maximum energy efficiency is achieved by monitoring your
presence and boiling water usage. The appliance then either reduces the temperature or switches
off completely. The appliance will wake automatically and be on temperature ready for use when
you need it. This will be indicated by the LED illuminating red.
On the odd occasion when you approach the heater at a time you normally would not, it will detect
your presence and will automatically begin heating the water to operating temperature. During this
time, the LED will illuminate blue until such time as the water is on temperature, then it will
change to red.
To turn this feature on or off, while the heater is full and in standby mode, simply hold the button
magnet supplied to the face of the Supaboil nameplate just below the indicator LED. The LED will
flash RED for 3 seconds and change to GREEN to indicate that the power saving feature is
switched ON or WHITE/VIOLET to indicate the power saving feature is switch OFF.
Remove the magnet when the desired colour/power saving mode is displayed.
DD11280B036
4

Filter
A filter is recommended to be installed prior to the oversink series, it must be installed after any
other inline devices such as valves or strainers. This will protect the solenoid valve from becoming
blocked due to sediment in the water lines.
If the installation includes a filter assembly the filter cartridge must be replaced every 6 to 12
months depending on the level of usage and water quality.
Care & Cleaning
When cleaning the outer case of the appliance, do not use abrasive chemicals or cleaning
agents.
The outlet of the tap must be periodically cleaned to prevent dissolved minerals from building
up. Dissolved minerals can build up at the tap outlet and this will cause the tap to drip.
1. Warranty, Terms, and Conditions
1.1 Our goods come with guarantees that cannot be excluded under the Australian Consumer
Law. You are entitled to a replacement or refund for a major failure and compensation for any
other reasonably foreseeable loss or damage. You are also entitled to have the goods
repaired or replaced if the goods fail to be of acceptable quality and the failure does not
amount to a major failure.
1.2 Supakwik Water Heaters Pty. Ltd. guarantees your heater against faulty manufacture or
mechanical defect for the period as stipulated below:
2 Years warranty – The first 12 months parts and labour, the following 12 months parts only.
1.3 Supakwik reserves the right to choose whether to:
a. Repair the product,
b. Replace the product or part with an equivalent, or
c. Refund the cost of the product.
1.4 After a product has been repaired or replaced under warranty, the product will still be under
warranty for the remaining warranty period.
1.5 Filters are not covered under warranty as their lifespan is dictated by the quality and quantity
of the water that passes through it.
1.6 The unit must be installed in accordance with the local water & electrical supply authority
regulations, to be eligible for warranty.
1.7 The unit must be operated and maintained in line with “Care and Cleaning” instructions to be
eligible for warranty.
1.8 The warranty claim must be made within the warranty period to be eligible.
1.9 The warranty period commences from the date of purchase.
1.10 If Supakwik is engaged to replace or repair a product under warranty, and there is no fault
or the fault is found to be ineligible for a warranty claim, the claimant will be liable for all the
costs involved, it will then be their choice whether or not to go ahead with repairs.
1.11 This warranty is not transferable and only applies to the original owner.
1.12 This warranty is only valid within Australia.
2. Warranty Exclusions:
2.1 This warranty does not exclude, limit or modify any warranty condition obligation or liability
which is or may be implied or imposed on the company by virtue of the Australian Consumer
Law, or any other statute, rule, or regulation except for the extent to which the company is
lawfully entitled to exclude limit or modify it.
2.2 Supakwik Water Heaters Pty Ltd is not liable:
DD11280B036
5

a. For the cost of removal, shipping, and or reinstallation of a product or part that needs to
be repaired or returned to Supakwik Water Heaters.
b. For the cost of travelling to and from a location, to repair or replace a product or part.
c. For attempted repair or damage by unauthorised service people.
d. If malfunction or damage is caused to a part or product due to lime Scale, dissolved
mineral build up, or sediment as a result of poor water quality.
e. If the water supply is non potable.
f. If any modifications or third party parts are fitted, this includes filters.
g. If the product is used for which it was not designed or intended.
h. Unless the product has been installed as per the installation instructions supplied with the
product.
i. Unless the product has been installed by a person licenced to do so.
j. If the product or part has been damaged due to:
(i) Misuse or abnormal use.
(ii) Accidental damage.
(iii) Neglect.
(iv) Acts of God, such as cyclones, lightning strikes, flooding etc.
(v) Continued use after the fault has become apparent.
k. If the serial number or rating label, which identifies the product has been removed or
tampered with.
l. For additional costs involved to access products.
m. For general wear and tear.
n. Damage that occurred during transport.
How to make a warranty claim
If you have a product that you feel meets the requirements above and has become faulty please
contact Supakwik via email at services@supakwik.com or phone (07) 3255 6389. Supakwik must
be contacted before any works have commenced on a product, or is returned to us for repair or
replacement under warranty. Failure to comply may result in the warranty void.
Supakwik Water Heaters
3/61 Boyland Avenue,
Coopers Plains, 4108,
Queensland.
DD11280B036
6

INSTALLATION INSTRUCTIONS – S & M SERIES BOILING WATER
DISPENSERS
Installing and commissioning the S & M Series Boiling Water Dispenser
Thank you for choosing the Supakwik Boiling Water Dispenser. The enclosure of this dispenser is not
water proof. If installed outdoors, a suitable enclosure must be provided. This appliance must be
earthed.
THE INSTALLATION OF THIS PRODUCT MUST COMPLY WITH LOCAL AS3498 & AS/NZS3500
TOGETHER WITH ELECTRICAL AND/OR BUILDING REGULATIONS
Step 1 – Removing the jacket front.
The Jacket Front is attached to the Jacket Back by means of two pins at the top of the
dispenser and two screws at the base of the dispenser. Remove the two screws located at
the base of the dispenser. Grip the Jacket Front at the base and lift. Once the Front has
been lifted clear of the base, it can be freed from the locating pins at the top and removed.
Step 2 – Positioning the boiling water dispenser.
The dispenser must not be positioned directly over the bowl of a sink. Any dripping of the tap through
wear and tear or as a result of lime scale build-up, is likely to result in scalding.
The tap outlet height should be low enough that the operator never loses visual contact with the water
level in the container being filled.
A minimum clearance of 20 mm must be left between the top of the dispenser and any fixture to allow
for removal of the Jacket Front for future service needs.
DD11280B036
7

Step 3 – Mounting.
This product must be wall mounted, care should be taken to avoid any possible electrical or plumbing
services which may be located behind the wall panel.
Remove the cover from the Dispenser. The dispenser may be mounted to the wall by means of
suitable screws fitted through the 3 keyhole slots provided in the Jacket back.
Step 4 – Plumbing.
Before connecting the water supply to the inlet, ensure the water supply line is flushed thoroughly. If
the water quality is poor a water filter must be installed prior to the boiling water unit to prevent
sediment from damaging or blocking the solenoid valve. Galvanised piping, perishing stop cock
washers, plastic/metal swarf from cutting pipe can all damage/block solenoid valves. This can also
result in the warranty being declared void.
Your oversink heater incorporates the ability to swap the inlet and vent positions over to suit the
supply services of your intended installation.
To swap the fitting positions over, press down on the retainer plate and remove by sliding
towards yourself - Fig.1.
Remove the inlet (fitting with solenoid valve) and the vent from the jacket back and swap their
positions over.
Replace the retainer plate by sliding back into position - Fig.2. Figure 3 shows the fittings
swapped over.
Fig 1 Fig 2 Fig 3
The water supply must always be connected to the solenoid valve.
Connect the water supply to the fitting marked “INLET”. Supply pressure 20 -1000kPa.
Connect the vent or drain pipe work to the fitting marked “VENT”.
A vent pipe MUST be connected to the dispenser. Failure to connect a vent pipe to the dispenser may
result in the warranty being declared void.
DD11280B036
8

NOTE: THIS APPLIANCE IS AN OPEN VENTED APPLIANCE AND MUST BE PLUMBED IN
ACCORDANCE WITH REGULATIONS AS APPLICABLE. AT NO TIME MUST THE VENT BECOME
BLOCKED OR OBSTRUCTED.
It is mandatory that the vent pipe work includes the installation of a tun dish, sold separately.
STEP 5 – Commissioning.
Fit the tap supplied, to the dispenser. Plug the dispenser into the 220 ~240 Volt wall socket.
Open the water supply and switch on.
Note: The dispenser will only begin filling once the power is switched on.
On the first fill cycle, heating will only commence once the unit is full.
Supaboil (M Series)
The Supaboil incorporates a patented motion detection power saving feature. This series incorporates
a lens and LED in the tap surround. During commissioning the LED, through flash rates and colour
changes indicates the varying states the product passes through during its first fill cycle.
When first switched on, the LED will flash blue rapidly indication the fill cycle has begun. When full,
the LED will flash blue slowly indicating that the heater is now in a self-calibration mode. When
calibration has completed, the LED will burn red indicating the heater is ready for use.
DD11280B036
9

Supakwik Water Heaters Pty Ltd
3/61 Boyland Avenue, Coopers Plains, QLD 4108
T (07) 3255 6389 F (07)3255 6387 sales@supakwik.com www.supakwik.com
10
DD11280B036
 Loading...