

Understanding Gas Appliance Conversions
Making changes to an appliance so that it can utilize a different fuel is known as appliance conversion. The inner Valves
and Orifices are designed to work with a particular gas that has a specific pressure. Natural gas is a much lower pressure
gas than propane and converting the appliance to one or the other gases requires that the differing pressure is
compensated for. In other words, connecting a natural gas appliance to a propane piping system will result in appliance
malfunction and possibly danger. The reason for this is because natural gas orifices are larger than propane orifices
strictly because of gas service pressure. In this case, the higher pressure gas flowing through a larger orifice will result in
more gas through the burner and likely, more flame...an unnecessarily large flame. Conversely, trying to use a propane
appliance with natural gas will likely result in a very small flame or no burner flame at all because of the lower pressure
gas and the smaller orifice. This is the underlying purpose of an appliance conversion from propane to natural gas or
from natural gas to propane.
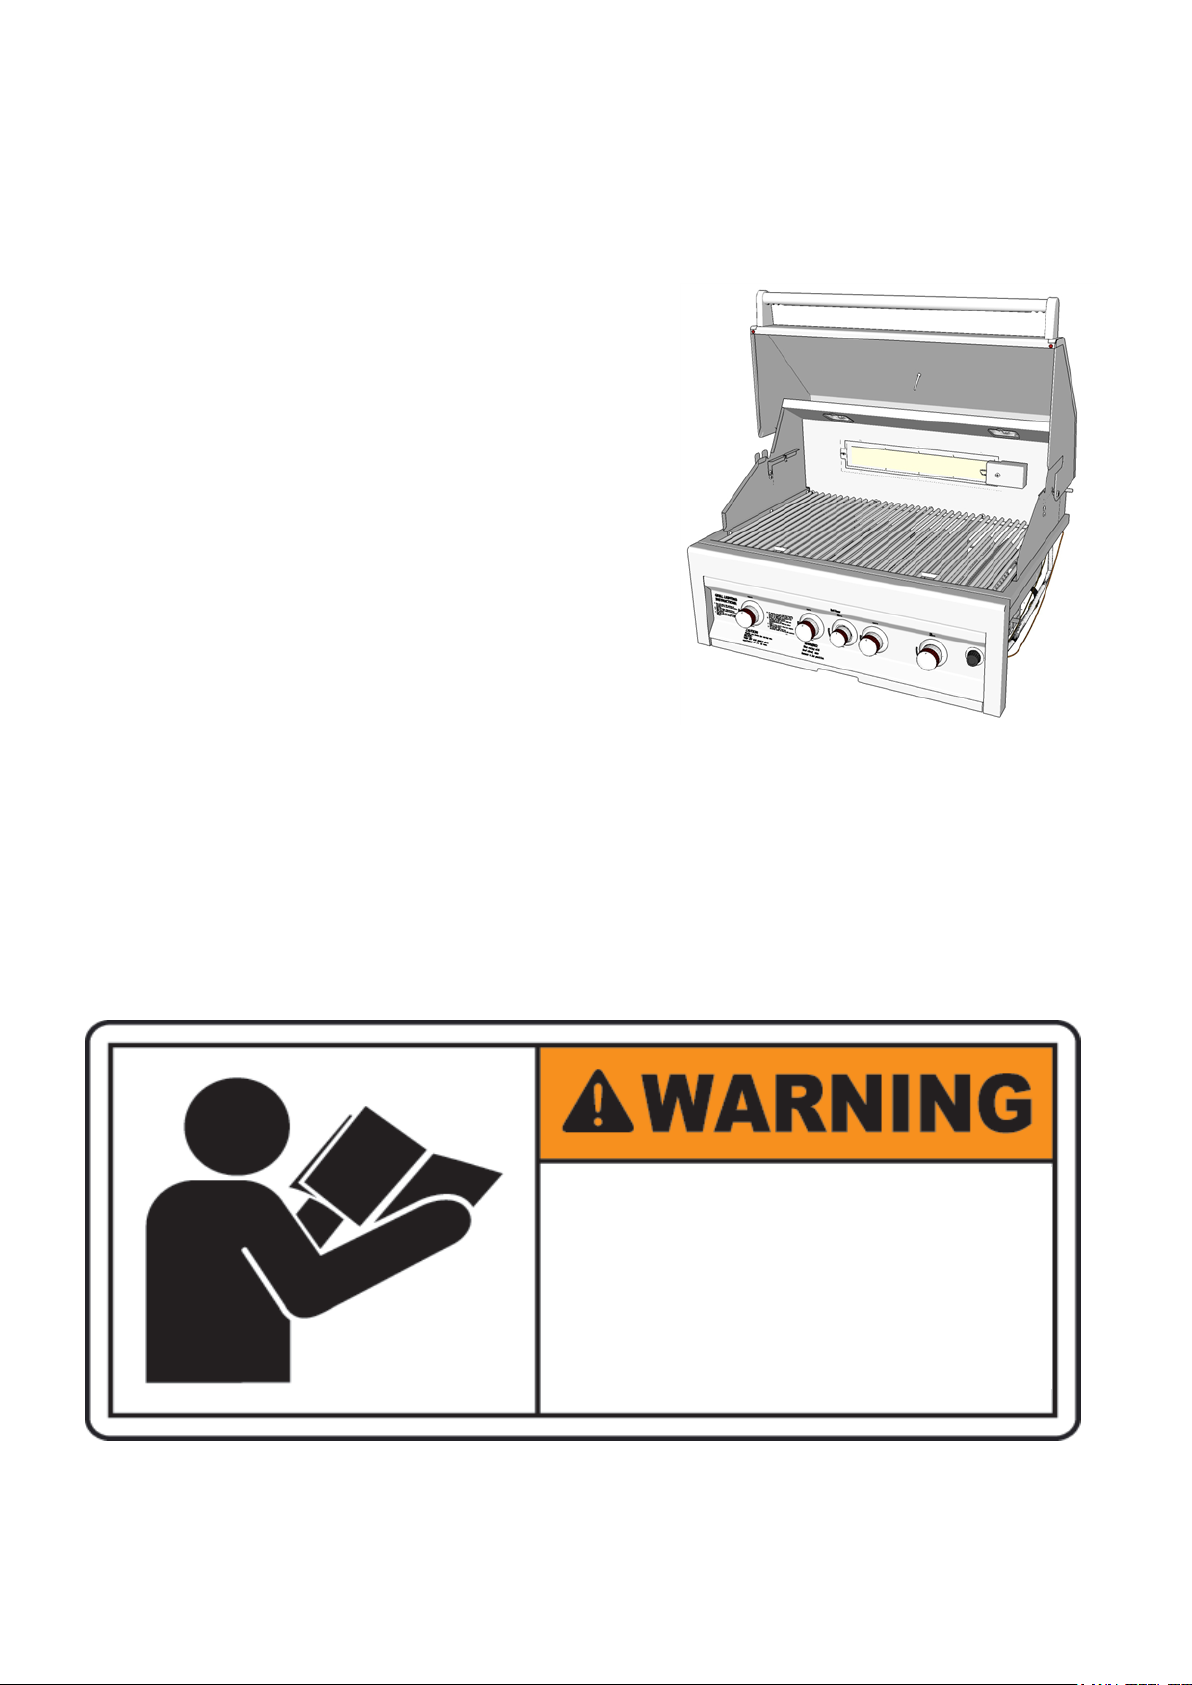
SUNSTONE GAS GRILLS
LIQUID PROPANE TO
NATURAL GAS
CONVERSION
INSTRUCTION
To installer or person assembling grill: Leave this manual with grill for future reference.
To consumer: Keep this manual for future reference.
gas grill.
READ ALL INSTRUCTIONS
BEFORE BEGINING GAS GRILL
CONVERSION READ YOUR
OPERATING MANUAL
BEFORE OPERATION
PAGE 1 OF 8
Conversions Between Natural Gas and Propane
The following illustrated conversion can be used for when converting either from Liquid Propane to Natural Gas. This
example is shown with the Barkman 4 Burner with Infra Red Burner. Other Grills without a IR Burner, can also follow this
instructions, the only diffearance is you are not required to change any "Safety Valve" or "IR Orifice". For converting gas
types, it is extremly important to follow these instructions step by step, we always reccomend a Licenced Plumber or
Installer perform any maintence or gas conversion on your grill.
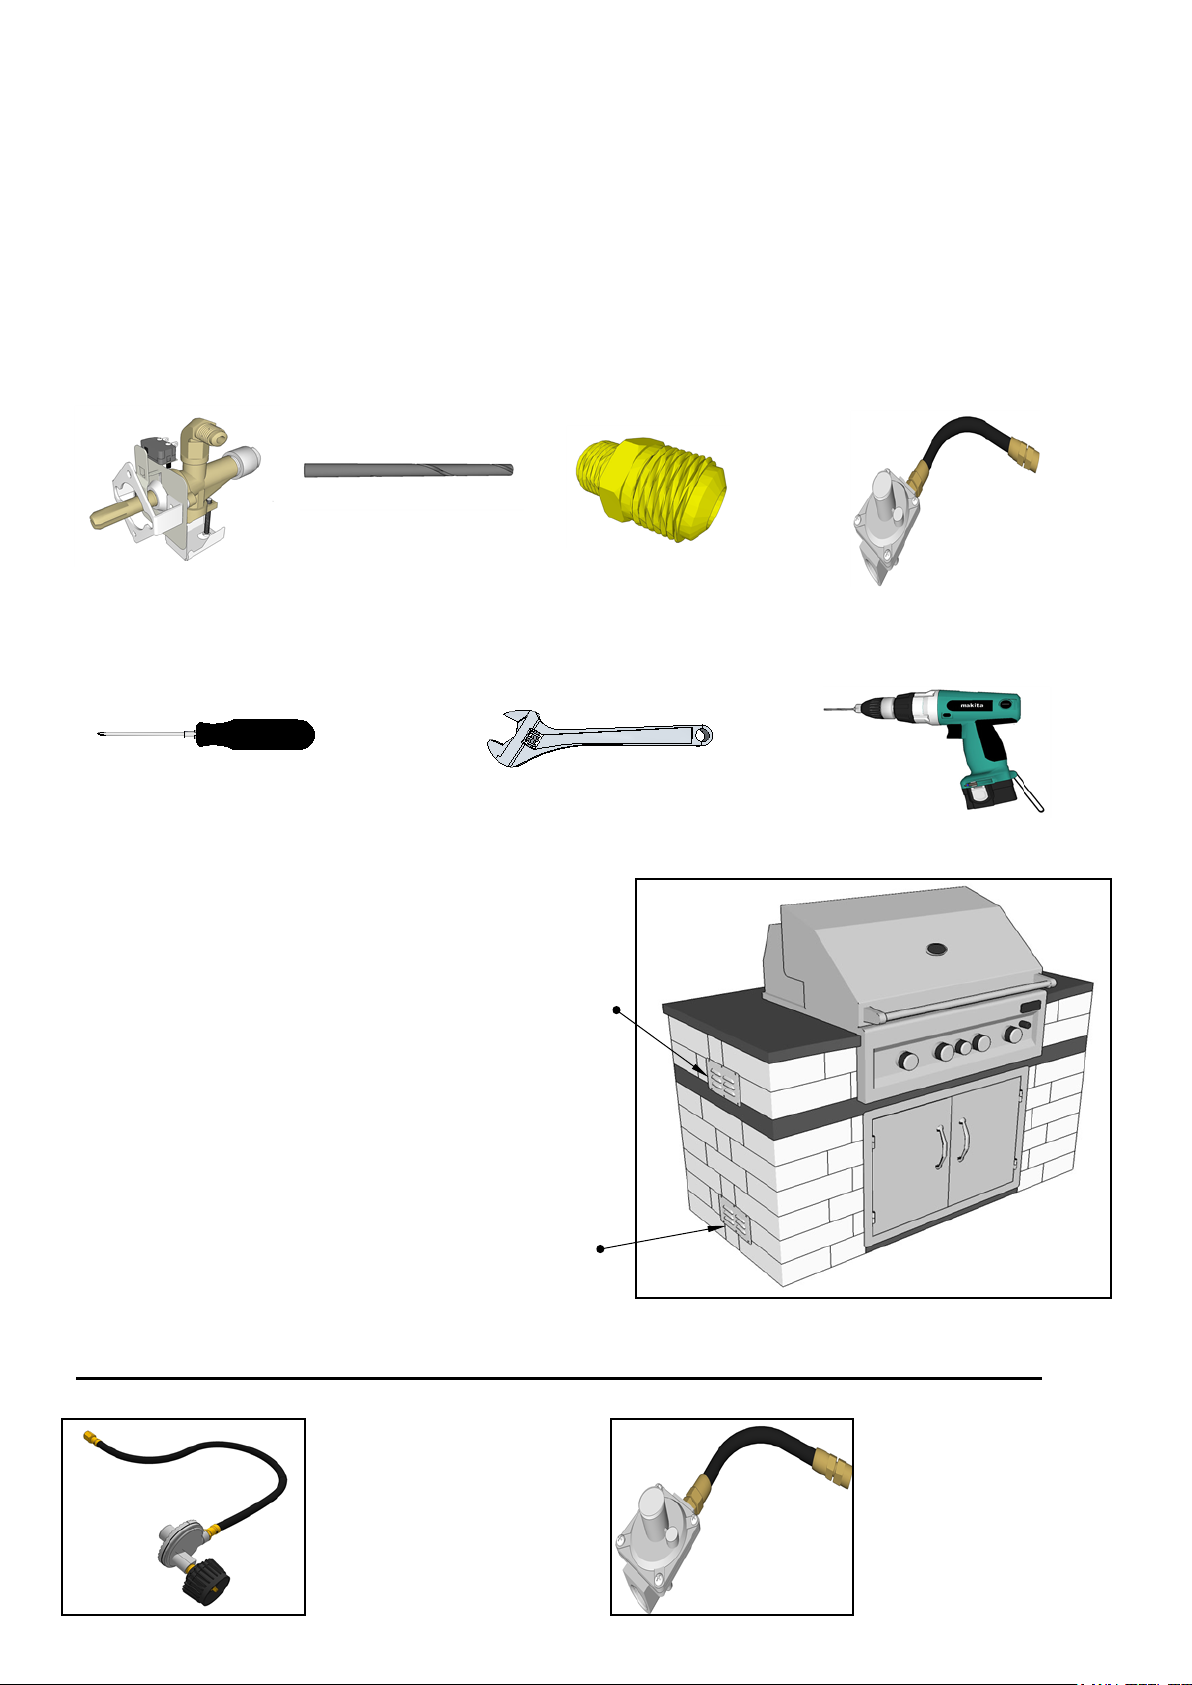
Island Safety Vent Installation for either Liquid Propane or Natural Gas
For Natural Gas
Natural Gas (NG) is Lighter and will raise to
upper end of structure upon leak. Outdoor
Kitchen Islands housing Natural Gas Appliance
must have several vents located at the
approximate level as the Appliance Control
Panel, were Knobs are located.
For Propane Gas
Liquid Propane Gas (LP) is Heavier and will
lower to base of structure upon leak.
Outdoor Kitchen Islands housing Propane
Gas Appliance must have several vents
located within 4" to 6" from ground level.
NG Vent
LP Vent
GAS GRILL CONVERSION INSTRUCTIONS
PAGE 2 OF 8
IMPORTANT!! - USE CORRECT GAS REGULATOR FOR EACH GAS TYPE
For Liquid Propane
Your new Grill is set as
Liquid Propane (LP), which
uses the Medium Pressure
Regulator supplied your
your gas grill appliance,
designed for portable tanks.
For Natural Gas
When converting your grill
to Natural Gas, be sure to
remove the LP Regulator, and
install this NG Regulator in it's
place, reccomend to have
licenced plumber make final
gas connections.
LP
NG
This Gas Conversion requires the following tools (Not Provided)
Phillips Head Screw Driver
Adjustable Wrench
Hand Drill
This Gas Conversion requires the following Parts
(NG) Safety Valve
#50 Size Drill Bit
1/2" Flare Adapter
Natural Gas Regulator
Conversions Between Natural Gas and Propane
Before proceeding, make sure you have cleared away from grilling area any loose debris and secure a small box to
place each screw in as you remove them. Locate a chair that has arm supports or other platform, and place this in
front of grill giving you an elevated position to set the grills control panel after removal, this way you do not need to
remove any wires, or other hoses. In step "4", there are two pins that are holding the control panel in place, you will
need to wiggle the control panel for it to drop down, sometimes angling it then pulling down will also release it were
the valves are inserted in burners.
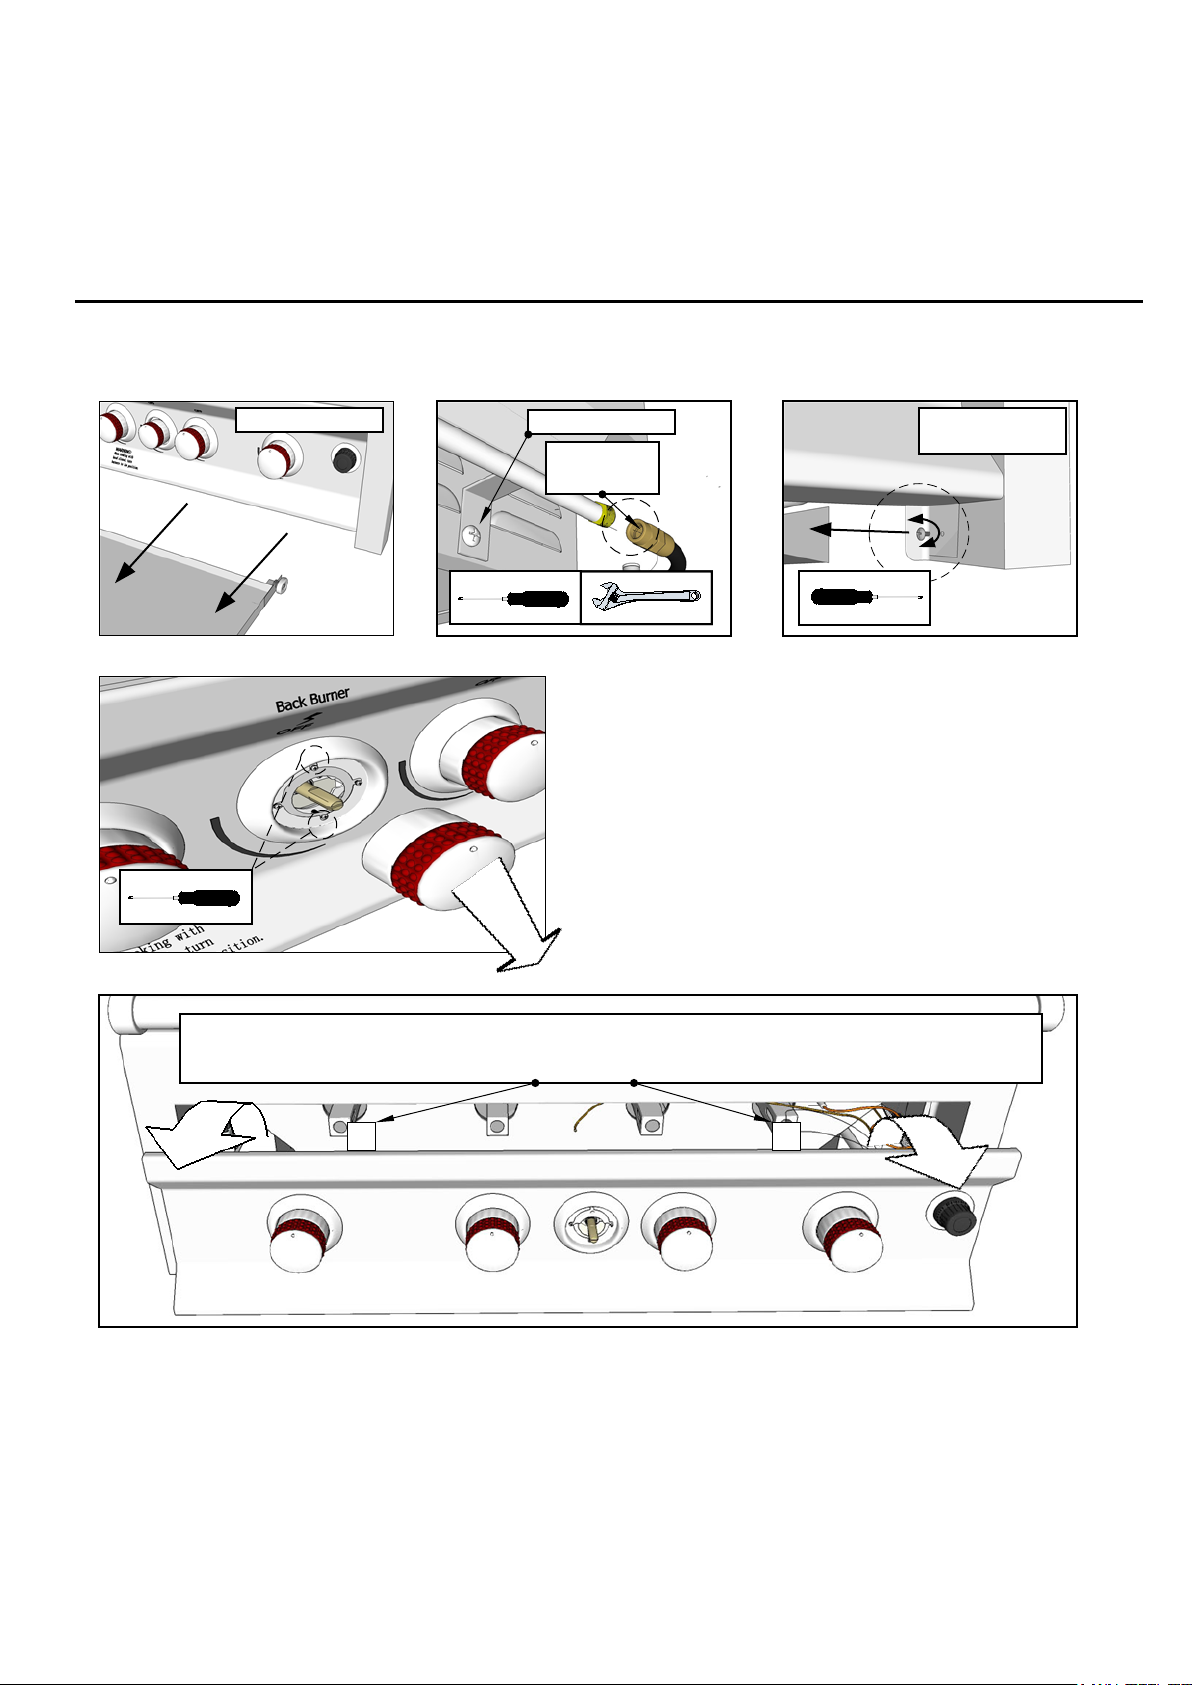
PAGE 3 OF 8
1.
2.
3.
1.
Remove Drip Pan
Unfasten Screw
Remove Left &
Right Screws
5.
While removing Control Panel Assembly, it may be necessary to tilt back and forth,
while pulling down, as there are two PINS holding control panel to Grill Frame.
4.
4. Remove the Small Center Knob
After removing the center small knob, the same one for
the back Infra-red Burner, also remove ONLY the Top and
Bottom Screws. This will release valve from control
panel, but still keep it afixed to the gas manifold pipe.
5. Slide out Control Panel
Grip base of control panel firmly, and first pull down and
out releasing the two pins inserted into grill control panel
frame. (See illustration below)
Only Remove
Top & Bottom
Screws
IMPORTANT!!! - BEFORE BEGINGING CONVERSION, GAS MUST BE TURNED OFF
Remove LP
Regulator

Disasemble Valve Hose and Wires
While pulling out the Control Panel Assembly notice the Flex Hose attached to Center IR-Valve, use Plyers to
remove this from Valve Fitting. Also remove the Two Orange Ignition Wires from on top of the Valve. Try to
keep the wires on the right valve connected.
PAGE 4 OF 8
Turn Upright, so valves Orifice are facing upward. Some wires will have to be
removed, pay close attention to their positions, it may be a good idea to take a
photo of the inside of grill, before removing control panel, so you have a quick
reference when re-installing the control panel into the body of grill.
7.
Notice each Orifice Hole at tip of Valve, this is where you need to use Hand Drill,
with supplied #50 Drill Bit, to increase Hole size for Natural Gas.
8.
IR-Valve
Flex Hose
Ignition Wires
6.
#50 Drill Bit

Use Hand Drill to drill out each end hole to larger size. When drilling, be sure to only
press drill tip in no more than 1/4" Inch, or you may damage interior surface walls.
Do Not Drill This Valve
#50 Drill Bit
Hand Drill
Gas Manifold
Open Hole
Remove
Valve Bracket
Screw, and
unhinge valve
Replace
with new NG
Safety Valve
Secure new valve inplace, insert
valve base into Gas Manifold Hole
Secure Valve Bracket on,
But do not Tighten down
Flex Hose
Ignition Wires
13.
Turn Control Panel back upright, and insert back to grill body, now re-attache Flex
Line and Wires to Valve, also re-attach any other wires to other valve and Igniter Box.
Other Ignition Valve
Igniter Box
Be shure to Tighten this down.
Locate NG Regulator &
1/2" Flare Adapter
Remove current 3/8"
Flare from End of Gas
Pipe, and Replace
with New 1/2" Flare
fitting.
Connect NG Regulator
& make final connection
to your Gas Line Stub-Up
PAGE 5 OF 8
9.
10.
11.
12.
14.
15.
16.

Test for Gas Leaks
Mix some Soapy Water in a Bowl, use a Sponge to apply solution to these three areas illustrated. Afterward, turn gas
flow on, and see if you see any Bubbling, or Smell any Gas, also make sure all Valves are turned OFF. If either is the
case, tighten down all connections once more and test again untill there are Zero Gas Smells or Bubbling effects.
PAGE 6 OF 8
Apply Soapy Water Solution to these three areas
Re-Install Control Panel
Tighten down
Top & Bottom
Screws &
Insert Knob
Tighten Down
Valve Bracket
Screw Secure
Insert Drip Pan
19.
Install Left &
Right Screws
18.
Install Gas
Manifold Screw,
Connecting Pipe
to Grill Housing
Keep Screw Driver
Horizontal Alligned
Test Knob Turns 180 Degrees
and does not Rub Knob Ring
Knob
Ring
17.
20.
21.
22.
23.
GAS IN
CHECK ALL CONNECTIONS

1
2
3
Using a Screw Driver, unscrew
and remove each screw
Remove the Rotisserri rod unit
It may be nessarry to loosen
back Screw Bolt, bolts are
located behind back of grill
under back compartment
Losen Hood Bolt, Do Not
Remove and flip the two
Left and Right sides
warming rack mounts
forward rotating them on
the opposite screw they are
each mounted on
Remove all SS Grates from
grill cooking area
12345
Notice the bottom screws numbering from 1-5 or 6
Only loosen Screw head, Do Not Remove, after screws
are loosened, back panel will be able to be lifted up and
swing forward
24. Convert Back Infra-Red Burner
Converting the burner is important if you want High Heat cappabilities when using the Rotisserrie, or Searing
your meat. If you do not use this burner, and are not concerned if the heat from it is less, it is also not
required to convert this burner. The burner will still function and be safe to use, this is to your requirement if
you decide to convert this burner from LP to NG gas type.
PAGE 7 OF 8
A.
B.
D.
F.
C.
E.

Now that both top rack supports are flipped forward,
the top Three screws are all removed and the bottom
back panel screws are all loosened, you will now
slightly lift up and wing entire back wall panel
forward as wide open as possible
Look inside opening
and notice InfraRed Back Burner
Assembly
Infra-Red Burner Body
Mount Adapter
for Flare Orfice
Flex Hose
Igniter Wire
Now notice Flare Orifice, is bolted on
the inside of assembly
Flare Orifice
Fastener
Loosen Flare Orifice Fastener using wrench,
then remove with your hand, and remove
completley, be careful not to drop fastener.
Light Assembly Box
Slide Orfice and Flare
assembly out of gas
chamber, and pull
assembly up and out as
far as you can, for easier
handling
PAGE 8 OF 8
G.
H.
I.
J.
K.
24. Convert Back Infra-Red Burner
L.
Use Hand Drill, with #50
Drill Bit to Drill Orifice Hole
Out Larger for Natural Gas
Notice the small Pin Hole
Finish Gas Grill Conversion
Re-Assemble your grill following in the opposite direct section 15 A thru L. Be sure to properly secure any
screws and bolts back in blace, some pressure needs to be applied sometimes to insert screws back in. If
you have question during this conversion, please contact your local dealer.
 Loading...