

Sunstone 1SSBNG Maintance Manual
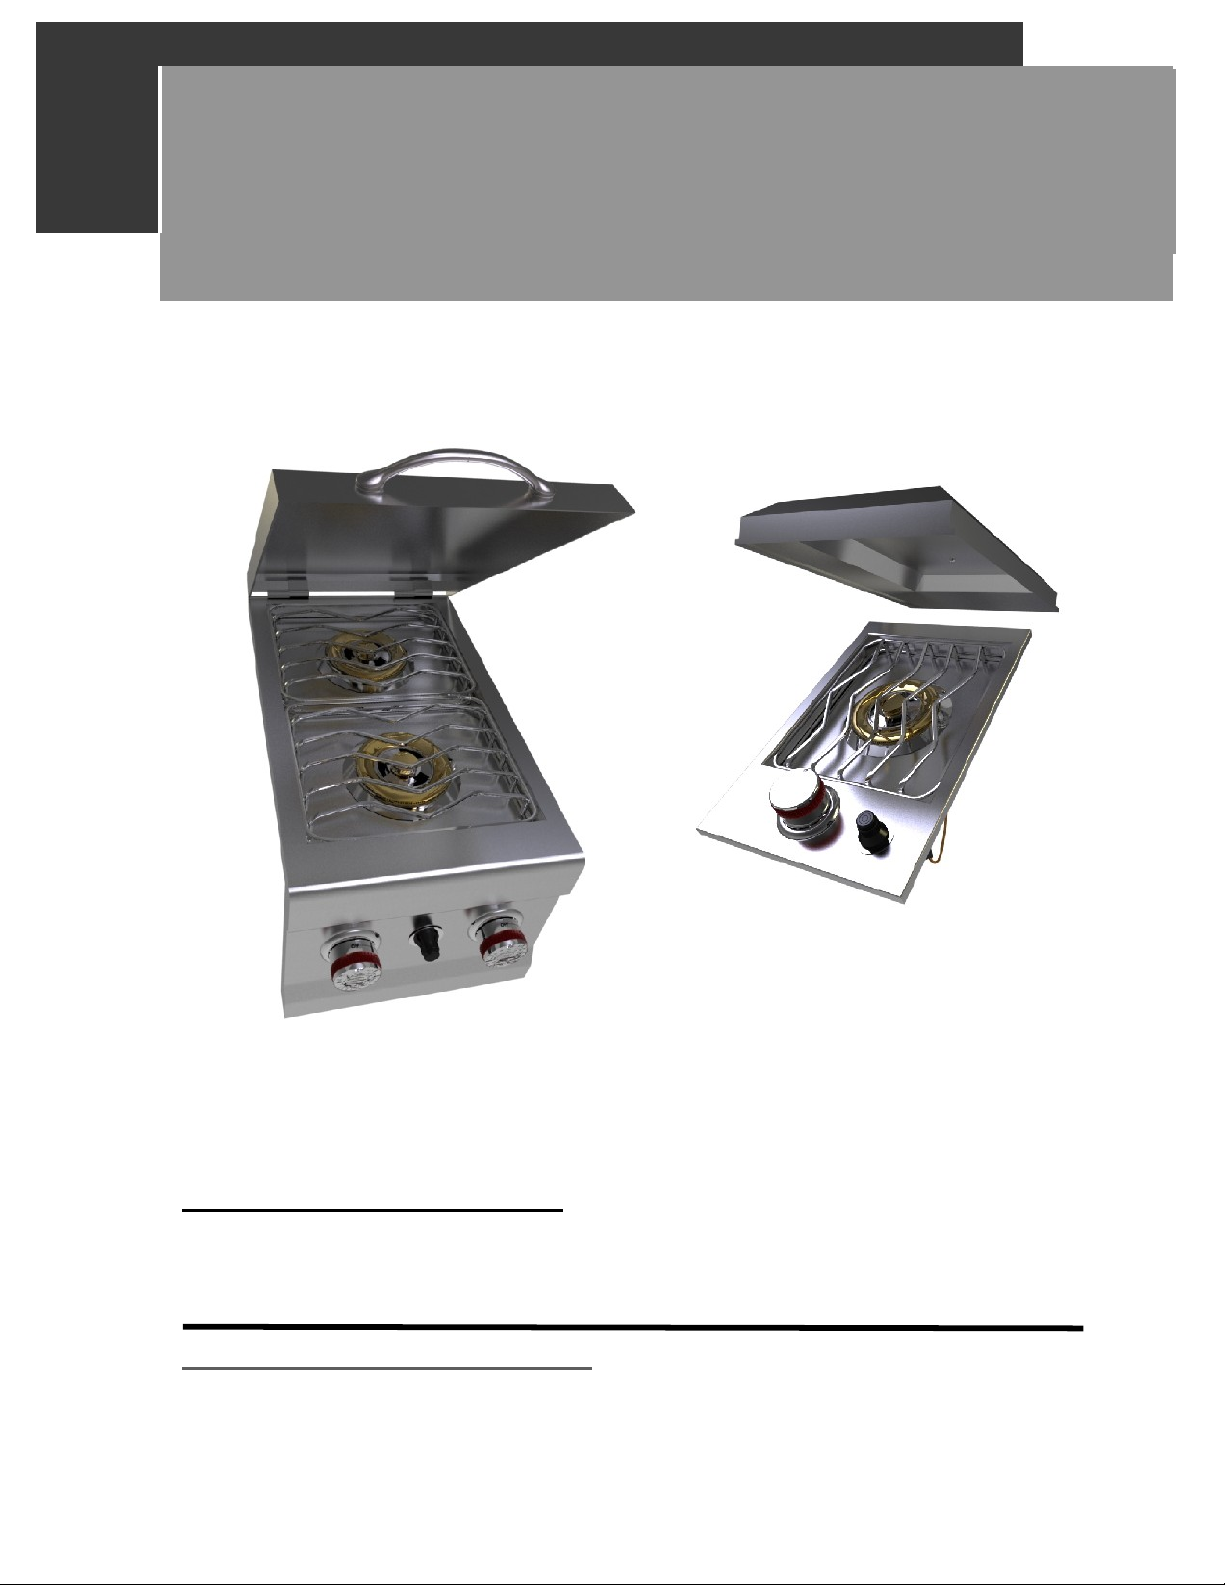
Stainless Steel Side Burner
Use & Care Manual
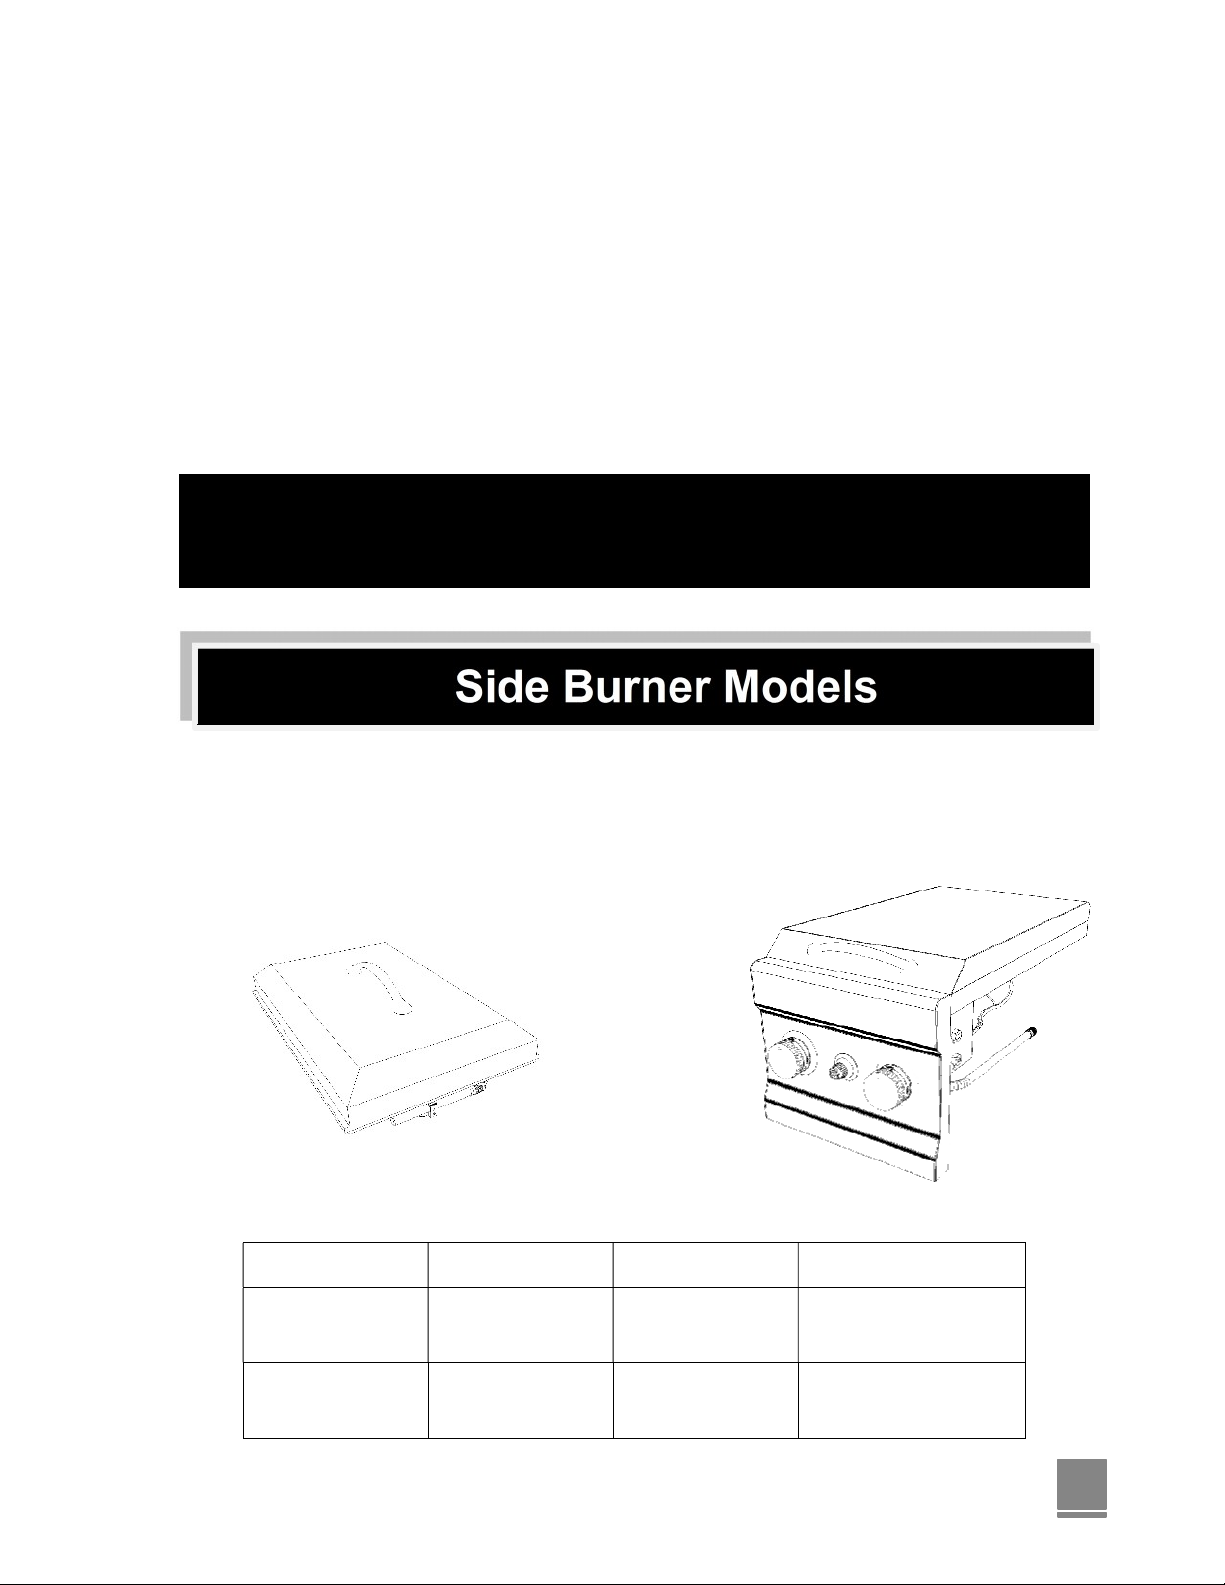
Side Burner Models
2CSB Double Slide-In Side Burner LP/NG 1SSB Single Drop-In Side Burner
LP/NG
For Outdoor Use Only
To installer or person assembling side burner: Leave this manual with side burner
future
reference.
To consumer: Keep this manual for future
reference.
www.sunstonegasgrills.com
for

2
Welcome & Congratulations
Congratulations on your purchase of a new side burner! We are very proud of our
and we are completely committed to providing you with the best service possible.
satisfaction is our #1
Please read this manual carefully to understand all the instructions about how to
operate and maintain for optimum performance and
We know you’ll enjoy your new side burner and thank you for choosing our product. We
you consider us for future
Please read and save the instructions
This Manual provides specific operating instructions for your model. Use your side
only as instructed in this manual. These instructions are not meant to cover every
condition and situation that may occur. Common sense and caution must be
when installing, operating and maintaining any
priority.
purchases.
longevity.
appliance.
practiced
products
Your
install,
hope
burner
possible
3
Table of Contents
Safety Instructions ...................... 4
Burner Models ............................. 5
Gas Requirement......................... 6
Locating the Grill ......................... 10
Pre Operation Leak Testing
Parts List .................................... 14
Light the Grill................................ 16
Operation and Features .............. 19
Care & Maintenance ................... 20
Troubleshooting Your Burner
Limited Warranty ........................ 24
........ 12
..... 22
WARNING
IF YOU SMELL GAS:
1. Shut off gas to the
2. Extinguish any open
3. Open
4. If odor continues, keep away from
appliance and immediately call your
supplier or your fire
Lid.
appliance.
flame.
department.
the
gas
Safety Symbols
WARNING
DANGER indicates an
hazardous situation which, if
avoided, will result in death or
injury.
imminently
serious
CAUTION
CAUTION indicates a
hazardous situation which, if
avoided, may result in minor
moderate personal injury, or
damage.
potentially
property
WARNING
WARNING indicates a
hazardous situation which, if
avoided, could result in death
serious
injury.
potentially
not
not
or
not
or
WARNING:
1. DO NOT store or use gasoline or
flammable liquids or vapors in the vicinity
this or any other
2. An LP cylinder not connected for use
not be stored in the vicinity of this or
other
WARNING
appliance.
appliance.
other
shall
FOR OUTDOOR USE
NEVER operate side burner in
areas, as this could lead to
accumulating from a leak, causing
explosion or a carbon monoxide
which could result in injury or death.
NOT use your grill in garages,
sheds or any enclosed area. NOT FOR
BY CHILDREN. If these instructions
ignored, a hazardous fire or explosion
result in physical injury, death or
damage!
WARNING
ONLY:
enclosed
buildup
breezeways,
USE
could
property
of
any
gas
an
DO
are
4
Safety Instructions
WARNING: Improper installation, adjustment, alteration, service or maintenance can cause injury
or property damage. Read the installation, operating and maintenance instructions thoroughly
before installing or servicing this equipment.
General Safety Instructions
1. For Household Outdoor Use Only – DO NOT use indoors or in any type of enclosed area such as a
garage, shed or breezeway. Keep clear of trees and shrubs. The side burners are not intended for
installation in or on recreational vehicles, portable trailers, boats or any other moving installation.
Not for commercial use.
2. The area surrounding your new side burner should be kept clean and free from flammable liquids
and other combustible materials such as mops, rags or brooms, as well as solvents, cleaning fluids,
and gasoline.
3. To reduce the risk of serious or fatal injury from breathing toxic fumes and from explosion and fire as
a result of leaking gas, use only outdoors in an open area with good ventilation. Do not obstruct the
flow of combustion and ventilation air.
4. Never use the side burner in windy conditions. If located in a consistently windy area (oceanfront,
mountaintop, etc.) a wind break will be required. Always adhere to the specified clearances listed.
5. Do not leave the side burner unattended while cooking.
6. Do not use natural gas in a unit designed for liquid propane gas or vice versa.
7. Do not use fuel such as charcoal briquettes on the side burner.
8. Keep children and pets away from hot burner DO NOT allow children to use or play near the side
burner.
9. Never attempt to repair or replace any part of the side burner yourself unless specifically
recommended in this manual. All other services should be performed by a qualified service
technician.
10. Never lean over an open burner. Do not place clothing or other flammable material on or near the
burner. Do not wear loose-fitting clothes or long sleeves while using the side burner as some fabrics
can be highly flammable.
11. Have an ABC fire extinguisher accessible. Never attempt to extinguish a grease fire with water or
other liquids.
12. Never use aluminum foil on the burner grids, this can alter airflow for proper combustion and also
build up heat in the control area causing the knobs and igniter to melt.
13. W hen using the side burner, do not touch the burner grid or immediate surroundings as these areas
become extremely hot and can cause burns.
14. DO NOT allow grease or other hot material dripping from the burner onto valve, hose or regulator,
turn off gas supply immediately. After the side burner has cooled, determine the cause and correct it.
After cleaning the valve, hose and regulator, perform a leak test before continuing use.
15. Do not heat any unopened glass or metal container of food on the side burner. Pressure may build
up and cause the container to burst, possibly resulting in serious personal injury or damage to the
side burner.
16. Keep any electrical supply cords away from water or heated surfaces. Electrical cords should be
5
placed away from walkways to avoid tripping
hazard.
17. Keep gas supply lines as short as possible.
18. Never move the side burner when hot.
19. DO NOT use while under the influence of drugs or alcohol.
20. DO NOT store a spare gas cylinder under or near your side burner.
21. In the event that a burner goes out, turn burner knobs to the full OFF position. Do not attempt to use
the side burner until the gas has had time to dissipate.
22. Do not use side burner until leak check has been made.
23. Turn off the cylinder valve when your side burner is not in use.
24. Ensure the control knobs are in the “OFF” position when not in use.
CALIFORNIA PROPOSITION 65 - WARNING: The burning of gas cooking fuels generates some
byproducts which are on the list of substances which are known by the State of California to cause
cancer or reproductive harm. California law requires businesses to warn customers of potential exposure
to such substances. To minimize exposure to these substances, always operate this unit according to
the Use and Care Manual, ensuring you provide good ventilation when cooking with gas.
Side Burner Models
(Need to describe their main characteristic what a feature that helps to identify, tell apart, or describe
recognizably; a distinguishing mark or trait)
1SSB Single Drop-In Side Burner LP/NG 2CSB Double Slide-In Side Burner
LP/NG
Model No.
2CSB-LP
2CSB-NG
1SSB-LP
1SSB-NG
Product Size
Width
13”
22-1/2”
Depth
11” Width
17” Depth
BTU
30,000
15.000
Burner(s)
Two burners
One burner
6
NOTE: Always have a qualified service technician perform difficult
modifications.
or
Gas Requirement
conversions
WARNING: Never attach an unregulated gas line to the appliance. Connection to an
unregulated gas line can cause excessive heat or fire.
IMPORTANT: Before connecting side burner to gas source, make sure burner control knobs are in
“OFF” position.
Verify the type of gas supply to be used, either natural or LP, and make sure the marking on the
appliance rating label agrees with that of the supply.
All pipe sealants must be an approved type and resistant to the actions of LP gas. Never use pipe
sealant on flare fittings. The installation of this appliance must conform with local codes or, in the
absence of local codes, with either National Fuel Gas Code, ANSI Z223.1/ NFPA 54, Natural Gas and
Propane Installation Code, CSA B149.1, or Propane Storage and Handling Code, B149.2, or the
Standard for Recreational Vehicles, ANSI A 119.2/ NFPA 1192M, and CSA Z240 RV Series,
Recreational Vehicle Code, as applicable.
WARNING: Gas valves are preset at the factory to operate on LP or natural gas. If you wish to convert,
be sure to contact your Burner dealer FIRST!
LP Gas Hook-up
This propane gas side burner is designed to operate on propane gas ONLY, at a pressure regulated at
11” water column (W.C.) when equipped with the correct propane orifices on the valves and a propane
regulator on the supply line regulated at the residential meter. The LP gas side burner is designed to be
used with a standard 20 lbs gas cylinder and must be constructed and marked in accordance with
specifications of the US Department of Transportation for propane gas cylinders.
Always keep cylinder securely fastened in an upright position. Never connect an unregulated propane
gas cylinder to the side burner.
Do not subject propane cylinders to excessive heat.
CAUTION: Never store a LP gas cylinder inside a building or in the vicinity of any gas-burning
appliance.

7
Cylinder Specifications
- Any L.P. gas supply cylinder used with this appliance must be approximately 12 inches diameter
and 18 inches high. The maximum fuel capacity is 80% and is
approximately 20 pounds of propane.
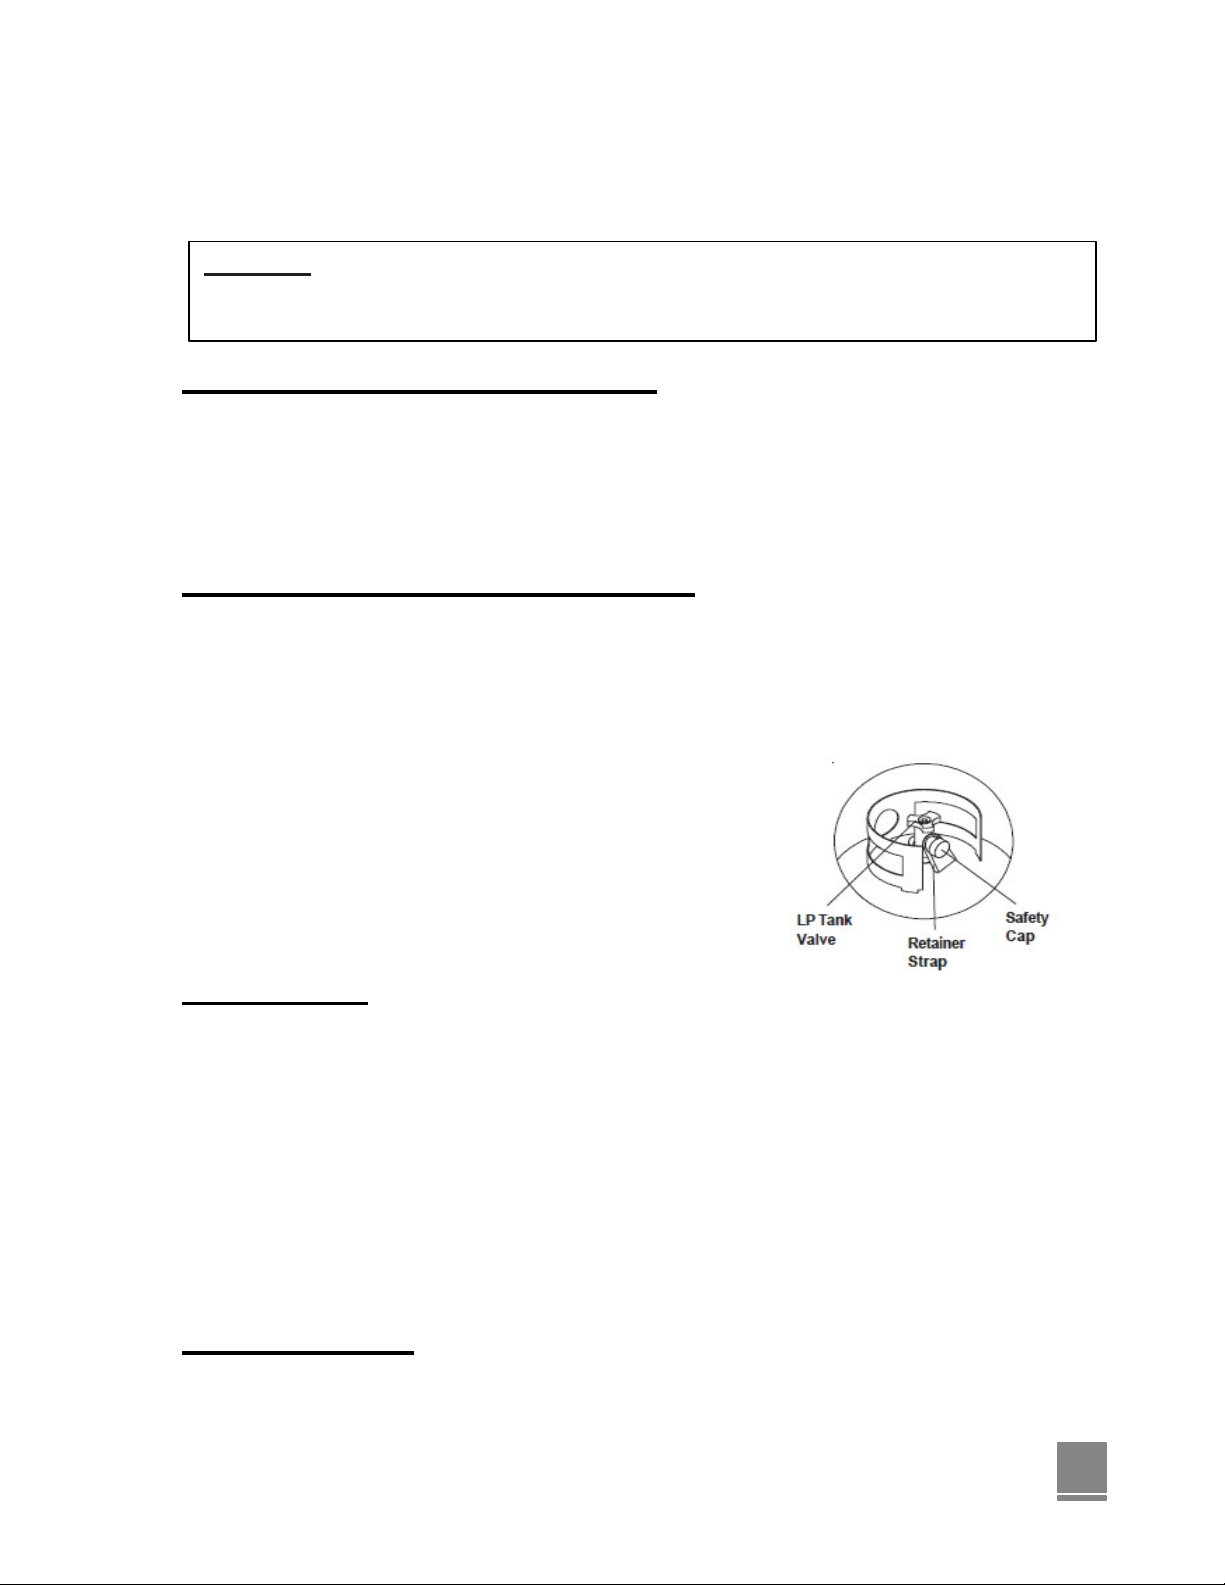
- The L.P. cylinder must have a shut-off valve (see picture) terminating
in a Type 1 L.P.
- A Type 1 compatible cylinder with a Type 1 cylinder valve has a
back-check valve which does not permit gas flow, until a positive seal
has been obtained.
- The cylinder must be arranged for vapor withdrawal. It must also
include a collar to protect the cylinder valve. A safety relief device
having direct communication with the vapor space of cylinder must be
provided. This will expel high pressure gas if the cylinder is overfilled
or overheated which could result in fire or explosion.
- All L.P. gas cylinders used with this appliance shall be constructed and marked in accordance with
the specifications for L.P. gas cylinders of the U. S. Department of Transportation (DOT) or the
National Standard of Canada, CAN/CSA-B339, Cylinders, Spheres and Tubes for Transportation of
Dangerous Goods; and Commission, as applicable; and shall be provided with a listed overfilling
prevention device.
- Read labels on the L.P. Gas Supply Cylinder.
- New cylinders are always shipped empty for safety.
- Allow only qualified L.P. gas dealers to fill or repair your L.P. gas supply cylinder.
- Inform the gas dealer if it is a new or used cylinder to be filled.
- After filling, have the gas dealer check for leaks and to see that the relief valve remains free to
function.
Hose and Regulator
The Type 1 connection system has the following features:
- The system will not allow gas to flow until a positive connection
has been made.
NOTE: The cylinder control valve must be turned off before
any connection is made or removed.
- The system has a thermal element that will shut off the flow of gas
in the event of a fire.
- The system has a flow limiting device which, when activated, will
limit the flow of gas to 10 cubic feet per hour.
- NEVER use side burner without leak testing this connection.
LP(Propane) Gas Supply Connection
1. The tank valve should be in the “OFF” position. If not, turn the knob
clockwise until it stops.
2. Make sure all burner valves are in the “OFF” position.
3. Always connect the gas supply regulator as follows:
8
Insert the regulator inlet into the tank valve and turn the coupling nut clockwise until the coupler
tightens up (see picture). Do not over tighten the coupler. Turn the main tank valve on and turn the
burner control valves on the unit to the “HIGH” position for about 20 seconds to allow the air in the
system to purge before attempting to light the burners.
WARNING: Always take a leak test before lighting the grill to prevent a possible fire or explosion.
Never store a spare propane cylinder in the vicinity of this side burner, or in the vicinity of any other
potential heat source.
LP Gas Supply Cylinder Disconnection
1. Turn the burner valves off.
2. Turn the tank valve off. (Turn clockwise to stop).
3. Detach the regulator assembly from the tank valve by turning the quick coupling nut
counterclockwise.
LP Tank Removal, Transport and
- Turn OFF all control knobs and LP tank valve. Turn coupling nut counterclockwise by hand only - do
not use tools to disconnect. Lift LP tank wire upward off of LP tank collar, then lift LP tank up and off
of support bracket. Install safety cap onto LP tank valve. Always use cap and strap supplied with
valve. Failure to use safety cap as directed may result in serious personal injury and/or property
damage.
- A disconnected LP tank in storage or being transported must
have a safety cap installed (as shown). Do not store an LP
tank in enclosed spaces such as a carport, garage, porch,
covered patio or other building. Never leave a LP tank inside
a vehicle which may become overheated by the sun.
- Do not store LP tank in an area where children play.
LP Tank
- Use only licensed and experienced dealers.
- LP dealer must purged tank before filling.
- Dealer should NEVER fill LP tank more than 80% of LP tank volume. Volume of propane in tank will
vary by temperature.
- A frosty regulator indicates gas overfill. Immediately close LP tank valve and call local LP gas dealer
for assistance.
- Do not release liquid propane (LP) gas into the atmosphere. This is a hazardous practice.
- To remove gas from LP tank, contact an LP dealer or call a local fire department for assistance.
Check the telephone directory under “Gas companies” for nearest certified LP
Filling
LP Tank
- Exchange your Type 1 cylinder with OPD safety feature-equipped ONLY.
- Always keep new and exchanged LP tanks in upright position during use, transit or storage. Leak
Exchange
Storage
dealers.
 Loading...