

Page 1
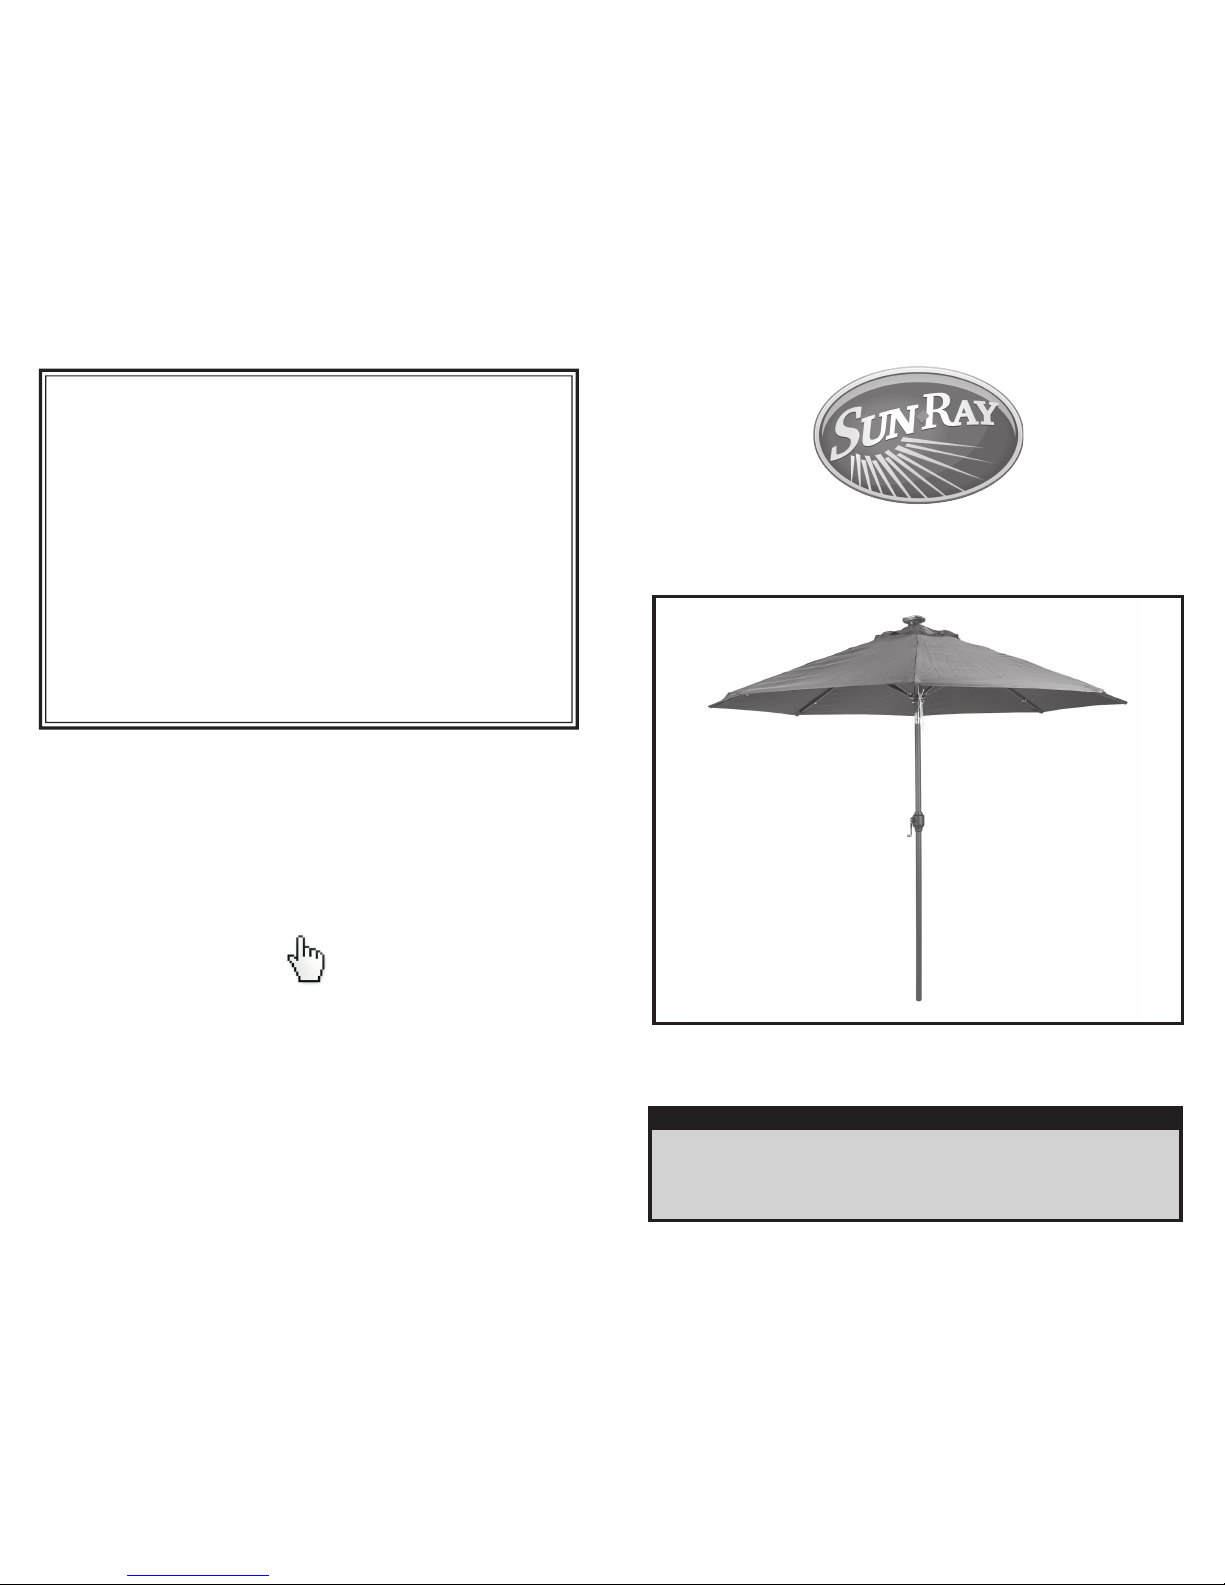
9 ft. Solar Lighted Patio Umbrella
Instruction Manual
Read the instructions and precautions before use of this product
Please keep this instruction manual for future reference
For warranty information, please refer to the back page of
this instruction manual.
Due to ongoing product development
the actual product or products may vary from
the illustrations or photos shown within this manual.
NOTE: This product is intended for residential, non-commercial use.
For Manuals, Replacement Parts or Customer Service visit:
www.ezreplacement.com
Model Nos: 801005, 801006, 801007, 801008
U.S. Patents No.: 6,612,713; 7,753,546; 8,069,868; 8,375,966; 8,727,555; 8,794,781
Made in China
©2015 J& J Global, LLC
Distributed by:
J& J Global, LLC
Fort Worth, TX 76131
J & J Global, LLC (Seller) warrants to the original Buyer only, that each product will be free from defects in material and
workman
ship for a period of one (1) year from date of purchase. SELLER’S SOLE OBLIGATION AND BUYER’S EXCLUSIVE REMEDY
UNDER THIS LIMITED WARRANTY SHALL BE THE REPAIR OR REPLACEMENT OF PARTS, WITHOUT CHARGE, WHICH ARE
DEFECTIVE IN MATERIAL OR WORKMANSHIP. ANY PARTS AS DETERMINED BY THE SELLER WHICH HAVE BEEN MISUSED;
ABUSED OR DAMAGED EITHER DIRECTLY OR INDIRECTLY FROM REPAIRS OR ALTERATIONS ATTEMPTED BY UNAUTHORIZED
PERSON; IMPROPER MAINTENANCE, NEGLECT OR ACCIDENT ARE NOT COVERED BY THIS LIMITED WARRANTY. This
warranty does not apply to damage, heat-induced coloration changes, scratching or alteration due to normal use or
Additional Limitations
THIS LIMITED WARRANTY DOES NOT APPLY TO ACCESSORY OR CONSUMABLE ITEMS RELATED TO THIS PRODUCT. ALL
IMPLIED WARRANTIES SHALL BE LIMITED IN DURATION TO ONE (1) YEAR FROM DATE OF PURCHASE. IN NO EVENT SHALL
SELLER BE LIABLE FOR ANY INCIDENTAL OR CONSEQUENTIAL DAMAGES, INCLUDING BUT NOT LIMITED TO LIABILITY FOR
LOSS OF PROFITS, ARISING FROM THE SALE OR USE OF THIS PRODUCT.
If any provision of this Limited Warranty is for any reason held to be invalid or unenforceable, such provision shall not
affect any other provision herein, this Limited Warranty shall be construed as if such invalid and/or unenforceable
provision had never been contained herein.
This warranty gives you special legal rights, and you may also have other rights which vary from state to state.
This warranty contains the entire agreement between Seller and Buyer and supercedes any and all prior agreements,
arrangements, or understandings between the parties relating to product warranty.
Limited Warranty
weathering. To make a claim under this Limited Warranty, email contact@ezreplacement.com or visit www.ezreplacement.com for warranty questions and claims.
Page 2
1
GENERAL SAFETY RULES
WARNING! Read all instructions. Failure to follow all instructions listed below may result in
serious injury.
• Shade umbrella must be used with a heavy weighted stand (not included), and table capable of
firmly securing the Umbrella.
• Umbrella is intended for sunshade and decorative purposes only – do not use this product in
strong wind, rain or storm conditions. Doing so may cause personal injury and/or damage to the
umbrella and personal property.
• Always take the umbrella down during high or gusting wind and rain, when not in use and in
the off-season. Failure to do so may result in personal injury and/or property damage.
• Keep children away from umbrella during assembly and operation. Do not let children play in or
around this product unsupervised.
• Use caution when moving this product. For safety, lower the Umbrella before moving.
• Do not use this product for other than intended use.
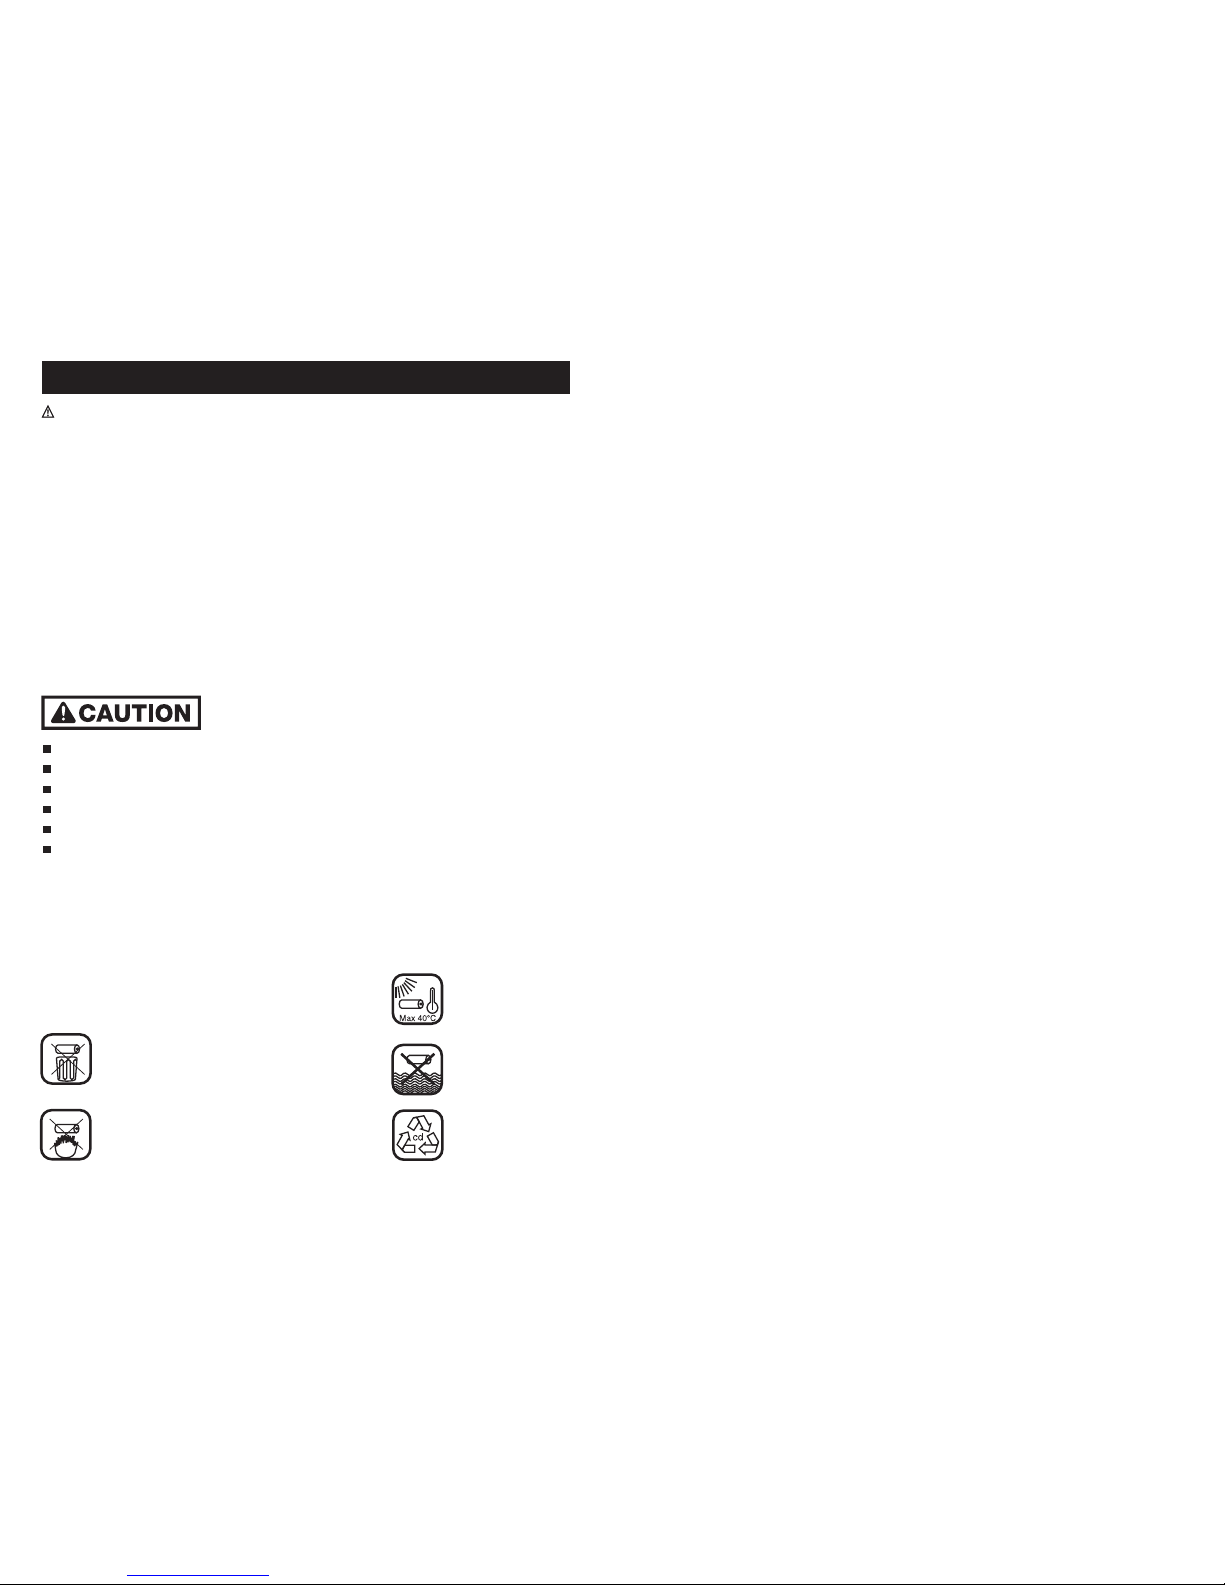
SAFETY RULES FOR RECHARGEABLE BATTERIES
Do not discard batteries in household waste.
Please dispose of used batteries properly.
Consult your local telephone listings for
a battery recycling centre near your area.
When replacing batteries make sure the batteries are inserted
in the correct polarity position (+/-), as indicated in the battery
compartment. Failure to insert the batteries in the correct
polarity position may shorten the life of the battery or cause
the battery to explode.
Use AA size rechargeable batteries only.
Do not mix old and new batteries.
Do no mix Alkaline, standard (carbon/zinc) or rechargeable (Ni-Cd or Ni-Mh) batteries.
Replace old batteries with new ones of the same rating.
Reference polarity direction inside battery compartment.
Allow batteries to charge for at least 8 hrs. in full sunlight with the ON/OFF switch in the
OFF position.
Do not throw Li-Fe
batteries into water!
Recycle
Do not allow Li-Fe
batteries to freeze.
Protect Li-Fe batteries against heat and fire
due to risk of explosion.
Page 3

5
CAUTION: DO NOT INSERT END OF UMBRELLA POLE INTO THE GROUND. The solar umbrella
is designed to be used with an umbrella stand (not supplied).
Attach Solar Battery Compartment Assembly
1. (SEE FIGURE 1) Position battery compartment (A)
at top of umbrella (B).
2. Insert connector plug attached to umbrella into
receptacle located on battery compartment.
3. Insert battery compartment stem into top of
umbrella. Turn battery compartment clockwise
to lock and secure.
PARTS LIST
PART # DESCRIPTION QUANTITY
Carefully remove the contents from the package. If any parts are missing do not
attempt to use the product until they have been obtained and correctly installed.
A Battery Compartment 1
B Upper Umbrella Assembly 1
C Lower Umbrella Pole 1
2
ASSEMBLY INSTRUCTIONS
Figure 1
B
B
C
A
A
Mounting
Stem
Connector
Plug
Parts Detail
Battery Replacement
The rechargeable batteries come preinstalled from the factory. The batteries are located inside
the battery compartment
1. (SEE FIGURE 7) Remove battery compartment (A) from top of umbrella, turn counterclockwise to unlock and separate.
2. Carefully unplug connector plug from
battery compartment receptacle.
3. Remove both battery compartment covers.
4. Remove and replace old batteries with new
rechargeable batteries of the same rating.
5. Install new batteries in proper direction,
referencing polarity (+/-) markings for correct
placement and replace the compartment covers.
6. Refer to section entitled "Charging
Rechargeable Batteries" to restore solar lights
to full operation.
Figure 7
A
Mounting
Stem
Mounting
Compartment
Cover
Stem
Connector
Plug
Save these Instructions.
Page 4

Charging Rechargeable Batteries
NOTE: The rechargeable batteries are
preinstalled from the factory. Before
operating, the batteries need to be fully
charged. The batteries require at least
8-hours of full sunlight to charge.
1. (SEE FIGURE 6) Verify power switch is in the
off "O" position.
2. Place the fully assembled solar umbrella
in full sun, where it will receive direct
sunlight for at least 8 hours per day.
NOTE: The number of hours light is illuminated
is directly proportional to the number of hours
of sunlight it receives. The solar panels cannot
recharge the batteries if light is obstructed.
Crank
Handle
Figure 6
4
On/Off
Switch
Care Instructions
1. Gently clean solar panels and LED's with a soft cloth. Do not use abrasives or chemicals to
clean solar panels. Remove dust and debris using a soft cloth or duster.
NOTE: The panels cannot recharge the batteries if light is obstructed.
2. Rinse umbrella with clear clean water. If necessary, use gentle fabric cleaner, rated safe
for polyester fabrics.
How to Turn Solar Lights On
1. (SEE FIGURE 3) Once the batteries are
fully charged, place the power switch to
the on "l" position.
2. Refer to section entitled "Charging
Rechargeable Batteries".
OPERATING SOLAR UMBRELLA
3
NOTICE: Set switch to off “O” position
when solar lights
are not needed.
Adjust Umbrella Up or Down
1. (SEE FIGURE 4) Using the crank handle, raise
umbrella to desired height. Turn crank handle
clockwise to open the umbrella.
Crank
Handle
Figure 3
On/Off
Switch
B
B
C
Figure 4
Crank
Handle
Adjust Tilt Angle of Umbrella
1. (SEE FIGURE 5) Hold the umbrella pole
above the tilt button, and press the tilt
button inward.
2. With the tilt button pushed inward, move
umbrella to desired location, then release
button to lock in position.
Figure 5
Tilt Button
Hold this section
while adjusting
umbrella tilt.
Attach Umbrella to Umbrella pole
1. (SEE FIGURE 2) Align hole at end of
umbrella (B)
with push button at top of Lower Umbrella
Pole (C).
2. Depress push button and insert Umbrella into Lower
Umbrella pole until push button locks.
3. Place the umbrella upright in a heavy weighted stand
(not included),and table capable of firmly securing
the Umbrella.
Figure 2
 Loading...