

Page 1

RF450 User’s Guide
Version: June 22, 2012
Page 2

2
INTRODUCTION
Congratulations! You have purchased one of the most efficient refrigeration products available
on the market today. The SunDanzer® refrigerators are designed to provide years of efficient
trouble-free operation. The design is optimized for energy savings with thick insulation and an
efficient DC compressor.
Before using the appliance, read through this manual carefully including all the information on
safety, installation, operation, and cleaning. Please be careful moving and using this appliance.
If you are unsure about any of these instructions, contact SunDanzer or your local product dealer
for assistance.
IMPORTANT NOTES
IF THE APPLIANCE HAS BEEN HANDLED ON ITS SIDE OR STANDING ON
END, IT SHOULD BE ALLOWED TO SIT IN THE NORMAL OPERATING
POSITION FOR 3 HOURS BEFORE TURNING IT ON.
PRIOR TO ADDING FOODSTUFF, THIS APPLIANCE SHOULD BE RUN FOR
4 HOURS ALLOWING THE INTERIOR OF THE CABINET TO COOL.
THIS APPLIANCE OPERATES ON 12 OR 24 VOLTS DC (DIRECT CURRENT)
ONLY! DO NOT CONNECT DIRECTLY TO AN AC (ALTERNATING
CURRENT) POWER SOURCE.
Prior to Installation
Upon delivery, please check that the appliance has not been damaged during transport. It is not
advised to connect an appliance that has been damaged, especially damage to the electrical
supply cable or refrigerant circuit. In the event of damage please contact SunDanzer or your
local product dealer for assistance
General Safety
Before cleaning or repositioning the appliance, always disconnect from the electrical power
supply.
Service the appliance only if you are a trained or authorized refrigeration technician.
Do not use other electrical appliances (such as ice cream makers) inside of the refrigerating
appliance
INSTALLATION WARNINGS
This appliance is heavy. Use of a furniture dolly or similar device is recommended.
Be sure the electrical cable is not squeezed or bent when the appliance is being installed
or moved.
Be careful not to damage the condenser coil on the back of the refrigerator.
Unpacking and Cleaning
Remove all packaging and securing tapes from the appliance. As desired, wash the inside and
outside of the appliance with luke warm water and a mild soap or detergent. Abrasive or
corrosive cleaning agents, steel wool, scouring sponges, or chemical cleaning agents should not
Page 3
3
be used. After cleaning, thoroughly rinse and dry. You may want to leave the doors open
Cable Size
12V Cable Length
24V Cable Length
mm2
AWG
m
ft.
m
ft.
2.5
12
10
33
20
66
Operating
Voltage
Fuse
12V
15A
24V
7.5A
allowing the compartments to ventilate for 20-30 minutes to get rid of residual odors.
Positioning
The area in which the appliance is to be installed should be relatively cool, dry, and suitably
ventilated. The area should be protected against any beating rain and free of abundant dust. To
ensure proper function, the appliance must be placed horizontally on a flat, firm, and stable
surface resting level on all four supports. Use wood or metal shims to level the appliance if
necessary. Do not place the appliance close to heat sources (heater, stove, boiler, chimney, etc.),
and avoid exposure to direct sunlight. A minimum spacing of 3 inches (7.5cm) behind the
refrigerator is highly recommended. This will provide sufficient airflow around the condenser
resulting in more efficient operation and longer appliance lifetime. Always keep the air vent
openings of the compressor housing cover free from dust and obstructions.
ELECTRICAL CONNECTION (12 or 24VDC Only)
The refrigerator will automatically turn on when 12 OR 24VDC power is connected. There is no
separate on/off switch and no requirement to select the operating voltage. Do not connect
power until you have completed the installation instructions.
Polarity is important in wiring this DC appliance. The red (or black wire with a red stripe) is the
positive wire. The black wire is negative. The unit is not damaged by reverse polarity, but will
not run. Some components in the unit may be damaged if more than 31VDC is applied
Fuse
The user must provide a fuse to protect the wiring. A
standard automobile fuse is recommended and the fuse
should be wired to the positive (“+”) side of the system
close to the positive battery terminal.
If a longer connection cable is necessary, the wire gauge must be equal to or greater than the
wire sizes recommended on the following table. Be careful that the input voltage at the appliance
does not drop below the cut-out voltage of the compressor. Inadequate wiring or poorly made
wire connections are a very common reason the appliance will not run or not run consistently.
Page 4

4
Generic Compressor Electronics Diagram
12V
Operation
24V
Operation
Cut-in
10.9V
22.7V
Cut-out
9.6V
21.3V
Low Voltage Disconnect (LVD)
The compressor electronics includes a low voltage disconnect. This feature is designed to
protect the battery. Contact SunDanzer if other LVD limits are required.
OPERATION
Starting the Appliance
If the refrigerator has been transported on its side, allow 3 hours before applying power. This
provides time for any oil trapped in the cylinder to settle back into the oil sump. Once ready,
connect the 12 or 24 VDC power source and the refrigerator will automatically turn on within
about 1 minute. The freezer compartment will cool first and reach below freezing temperature
within 1 hour. The refrigerator (fresh food) compartment might take up to 4 hours to reach
proper temperature, depending on ambient conditions. The refrigerator might cycle on and off
during this initial cool down period, this is normal.
Temperature Control
The temperature is automatically controlled by a digital thermostat. No user adjustment is
necessary or possible. The refrigerator will automatically maintain temperature within the limits
in the table below as long as the ambient temperature is between 60 & 90F (16 & 32C).
Insertions of large warm food loads will temporarily result in higher temperatures.
Page 5

5
Internal Temp.
(ºF)
Internal Temp.
(ºC)
Refrigerator
36 to 41ºF
2 to 5ºC
Freezer
0 to 10ºF
-18 to -12ºC
Loading
A battery-powered refrigeration appliance has a cooling capacity lower than typical AC units.
Because the compressor is small, the unit runs more efficiently, but lacks the ability to cool
large, warm loads quickly. Keeping a gallon or two of water in the refrigerator can help cool
large loads quicker. It will also help to cool your food quicker if your food is packaged in
smaller containers rather than large ones. Food packages more than 2 inches thick will cool
slowly. Avoid placing warm foodstuff in contact with cold foodstuff.
This appliance is designed for domestic use only! Specifically for the storage of food and drinks
(foodstuff). It is not intended for commercial or industrial use. Do not store any poisonous items
in the refrigerator, or flammable items near the refrigerator.
Cleaning
If there is any chance of spilling liquid on an electrical component, it is recommended to
disconnect the refrigerator from the electrical power supply. Wash the cabinet with warm water
and a mild soap or detergent. Do not use abrasive or corrosive cleaning agents, chemical
cleaning agents, steel wool or scouring sponges to complete this task as it may cause damage to
the surfaces.
Defrosting
The freezer compartment will become progressively covered with frost. When the ice becomes
very thick on the inner liner (>1”), complete defrosting should be carried out.
Never use sharp metal tools to scrape or chip off frost from the interior compartment as this
could damage the appliance beyond repair. Do not use heat sources, such as electric or gas
heaters to complete the defrost process.
To carry out complete defrosting:
1. Disconnect the appliance from the electrical supply.
2. Have several dry towels or sponges and a bucket ready to collect the melting ice.
3. Remove any stored frozen food and store in refrigerator compartment or in a cooler, or wrap
in several layers of newspaper and store in a cool place.
4. Use a fan and/or warm moist towel to melt the ice in the freezer compartment. Do not use a
sharp object like an ice pick. Leave the refrigerator door closed
5. When defrosting is complete, wash and dry the interior thoroughly.
6. Reconnect the appliance to the electrical supply and leave running (while empty) for 1 hour
or until the internal freezer temperature is below –5C.
7. Replace the previously removed foodstuff.
Replacing light bulb
1 Disconnect the appliance from the electrical power supply.
Page 6
6
2 Remove the plastic light cover by sliding it back towards the rear of the cabinet.
SYMPTOM
SOLUTION
Appliance
connected to
power, but does
not operate
Check if 12 or 24V DC is present at the appliance. If not, check all
connections and the system battery voltage
Check that the polarity is correct “+” is connected to “+” and “–“ to “–“.
Check the fuse. If blown, replace with a new one.
Appliance is
operating, but the
interior is not
cold.
Allow the appliance at least 4 hrs from initial turn-on to become cold.
Has too much warm foodstuff recently been placed in the cabinet? If so,
it is normal to not be cold and it will take time to return to temperature.
Does the cabinet have adequate ventilation around the back walls
allowing it to transfer heat properly?
Are the doors fully closed?
Excessive frost
Is the weather hot and humid? If so, this will increase the rate of frost
3 Replace with a new bulb (max 5 Watt) and replace plastic light cover
4 Reconnect to the electrical power supply.
NOTE: All units are shipped with a LED light which automatically works for both 12 or 24V
systems.
At the end of the appliance life
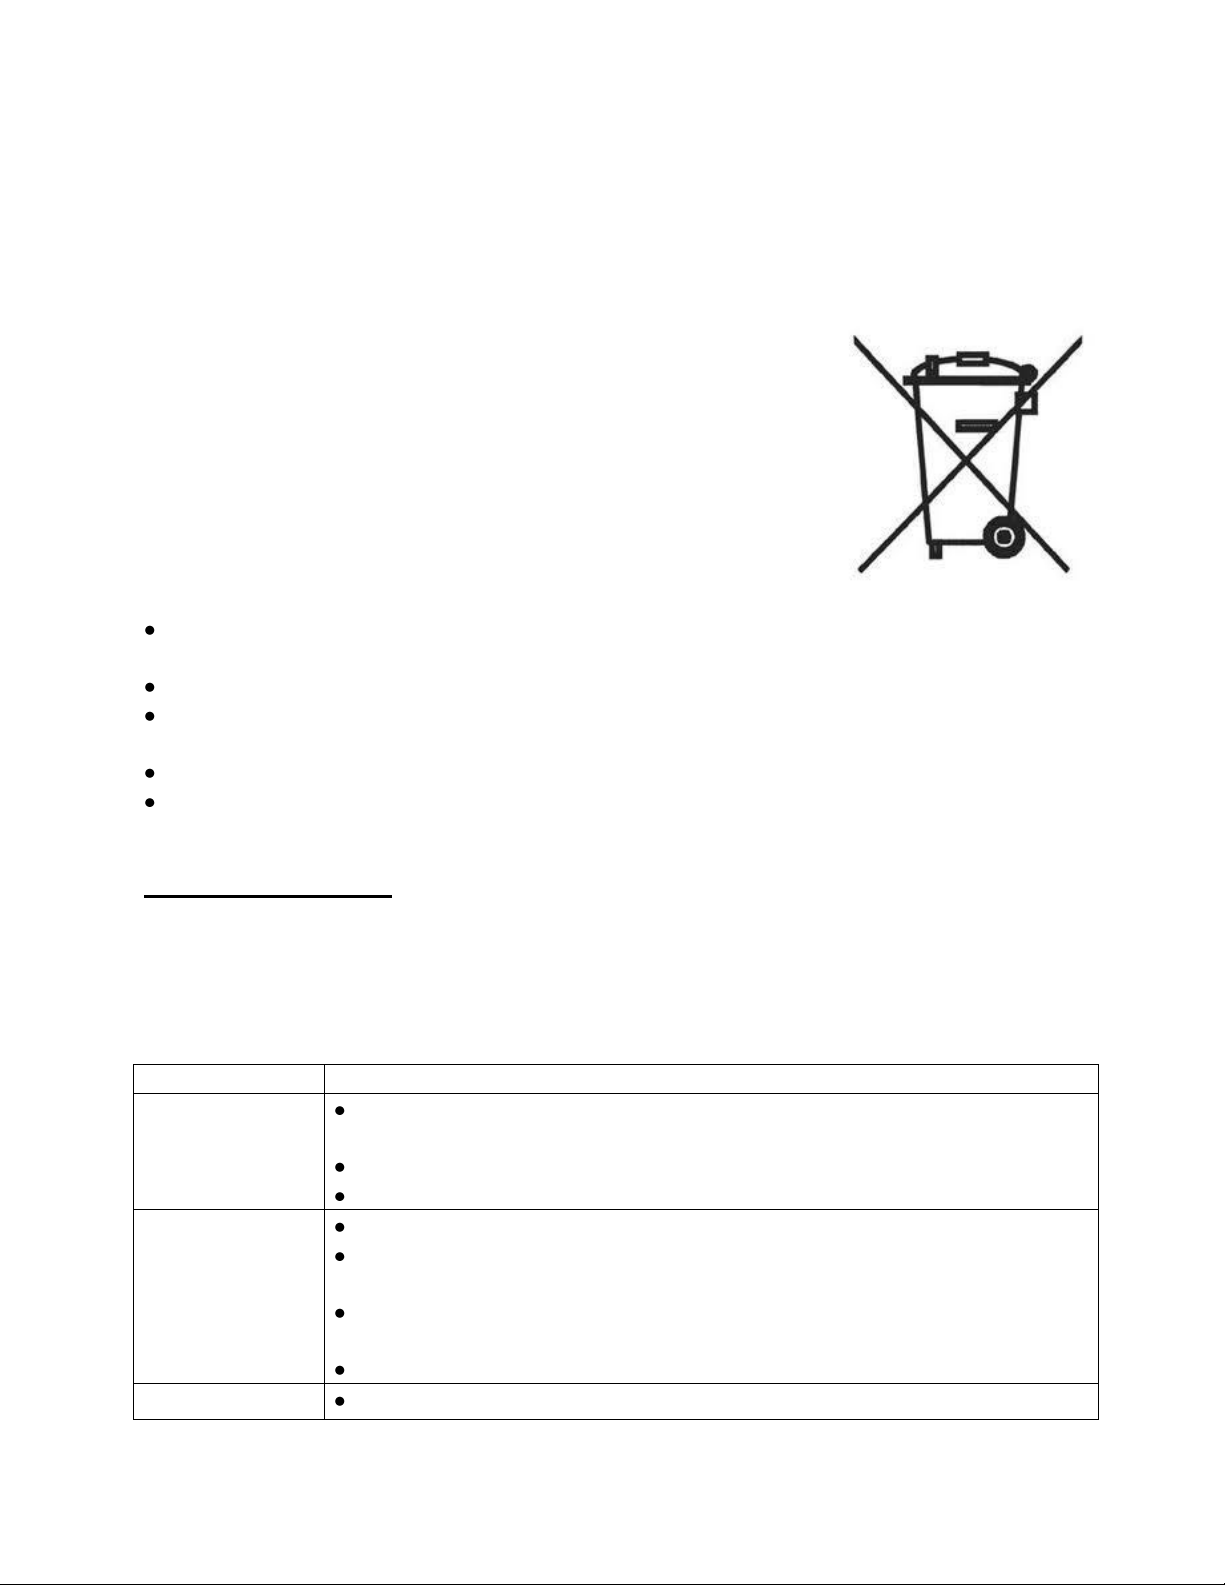
When disposing of your appliance, use an authorized disposal site.
The refrigerant must be completely drained and collected by an
authorized technician for recycling prior to disposal. Check with
your local Environmental Agency for recommendations on recycling
this appliance in your area. Remove the electrical connection wiring
and also ensure that the door is removed to prevent young children
from playing inside and potentially suffocating.
Energy Saving Advice
Install the appliance in a cool location in the house and avoid exposure of the appliance to
direct sunlight.
Allow adequate spacing around the rear of the cabinet for air circulation (3in. or 7.5cm)
Avoid unnecessary frosting in the cabinet by packing all food and liquids in airtight packages
or containers.
Minimize the time and frequency of door opening.
Ensure there are no obstructions preventing the doors from closing properly and forming a
tight seal.
TROUBLESHOOTING
Before contacting a service technician, SunDanzer or your local product dealer, check the
following points. Most issues can be resolved over the phone by calling SunDanzer. If you call
a technician to repair a fault without authorization from SunDanzer, SunDanzer may not cover
the cost, even if the appliance is under warranty. Please read the SunDanzer warrantee.
Page 7

7
and ice has built
up.
build up in the cabinet.
Ensure that foodstuff is properly packaged.
Check that the doors are closed and have a good seal, and that nothing is
preventing the doors from closing properly.
Large quantities of food have recently been placed in the cabinet/and or
the lid is frequently opened.
Ensure that advised periodic cleaning has been carried out.
CUSTOMER RESPONSIBILITIES
Proper power supply, fuse, wiring, and connections.
Service required as a result of misuse or lightning.
Replacement of light bulbs.
WARRANTY
SunDanzer Refrigeration warrants, to the original owner, that this product is free from defects in
workmanship and material for a period of two years from the purchase date. This warranty shall
be limited to repairing or replacing, at SunDanzer’s option and without charge to the purchaser,
defective components. All warranty work shall be performed at a SunDanzer approved facility.
Shipping charges related to returning the product to the SunDanzer facility are not covered
under this warranty. However, this warranty covers shipping charges related to returning the
repaired product to the customer within the continental United States. Outside the continental
United States, all shipping charges are the responsibility of the customer and are not covered by
this warranty. This warranty does not apply to damage or wear to the product caused by
accident, abuse, misuse, neglect, unauthorized alteration or repair, or if the product was not
installed in accordance with SunDanzer printed installation and operating instructions. To
obtain service under this warranty, the defective product must be returned to SunDanzer
together with a return material authorization (RMA) number. Any product repaired or replaced
under this warranty will be warranted for the balance of the warranty period with respect to the
original purchased product. SunDanzer Refrigeration will not be liable for any incidental or
consequential damages, losses, or expenses arising from installation, use or any other causes.
There are no express or implied warranties, including merchantability or fitness for a particular
purpose, which extend beyond those warranties described or referred to above.
For warranty claims or additional information, contact:
SunDanzer Refrigeration Inc.
11135 Dyer Ste. C
El Paso, TX 79934
915-821-0042
775-201-0236 (fax)
www.sundanzer.com
 Loading...