

Page 1
FREEZER
Model: SCFF1842
Owner’s Manual
BEFORE USE, PLEASE READ AND FOLLOW
ALL SAFETY RULES AND OPERATING INSTRUCTIONS
Write the Serial Number here:
_______________________
Felix Storch, Inc.
Summit Appliance Division
770 Garrison A v enue
Bronx, NY 10474
www.summitappliance.com
Page 2

TABLE OF CONTENTS
Important Safeguards ....................................................................................... 3 – 4
Technical Information ............................................................................................. 4
Installation Instructions .......................................................................................... 5
Before Using Your Freezer .................................................................................. 5
Installation of Your Freezer ................................................................................. 5
Reversing the Door Swing of the Freezer ........................................................... 5
Operating Your Freezer ..................................................................................... 6 – 7
Control Panel ...................................................................................................... 6
“Fast Freeze” Function ........................................................................................ 7
Defrosting ............................................................................................................ 7
Care and Maintenance ............................................................................................ 8
Cleaning Your Freez er ........................................................................................ 8
Power Failure ...................................................................................................... 8
Vacatio n T im e ..................................................................................................... 8
Transporting Your Freezer ................................................................................... 8
Energy-Saving Ti ps ............................................................................................. 8
Problems with Your Freezer ................................................................................... 9
Limited Warranty ................................................................................................... 12
2
Page 3
IMPORTANT SAFEGUARDS
Before the appliance is used, it must be properly positioned and installed as
described in this manual, so read the manual carefully. To reduce the risk of fire,
electrical shock or injury when using the appliance, follow basic precautions,
including the following:
• Read all instructions before using the freezer.
• Plug into a grounded 3-prong outlet, do not remove grounding prong, do not use an adapter, and do
not use an extension cord.
• Replace all panels before operating.
• It is recommended that a separate circuit serving only your appliance be provided. Use receptacles
that cannot be turned off by a switch or pull chain.
• Never clean appliance parts with flammable fluids. These fumes can create a fire hazard or explosion.
And do not store or use gasoline or other flammable vapors and liquids in the vicinity of this or any
other appliance. The fumes can create a fire hazard or explosion.
• Do not connect or disconnect the electric plug when your hands are wet.
• Unplug the appliance or disconnect power before cleaning or servicing. Failure to do so can result in
electrical shock or death.
• Do not attempt to repair or replace any part of your appliance unless it is specifically recommended in
this manual. All other servicing should be referred to a qualified technician.
DANGER: Risk of child ent rapment!
Child entrapment and suffocation are not problems of the past. Junked or abandoned
appliances are still danger ous…even if they will “just sit in t he gar age a few days”.
Before you throw away your old freezer or any appliance :
Remove the door.
Leave the shelves in place so t hat chi ldr en may not easily climb insid e.
FOLLOW WARNING CALLOUTS BELOW ONLY WHEN APPLICABLE TO YOUR MODEL
• Use two or more people to move and install appliance. Failure to do so can result in back or other
injury.
• To ensure proper ventilation for your appliance, the front of the unit must be completely unobstructed.
Choose a well-ventilated area with temperatures above 44°F (7°C) and below 90°F (32°C).
• The appliance should not be located next to ovens, grills or other sources of high heat.
• The appliance must be installed with all electrical, water and drain connections in accordance with
state and local codes. A standard electrical supply (115 V AC only, 60 Hz), properly grounded in
accordance with the National Electrical Code and local codes and ordinances, is required.
• Do not kink or pinch the power supply cord of the appliance.
• The size of the fuse (or circuit breaker) should be 15 amperes.
• It is important that the appliance be leveled in order to work properly. You may need to make several
3
Page 4
adjustments to level it.
• All installations must be in accordance with local plumbing code requirements.
• Make certain that the pipes are not pinched, kinked or damaged during installation.
• Check for leaks after connection.
• Never allow children to operate, play with or crawl inside the appliance.
• Do not use solvent-based cleaning agents or abrasives on the interior. These cleaners may damage or
discolor the interior.
• Use this appliance only for its intended purpose as described in this Owner’s Manual.
• Keep fingers out of the “pinch point” areas. Clearances between the door and cabinet are necessarily
small. Be careful closing door when children are in the area.
• Technical specifications are subject to change without notice.
– SAVE THESE INSTRUCTIONS –
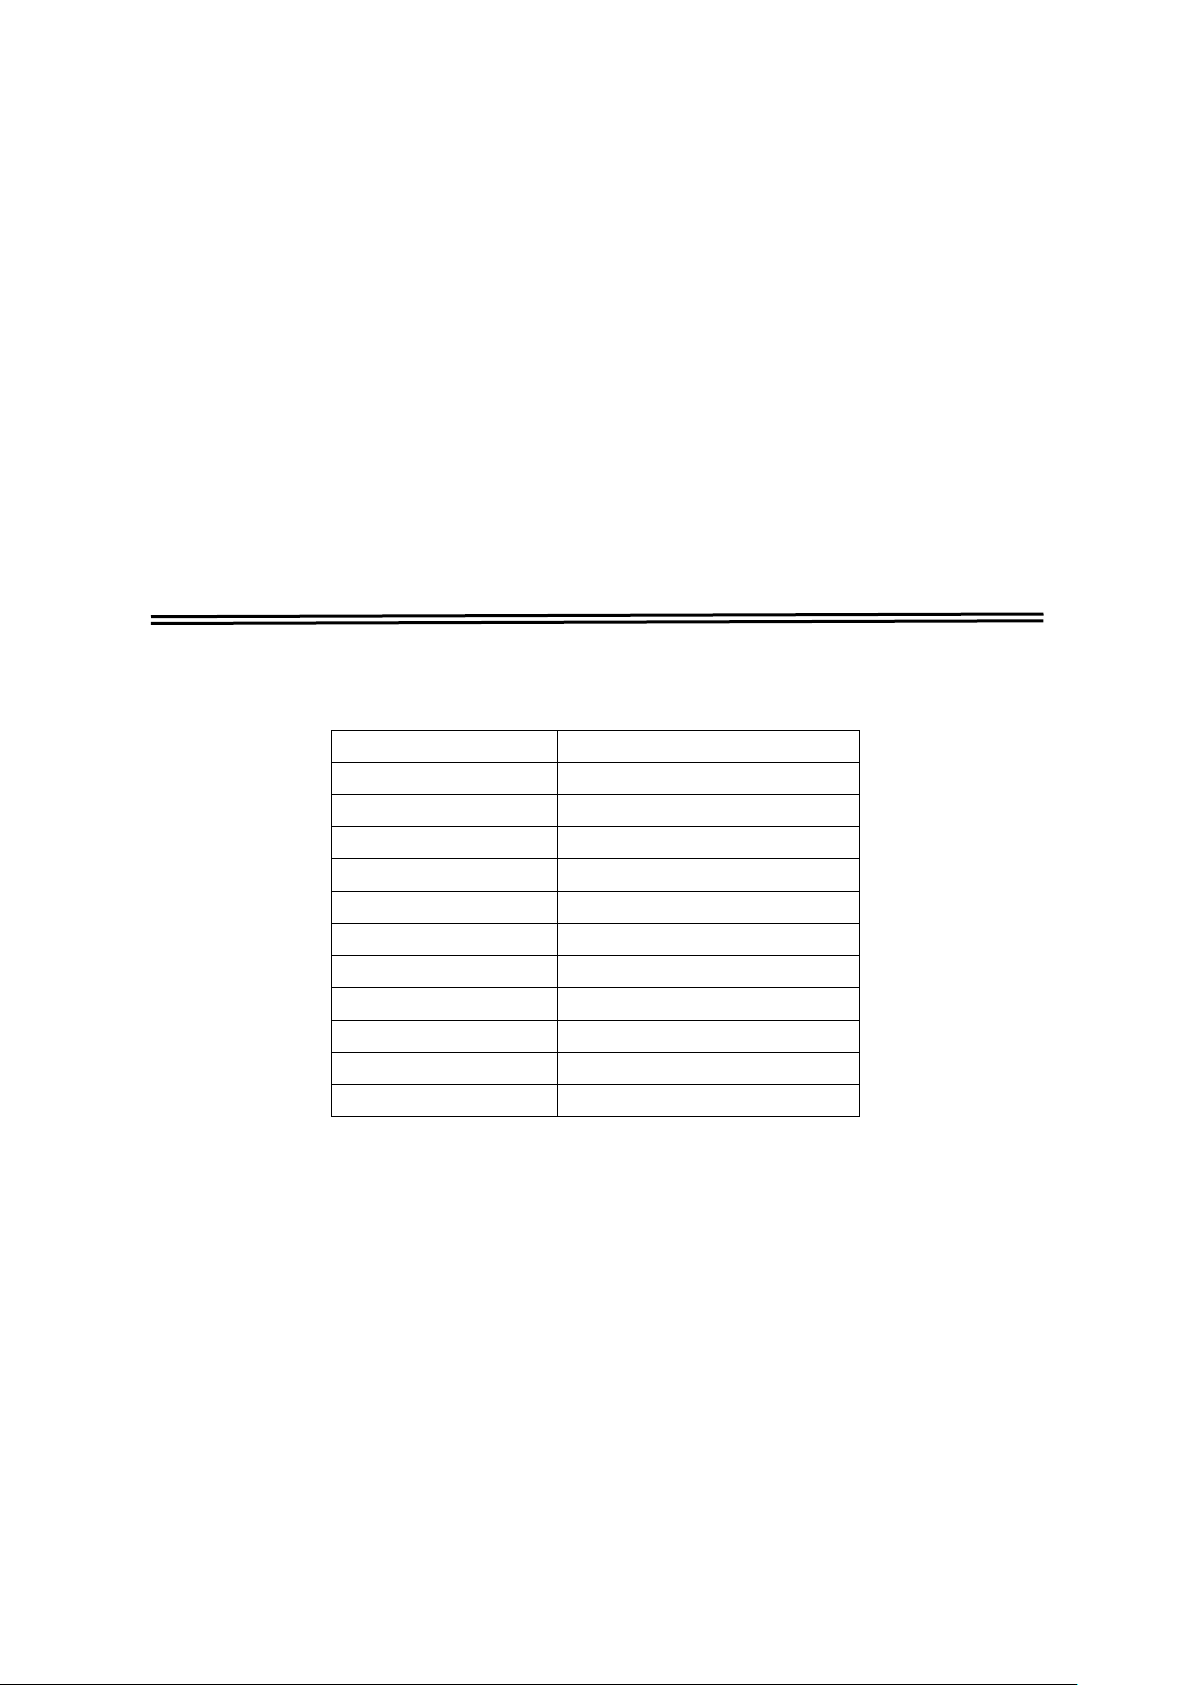
TECHNICAL INFORMATION
Model SCFF1842
Type All-freezer
Color Black
Rated Vo lt age 115V / 60Hz
Rated Current 1.1A
Power Input 130W
Power of Heater 160W
Refrigerant R134a (3.9 oz.)
Defrost T ype Automatic
Net Weight 81.5 lbs.
Unit Dimensions 17.7”W x 24”D x 34.2”H
T estin g Agency ETL
4
Page 5

INSTALLATION INSTRUCTIONS
Before Using Your Freezer
1. Remove the exterior and int er ior packing.
2. Before connecting the freezer to the power source, let it stand upright for approximately
2 hours. This will redu ce t he possibility of a malfunction in the cooling syste m fr o m
handling during transportation.
3. Clean the interior surface with lukewarm water using a soft cloth.
4. Install the handle on the l eft side of the door.
Installation of Y our Freezer
• This appliance is designed for free standing or built-in (fully recessed) installation.
• Place your freezer on a floor that is st r ong enough to support it when it is fully loaded. To level your
freezer, adjust the front leveling legs.
• For free-standing installation, 5” (127mm) of space between the back and sides of the unit, and 4”
(102mm) at the top, are sugge sted, w hich a llows t he proper air c ircu lati on to cool the c o mpres sor an d
condenser. Even for built-in installation, it is a must to keep ¼” (6.35mm) space on each side and at
the top and 2” (51mm) at the rear. If the unit has an air vent at the front, take care that it is never
covered or blocked in any way.
• Locate the freezer away from direct sunlight and sources of h eat ( st ove, heater, radiator, etc.). Direct
sunlight may affect t he acrylic coating and heat so urces may increase electr i cal consumption.
Extremely cold ambient temperatures may also cau se t he unit not to perform proper ly.
• Avoid locating the unit in moist ar eas.
• Plug the freezer into an exclusive, properly installed-groun ded wall outlet. Do not under any
circumstances cut or r emove the third (ground) prong from the power cord. Any questions concerning
power and/or grounding should be directed toward a ce r t ified or authorized product service center.
Reversing the Door Swing of the Freezer
This appliance has the ca p abil ity of t he door op enin g fro m either t he left or rig ht side. Th e un it is d eliver ed
to you with the door opening from the le ft side. Shou ld y ou desire to r ever se the open ing d irection, pleas e
follow the instructions bel ow:
1. Carefully lay the freezer on its back. Use cushion in g to protect the floor and appliance.
2. With the door shut, use a screwdriver to loosen the screw on the lower part of the door, and take off
the right side hinge plate.
3. Take off the door, and remove the right side hinge at same time.
4. Take the left side hinge and screw it to the door
5. Install the left hinge plate to the door
6. Fit the door with left hinge plate into the upper door hinge.
7. Fit the door into the lower left hinge and screw the hinge into place.
8. When the door is in place, open it and gently remove the door gasket.
9. Loosen the screws holding the handle, move the ha ndle to the other side and refasten it there with the
screws.
10. Replace the gasket and be sure the door can close properly.
5
Page 6

OPERATING YOUR FREEZER
Control Panel
The freezer should be pl aced where the ambient temp er at ur e is between 61 and 86°F (16 to 30°C). If the
ambient temperature is ab ove or below this range, the per formance of the unit may be affect ed. For
example, placing your un it in extr emely cold or hot c ond itions m ay cause int erior temper ature t o fluctu at e.
Control panel
ON/OFF Power
To turn the appliance on or off, press the ON/OFF button.
Setting the Temperature Control
• Connect the power cord to a properly grounded outlet. In the event of a power interruption, all
previous temperature settings are automatically erased and the compartment will default to a
preset temperature setting of -18°C (0.4°F).
• Set the desired cooling temperature by pressing the corresponding button
depression of the buttons w ill raise or lower t he temperatur e setting by 1 degree. The temperature
selected will flash in the LED display for approximately 5 seconds, then revert back to display the
temperature of the interior cabinet.
NOTES:
• The temperature setting can be adjusted from -10°C to -30°C(from 14°F to -22°F).
• To view the “set” temperature anytime, press
in the LED display for 5 seconds.
• This unit has the option of displaying temperatures in either Celsius or Fahrenheit. To change
the setting, press the °C/°F button.
• The temperature inside the cabinet may vary s lightly depending on whether stored items are
located in the upper/midd l e or low er section.
or once. The “set” temperature will flash
or . Each
6
Page 7

“Fast Freeze” Function
If you press and hold the °C/°F button for 3 se con ds, t he unit will enter the “Fast Freeze” mode. In this
mode, press the and buttons to set the fast freezing time. The setting time range is 1 to 10
hours, and the defau lt se t t ing time is 3 hours. If you set the fast freezing time longer than 4 hours, the
unit will defrost itself at the end of the “Fast Freeze” cycle. To stop the “Fast Freeze” function, again
press the °C/°F button an d hol d it for at least 3 seconds.
Defrosting
The freezer defrosts itself automatically every 14 hours (except when in the “Fast Freeze” mode); the
defrost cycle lasts about 40 minutes. Melt water from the defrosting collects in a drip tray where it is
evaporated. During the process of defrosting, the temperature display may be higher than the set
temperature.
NOTES:
• If the unit is unplugged, turned off or if there is a power failure, you must wait 3 to 5 minutes
before restarting the unit. If you attempt to restart before this time delay, the freezer will not
work.
• When you use the freezer for the first time, or restart it after it has been shut off for a long t im e,
there could be a few degrees variance between the temperature you select and the one
indicated on the LED readout. This is normal and is due to the length of the inactivation time.
Once the freezer has been running for a few hours, everything should normalize.
7
Page 8

CARE AND MAINTENANCE
Cleaning Your Freezer
• Turn off the pow er, unplug the appliance, and remove all items incl uding shelves and racks.
• Wa sh the inside surfaces with a warm water and baking soda solution. Prepare the solution by
mixing about 2 tablespoons of baking soda with a quart of water.
• Wa sh the shelves with a mil d det er gent solution.
• Wri ng excess water out of the sponge or cloth when cleanin g the area of the controls, or any
electrical parts.
• Wa sh the outside c abinet with warm and mild l iq uid detergent. Rinse well and wipe dry with a
clean soft cloth.
Power Failure
Most power failures are corr ect ed within a few hours and shoul d not affect the temperature
of your appliance if you minim ize the number of times the door is opened. If your power is going
to be off for a longer perio d of time, you need to ta ke t he pr oper steps to protect the contents
of the freezer.
Vacation Time
Leave the freezer operating during vacations of less than t hr ee weeks. If you turn off the
freezer for an extended period, leav e t he door slightly ajar to prevent the buildup of odors.
T ransporting Your Freezer
If you need to move your freezer once the box has been discarded:
1. Securely tape down al l lo ose items (shelves) insi de your appliance.
2. Turn the adjustable leg up t o t he base t o avoid damage.
3. Tape the door shut.
4. Be sure the appliance stays secure in the upright position during transportation. Also protect the
outside of the applian ce with a blanket or similar item.
Energy-Saving Tips
The freezer should be lo cated in the coolest area of t he r oom, aw ay from heat-producing appliances
and out of direct sunlight.
8
Page 9

Not plugged in.
has blown.
Check the temperature co nt r ol set t ing.
The door gasket does not seal pr operly.
The room temperature is hotter than
The door gasket does not seal pr operly.
Check to be sure that the freezer is
level.
Some noise may come from the flow of
The freezer is not level.
The freezer is not level.
PROBLEMS WITH YOUR FREEZER
You can solve ma ny common freezer problems easily, saving you the cost of a possible service
call. T r y the suggestions below to see if you ca n solve the problem before calling the servicer.
TROUBLESHOOTING GUIDE
PROBLEM POSSIBLE CAU SE
Freezer does not operate.
The appliance is turned off.
The circuit breaker has tripped or a fuse
Freezer is not cold enough.
External environment may require a
higher setting.
The door is opened too often.
The door is not closed completely.
Turns on and off frequently.
normal.
A larg e amount of content s has been
added to the freezer.
The door is opened too often.
The door is not closed completely.
The temperature control i s not set
correctly.
Vibrations
Freezer seems to make too much noise.
The door will not close proper ly.
the refrigerant, which is nor m al.
As each cycle ends, you may hear
gurgling sounds caused by the flow
of refrigerant in your freezer.
Contraction and expansion of the inside
walls may cause popping and
crackling noises.
The door was reversed and not pr operly
reinstalled.
The gasket is dirty.
The shelves are out of posit io n.
9
Page 10

NOTES
10
Page 11

NOTES
11
Page 12

WARNING! This product may contain chemicals known to the state of California to cause
productive harm. For more information, visit:
Chemicals known by the manufacturer to be present in this product in concentrations higher
LIMITED WARRANTY
ONE-YEAR LIMITED WARRANTY
Within the 48 contiguous United States, for one year from the date of purchase, when this appliance is operated and
maintained according to instructions attached to or furnished with the product, warrantor will pay for factory-specified parts
and repair labor to corr ect defe cts i n materia ls or w orkmansh ip. Ser vice must b e prov ided by a designate d servi ce comp any.
Outside the 48 states, all parts are warranted for one year from manufacturing defects. Plastic parts, shelves and cabinets
are warranted to be manufactured to commercially acceptable standards, and are not covered from damage during
handling or breakage.
5-YEARS COMPRESSOR WARRANTY
1. The compressor is covered for 5 years.
2. Replacement does not include labor.
ITEMS WARRANTOR WILL NOT PAY FOR:
1. Service call s to correct th e installation of your ap plianc e, to i nstruc t you how to use y our app liance, t o repl ace or rep air
fuses or to correct wiring or plumbing.
2. Service calls to repair or replace appliance light bulbs or broken shelves. Consumable parts (such as filters) are
excluded from warranty coverage.
3. Damage resulting from accident, alteration, misuse, abuse, fire, flood, acts of God, improper installation, installation
not in accordance with electrical or plumbing codes, or use of products not approved by warrantor.
4. Replacement parts or repair labor costs for units operated outside the United States.
5. Repair s to parts or systems resulting fr om una uthor iz ed mod ific ations made to the appliance.
6. Expenses for travel and transportation for product service in remote locations.
7. The removal and reinstallation of your appliance if it is installed in an inaccessible location or is not installed in
accordance with published installation instructions.
DISCLAIMER OF IMPLIED WARRANTIES – LIMITATION OF REMEDIES
CUSTOMER'S SOLE AND EXCLUSIVE RE MEDY UNDER THIS LIMITED WARRANTY SHALL BE PRODUCT REPAIR AS PROVIDED
HEREIN. IMPLIED WARRANTIES, INCLUDING WARRANTIES OF MERCHANTABILITY OR FITNESS FOR A PARTICULAR PURPOSE,
ARE LIMITED TO ONE YEAR. WARRANTOR SHALL NOT BE LIABLE FOR INCIDENTAL OR CONSEQUENTIAL DAMAGES. SOME
STATES DO NOT ALLOW THE EXCLUSION OR LIMITATION OF INCIDENTAL OR CONSEQUENTIAL DAMAGES, OR LIMITATIONS
ON THE DURATION OF IMPLIED WARRANTIES OF MERCHANTABILITY OR FITNESS, SO THESE EXCLUSIONS OR LIMITATI ONS
MAY NOT APPLY TO YOU. THIS WARRANTY GIVES YOU SPECIFIC LEGAL RIGHTS AND YOU MAY ALSO HAVE OTHER RIGHTS,
WHICH VARY FROM STATE TO STATE.
cancer or birth defects or other re
www.summitappliance.com/prop65
than threshold limits: NONE.
FELIX STORCH, INC.
770 Garrison Avenue
Bronx, NY 10474
Phone: (718) 893-3900
Fax: (844) 478-8799
www.summitappliance.com
For parts and accessory ordering,
troubleshooting and helpful hints, visit:
www.summitappliance.com/support
12
Printed in China
 Loading...