

Page 1
User Guide
Page 2
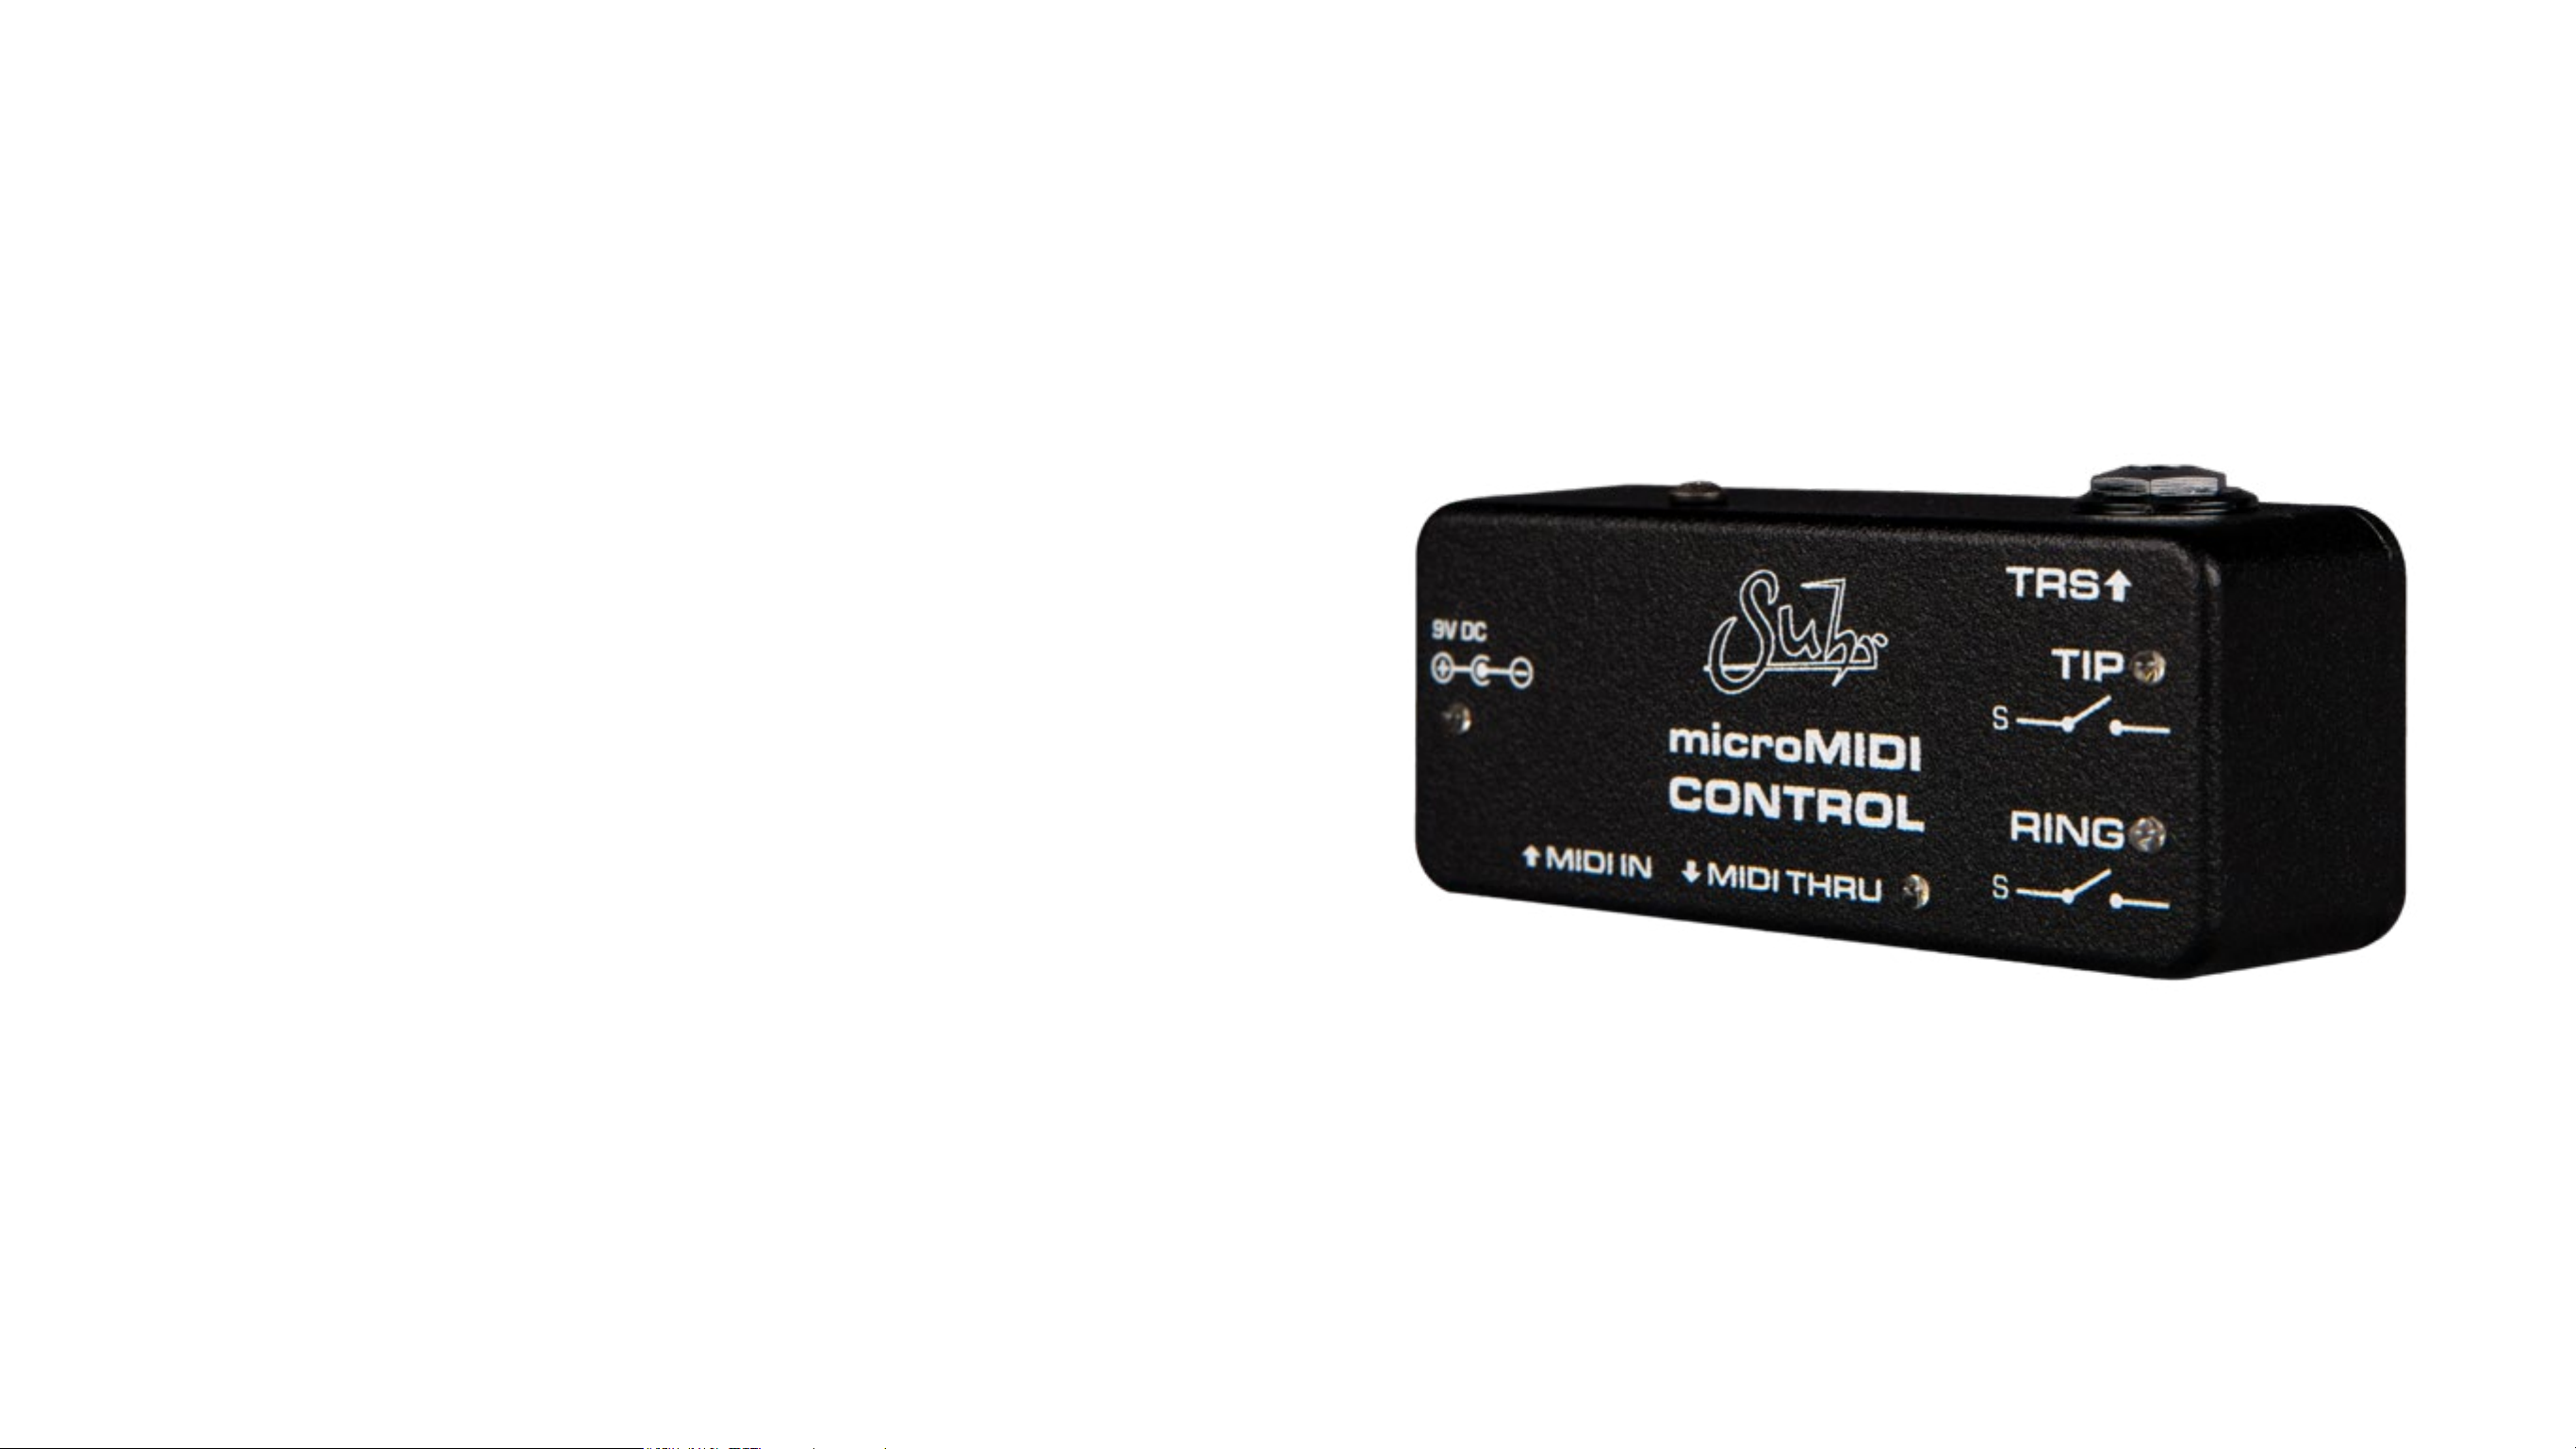
Table of Contents
Overview � � � � � � � � � � � � � � � � � � � � � � � � � � � � � � � � � � � � � � � � � � � � � � � � � � � �3
Uses & Features � � � � � � � � � � � � � � � � � � � � � � � � � � � � � � � � � � � � � � � � � � � � � �4
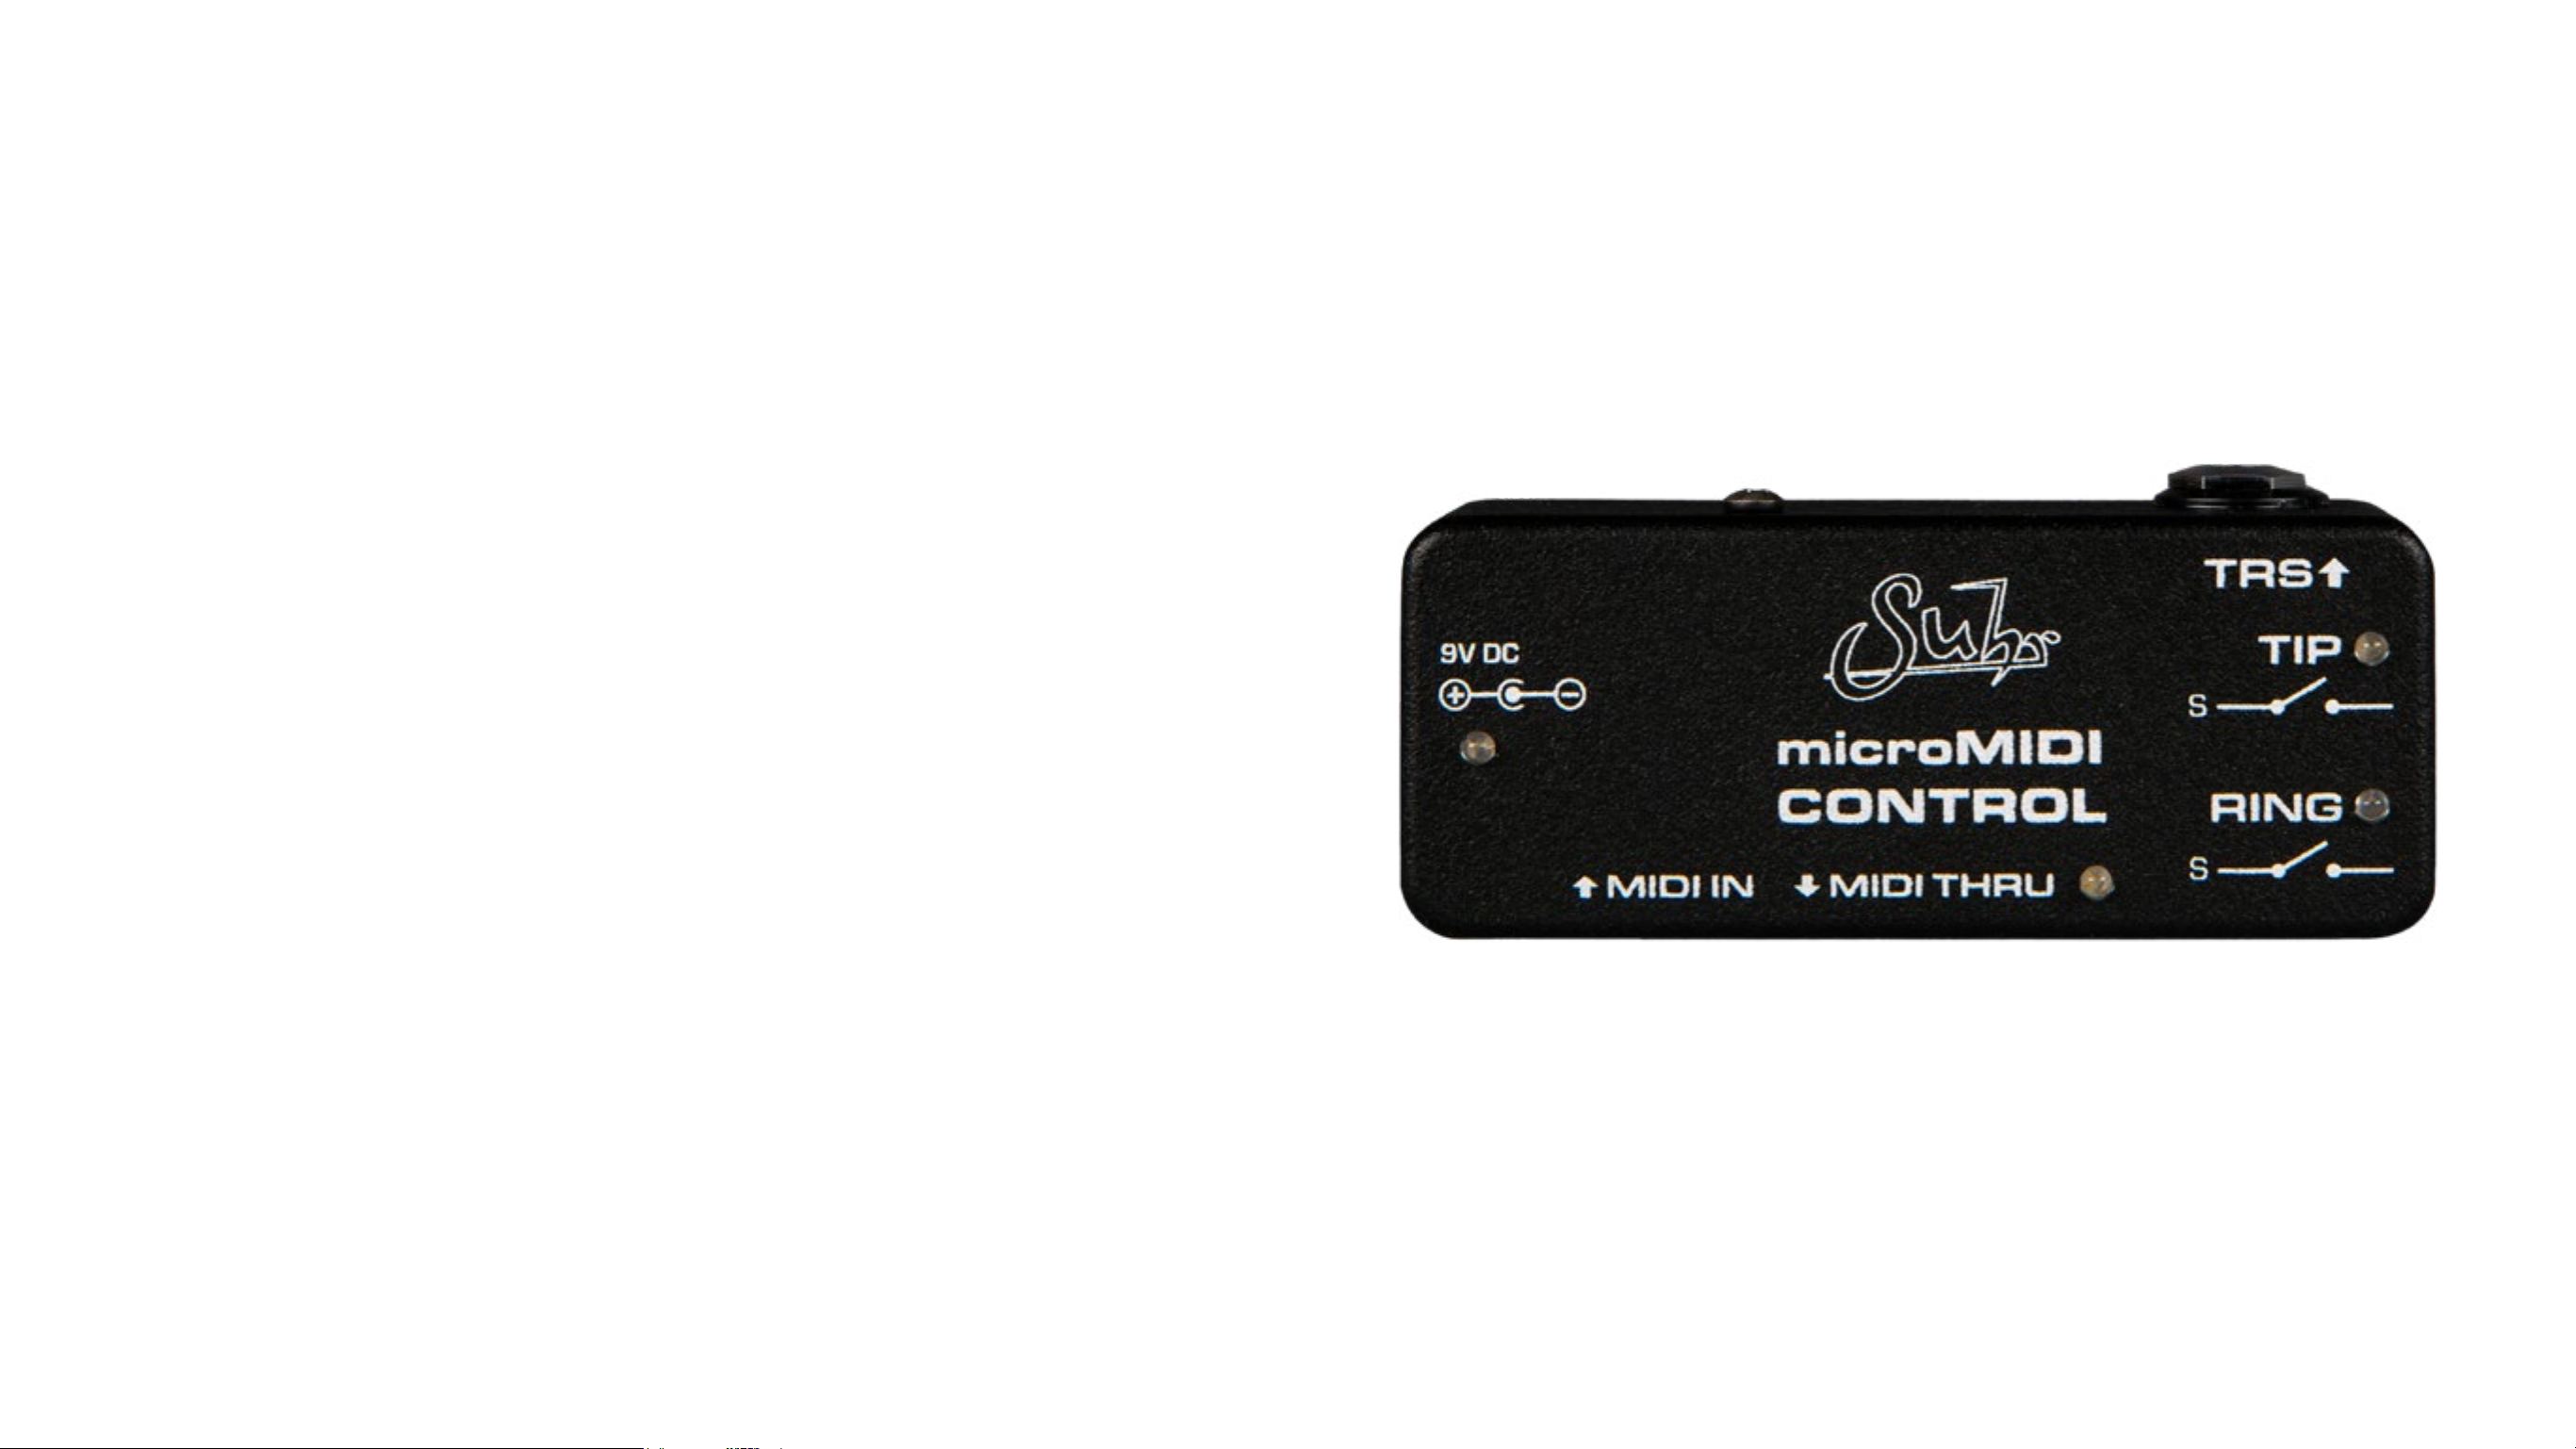
Front Panel Overview � � � � � � � � � � � � � � � � � � � � � � � � � � � � � � � � � � � � � � � � � �5
Setting MIDI Channel � � � � � � � � � � � � � � � � � � � � � � � � � � � � � � � � � � � � � � � � � � � � 6
How to connect microMIDI to an amp � � � � � � � � � � � � � � � � � � � � � � � � � � � � � �7
How to connect microMIDI to a pedal � � � � � � � � � � � � � � � � � � � � � � � � � � � � � �8
How to connect microMIDI to a DAW � � � � � � � � � � � � � � � � � � � � � � � � � � � � � �9
MIDI Programing Table � � � � � � � � � � � � � � � � � � � � � � � � � � � � � � � � � � � � � � � �10
Technical Specications � � � � � � � � � � � � � � � � � � � � � � � � � � � � � � � � � � � � � � � 11
Warranty � � � � � � � � � � � � � � � � � � � � � � � � � � � � � � � � � � � � � � � � � � � � � � � � � � � 11
2
Page 3
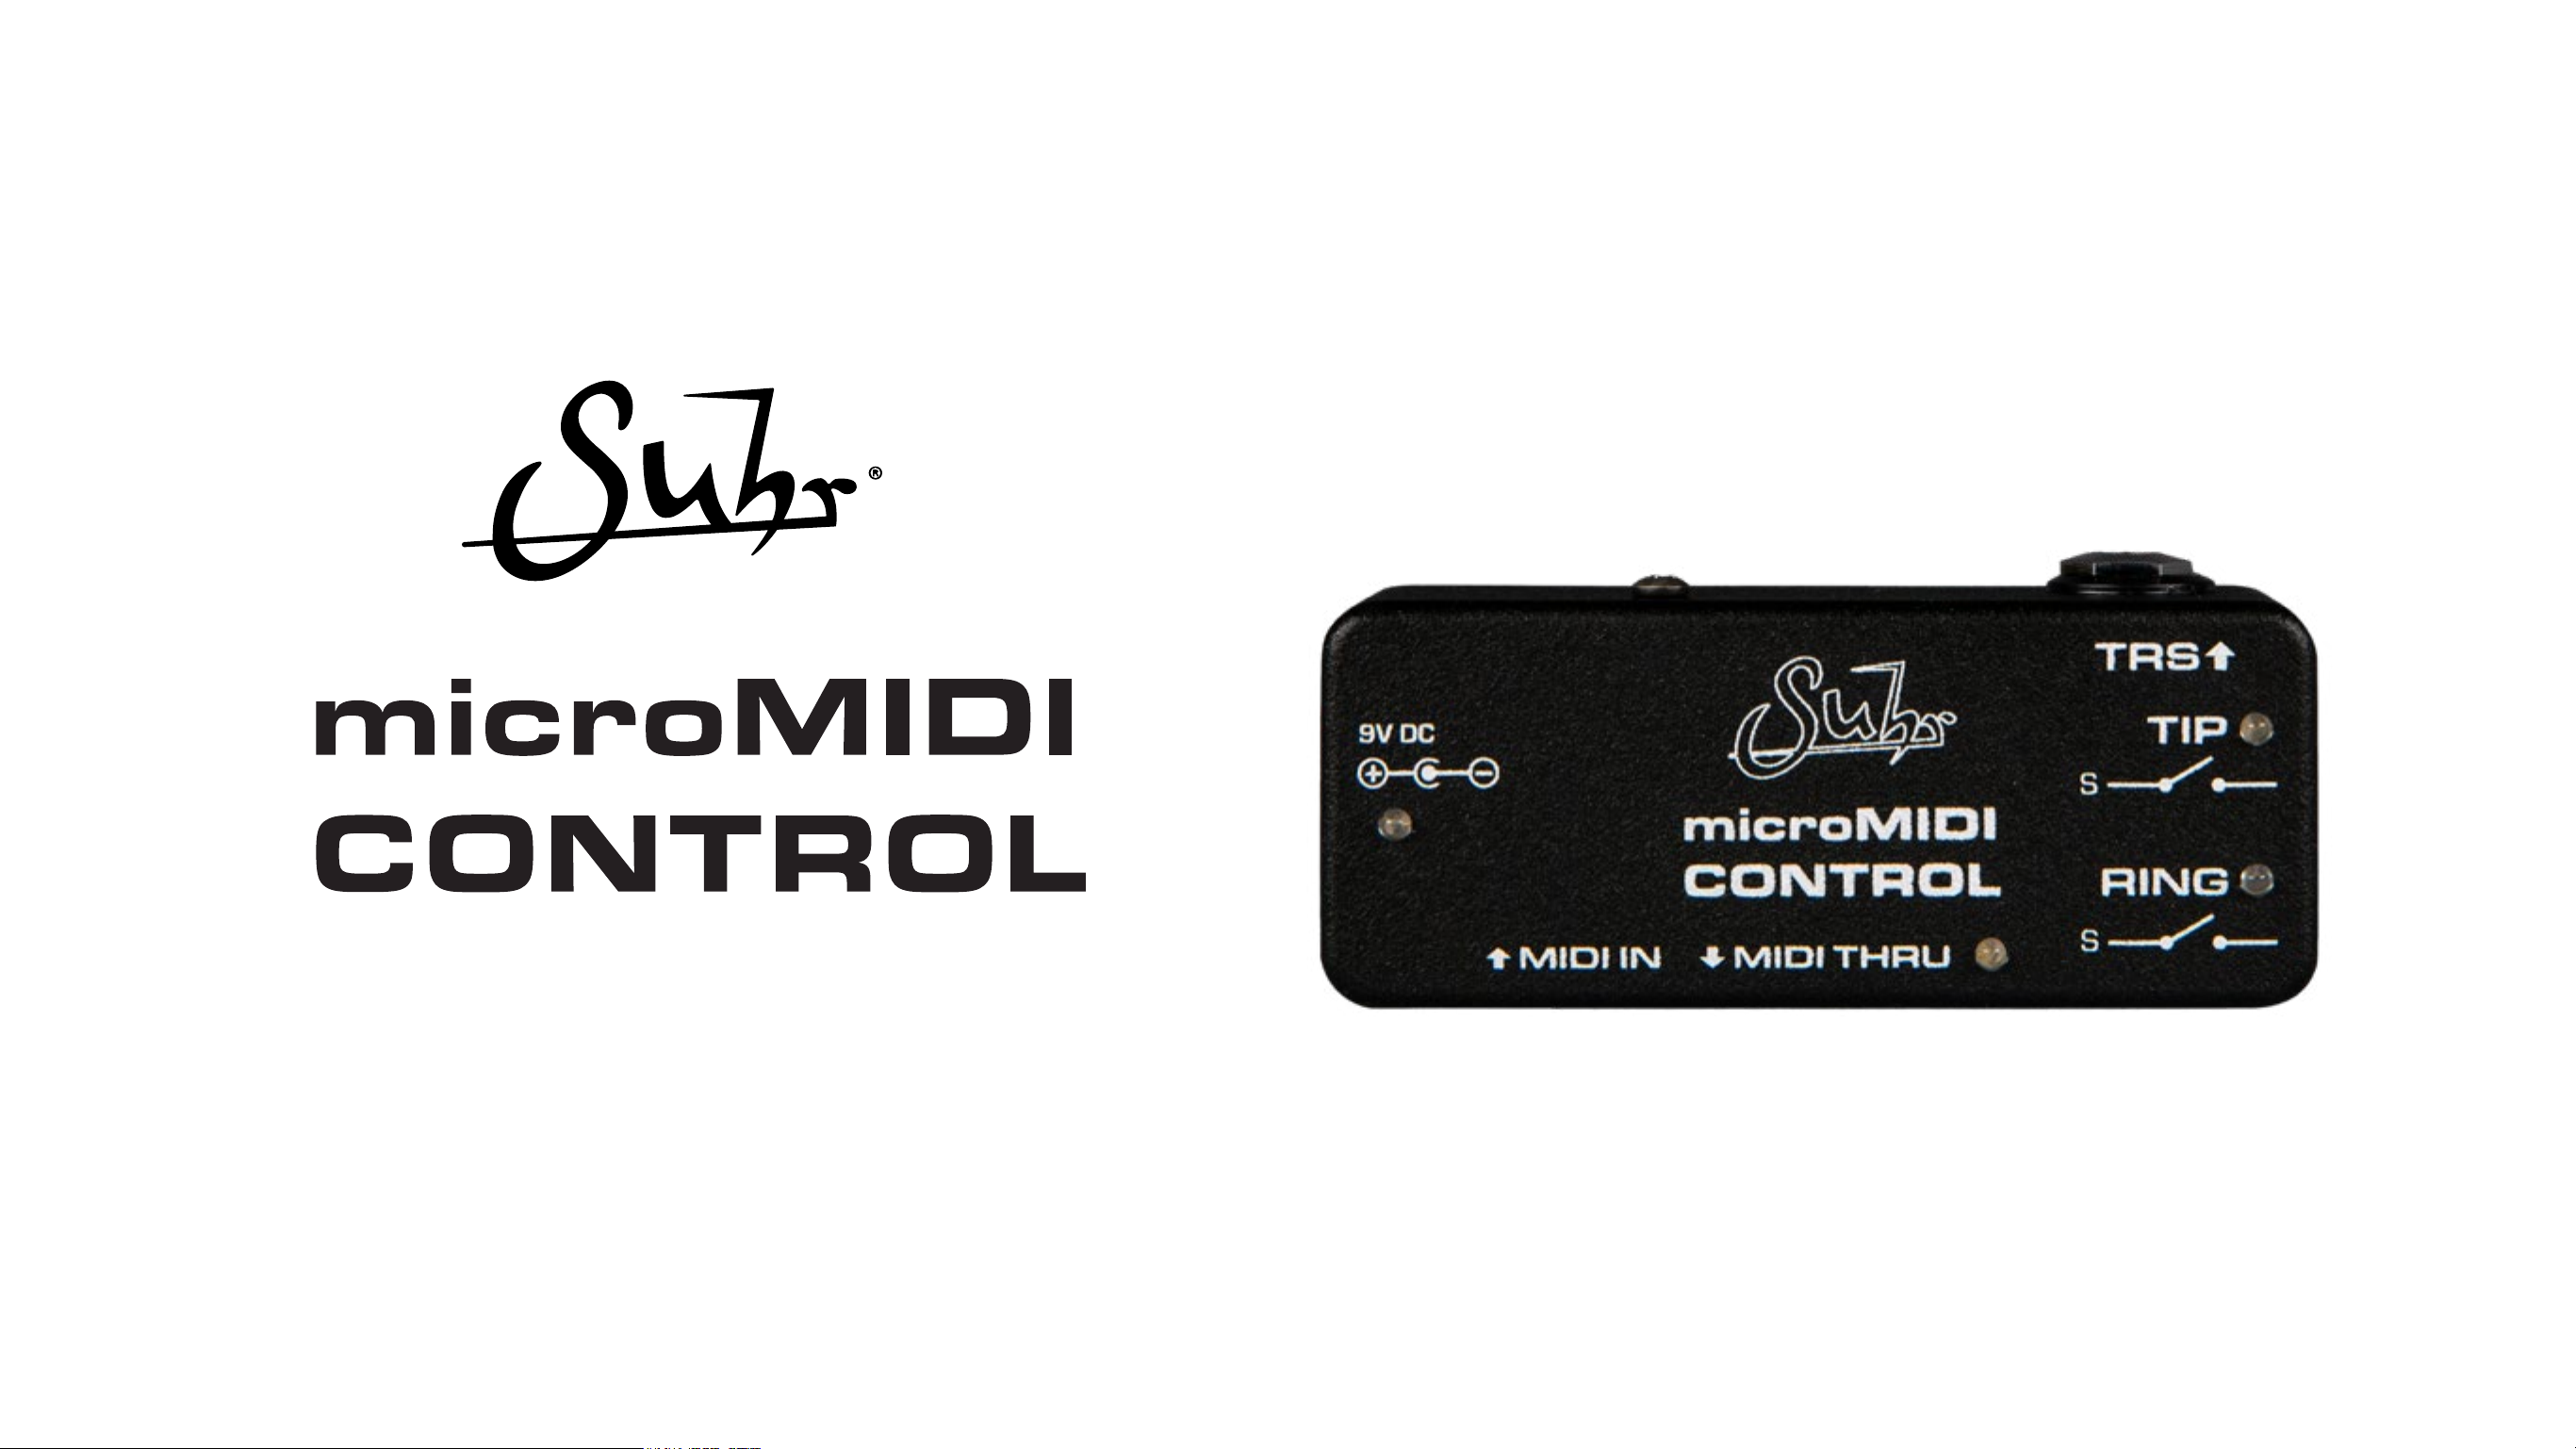
Thank you for purchasing the Suhr microMIDI Control.
Please take the time to read this User Guide to get the most out of the
microMIDI Control. The more you familiarize yourself with the features of
this unit, the more you will enjoy its benets and maximize its potential.
Overview
The Suhr microMIDI Control is a MIDI controllable footswitch replacement,
making it an alternative to the mechanical footswitches that are used to con-
trol ampliers, pedals, or any device that has a footswitch input. Common
examples include amp channel switching (such as the PT15), amp reverb/
boost bypass, delay tap tempo for pedals, and more� Easily control the two
switches on the TRS jack using MIDI from your MIDI foot controller, your
DAW, or other MIDI devices�
The microMIDI Control can accept either Program Change or Control
Change commands and has the ability for momentary, latching, pulse
switching, and predetermined combinations of the two switches� The
microMIDI Control is the smallest of it's kind available today, making it easy
to add to a pedalboard or hidden behind an amplier.
3
Page 4
The Suhr microMIDI can be used in many ways. Here is a short list of
possible uses and features.
Uses & Features
• Silent and reliable MIDI controllable footswitch replacement for Amps, pedals, and other
devices�
• Optically isolated, preventing ground loops in systems whose switch control jacks aren't
isolated from the switcher�
• Ability to switch amplier channels with computer DAW for instant silent switching during
recording�
• Adds control jack to MIDI switchers with no available control jacks�
• Compatible with Program Change (PC) and Control Change (CC) commands�
• Latching, Momentary (using CC), and pulse options of both switches�
• 4 internal switches to change MIDI Channel (1-16) available on the bottom of PCB when
the bottom lid is opened�
• MIDI IN and THRU� The THRU jack is a hardware copy of the MIDI IN jack, eliminating
latency from software THRU methods�
• Powered by standard center-negative 9V DC 2�1mm connector power supplies common
to guitar pedals�
• Less than 12mA current draw�
• The smallest solution currently available on the market�
4
Page 5

TRS Output
9VDC Power & LED
9VDC Center negative, 2.1mm x 5.5mm
(Standard connector for pedals).
Plug in TRS cable or Mono cable (See page 7)
to device that you wish to switch.
TIP LED
Blue LED indicator for
TIP switch (On when
closed, Off when open).
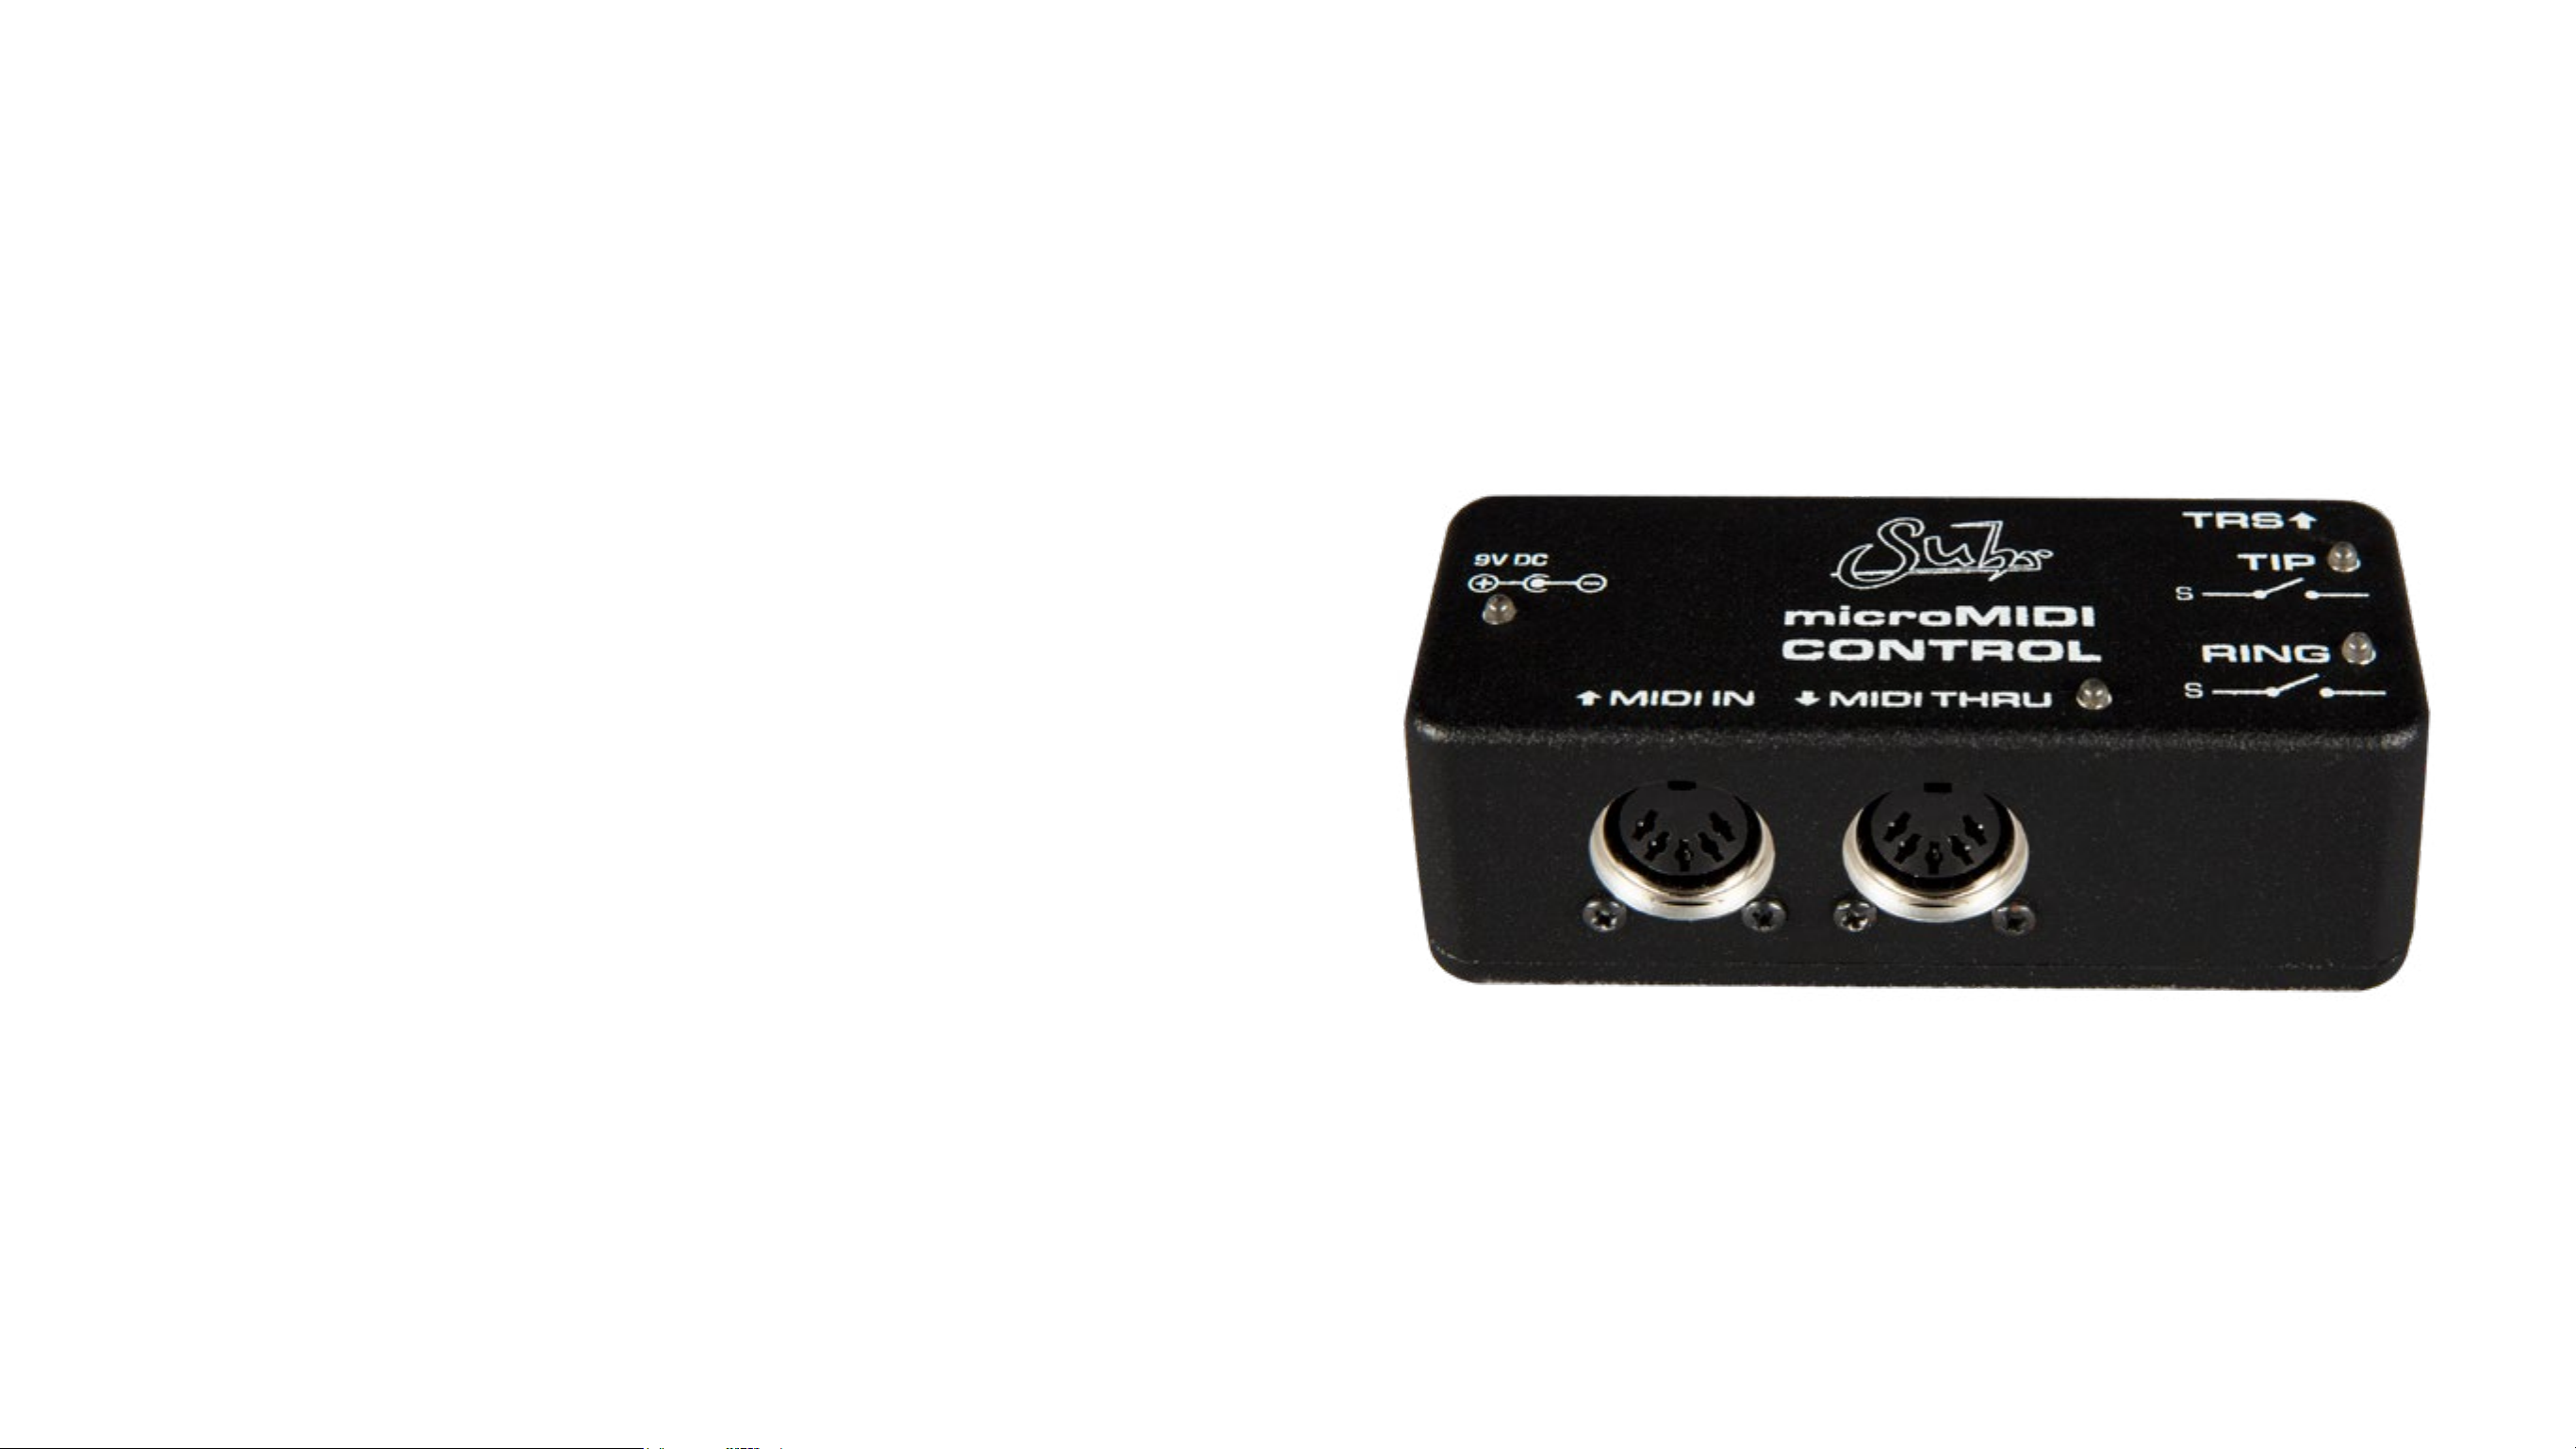
MIDI IN
Plug in 5-pin MIDI cable from MIDI
device that will be used to send MIDI
messages to microMIDI.
RING LED
Red LED indicator for
RING switch (On when
closed, Off when open).
MIDI THRU
MIDI Send/Receive LED
This MIDI output allows MIDI to pass
This green LED indicator pulses when
through to other devices that receive
receiving MIDI messages.
MIDI. THRU jack is a hardware copy
of the MIDI IN jack, eliminating latency
from software THRU methods.
Page 6

Setting MIDI Channel
This section will explain how to set the MIDI channel for the microMIDI�
All microMIDIs will be set from the factory to receive messages on MIDI
channel 1�
Steps:
1� Remove the 4 screws on back of microMIDI�
2� Review the diagram showing the key of MIDI channels and their
corresponding setting for the 4 DIP switches�
3� Arrange the 4 DIP switches�
4� Reinstall the rear cover and 4 screws�
5� After the MIDI channel is changed, the unit needs to be power cycled
to take on the new MIDI channel�
!!
IMPORTANT NOTE: Filled-in white square represents the switch in
the ON position (UP)
HELPFUL TIP: On the right side of this page you will see two
☺☺
examples of DIP switch settings for communicating on MIDI channel 9
and MIDI channel 13�
Example: MIDI Channel 9
Example: MIDI Channel 13
Factory Setting-MIDI Channel 1
6
Page 7

How to connect microMIDI to an Amp (e.g. The Suhr PT15)
MIDI out
MIDI Switching Device
This guide will show the ways you can connect your microMIDI to a MIDI
foot switcher�
Steps:
1� Plug in a 9VDC Center negative, 2�1mm x 5�5mm (Standard for pedals)�
2� Connect your amplier "switch jack" via 1/4" TRS cable or mono (TS)
cable to microMIDI's TRS jack�
3� Connect a MIDI cable from the MIDI OUT of your master device to the
MIDI IN of the microMIDI Control�
4� Be sure your MIDI interface or MIDI switching device is set to
communicate on the same MIDI channel as your microMIDI (1-16)�
5� Consult the MIDI table on page 10 to learn the Program Change/Control-
ler Change numbers needed to correspond with the TRS or TS combina-
tions of your amp's footswitch�
–Optional connections–
(dotted lines on diagram)
6� Connect the MIDI THRU to pass MIDI through to next device�
!!
IMPORTANT NOTE: Mono (TS) cables can also be plugged into the
microMIDI's TRS jack, in which case only the Tip switch will be
functional� For example, this can be used for boost, tremolo, reverb
switches for amps, etc�
MIDI in
(Optional)
MIDI in
MIDI out
Input
FX PEDAL
Output
!!
IMPORTANT NOTE: Be sure to consult your MIDI interface or MIDI
switching device's manual/user-guide for the proper setup for sending
MIDI.
Device with MIDI Switching (Example – Boss ES-8)
7
Page 8

How to connect microMIDI to a Pedal (e.g. The Suhr Alexa)
Device with MIDI Switching (Example – Boss ES-8)
MIDI out
MIDI Switching Device
This section will explain how to connect your microMIDI to the TRS/FX link
of a pedal to change things such as tap tempo or modulation duration, channel selecting, and bypass�
Steps:
1� Plug in a 9VDC Center negative, 2�1mm x 5�5mm (Standard for pedals)�
2� Connect your Suhr pedal's "FX Link" via 1/8" - 1/4" TRS cable to
microMIDI's TRS jack�
3� Connect the MIDI IN to your MIDI interface or MIDI switching device with
MIDI outs�
4� Be sure your MIDI interface or MIDI switching device is set to
communicate on the same MIDI channel as your microMIDI (1-16)�
5� Consult the MIDI table on page 10 to learn the Program Change numbers
FX Link
Input Output
FX PEDAL
Effect Pedal with ‘FX link’ or TRS or MONO switching input ( e.g. Suhr Alexa Chorus Pedal)
MIDI in
MIDI out
Input
Output
you need to correspond with the TRS combinations of your pedal�
!!
IMPORTANT NOTE: You can also use microMIDI to switch your non-
Suhr pedal's external switch functions (Such as tap tempo or channel
select) using a TRS or mono (TS) cable�
FX PEDAL
MIDI in
8
Page 9

How to connect microMIDI to a DAW
Input Output
FX PEDAL
This section will explain how to connect your microMIDI to a DAW (digital
audio workstation) using a recording interface or a USB to MIDI cable to
control an amp or the TRS/FX link of a pedal�
Steps:
1� Plug in a 9VDC Center negative, 2�1mm x 5�5mm
(Standard for pedals)�
2� Connect your amplier's "switch jack" or pedal's "FX Link" via
1/8" - 1/4" TRS cable or mono (TS) cable to microMIDI's TRS jack�
3� Connect the MIDI IN to your recording interface with MIDI outs
or to a computer using a USB to MIDI cable�
4� Be sure your DAW or MIDI switching device is set to communicate on the
same MIDI channel as your microMIDI (1-16)�
5� Consult the MIDI table on page 10 to learn the Program Change and Control
or
FX Link
Effect Pedal with ‘FX link’ or TRS switching input ( e.g. Suhr Alexa Chorus Pedal)
MIDI
Input Output
FX PEDAL
numbers you need to correspond with the TRS combinations of your amp's
footswitch or pedal's PC and CC numbers�
!!
IMPORTANT NOTE: Refer to your specic DAW's documentation to
learn how to send MIDI PC or CC numbers�
Audio Interface with MIDI outs
9
Page 10

MIDI Programing Table
CONTINUOUS CONTROLLERS
PROGRAM CHANGE AND CONTINUOUS CONTROLLER TABLE
PROGRAM CHANGES (PC#) TIP RING
1 OPEN OPEN
2 CLOSED OPEN
3 CLOSED CLOSED
4 OPEN CLOSED
5 OPEN X
6 CLOSED X
7 X OPEN
8 X CLOSED
9 TOGGLE X
10 X TOGGLE
11 PULSE X
12 X PULSE
TABLE KEY
OPEN = SWITCH OPEN TO SLEEVE =
LED will be OFF
CLOSED = SWITCH CLOSED TO SLEEVE =
LED will be ON
(CC#) VALUE RANGE TIP RING
1 ANY VALUE (0-127) OPEN OPEN
2 ANY VALUE (0-127) CLOSED OPEN
3 ANY VALUE (0-127) CLOSED CLOSED
4 ANY VALUE (0-127) OPEN CLOSED
5 0 - 63 OPEN X
5 64 - 127 CLOSED X
6 0 - 63 X OPEN
6 64 - 127 X CLOSED
TIP TOGGLE (LATCH)
7 ANY VALUE (0-127) CLOSED -> OPEN or OPEN -> CLOSED
RING TOGGLE (LATCH)
8 ANY VALUE (0-127) CLOSED -> OPEN or OPEN -> CLOSED
PULSE TIP FOR 50ms
9 ANY VALUE (0-127) CLOSED (for 50 ms) then OPEN
PULSE RING FOR 50ms
X = EITHER CLOSED/OPEN
TOGGLE = Will switch to opposite state of what is
currently set.
(If it is currently CLOSED, it will switch OPEN)
(If it is currently OPEN, it will switch CLOSED)
10 ANY VALUE (0-127) CLOSED (for 50 ms) then OPEN
PULSE = CLOSED FOR 50ms, THEN OPEN
10
Page 11

Technical Specications
Warranty
Power Connector: 9Vdc, center negative, 2.1mm x 5.5mm
Operating Voltage: 9Vdc
Maximum Voltage: 12Vdc
Current Consumption: <12mA @ 9VDc
Dimensions: 3.64" x 1.52" x 1.24"
Weight: 0.25 lbs.
*All specications subject to change without prior notice
For warranty information on the Suhr microMIDI as well as all other
Suhr products, please visit,www.Suhr.com/Warranty
11
 Loading...