

Page 1
Studio Projects is manufactured and marketed under the direction of
PMI AUDIO GROUP
23773 Madison Street, Torrance, CA 90505
Toll Free (310) 373-9129 Facsimile (310) 373-4714
Email info@pmiaudio.com
Studio Projects Instruction Manual
•
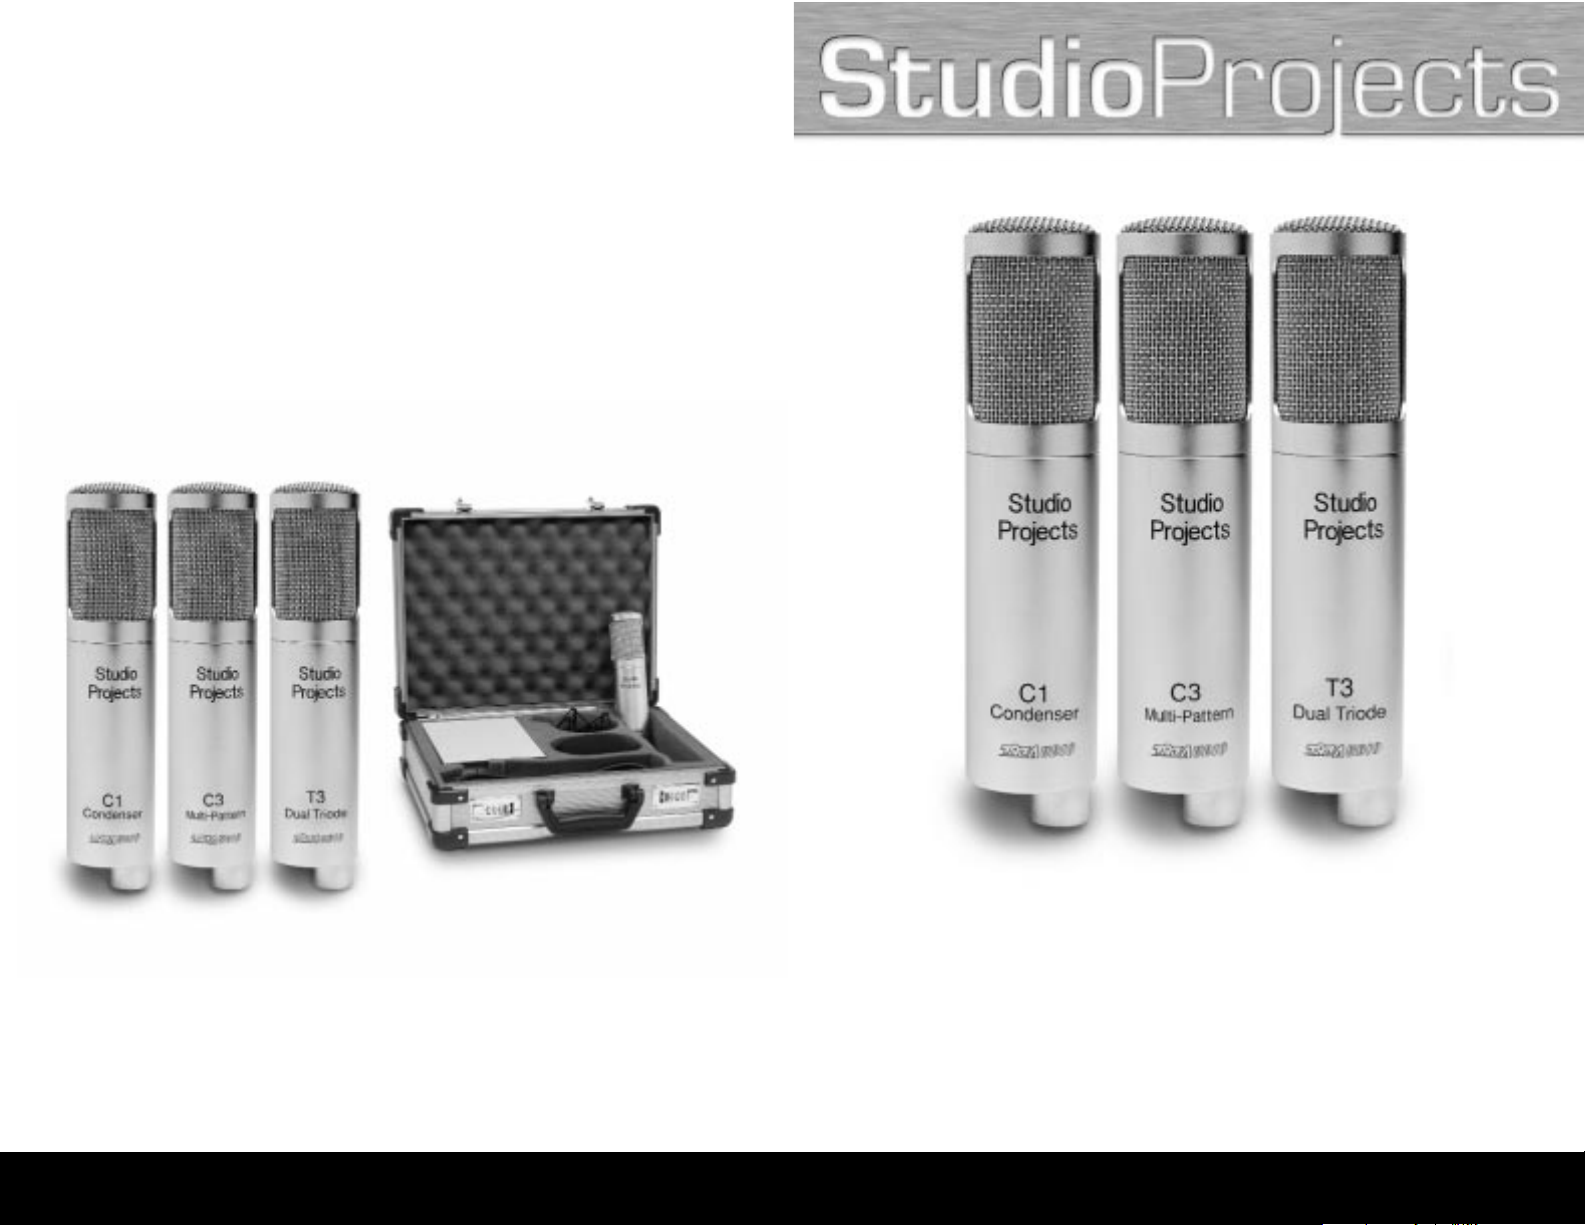
Professional Studio Microphones
•
Ultimate professional build quality
•
Pressure-gradient transducer
•
Transformerless circuitry
•
Large diameter pressure gradient capsule employing
6um gold sputtered mylar diaphragms
visit us on the web at www.pmiaudio.com
MICROPHONES
•
Ultra low-noise FET Preamplifier
•
Dual Triode "6072" hand tested tubes (T3 Only)
•
Multi-Pattern variable power supply (T3 Only)
•
Heavy duty road case (All Models)
•
Elastic heavy duty shock mount (All Models)
•
Quality German "Wima" components
Page 2

INSTRUCTION BOOK CONTENTS
What is Studio Projects............................................................................................2
Description, Care .....................................................................................................3
Operation, Problems, Connecting up.......................................................................4
Using Studio Projects, Specification ......................................................................4
Origins and manufacture..........................................................................................3
Applications...............................................................................................................3
C1...............................................................................................................................3
C3...............................................................................................................................3
T3...............................................................................................................................3
WHAT IS STUDIO PROJECTS?
There are many microphone brands on today’ s market, and German microphones are the most sought after.
Studio Projects was created to offer a better microphone for a better price to meet a need in today’s market.
Studio Projects was designed with German engineering in mind. We offer German quality and sound for a
fraction of the cost. The proof is in the listening. By using custom 6mu capsules and German WIMA components,
Studio Projects competes both in quality build, and sonic performance with those famous German brands.
Studio Projects has partnered with 797 Audio, a leading manufacturer in China for over 50 years that has
been building some German brand microphones. We like them so much, we put their name on all of our
microphones. As a result of this partnership, our quality is significantly better than other brands, as our partner
has a vested interest in Studio Projects, mainly their name! PMI Audio Group is a leading distributor of professional audio products, and have brought quality products to market like, Joemeek and Trident-MTA.
Having many years of experience with microphones, Studio Projects was created to provide a quality product
at an affordable price. This will be evident as soon as you plug them in. Studio Projects will continue to
bring quality products to market.
DESCRIPTION / CARE
Although the “mylar” membrane on the capacitor is more robust than the gold foil used by the original German designs of the 1930s, it is extremely fine and liable to damage if mishandled. There are
two safety factors that MUST be remembered when handling these microphones:
1) Keep the microphone dry.
2) Avoid wind or air blasts directly onto the capsule.
All electronic equipment should be kept dry, but it is even more important to avoid any damp condi-
tions when using high quality capacitor microphones. Damp can cause partial short circuits in the
polarizing voltage, this will cause crackling noises and low output. The most important instruction for
capacitor microphones is NEVER blow at the capsule. Damage caused by blast of air on the capsule
are often permanent and require the complete replacement of the capacitor element (capsule). Never
use the microphone in the open air without substantial wind protection.
ELECTRICAL FEATURES
The C1 & C3 is a “transformerless microphone”. With transformerless technology, the usual output
transformer is replaced by an electronic circuit. The C1 & C3 ensures good common mode rejection,
and prevents RF interference, that may influence the balanced audio signal.
The C1 & C3 when compared to other microphones has very low noise and is capable of handling
sound pressure levels up to 138 dB without distortion.
OPERATION
The C1 & T3 is capable of handling high sound volume levels so it can be used safely close to musical
instrument amplifiers, however, the C1 is best suited for those high volume applications. If the amplifier
sound is very loud, this may overload the microphone amplifier. Simply adjust the level to the microphone
or reposition it. It is a very low noise microphone and suitable for vocal recording to the highest quality.
The C3 and T3 are more suited for critical vocal recordings, strings, overheads, Broadcast, and production
use. Experimentation is critical for optimum performance. Microphone placement is crucial to a proper
recording.
The C1 & C3 is addressed from the front, marked with the Studio Projects logo. The large diaphragm
capsule inside the headgrille has a very smooth frequency response, therefore the acoustic information
is not affected in its tonal quality when recorded by the microphone. The microphone maintains an
excellent response reproducing all transient material of music and speech without coloration.
PROBLEMS
Should any microphone accidentally become damp and fail to operate properly (start crackling, or go
very quiet) then place it in a warm and very dry environment for 24 hours. The ideal environment is an
airing cupboard. Studio Projects are extremely resistant to physical damage, but if the microphone
fails to work after being dropped, it should be returned in adequate packing to the supplier. A double
test and inspection system means that manufacturing faults are non-existent but should any fault
occur, it will be repaired (or replaced) free of charge excepting where the fault has been caused by
physical damage.
CONNECTING UP
Using a high quality balanced and screened(shielded) audio cable, connect the C1 or C3 microphone
to the microphone amplifier input and switch on the 48V phantom power. NOTE, the microphone will
not operate unless 48V phantom power is provided. The microphone should be powered up for at least
one minute before it will operate correctly as the polarizing voltage on the capsule needs to stabilize.
Some background noise is possible during the first few seconds after switch on. Keep the gain controls
on the microphone amplifier or mixer well down as the output from the microphone is high (as most
capacitor microphones). For the T3, use the supplied cable to hook the microphone and power supply
(PST3) together. Use a balanced and screened(shielded) audio cable to connect to a mic amplifier. DO
NOT USE A PHANTOM POWER SOURCE FOR THE T3. The T3’s supply powers the mic.
32
Page 3

C1
The C1 is a high quality true capacitor pressure gradient
microphone with an FET impedance converter . It is a large
diaphragm microphone with a cardiod polar pattern and
a 6mu capsule for thick natural reproduction of the vocal and
instrument range. The C1 uses a transformerless circuit, that
features extremely low noise and wide dynamic range. The
C1’ s polar response is very linear over a wide incidence angle.
Signals coming from the side are reproduced accurately
and without any coloration. The microphone capsule is
immune to typical interference and outside contamination.
The microphone is supplied with a shock mount, windscreen
and heavy duty road case with locking latches.
C1 SPECIFICATIONS
Type: 1 FET condenser microphone with 1"
6um single diaphragm
Polar pattern: cardioid.
Frequency response: 20~20000Hz.
Sensitivity: 14mV/Pa=-37dB(0dB=1V/Pa).
Output impedance: <200 Ohm.
Load impedance: >1000 Ohm.
Max. SPL: 131dB SPL for 1% THD @1000Hz(0dB
SPL=0.00002Pa).
Noise(Line): 27dB (A weighted)---17dB.
S/N: 77 dB.
Power requirement: 48 +/- 4V.
Current consumption: <2.5mA.
Circuit: transformerless circuit, featuring
extremely low self noise and large
dynamic range.
Connector: Gold-plated 3-pin XLR
Size: dia: 2.1" length: 8.9"
Weight: 26.9oz
USING STUDIO PROJECTS
MICROPHONES
Studio Projects is a high quality true capacitor pressure gradient microphone with FET impedance converter. (NOTE, this is NOT an electret microphone).
The capacitor element is manufactured to the classic ‘center electrode’ design which provides smooth
extended frequency response without low frequency boominess. Quality is further enhanced by using
dynamic feedback actually at the capacitor element. This original technique eliminates distortions which
can occur when using this type of microphone for high volume levels. The capacitor membrane is microfine
6um ‘mylar’ with gold sputtering, voltage polarized by phantom power.
The polar response is linear over a wide incidence angle, so signals coming from the side are reproduced
without coloration. All models are supplied with an elastic shock mount system. Although the microphones
are not particularly susceptible to sounds transmitted through the case, it is advisable to use this shock
mount wherever possible.
The C1 & C3 is more sensitive to sounds from the front than from the rear when used in the CARDIOD pattern. The front of the microphone is indicated by the Studio Projects logo. To get the best quality, be sure
the sound source is in line with the front of the microphone. For vocals, a ‘nylon’ pop shield is recommended. AVOID using foam plastic ‘pop’ shields. These may be effective at stopping ‘popping’, but can also
affect the working of the microphone so the sound is dulled. To get that classic early capacitor microphone
sound, the singer should sing across the front of the microphone at a distance of 12" to 24" from the microphone.
The C3 and T3 are Multi-Pattern microphones that provide Cardiod, Omni, and Figure Eight patterns. These
multiple patterns allow the user more flexibility in their recordings. The Omni pattern picks up sounds uniformly from all over the capsule, while the Figure Eight picks up sounds best from the sides of the capsule.
Using these patterns correctly will give the user a wide variety of recording applications. The T3 offers 6
variable patterns between the three patterns for even more flexibility of nine total patterns.
ORIGINS AND MANUFACTURE
Studio Projects Microphones are manufactured in Beijing, China by 797 Audio to a specification created
by Studio Projects, Torrance, California. All Studio Projects microphones are inspected and tested at
the factory, then inspected and tested again at PMI Audio Groups facility prior to shipping. Studio
Projects microphones meet the requirements of electronic equipment sold both in the USA, Canada,
and the European Union.
APPLICATIONS
• Close miking of instruments with high sound pressure levels
• Announcer’s mic for broadcasting/dubbing
• Home recording and project studios
• Vocalist recording
• Spot mic for: wind instruments, strings, percussion and guitar amps.
5
4
Page 4

T3
The T3 is a high quality condenser pressure gradient microphone with an hand selected 6072 "Dual T riode" tube for that
sought after classic warm sound. It is a large diaphragm
microphone with three selectable polar patterns, Cardiod,
Omni, and Figure Eight. Via it’s supplied power supply, an
additional six variable patterns are available for a total of
nine patterns. The T3 uses a 6mu dual capsule for thick
warm natural reproduction of the vocal range. The features
extremely low noise and wide dynamic range.
The T3’ s polar response is very linear over a wide incidence
angle. Signals coming from the side and rear are reproduced
accurately and without any coloration. The microphone capsule
is immune to typical interference and outside contamination.
The microphone is supplied with a shock mount, variable pattern
power supply, dedicated 7pin XLR cable, windscreen and heavy
duty road case with locking latches.
T3 SPECIFICATIONS
Type: 1 inch large dual diaphragm FET
condenser microphone .
Polar pattern: cardioid/ Omni-directional/figure 8 and
6 intermediate stages.
Frequency response: 20~20000Hz.
Sensitivity: 14mV/Pa=-37dB(0dB=1V/Pa).
Output impedance: <250 Ohm.
Load impedance: >1000 Ohm.
Max. SPL: 125dB SPL for 1% THD @1000Hz(0dB
SPL=0.00002Pa).
Noise: (Line)---28dB (A weighted)---18dB-A.
S/N: 76 dB.
Power requirement: Supplied Power Supply (SPT3) 110/220
Current consumption: <2.5mA.
Connector: Gold-plated 7-pin XLR
Size: dia: 2.1" length: 8.9"
Weight: 26.9oz
76
C3
The C3 is a high quality true capacitor pressure gradient
microphone with an FET impedance converter. It is a large
diaphragm microphone with three selectable polar patterns,
Cardiod, Omni, and Figure Eight. The C3 uses a 6mu capsule
for thick natural reproduction of the vocal range. The C1
uses a transformerless circuit, that features extremely low
noise and wide dynamic range.
The C3’ s polar response is very linear over a wide incidence
angle. Signals coming from the side and rear are reproduced
accurately and without any coloration. The microphone capsule
is immune to typical interference and outside contamination.
The microphone is supplied with a shock mount, windscreen
and heavy duty road case with locking latches.
C3 SPECIFICATIONS
Type: 1 inch large dual diaphragm FET
condenser microphone .
Polar pattern: cardioid/ Omni-directional/figure 8.
Frequency response: 20~20000Hz.
Sensitivity: 12mV/Pa=-38dB(0dB=1V/Pa).
Output impedance: <200 Ohm.
Load impedance: >1000 Ohm.
Max. SPL: 132/142dB SPL for 1% THD
@1000Hz(0dB/-10dB pad, 0dB
SPL=0.00002Pa).
Noise: (Line)---28dB (A weighted)---18dB.
S/N: 76 dB.
Power requirement: 48 +/- 4V.
Current consumption: <2.5mA.
Circuit: transformerless circuit, featuring
extremely low self noise and large
dynamic range.
Connector: Gold-plated 3-pin XLR .
Pad: 10dB
Low cut: 6dB/Octave at 150 Hz.
Size: dia: 2.1" length: 8.9"
Weight: 26.9oz
 Loading...