

Page 1
Studio Projects is manufactured and marketed under the direction of
PMI AUDIO GROUP
23775 Madison Street, Torrance, CA 90505
voice (310) 373-9129 Facsimile (310) 373-4714
toll-free USA (877) 563-6335
Email info@pmiaudio.com
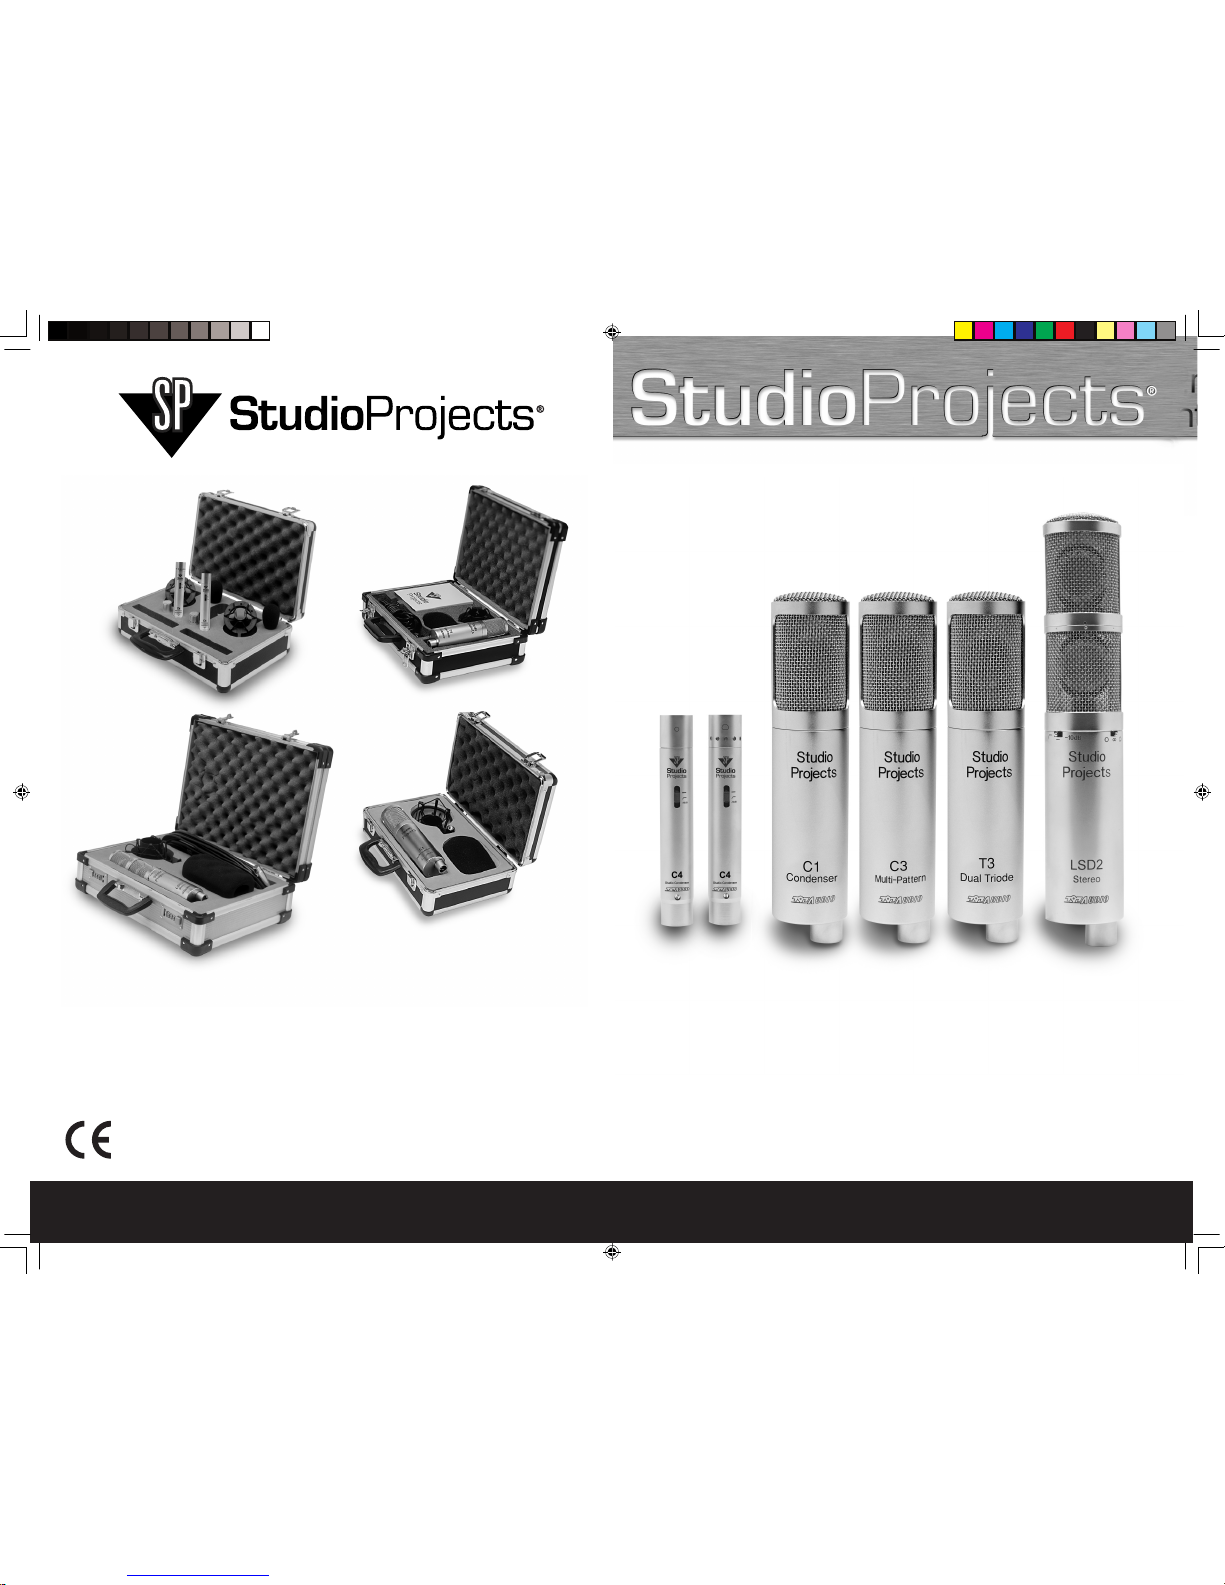
Studio Projects® Instruction Manual
• Professional Studio Microphones
• Ultimate professional build quality
• Pressure-gradient transducer
• Transformerless circuitry
• Large diameter pressure gradient capsule
employing 6 um gold sputtered Mylar diaphragms
visit our web site at studioprojectsusa.com
C S E R I E S M I C R O P H O N E S
• Ultra low-noise FET Preamplifier
• Dual Triode “6072” hand tested tubes (T3 Only)
• Multi-Pattern variable power supply (T3 Only)
• Heavy duty road case (All Models)
• Elastic heavy duty shock mount (All Models)
• Quality German “WIMA” components
c_series_manual.indd 1/27/03, 5:27 PM2-3
Page 2

INSTRUCTION BOOK CONTENTS
What is Studio Projects?...................................................................................................2
Description, Care...............................................................................................................2
Operation, Problems, Connecting up..............................................................................3
Using Studio Projects, Specification................................................................................4
Origins and manufacture..................................................................................................4
Applications...................................................................................................................4
C1...................................................................................................................................5
C3.....................................................................................................................................6
T3..................................................................................................................................7
C4..................................................................................................................................8
LSD2.................................................................................................................................9
WHAT IS STUDIO PROJECTS?
There are many condenser microphone brands on today’s market. Studio Projects offers a better
microphone at a competitive price to meet a specific need. Primarily, the Studio Projects line was
created to provide exceptional engineering and performance at a fraction of the cost of most high
quality German microphones. By utilizing the best manufacturing techniques of today along with
quality components, Studio Projects microphones compete both in build, design and sonic performance with those famous German brands. The proof is in the listening.
Our company is partnered with Beijing 797 Audio Co., Ltd, a company that has been building
microphones since 1956. The result of this partnership is an award-winning, innovative and
dependable series of microphones which stand out in today’s market.
The microphones themselves are the evolution of many combined years of experience in the
music business as well as the manufacturing sector. Studio Projects is proud to continue to bring
quality products to market and we sincerely hope you enjoy our works.
DESCRIPTION / CARE
Although the Mylar diaphragm of the capsule is more robust than the PVC diaphragms of
the original German designs from the 1930s, it is extremely fine and liable to damage if
mishandled. There are two primary factors that must be remembered when handling these
microphones:
1) Keep the microphone dry.
2) Avoid any shock to the microphone such as would be caused by dropping, etc.
All electronic equipment should be kept dry, but it is even more important to avoid any damp
conditions when using condenser microphones, as this can cause partial short circuits in the
capsule itself. The result can be crackling noises and low output. Care should also be taken
to avoid using the microphone in the open air without substantial wind protection.
ELECTRICAL FEATURES
The C1, C3, LSD-2, and C4 use FET circuits to convert the extremely high capsule impedance
to a low impedance signal. The output is class-A, balanced and transformerless All C-Series
microphones are designed to ensure good common mode rejection, and protection from RF
interference, both of which can degrade the audio signal.
The C Series microphone, when compared to other makes and models, has very low noise
and is capable of handling sound pressure levels up to 148dB without distortion.
OPERATION
Since the C Series microphone can handle high sound volume levels, it can be used safely
near musical instrument amplifiers, kick drums, etc. If the source sound is very loud, however,
this may overload the microphone amplifier, or the mixer/preamplifier which the microphone
is plugged in to. If this occurs, simply engage the -10dB pad (if applicable), adjust the sound
level, or reposition the microphone.
The C1, C3 and T3, are addressed from the side marked by the Studio Projects logo. The
large diaphragm capsule inside the head grille has a smooth frequency response; therefore
the acoustic information translates smoothly and completely. The microphone maintains a wide
response when reproducing all transient material of music and speech whether used in an
ensemble setting, or in a voice-over studio. The microphones are well suited to tasks such as
voice recordings, strings, overheads, broadcast, and production use. Experimentation is key
for optimum performance and microphone placement is crucial to a proper recording.
The C4’s are best employed for spot miking instruments such as guitar, piano and wind instruments. They are also very good for ambience miking and Drum Overheads.
The LSD2 is primarily useful for single point stereo recording of ensemble performances, drum
miking, X-Y and mid-side techniques.
PROBLEMS
Should any microphone become damp and fail to operate properly (start crackling, or go
very quiet), simply place it in a warm and very dry environment for 24 hours. The ideal
environment is an airing cupboard. Studio Projects microphones are of robust build, but are
delicate instruments by nature. If the microphone fails to work after being dropped, it should
be returned in adequate packing to the supplier. Manufacturing faults are nearly non-existent
but should any fault occur, the microphone will be repaired (or replaced) free of charge.
CONNECTING UP
With the mixer volume down, using a high quality balanced and shielded XLR cable connect
the microphone to the preamplifier input and switch on the 48V phantom power. -IMPORTANT
NOTE- The C1, C3, C4 and LSD2 will not operate unless 48V phantom power is on.
The microphone should be powered up for about a minute until the polarizing voltage on the
capsule has fully stabilized. Some background noise is possible during the first few seconds
after switch-on. Keep the gain controls on the microphone amplifier or mixer well down as the
output from the microphone is high.
For the T3, use the supplied 7-pin XLR cable to connect the microphone to its power supply
(PST3). Use a balanced and shielded XLR cable to connect from power supply to mic preamplifier. For the LSD-2, use the supplied Y-cable for stereo operation.
3
2
c_series_manual.indd 1/27/03, 5:27 PM4-5
Page 3

C1
The C1 is a high quality true condenser pressure gradient microphone with
a FET impedance converter. The polar pattern is fixed cardioid. The C1
uses a transformerless circuit which features low noise and wide dynamic
range. The polar response is very linear with a slight rise in frequency
response between the 5 kHz to 12kHz range. Signals coming from the
side and rear are attenuated with very little phase coloration. The C1 also
features a three position switch on the rear which alternately enables a
-10dB pad, and a 150Hz high-pass filter.
The microphone is supplied with a shock mount, windscreen and heavy
duty road case with locking latches.
The capacitor element is manufactured to the classic Braunmuhl Weber
‘center electrode’ design which provides smooth extended frequency
response. The diaphragm material is 6 um Mylar with a vapor deposited
gold coating.
C1 SPECIFICATIONS
Type: Single diaphragm pressure
gradient condenser microphone
Polar pattern: cardioid.
Frequency response: 30Hz~20000Hz.
Sensitivity: 14mV/Pa=-37dB (0dB=1V/Pa).
Output impedance: <200 Ohm.
Load impedance: >1000 Ohm.
Max. SPL: 131 dB SPL for 1% THD @1000Hz (0dB SPL=0.00002Pa).
Noise: (Line): 27 dB (A weighted) ---17 dB.
S/N ratio: 77 dB.
Power requirement: 48 +/- 4V.
Current consumption: <2.5mA.
Circuit: transformerless output circuit, featuring low self noise
and large dynamic range.
Connector: Gold-plated 3-pin XLR
Pad: -10 dB
Low cut: 6 dB/Octave at 150 Hz.
Diameter: 2.1” length: 8.9”
Weight: 26.9oz
USING STUDIO PROJECTS MICROPHONES
Studio Projects solid-state microphones employ high quality externally polarized pressure
gradient transducers with FET impedance converters driving balanced, class-A output circuits.
The vacuum tube model T3 is a transformer balanced class-A circuit designed around the
12AY7 (6072) vacuum tube.
The 27mm capacitor element is based on the classic Braunmuhl Weber ‘center electrode’
design which provides a smooth extended frequency response with a slight bump in response
generally in the 5 kHz to 12 kHz region. The capacitor membrane is 6um Mylar with a vapordeposited coating of gold over a proprietary bonding agent.
All models are supplied with an elastic shock mount system and although the microphones
are not particularly susceptible to sounds transmitted through the case, it is advisable to use
this shock mount wherever possible. The C1, C3, T3, and LSD-2 are more sensitive to sounds
from the front than from the rear and sides when used in the cardiod pattern. The front of the
microphone is indicated by the Studio Projects logo. To get the best quality, be sure the sound
source is in line with the front of the microphone. -IMPORTANT NOTE- For up close vocals,
a ‘nylon’ pop shield is recommended to avoid moisture damage to the transducer. Vocalists
should sing across the front of the microphone at a distance of 6” to 24”.
The C3, T3, and LSD-2 are Multi-Pattern microphones which provide cardioid, omni directional, and figure of eight patterns. This allows the microphone to be utilized in a variety of
recording conditions: The cardioid pattern is directional and used to attenuate sound transients occurring on the sides and to the rear of the microphone. The omni directional pattern
picks up sounds uniformly from all directions, although it becomes more directional at higher
frequencies. The Figure of 8 pattern rejects sounds from the sides (left/right) while equal but
180° out of phase signals are picked up from the front and rear of the microphone. These patterns will provide the user with a variety of approaches to a given recording application. The
T3 is additionally capable of hypercardioid - which is quite directional and especially useful in
attenuating sound from the sides and sub-cardioid - which offers some of the depth and presence of the omni, while maintaining directionality as that of a cardioid.
ORIGINS AND MANUFACTURE
Studio Projects Microphones are manufactured in Beijing, China by 797 Audio to a specification
defined by Studio Projects, Torrance, California. All Studio Projects microphones are inspected
and tested at the factory, then inspected and tested again at PMI Audio Groups facility prior to
shipping. Studio Projects microphones meet the requirements of electronic equipment sold both
in the USA, Canada, and the European Union.
APPLICATIONS
• Close miking of instruments with high sound pressure levels
• Announcer’s mic for broadcasting/dubbing
• Home recording and project studios
• Vocalist recording
• Spot mic for: wind instruments, strings, percussion and guitar amps.
• XY - Coincident Cardioids
• Mid-Side Method
• Stereosonic Technique (Blumlein)
• Overheads
5
4
c_series_manual.indd 1/27/03, 5:27 PM6-7
Page 4

T3
The T3 is a high quality pressure gradient condenser microphone with
a circuit designed around a selected 12AY7 (6072) dual triode with a
transformer balanced output. The capsule is a 1.06” (27mm) Braunmuhl
Weber based, center terminated, dual membrane design. Power to
the microphone is derived from a proprietary power supply (PS3). It is
from the power supply that the polar patterns of the mic are controlled.
Available patterns are omni directional, wide cardioid, cardioid, hypercardiod and figure of 8. The T3’s response is quite linear with a slight
rise in frequency response around 5kHz to 12 kHz. Signals originating
from the side and rear of the mic are reproduced accurately and with
little phase coloration.
The T3 vacuum tube microphone is supplied with a shock mount, variable pattern power supply, dedicated 7pin XLR cable, windscreen and
heavy duty road case with locking latches.
T3 SPECIFICATIONS
Type: Large dual diaphragm
vacuum tube microphone.
Polar pattern: cardioid/ omni directional
/figure 8
and 6 intermediate stages.
Frequency response: 20Hz~20000Hz.
Sensitivity: 14mV/Pa=-37 dB (0dB=1V/Pa).
Output impedance: <250 Ohm.
Load impedance: >1000 Ohm.
Max. SPL: 125dB SPL for 1% THD
@1000Hz (0 dB SPL=0.00002Pa).
Noise: (Line) ---28 dB (A weighted)---18 dB-A.
S/N ratio: 76 dB.
Power requirement: Supplied Power Supply (SPT3) 110/220
Current: 200V DC high voltage, <1.5mA
Filament: 6.3V DC, <370mA.
Connector: Gold-plated 7-pin XLR
Diameter: 2.1” length: 8.9”
Weight: 26.9oz
76
C3
The C3 is a high quality externally polarized pressure gradient microphone with a low-noise, discrete, FET impedance converter driving a
balanced class-A output stage. It has three selectable polar patterns,
cardioid, omni, and figure of eight. Like the C1, the C3 has a 3-position switch which alternately enables a -10dB pad, a high pass filter at
150Hz, or none of the above. The C3 employs a 1.06” (27mm) 6 um
capsule for natural reproduction of sound. The hallmark features of this
combination are that of low noise and wide dynamic range.
The C3 is supplied with a shock mount, windscreen and heavy duty road
case with locking latches.
C3 SPECIFICATIONS
Type: 1 inch large dual diaphragm FET
condenser microphone.
Polar pattern: cardioid/omni directional/figure of 8.
Frequency response: 30Hz~20000Hz.
Sensitivity: 12mV/Pa=-38dB (0dB=1V/Pa).
Output impedance: <200 Ohm.
Load impedance: >1000 Ohm.
Max. SPL: 132/142dB SPL for 1% THD @1000Hz
(0 dB/-10 dB pad, 0 dB SPL=0.00002Pa).
Noise: (Line) ---28 dB (A weighted)---18 dB.
S/N ratio: 76 dB.
Power requirement: 48 +/- 4V.
Current consumption: <2.5mA.
Circuit: transformerless circuit, featuring extremely
low self noise and large dynamic range.
Connector: Gold-plated 3-pin XLR.
Pad: 10 dB
Low cut: 6 dB/Octave at 150 Hz.
Diameter: 2.1” length: 8.9”
Weight: 26.9oz
c_series_manual.indd 1/27/03, 5:27 PM8-9
Page 5

LSD2
The LSD-2 is comprised of two separate dual-membrane solid
state microphones contained within a single housing. Its capsules
are mounted in close proximity on a vertical axis - the upper capsule assembly having the ability to rotate 270 degrees horizontally,
relative to the lower capsule. Two C&K three-way switches control
the polar response, high pass filtering and -10dB pad for each
capsule (The switches on the front of the body correspond to the
lower fixed capsule, while the switches 180° opposite on the back
of the mic control the rotating upper capsule). It is the combination
of capsule articulation and independent pattern switching which
allows a user of the LSD2 to achieve all manner of coincident pair
stereophonic recording techniques. Due to the close proximity of
the capsules, there is no phase cancellation resulting from time
delay between the two signals. This translates into excellent mono
compatibility.
The inner workings of the LSD-2 are essentially that of two Studio
Projects Model C3 microphones. The capsules are 1.06” (27mm)
diameter, dual membrane, Braunmuhl-Weber design. These are
independently coupled through low-noise amplifiers based on
FET driven discrete balanced output stages. The outer housing is
plated brass with a single layer brass wire mesh grill surrounding
the capsules.
Included with the LSD-2 microphone is a dedicated 7-pin XLR to
dual 3-pin XLR “Y” cable, magnum-sized foam windscreen, standard shockmount and carrying case.
LSD2 SPECIFICATIONS
Type: Stereo condenser microphone with vertically coincident
1.06” (27mm.) dual diaphragms.
Polar pattern: Cardioid, Omni directional Figure of 8
Frequency response: 30~20000Hz.
Sensitivity: 12mV/Pa=-38dB(0dB=1V/Pa).
Output impedance: <200 Ohm.
Load impedance: >1200 Ohm.
Max. SPL: 139/146dB SPL for 1% THD
@1000Hz(0dB/-10dB pad, 0dB SPL=0.00002Pa).
Noise: (Line)---28 dB (A weighted)---18 dB-A.
S/N ratio: 76 dB.
Power requirement: 24v.-52.5v. phantom power
Current Consumption: 2.5mA
Connector: Gold-plated 7-pin XLR
Size: 2.1” (53.34mm.) dia.
Weight: 1.8 lbs.
98
C4
The C4 is small diaphragm condenser microphone featuring interchangeable capsules, switchable -10dB pad/high pass filter and a
linear low-noise, solid state amplifier body. The microphone’s modularity makes it a useful multi-purpose tool intended for all-around use on
stage, on location and in studios of all caliber.
As a cardioid (pressure gradient) microphone, the C4 provides excellent
pickup of on-axis sources while attenuating extraneous sound occurring
from around and behind the mic. This makes it ideal for close miking
of individual instruments where bleed from other nearby instruments or
sound is undesirable. The C4 cardioids also make excellent stereo pairs
for coincident and near-coincident miking techniques such as X-Y and
ORTF. Additionally the C4’s are quite useful on a drum kit as overheads
and on toms.
Used as an omni-directional (pressure) microphone, the C4 offers a
warm tonal response and is recommended especially for close miking in
favorable acoustical environments. There is very little off axis coloration
owing to the inherent physical properties of pressure capsules, and it is
this - combined with the low self-noise of the mic amplifier that makes
the C4 omni an excellent ambience mic –especially in pairs. In a good
room, a pair of omni’s can provide a vibrant and live feel to recordings,
which is not achievable through the use of directional microphones.
Recommended uses are, spaced pair omni, Jecklin disc (OSS), piano,
guitar, drum overheads and room miking. The C4 is available in pairs
with shockmounts, windscreens and case.
C4 SPECIFICATIONS
Type: Single diaphragm modular FET condenser microphone
Polar pattern: cardioid (CC1) Omni-directional (OC1)
Frequency response: 40Hz.~20kHz.
Sensitivity: 12m V/Pa. where 1 Pa = 94dB SPL
Output impedance: <200 Ohm.
Load impedance: >1200 Ohm.
Max SPL: 150 dB SPL with -10dB pad
Equivalent Noise: 16 DB SPL, (A-weighted per IEC268-15).
S/N ratio: 78 dB
Power requirement: P48 +/- 4V
Current consumption: <2 ma
Circuit: FET driven, discrete balanced output
Connector: Gold-plated 3-pin XLR .
Pad: -10 dB
Low cut: 6 dB/Octave at 250 Hz.
Length: 4.90”(124.5mm)
dia: .787” (20mm)
Weight: 3.3oz. (92g)
c_series_manual.indd 1/27/03, 5:27 PM10-11
Page 6

DISCLAIMER OF WARRANTY
EXCEPT FOR THE FORGOING WARRANTIES, PMI HEREBY DISCLAIM S AND EXCLUDES
ALL OTHER WARRANTIES, EXPRESS OR LIMITED, INCLUDING, BUT NOT LIMITED TO ANY/OR ALL
IMPLIED WARRANTIES OF MERCHANT ABILITY, FITNESS FOR A PARTICULAR PURPOSE AND/OR
ANY WARRANTY WITH REGARD TO ANY CLAIM OF INFRINGEMENT THAT MAY BE PROVED
IN SECTION 2-312(3) OF THE UNIFORM COMMERCIAL CODE AND/OR IN ANY COMPARABLE STATE
STATUE. PMI HEREBY DISCLAIMS ANY REPRESENTATIONS OR WARRANTY THAT THE PRODUCT IS
COMPATIBLE WITH ANY COMBINATION OF NON-PMI AUDIO PRODUCTS PURCHASER MAY
CHOOSE TO CONNECT TO THE PRODUCT.
LIMITATION ON LIABILITY
THE LIABILITY OF PMI, IF ANY, AND PURCHASER’S SOLE AND EXCLUSIVE REMEDY FOR
DAMAGES FOR ANY CLAIM OF ANY KIND WHATSOEVER, REGARDLESS OF THE LEGAL THEORY
AND WHETHER ARISING IN TORT OR CONTRACT, SHALL NOT BE GREATER THAN THE ACTUAL
PURCHASE PRICE OF THE PRODUCT WITH RESPECT TO WHICH SUCH CLAIM IS MADE. IN NO
EVENT SHALL PMI BE LIABLE TO PURCHASER FOR ANY SPECIAL, INDIRECT, INCIDENTAL, OR
CONSEQUENTIAL DAMAGES OF ANY KIND INCLUDING, BUT NOT LIMITED TO, COMPENSATION,
REIMBURSEMENT OR DAMAGES ON ACCOUNT OF THE LOSS OF PRESENT OR
PROSPECTIVE PROFITS OR ANY OTHER REASON WHATSOEVER.
OWNERS REGISTRATION CARD
T O B E C O M P L E T E D A T T I M E O F P U R C H A S E
Name ____________________________________________________
Date of Purchase ____________________________________________________
Serial Number ____________________________________________________
Dealer’s Name ____________________________________________________
R E TA IN F OR YO U R R EC O R D S
P L EA S E D IS PA T CH A N D R E TU R N Y OU R R EG I S T RAT I O N T O
S T UD I O P RO JE C TS W I TH I N 1 4 DAY S OF P U RC H A SE
STUDIO PROJECTS LIMITED WARRANTY
T H I S P R O D U C T I S F O R P R O F E S S I O N A L U S E O N L Y
PMI Audio Group warrants that all products will be free from defects in material or workmanship:
A: For a period of (3) years from the date of purchase (hereinafter the labor warranty period), PMI
Audio Group will repair or replace this Product if determined to be defective. After the expiration
of the labor warranty period, the Purchaser must pay labor charges.
B: In addition, PMI Audio Group will supply, at no charge, replacements for defective parts for
a period of (3 years) from the date of purchase. During the labor warranty period, to repair the
Product, Purchaser must return the defective Product, freight prepaid, or deliver it to PMI Audio
Group Service Center. The product to be repaired is to be returned in either its original carton or
a similar package affording an equal degree of production. PMI Audio Group will return the
repaired Product freight prepaid to the Purchaser. PMI Audio Group is not obligated to provide
Purchaser with a substitute unit during the warranty period or at any time. PMI Audio does not
Warranty consumables like tubes that wear from normal use.
CONDITIONS
1. Notification of claims: Warranty Service: If Purchaser discovers that the Product has proven
defective in material or workmanship, then written notice with an explanation of the claim shall
be given promptly by Purchaser to PMI but all claims for warranty service must be made within
the warranty period. If after investigation PMI determines that the reported problem was not
covered by the warranty, Purchaser shall pay PMI for the cost of investigating the problem at its
then prevailing time-and-materials rate. No repair or replacement by Purchaser of any Product
or part thereof shall extend the warranty period as to the entire Product. The specific warranty
on the repaired part only shall be in effect for a period of ninety (90) days following the repair or
replacement of that part or the remaining period of the Product warranty, whichever is greater.
2. Exclusive Remedy: Acceptance: Purchaser’s exclusive remedy and PMI’s sole obligation is
to supply (or pay for) all labor necessary to repair any product found to be defective within the
warranty period and to supply, at no extra charge, new or rebuilt replacements for defective
parts. If repair or replacement fails to remedy the defect, then and only in such an event, shall
PMI exchange to Purchaser a new or reconditioned unit. Purchaser’s failure to make a claim as
provided in paragraph 1 above or continued use of the product shall constitute an unqualified
acceptance of such Product and a waiver by Purchaser of all claims thereto.
3. Exceptions to Limited warranty: PMI shall have no liability or obligation to Purchaser with respect
to any Product subjected to abuse, improper use, negligence, accident, modification, failure of
the end-user to follow the operating and maintenance procedures outlined in the users manual,
attemp ted repair by non-qualifie d person nel, operation of th e unit outside of the published
environmental and electrical parameters, or if such products original identification (trademark, serial
number) markings have been defaced, altered, or removed. PMI excludes from warranty coverage, Products sold AS IS and/or WITH ALL FAULTS and excludes used products which have
not been sold by PMI to the Purchaser. PMI also excludes from warranty coverage consumables
such as fuses and batteries, etc.
4. Proof of purchase: The dealer’s dated bill of sale must be retained as evidence or the date of
purchase and to establish warranty eligibility.
c_series_manual.indd 1/27/03, 5:27 PM12-13
Page 7

PRODUCT REGISTRATION INFORMATION
PLEASE FILL IN THE BELOW SECTIONS AND RETURN
Name:
Address:
City: State: Zip Code:
Telephone Number: email Address:
Model Purchased: Date Purchased:
Serial Number: Dealer:
Comments:
What magazines do you read to influence your buying decision: (please check all that apply)
❏
MIX
❏
Electronic Musician
❏
EQ
❏
Home Recording
❏
Pro Audio Review
❏
Recording
❏
Pro Sound News
NOTES
c_series_manual.indd 1/27/03, 5:27 PM14-15
Page 8

Place
Stamp
Here
STUDIO PROJECTS
D IS T R I B UT E D B Y P MI A UD IO GR O UP
23775 Madison Street
Torrance, California 90505 USA
NOTES
c_series_manual.indd 1/27/03, 5:27 PM16-17
 Loading...