

I N S T R U C T I O N M A N U A L
A1/A2, Giriraj Industrial Estate, Mahakali Caves Road, Andheri (East),
Mumbai - 400 093. India Tel.: +91-22-42869000 / 001
Fax: +91 - 22 - 26871453 WhatsApp; +91 - 8888887049
E info@audioplus-india.com W www.audioplus-india.com
is a registered trademark of Audioplus in India. © Copyright Audioplus, 2008. All rights reserved. Any unauthorised reproduction or
use of logos, images or design elements is strictly prohibited by law. No part of the compilation may be reproduced in any manner or translated
without written permission.
Flex 3 Set
* Design and specification are subject to change without notice.
INDEX:
1........................................................................................Introduction
2........................................................................................Features at a Glance
3........................................................................................Product Components
4........................................................................................Product Usage
5........................................................................................Frequency Response Curve
6........................................................................................Technical Specifications
7........................................................................................Product Care Instructions
6. Technical Specifications
Capsule Type
Polar Pattern
Sensitivity
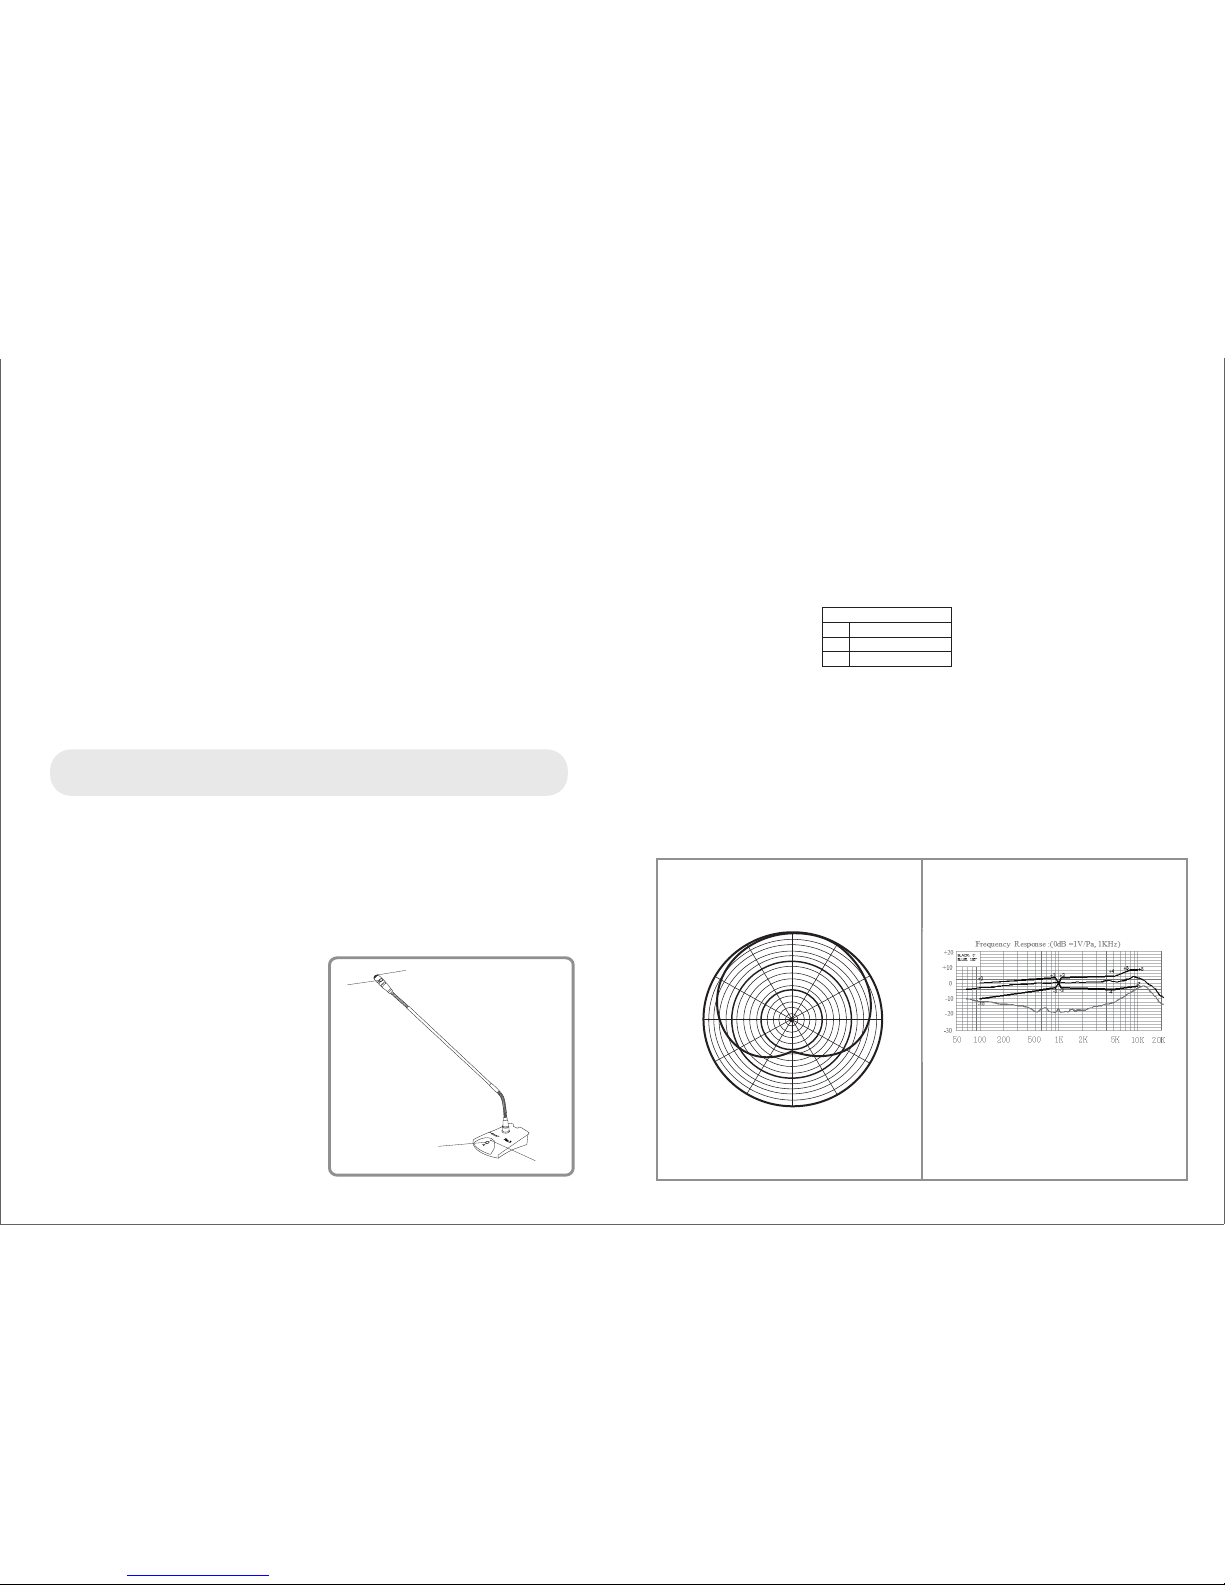
Frequency Response
Output Impedance
SPL
S/N
Power
Connector
Electrode condenser
Cardioid
-36dB
30Hz-18KHz
75Ω
127dB, T.H.D<1%
> 62dB
+48V Phantom Power/ 2 AA Batteries
XLR
7. Product Care Instructions
• Do not drop the microphone, this could severely damage the product.
• Please keep this product away from direct sunshine & rain.
• Please disconnect from power supply when the product is not being used for a long time.
• Do not open any of the components yourself, for repairs please get in touch with your Studiomaster
Professional retailer.
• Please read the owners manual before using this product.
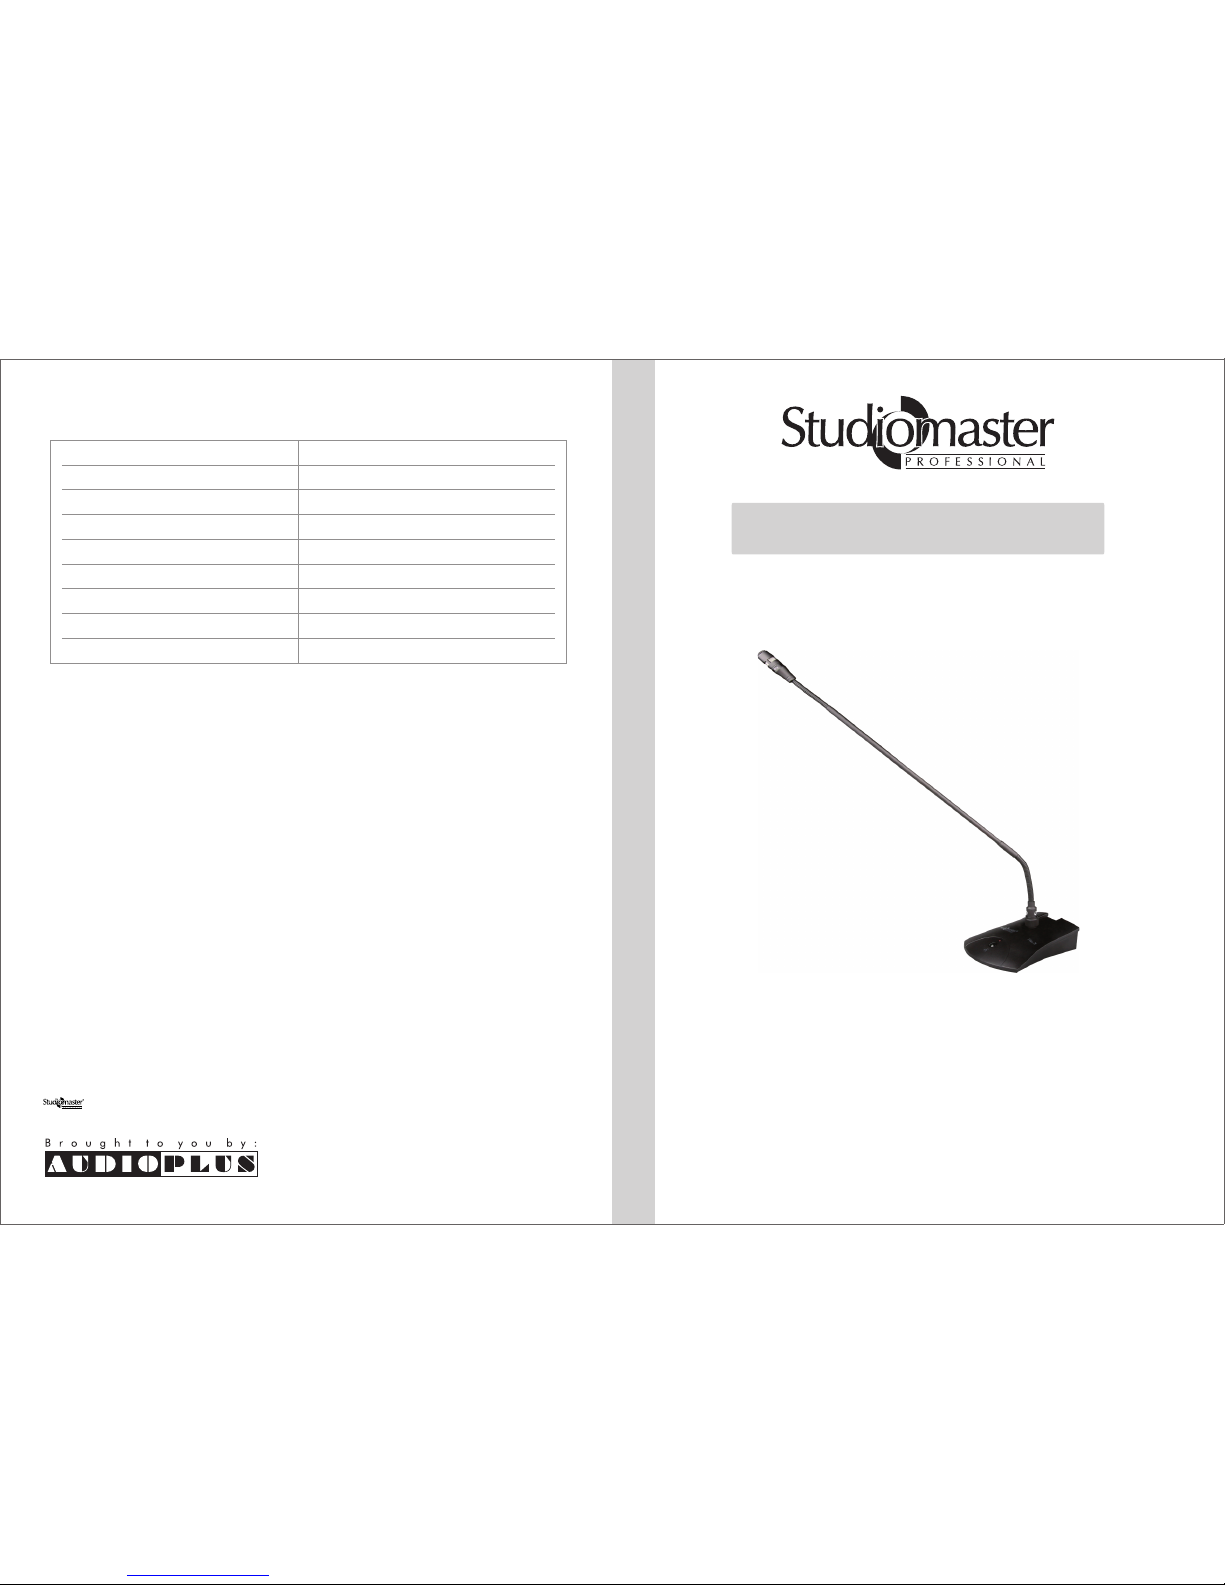
Gooseneck Microphone with stand
3
1. Introduction
Thank you for buying the Studiomaster Professional Flex 3, 21” Gooseneck Microphone set.
To ensure maximum performance and safety, please follow this instruction manual carefully.
Please retain this manual for future reference.
For any complaint, feedback or testimonials please contact our distributor / dealer.
After unpacking the product, please inspect for any physical damage.
In the event that damage has occurred, immediately notify your dealer.
Retain the cartons/packing box for future use should the product require servicing/maintenance.
2. Features at a Glance
• Professional high quality 21” gooseneck microphone.
• Sleek and unobtrusive design.
• High sensitivity allows superior vocal reproduction.
• High gain before feedback.
• Balanced XLR Connector.
• LED indicator on microphone to indicate “Mic Active” status.
• Supplied with Microphone Base with On/Off Switch & LED.
• Works on external +48V phantom supply or 2 AA batteries.
3. Product Components
Microphone (Flex 3) ….................................................................................x 1
Microphone Base ................….....................................................................x 1
Pop Filter Foam …..........................................................................................x 1
4. Product Usage
Controls:
1. Capsule: To pick up the voice of the speaker.
2. LED indicator : Indicates the “Mic Active”
status.
3. On/Off Switch : This switch is used to
activate or mute the microphone as required.
4. The LED displays the status of the microphone.
Cables:
• Make sure good quality, low noise shielded cables are used. Good cables ensure good signal
integrity.
Connection/Wiring:
Pin 1
Pin 2
Pin 3
Ground
Hot (+ve Phase)
Cold (-ve Phase)
Balanced XLR
General Installation Guidelines
• Aim the microphone toward the desired sound source, such as the talker, and away from any
unwanted sound source, such as a loudspeaker.
• Place the tip of the microphone within 15 to 30 cm (6 to 12 in.) of the desired sound source.
• Always use pop filter foam to control ‘pop’ sounds & breathe noise.
• If four or more microphones will be open at the same time, use of a conference mixer, such as
the Studiomaster Professional Vak 20, is recommended.
5. Frequency Response Curve
Polar Pattern Frequency Response Curve
0
30
60
90
120
150
180
210
240
270
300
330
Power Supply:
• This microphone requires +48V Phantom Supply or 2 AA batteries to operate.
Inadequate power supply may result in poor performance & reduced dynamic range.
• If your mixer does not have provision for phantom supply, please use an external phantom supply
unit like the Studiomaster Professional Phantom 11.
• Always mute the sound reinforcement system before you switch on the phantom power supply.
Note: Studiomaster Professional highly recommends using the Flex 3 only with the supplied base.
Using the microphone with any other base may result in poor product performance.
1
2
3
4
 Loading...