

The Desk You Deserve
ASSEMBLY MANUAL
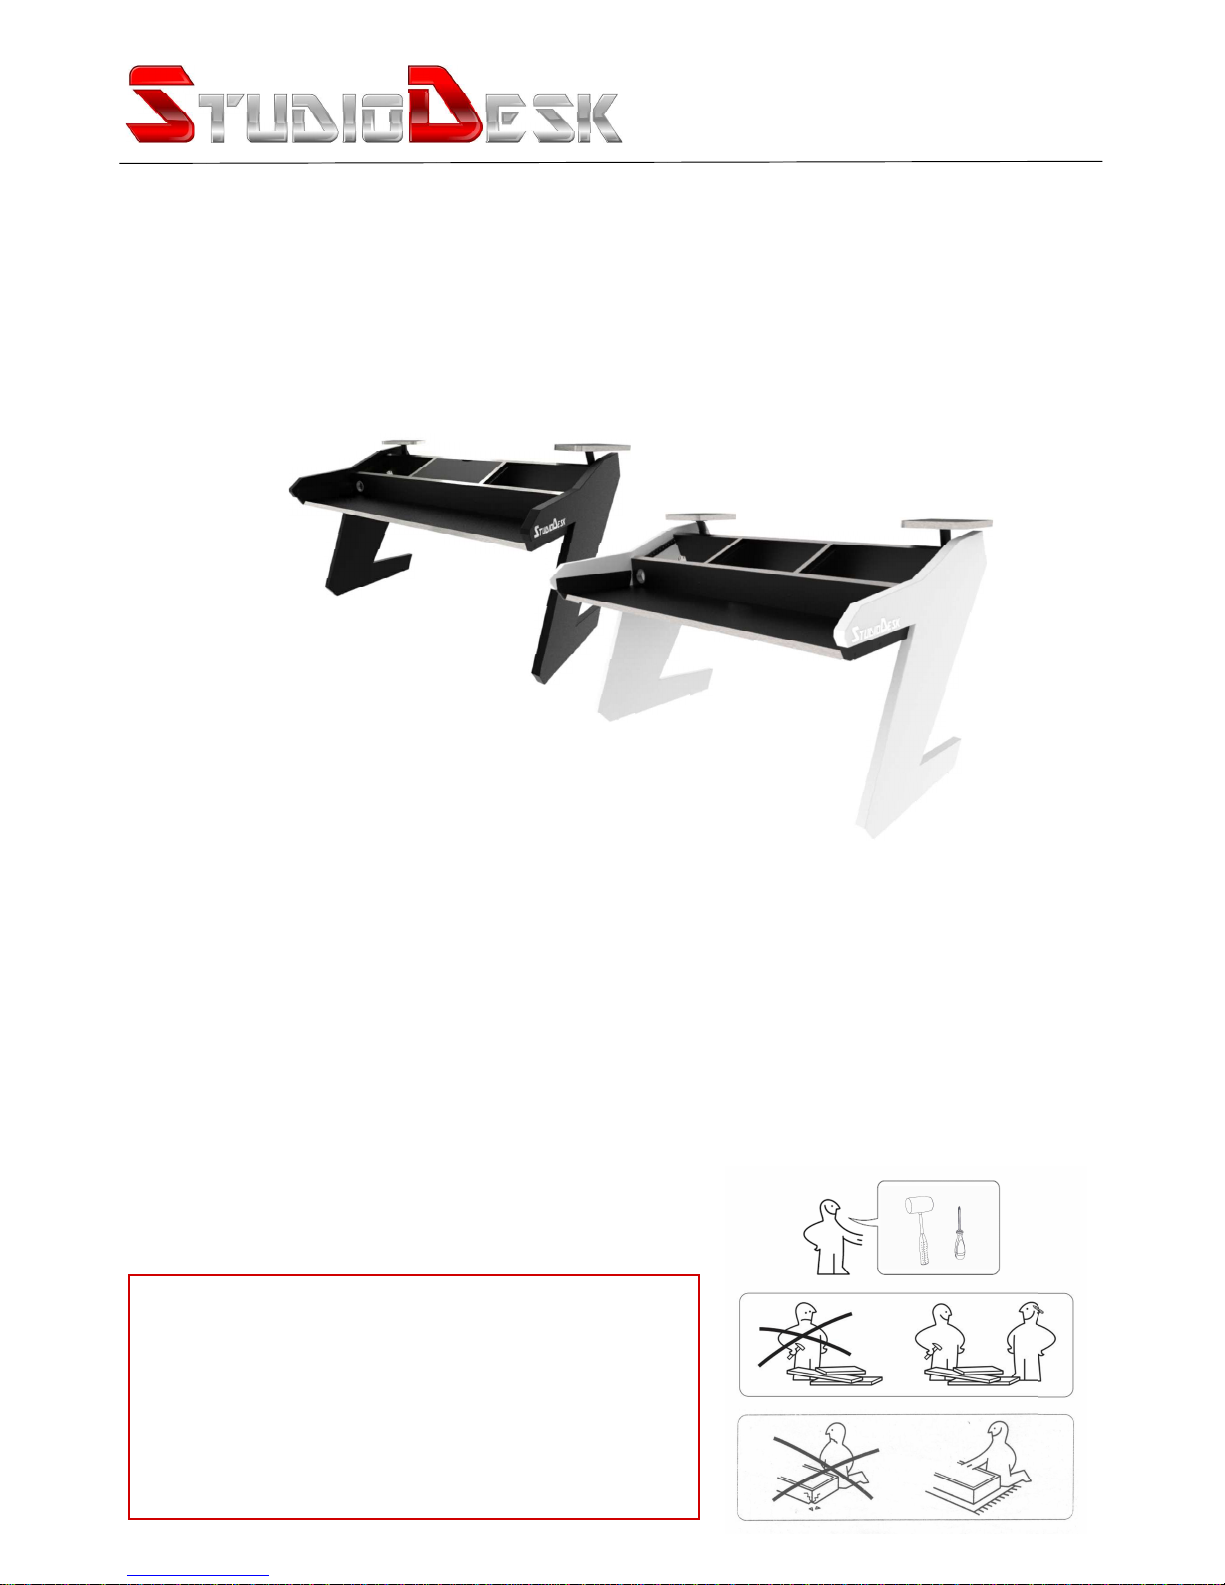
Virtuoso Desk
NOTE: In order to avoid injury or damages,
please do not try to assemble your desk alone.
The Virtuoso is a heavy desk, which requires
at least two people to carry out assembly.
Please assemble on soft surface to avoid
scratches to the lacquer.
!
www.studiodesk.net
19
Cage nuts and
M6 Screws
16 pcs each
The Desk You Deserve
Thank you for making StudioDesk your desk of choice!
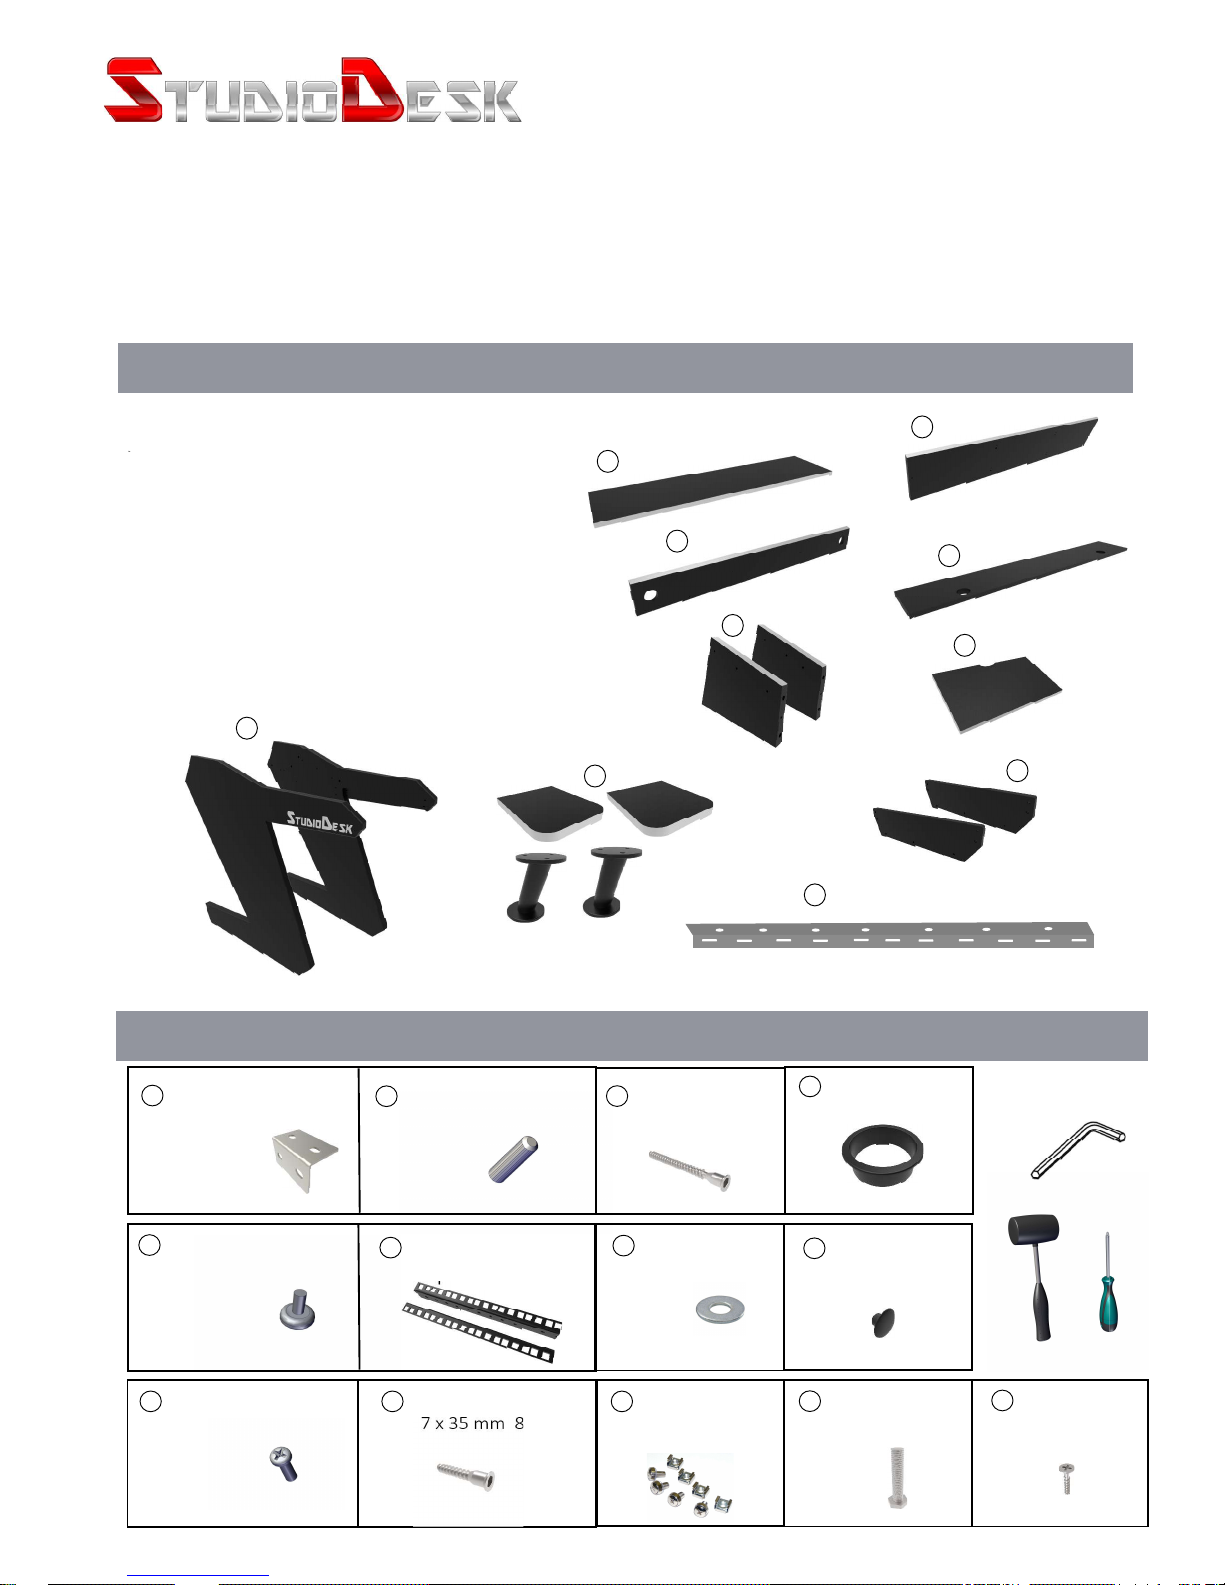
Before beginning assembly of your desk, let’s get familiar with the parts you have received in your package.
Please match the corresponding numbers on this page with the drawings.
1. Keyboard Surface
2. Connecting front board
3. Rack dividers - (left and right)
4. Rack Bay back panel
5. Speaker shelves with supports
6. Legs - (left and right)
7. Metal bar - cable management 1430mm
8. Monitor shelf
9. Optional rack cover
10. Keyboard surface holders
Hardware
Wooden parts
Tools needed
Wooden Dowels
24 pcs
14
11
Metal bracket
6 pcs
Desk tips
4 pcs
12
M6 Screw
49 pcs
13
Rack rails* 6 U
6 pcs
15
L
16
Confirmat screws
7 x 35 mm 8 pcs
7
Washers
9 pcs
6
1
2
3
4
5
8
9
10
Confirmat screws
7 x 60 mm 15 pcs
17
18
20
Cable inlays
4 pcs
21
Plastic caps
for Confirmats
17 pcs
Phillips Screwdriver
Rubber hammer
22
Screw for speaker
Shelves. 2 pcs
23
Screw for wood
6 pcs
Wrench Imbus
(Included)

1
Step One
3
Step Three
8
10
Install rack dividers (3) as shown on the picture left
using wooden dowels (14) and Confimrat screws (17).
Install desk tips (12) to the both legs of the desk.
2
Step Two
Insert wooden dowels (14) into the leg.
Place connecting panel (2) on the dowels
and fix it using metal bracket.
www.studiodesk.net
Assemble keyboard surface (1) and keyboard surface
holders (10) using confirmat screws (17) as shown
In the illustration.
4
Step Four
Place keyboard tray to the leg and fix it
using shorter (16) konfirmat screws.
Fasten strengthening board to keyboard
Tray using longer konfirmat screws (17).

5
Step Five
6
Step Six
7
Step Seven
8
Step Eight
8
10
Install rack bay back panel (4) using wooden
Dowels (14) and confirmat screws (17) as
Illustrated on the picture (right).
Install monitor shelf (8) as illustrated on the picture
on left and fix it with metal bracket (11) and M6
Screws (13).
Install Metal bar (8) as illustrated on the picture
on left and fix it with and M6 Screws (13) and
washers (18).
Carefully place second leg (6) on dowels as illustrated
on the picture left. Use shorter confirmat screws (16)
To connect keyboard surface holders with leg.
Finish installation by installing rest of the metal
metal brackets and M6 Screws (13) to the leg.

9
Step Nine
Install metal supports to the speaker shelves (5) using
Screws for wood (23). All holes are predefined.
10
Step Ten
While desk is in standing position Install speaker shelves
using screws for shelves (22) and Washers (18).
Do not fasten to tight in order to be able to swivel
your speaker shelves.
11
Step Eleven
Install rack rails (15) using M6 Screws (13).
Add Plastic caps to confirmat screws where
screw heads are visible.
Install cable inlays (20).
 Loading...