

The Desk You Deserve
ASSEMBLY MANUAL
LED02
www.studiodesk.net
RGB Led light option for Studio Desk
The Desk You Deserve
Thank you for making StudioDesk the brand of your choice!
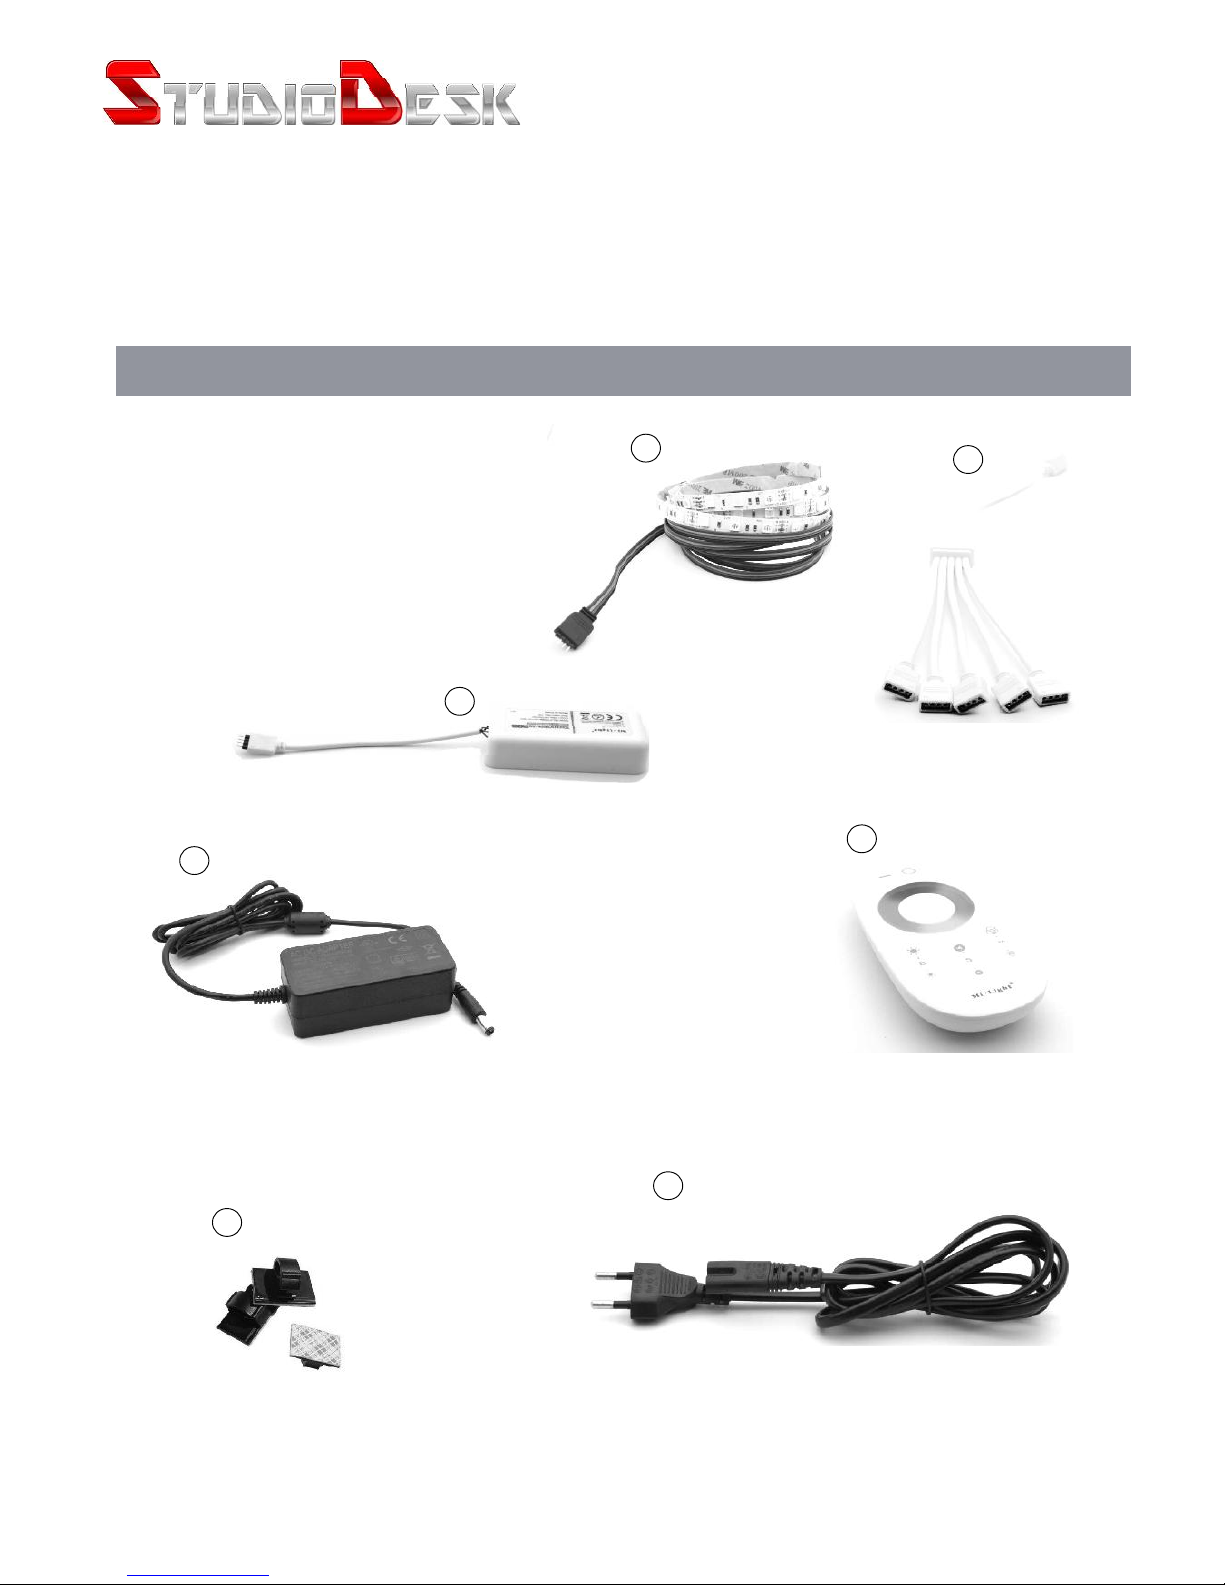
Beforebeginningassemblyofthis LED set,let’sgetfamiliarwiththepartsyouhavereceivedinyourpackage.
Please match the corresponding numbers on this page with the pictures.
1. RGB Led Strips (2x10cm, 2x44 cm, 1x90 cm)
2. Cable divider - 1 / 5
3. Controller
4. Remote controller
5. Power adapter
6. Electric plug EU or US
7. Cable self adhesive clamp 10 pcs
Wooden parts
1 a
2 a
2 b
1
2
3
4
5
6
7

1
Step One
Connect Led strips (1) cables to Cable
divider (2)
Make sure that arrows on connectors
point to each other as shown on the
Pic (left).
www.studiodesk.net
NOTE!
LED Strips and Cable clamp’s are self adhesive so you can stick it to the clean surface as per your need and
desire. Led strips in 44 cm length are meant to be positioned above your racks and light your rack components.
Led strips in 10 cm length are for ambience light on the back side of the desk and 90 cm stripe is to be
placed to light your keyboard underneath.
Typical LED light setup
Before doing any connections, remove film from the stripe and stick it to the clean surface as per
your wish. Use Cable clamp to keep cables organized.
Connection

Connect cable divider (2) to the
Controller (3).
Make sure that arrows on the
connectors point to each other.
8
10
Step Two
2
Connect controller (3) to the
power adapter.
Step Three
3
4
Step Four
Connect power plug to the power adapter.
Appropriate plug is supplied (US/EU).
Connect the plug to the electricity.
Insert batteries to the remote.
Remote functions are explained in the
separate user manual available on the
same link.
 Loading...