

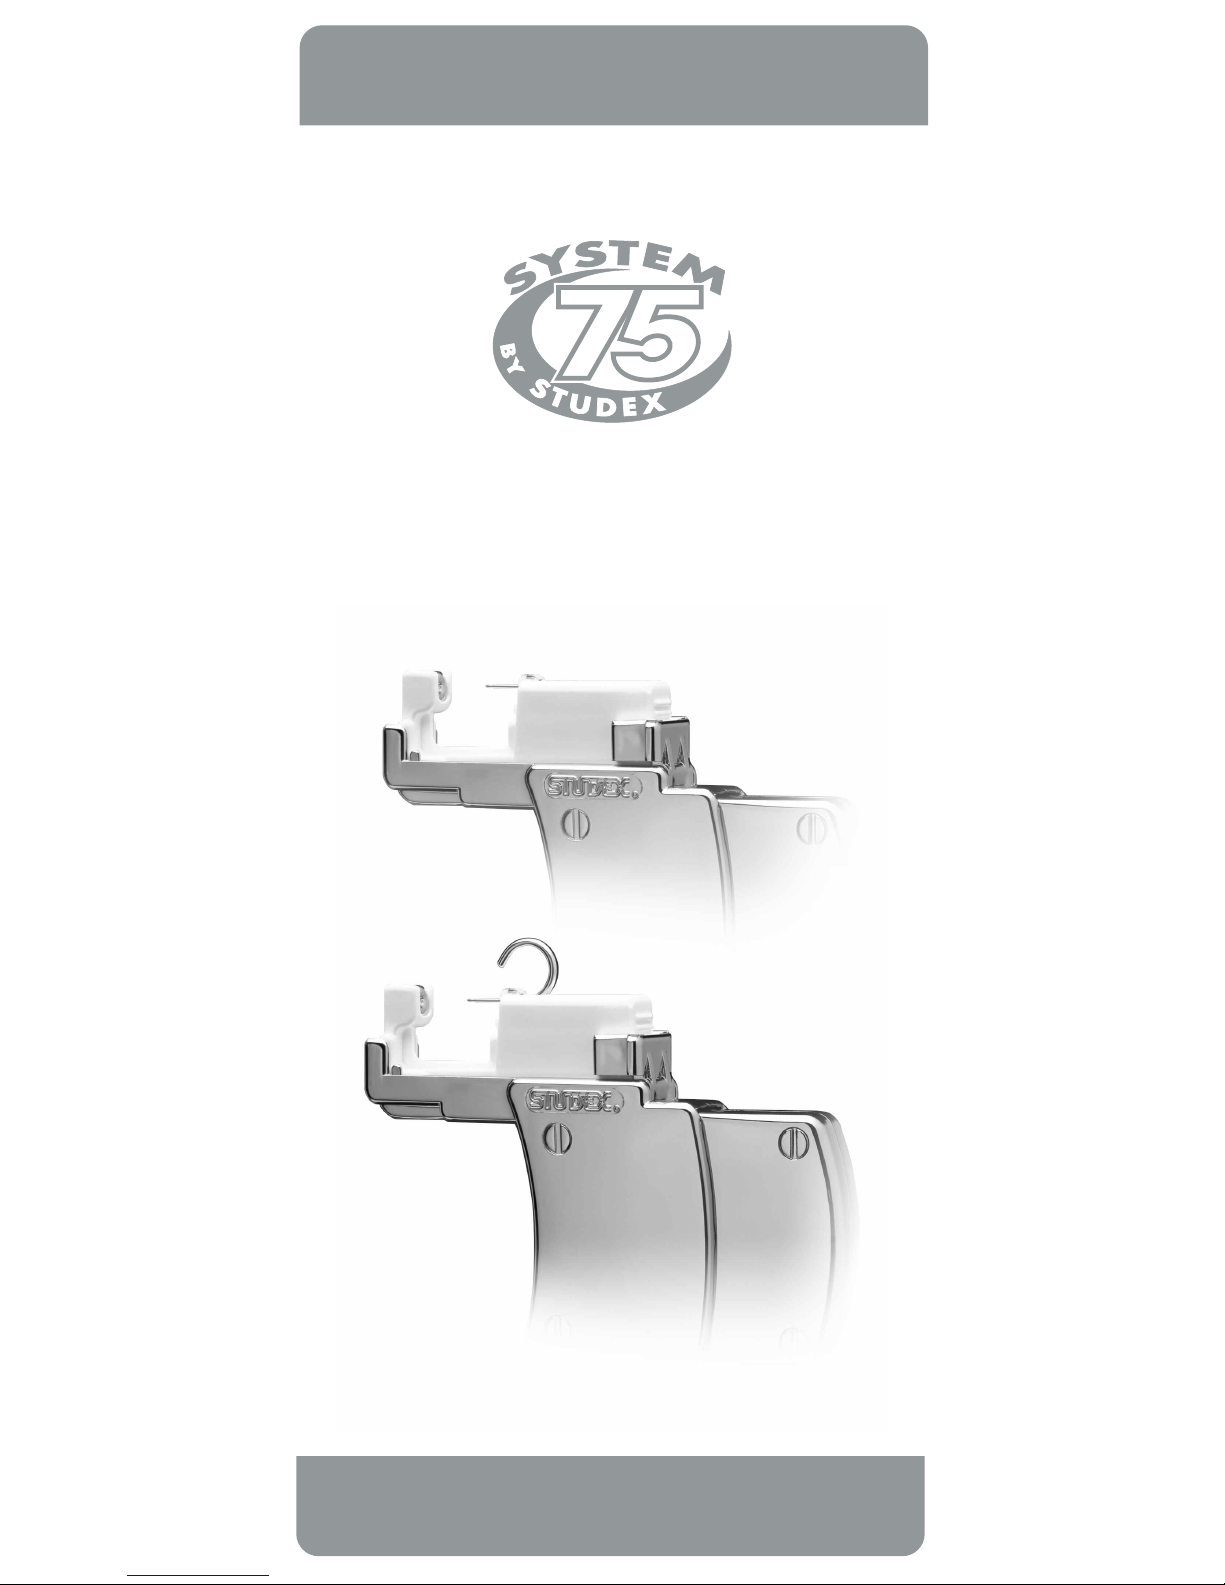
Disposable Cartridge
Ear Piercing System
Made in U.S.A.
Operator’s Manual

Disposable Cartridge Ear Piercing System
©STUDEX
Congratulations!
You have purchased the most advanced ear
piercing system available. Over three decades
of design innovations and refinement have
resulted in the STUDEX® System 75™. This
advanced design piercing instrument is easy
to use, easy to load and is specifically
designed to help protect the health of the
customer and the technician.
The contoured handle of the instrument is
made to fit the hand comfortably, producing
a sure, balanced grip while piercing. The
sterile disposable cartridge system pierces the
ear easily and automatically installs the clasp
with proper clearance. The precise positioning
of the clasp reduces the possibility of
discomfort and promotes healing.
When used with genuine STUDEX® System
75™ sterile ear piercing cartridges and
STUDEX® accessories, you are assured of years
of trouble-free ear piercing.
1.

Disposable Cartridge Ear Piercing System
©STUDEX
Operator’s manual
CONTENTS:
ABOUT STUDEX....................................................3
SYSTEM 75™ FEATURES
AND DESCRIPTION...............................................4
EAR PIERCING INSTRUCTIONS:
PREPARING THE CUSTOMER.............................6
PREPARING YOURSELF......................................6
MARKING THE EARS............................................6
LOADING THE STUD CARTRIDGE......................8
PIERCING THE EAR............................................10
REMOVING THE CARTRIDGE............................12
AFTER PIERCING CARE....................................14
WARRANTY INFORMATION
AND REGISTRATION CARD ..... Inside back cover
2.

Disposable Cartridge Ear Piercing System
©STUDEX
About Studex®
For three decades, the STUDEX® name has
signified excellence in ear piercing instruments and
ear piercing earrings around the world.
STUDEX® is the world’s largest manufacturer of ear
piercing equipment and studs. Every item is made to
the highest quality standards in our plant in
Los Angeles, California, U.S.A.
Each stud starts with the finest U.S. made materials
and is crafted using state-of-the-art, automated
Swiss high-precision machines. At every step of
the manufacturing process, strict quality control
is maintained, assuring you of the finest product
available. Once completed, all ear piercing studs
packaged and sterilized using our validated
sterilization management program and meets all
international standards.
STUDEX® products are tested and approved by
health ministries internationally. And, because
STUDEX® is marketed worldwide, you are assured
of classic design, recognized around the world as
the premier line of ear jewelry and piercing equipment
available.
STUDEX® is constantly updating its products and
packaging, working with an international network of
distributors to provide marketing tools and
merchandise that create demand at retail counters
around the world.
Our ongoing research and development has resulted
in the System 75™, the easy-to-use disposable,
sterile cartridge piercing system that allows
professional ear piercing without touching the studs
or clasps.
3.

Disposable Cartridge Ear Piercing System
©STUDEX
SYSTEM 75™ COMPONENTS
4.
The Disposable Cartridge
The Instrument
Stud and clasp are sterilized and pre-loaded in
a single sterile cartridge.
Cartridges are packaged in matched pairs for
convenience, but may be separated for single
piercing without affecting the sterilization of the
unused cartridge.
Stud is visible inside the packaging for easy
identification.
Post is visible during piercing for easy of
alignment and precise positioning.
Clasp automatically attaches with proper
clearance for optimum healing.
•
•
•
•
•
Cartridge Channel holds cartridge securely
Instrument is contoured for comfortable grip
Light weight for effortless handling
Instrument never touches the customer’s ear
•
•
•
•

Disposable Cartridge Ear Piercing System
©STUDEX
The System 75™ was designed as an easy-to-use,
disposable cartridge ear piercing system that meets
the demands of the professional ear piercing
technician.
The System 75™ offers the technician many
advantages over any other piercing instrument
available, including:
5.
SYSTEM 75™ FEATURES
The instrument is contoured to fit comfortably
in the hand, providing a sure and balanced
grip when piercing.
The piercing stud and clasp are mounted in
a plastic cartridge, which is then individually
blister-packed and sterilized. The cartridge
can be installed in the handle and removed
after piercing without touching the cartridge
or studs. This maintains the sterility of the
piercing environment for the safety of both
the client and the technician.
Each stud and clasp set is individually
packaged in its own sterile blister. Using
one stud for a single ear piercing does not
affect the sterility of the second stud.
The stud cartridge is designed to install the
clasp automatically with the optimum
spacing, providing proper clearance on both
the front and the back of the ear. This
spacing is beneficial to the cleaning and
healing of the ear.
The unique design of the stud post ensures
that the clasp adjusts properly, so the
technician does not have to manually adjust
the position of the clasp after piercing.
1.
2.
3.
4.
5.

Disposable Cartridge Ear Piercing System
©STUDEX
6.
Preparing the Customer
Have the customer select the style of piercing stud they
would like from the ear piercing stud sample board.
Have the customer complete and sign the Release Form.
Have the customer sit in the designated piercing area.
1.
2.
3.
First, familiarize yourself with the System 75™ piercing
instrument and the packaged studs. It is very important
that you present yourself as a confident, expert piercing
technician to the customer. The more comfortable you
are, the more at easy your customer will be. This will
help the customer relax and relieve any anxiety they
might be experiencing.
Preparing Yourself
Wash both hands and put latex gloves on both hands
BEFORE proceeding with ear piercing.
Check customer’s ear for cysts. Cysts are embedded
skin tissue surrounding foreign debris. When you
pinch the earlobe and feel small, hard lump that can
be moved, it is probably cyst. If you see and feel
a small lump that does not move, it is most likely
scar tissue. Cysts are not visible and can be moved,
whereas scar tissue is visible and does not move.
You may pierce through scar tissue, but never
through as it may rupture, releasing debris into the
surrounding tissue which can cause an infection.
1.
2.
Marking the Ears
The customer should remove any earrings they are
wearing.
Ask the customer where they would like the new stud(s).
Cleanse the customer’s ears with Studex Sterile Prep. If
not is available, alcohol may be used.
Mark the ears accordingly
with the nontoxic Marking
Pen (Fig. 1.).
Have the customer check
and approve the marks
BEFORE proceeding with
the piercing. The customer
should not touch the ear
after cleansing.
1.
2.
3.
4.
Figure 1.
EAR PIERCING INSTRUCTIONS

Disposable Cartridge Ear Piercing System
©STUDEX
If you are piercing in the cartilage area of the ear
(see Fig. 2.), special care must be taken during
both the piercing and the after-piercing care.
7.
EAR PIERCING INSTRUCTIONS
Figure 2.
A Note About Cartilage Piercing
Cartilage Area
Special care must be
taken when piercing
though this cartilage
(dark area at right)
Do not pierce through
the curled (edge) of
the ear.
When piercing the cartilage around the edge of the
ear, with customers who have very thick or heavily
curled cartilage, you just pull the cartilage slightly to
“unroll” it. This is to ensure that the piercing
instrument can be properly positioned.
Whenever piercing through any cartilage area of the
ear, you must take care to ensure the instrument is
held perpendicular to the surface of the ear.
Alert your client that the healing of the cartilage area
will take somewhat longer than the lobe area.

Disposable Cartridge Ear Piercing System
©STUDEX
EAR PIERCING INSTRUCTIONS
8.
Loading the Cartridge
For safety’s sake, wash both hands thoroughly,
and put latex gloves on both hands before opening
the sterile blisters or touching the customer’s ear.
Make sure the instrument is cleaned before
and after each use.
Remove the twin blister from the package and
separate the twin blister by tearing along the
perforation between the two cartridges. For
your convenience, Sterile Prep Pads are
packaged with the studs for cleaning the
customer’s ears.
Peel off the paper backing from one blister,
exposing the piercing cartridge. DO NOT
REMOVE THE CARTRIDGE FROM THE
BLISTER!
Holding the sides of the plastic blister firmly
with the opening on the bottom, slide the clasp
end of the cartridge down and forward into the
channel in the instrument until it is seated fully
forward (Figure 3A.)
Rotate the back of the cartridge down into the
channel until is firmly seated as shown in
Figure 3B.
Lift off the plastic blister (Fig. 3C.). Do not
discard the plastic blister, as you will need it
later.
You are ready to pierce (Figure 3D.).
1.
2.
3.
4.
5.
6.
7.
Do not touch cartridge at any time!
Always use the blister as a holder when installing,
removing or transporting the cartridge. In this way,
sterility of the piercing studs and clasps is
maintained, and accidental contact with the
customer’s body fluids is avoided.

Disposable Cartridge Ear Piercing System
©STUDEX
9.
EAR PIERCING INSTRUCTIONS
Loading the Cartridge
Figure 3A.
Figure 3B.
Figure 3C.
Figure 3D.

Disposable Cartridge Ear Piercing System
©STUDEX
EAR PIERCING INSTRUCTIONS
10.
Piercing the Ear
Be sure the ears have been cleansed with Sterile
Prep Pad provided.
NOTE:
When the piercing is complete, ask the customer
if they are OK to stand up, or if they need a few
minutes. If the customer stands up and feels dizzy,
help them to sit down, and have them wait 3 to 5
minutes before leaving.
Give the customer signed After-piercing Care
Instructions to take home with them.
Place the ear between the end of the stud and
the clasp, carefully aligning the point of the
stud with mark on the ear as shown Figure 4.
While maintaining proper alignment, slowly
squeeze the handle. This will slide the stud
forward for more accurate positioning.
Keeping the proper alignment, squeeze the
handle firmly to pierce the ear. The clasp will
be automatically installed on the stud with the
proper spacing (Figure 5.).
Release pressure on the handle (Fig. 6.) and
carefully pull the handle straight away from the
ear (towards the bottom of the handle) - see
Figure 7. This will release the stud from the
clear plastic carrier and the clasp from the
cartridge.
Remove the used cartridge from the handle
(see removal instructions) and discard the
cartridge and the blister. Repeat this procedure
for additional ear piercings.
1.
2.
3.
4.

Disposable Cartridge Ear Piercing System
©STUDEX
11.
Piercing the Ear
Figure 4.
Figure 5.
Figure 6.
Figure 7.
EAR PIERCING INSTRUCTIONS

Disposable Cartridge Ear Piercing System
©STUDEX
EAR PIERCING INSTRUCTIONS
12.
Removing the Cartridge
NOTE:
After piercing, place the plastic blister (the one
that cartridge came in) down on top of the
used cartridge as shown in Fig. 8.
Firmly holding the sides of the blister as shown
in Figure 9, slide the blister and cartridge
slightly forward to release the cartridge from
the channel.
Lift the entire cartridge assembly straight up
and out of the channel (Fig. 10).
Dispose of the used cartridge and blister in the
appropriate manner.
1.
2.
3.
4.
Do not touch the cartridge at any time.
Always use the blister as the holder when installing,
removing or transporting the cartridge. In this
way, sterility of the piercing studs and clasps
is maintained, and accidental contact with the
customer’s body fluids is avoided.
Always wear gloves for yours and customers
protection.

Disposable Cartridge Ear Piercing System
©STUDEX
13.
Removing the Cartridge
Figure 8.
Figure 9.
Figure 10.
EAR PIERCING INSTRUCTIONS

Disposable Cartridge Ear Piercing System
©STUDEX
AFTER EAR PIERCING CARE
14.
STUDEX® Ear Care Solution and Ear Care Gel are
formulated specifically to help maintain healthy
pierced ears.
STUDEX® Ear Care Solution is specially formulated
pH balanced to keep the skin soft and healthy.
Ear Care Gel is the same basic formulation in a
convenient gel form. Utilizing benzalkonium chloride,
both Solution and Gel are effective against staph
and strep germs. The non-burning formulation
makes it safe and pleasant for all ages.
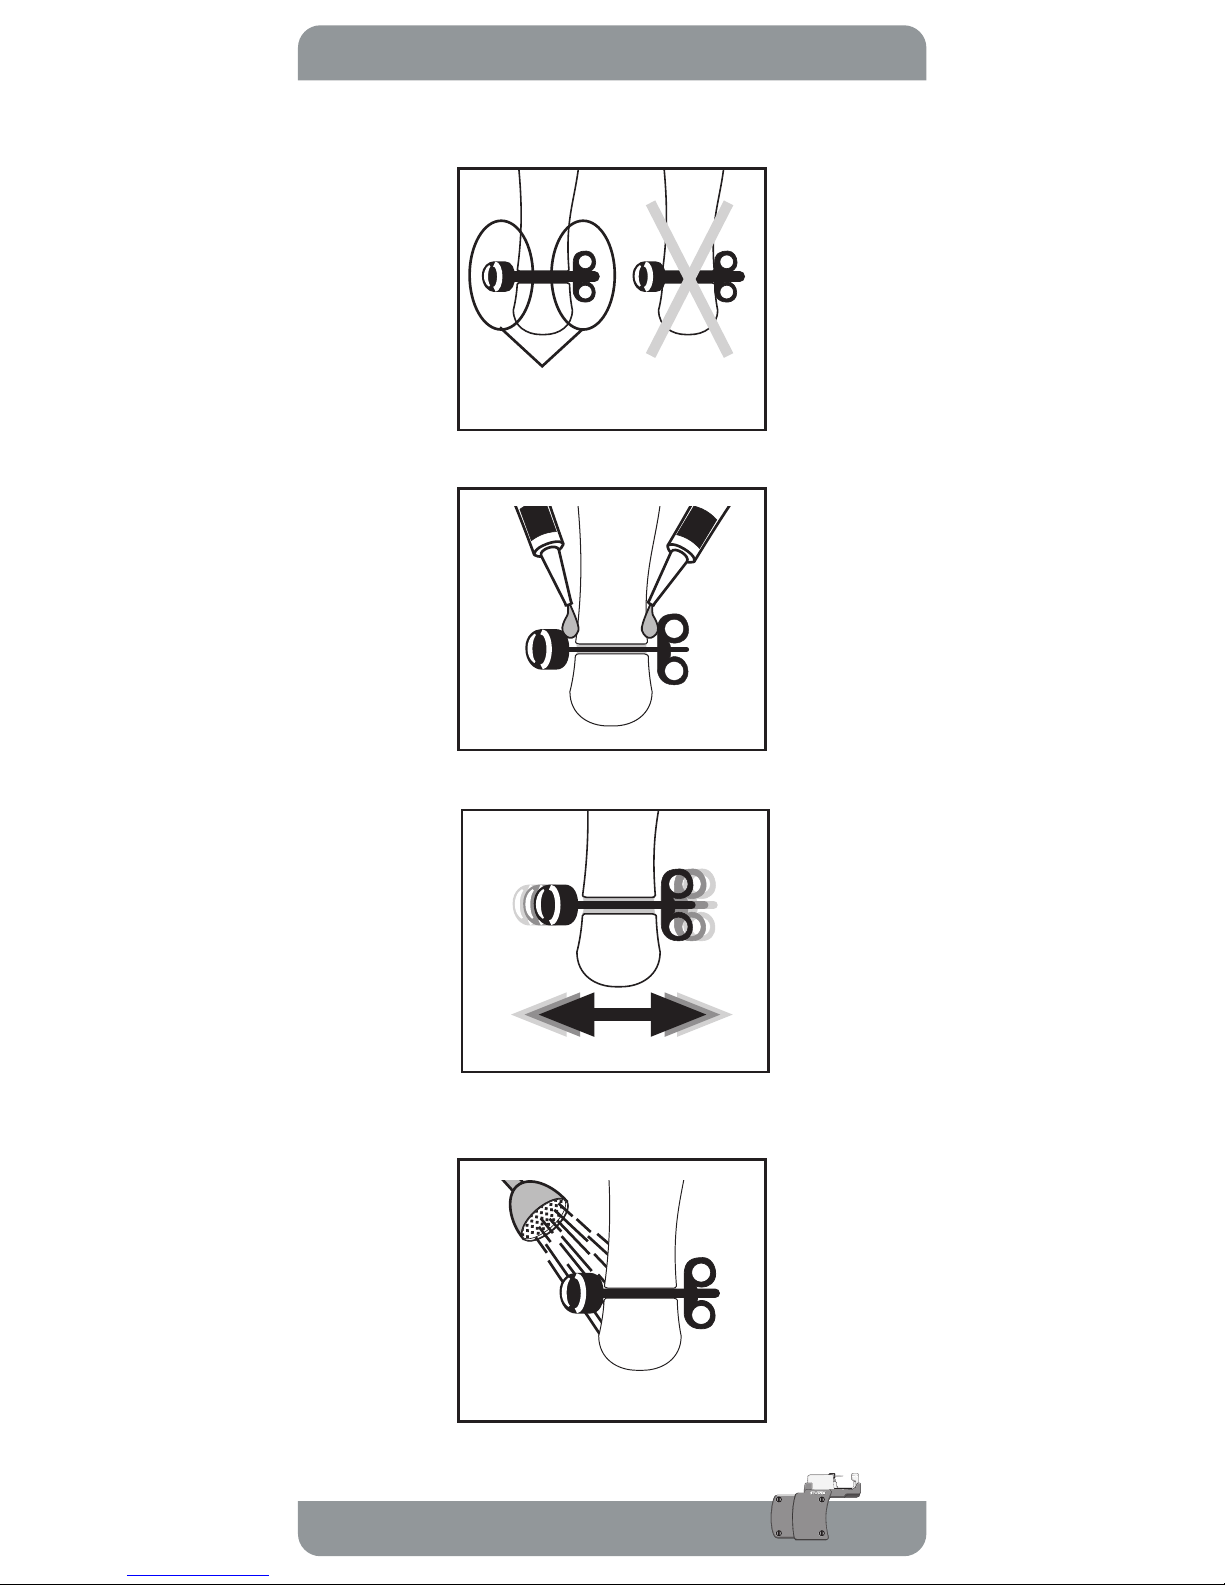
Training (piercing) earrings should not be removed
for 4 to 6 weeks. Clasps should not be too tight
against the lobe.
STUDEX® Ear Care Solution & Ear Care Gel should
be used at least twice a day during the initial 6-week
healing process. Without removing the earrings,
liberally apply Ear Care Solution or Ear Care Gel to
the front and back of each earlobe using a saturated
cotton ball or tipped applicator (Fig. 12). Gently slide
earrings back and forth in the ear to work the gel or
solution into pierced hole (Fig. 13). Rotate earrings
(like winding a watch) two or three times a day.
Use Ear Care Gel before showering to keep hair
spray, soap, shampoo and other hair preparations
away from the ear. After showering or shampooing,
the earlobes should be thoroughly rinsed and then
cleansed with Ear Care Solution and Ear Care Gel
should be reapplied.
Ear Care Solution or Gel should be used to help
reduce the incidence of infection. Even after the ears
have healed and the customer is wearing other
earrings, STUDEX® Ear Care Solution should be
used regularly to keep ears healthy and earrings clean.
Complete instructions for using Ear Care Solution and
Ear Care Gel are on their containers and packaging.
After Piercing Care is the most important
factor in keeping pierced ears healthy!
Disposable Cartridge Ear Piercing System
©STUDEX
15.
Figure 11.
Figure 12.
Figure 13.
AFTER EAR PIERCING CARE
GEL
GEL
Figure 14.
Check earrings for proper clearance.
Apply Gel or Solution front & back.
Slide earrings back & forth to work
Gel or Solution into hole.
Apply Gel before showering to
protect new piercing.
Proper
spacing
Too
tight

16.
The STUDEX® System 75
™
Ear Piercing Instrument is backed
by a limited two years warranty to
the original purchaser.
This instrument is made in the
U.S.A. with highest quality
materials and workmanship, and
is fully inspected and tested before
it leaves our plant.
If you ever have any problem with
this instrument or any questions
regarding its use, please call
STUDEX toll-free at
1.800.478.8339
This warranty is void if the
instrument is misused or dropped,
or is used with anything other than
genuine STUDEX® System 75
™
Sterile Disposable Cartridges.
Warranty

System 75™ Warranty Registration Card
IMPORTANT: Fill out and mail within 10 days of purchase.
BUYER’S NAME
STORE NAME
ADDRESS
CITY STATE ZIP
TELEPHONE
( )
PURCHASE DATE PURCHASE PRICE
PURCHASED FROM
YOUR E-MAIL ADDRESS
Suggestions or Comments
521 W. Rosecrans Avenue, Gardena CA 90248-1514
310.851.9300; 1.800.478.8339; Fax: 310.851.9400
www.studex.com • e-mail: sales@studex.com
System 75™ Operator’s Manual
artstudio@studex
 Loading...