

Strida 3 Owner's Manual
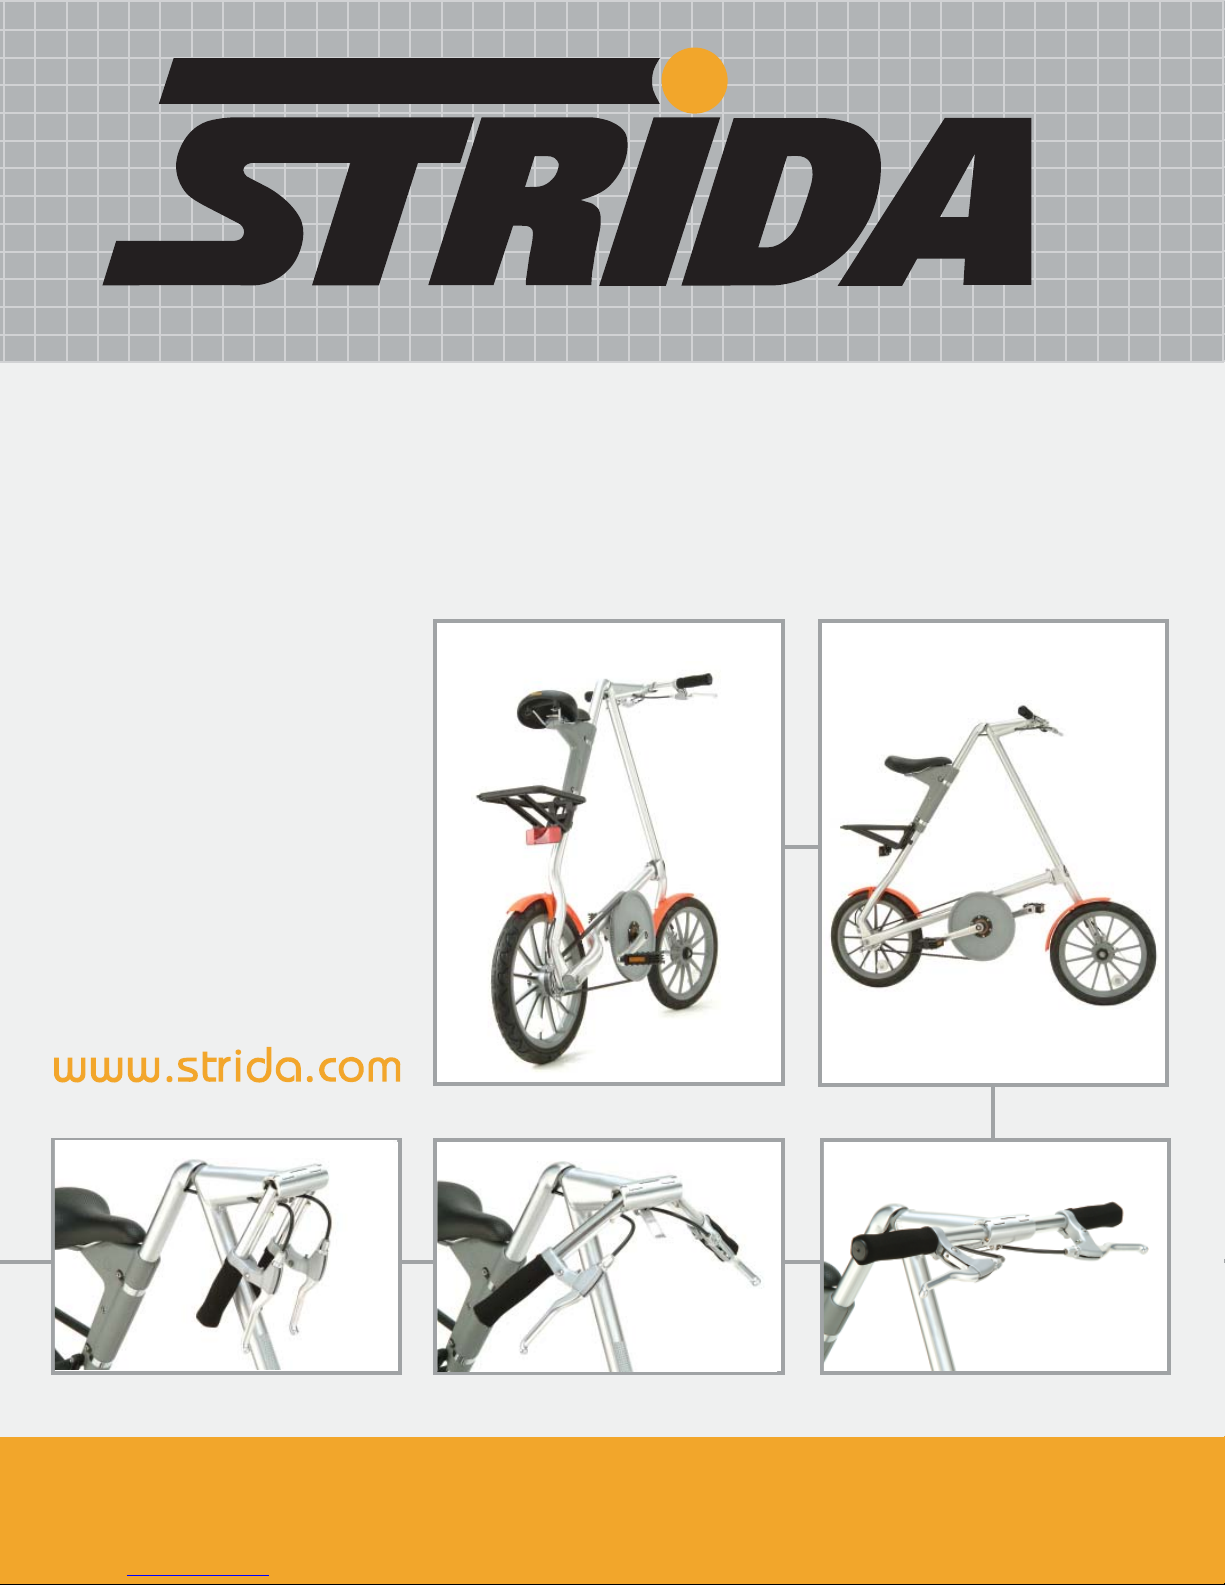
a whole new way to move
3
owners manual
warranty
strida limited warrants each new strida bicycle frame against defects in workmanship and materials,
for the lifetime of the original owner. strida UK limited likewise, warrants all original components,
for a period of one year from the date of purchase. this warranty is expressly limited to the repair
or replacement of defective frame or defective parts, and is the sole remedy of the warranty.
this warranty applies only to original owners and is not transferable. claims under this warranty
must be made directly to strida UK limited. proof of purchase is required.
the warranty does not cover; normal wear and tear, improper assembly or follow up maintenance,
or installation of parts or accessories not originally intended or compatible with the bicycle as sold.
a warranty registration form must be completed and received by strida before a warranty claim will
be processed.
the warranty does not apply to damage or failure due to accident, misuse, abuse, or neglect. modifi cation of the frame or components shall void this warranty. strida UK limited shall not be responsible for incidental or consequential damages. labour charges associated with parts changeovers are
not covered by the warranty.
this warranty gives the consumer specifi c legal rights. and those rights may vary from place to
place. this warranty does not affect the statutory rights of the consumer.
DISCLAIMER: UNDER NO CIRCUMSTANCES, INCLUDING, BUT NOT LIMITED TO, NEGLIGENCE, SHALL BIKELINK INTERNATIONAL,
LLC (‘BLI’) AND STRIDA (uk) lTD. (SELLER) BE LIABLE FOR ANY SPECIAL OR CONSEQUENTIAL DAMAGES THAT RESULT FROM
THE USE OF, OR THE INABILITY TO USE, THE MATERIALS IN THIS MANUAL, EVEN IF BLI HAS BEEN ADVISED OF THE POSSIBILITY OF SUCH DAMAGES. APPLICABLE LAW MAY NOT ALLOW THE LIMITATION OR EXCLUSION OF LIABILITY OR INCIDENTAL OR
CONSEQUENTIAL DAMAGES, SO THE ABOVE LIMITATION OR EXCLUSION MAY NOT APPLY TO YOU.
www.strida.com
2
www.strida.com

safety
always wear a helmet!
use lights at night!
110kg
240lbs
maximum
loading: 110kg/240lbs
:
danger
no loose clothing
:
minimum rider
height: 5’ 2”/1.57m
maximum rider
height: 6’ 4”/1.93m
:
minimum:
-20°C (-4°F)
no stunt riding!
no ice riding!
no wheelies!
3
www.strida.com
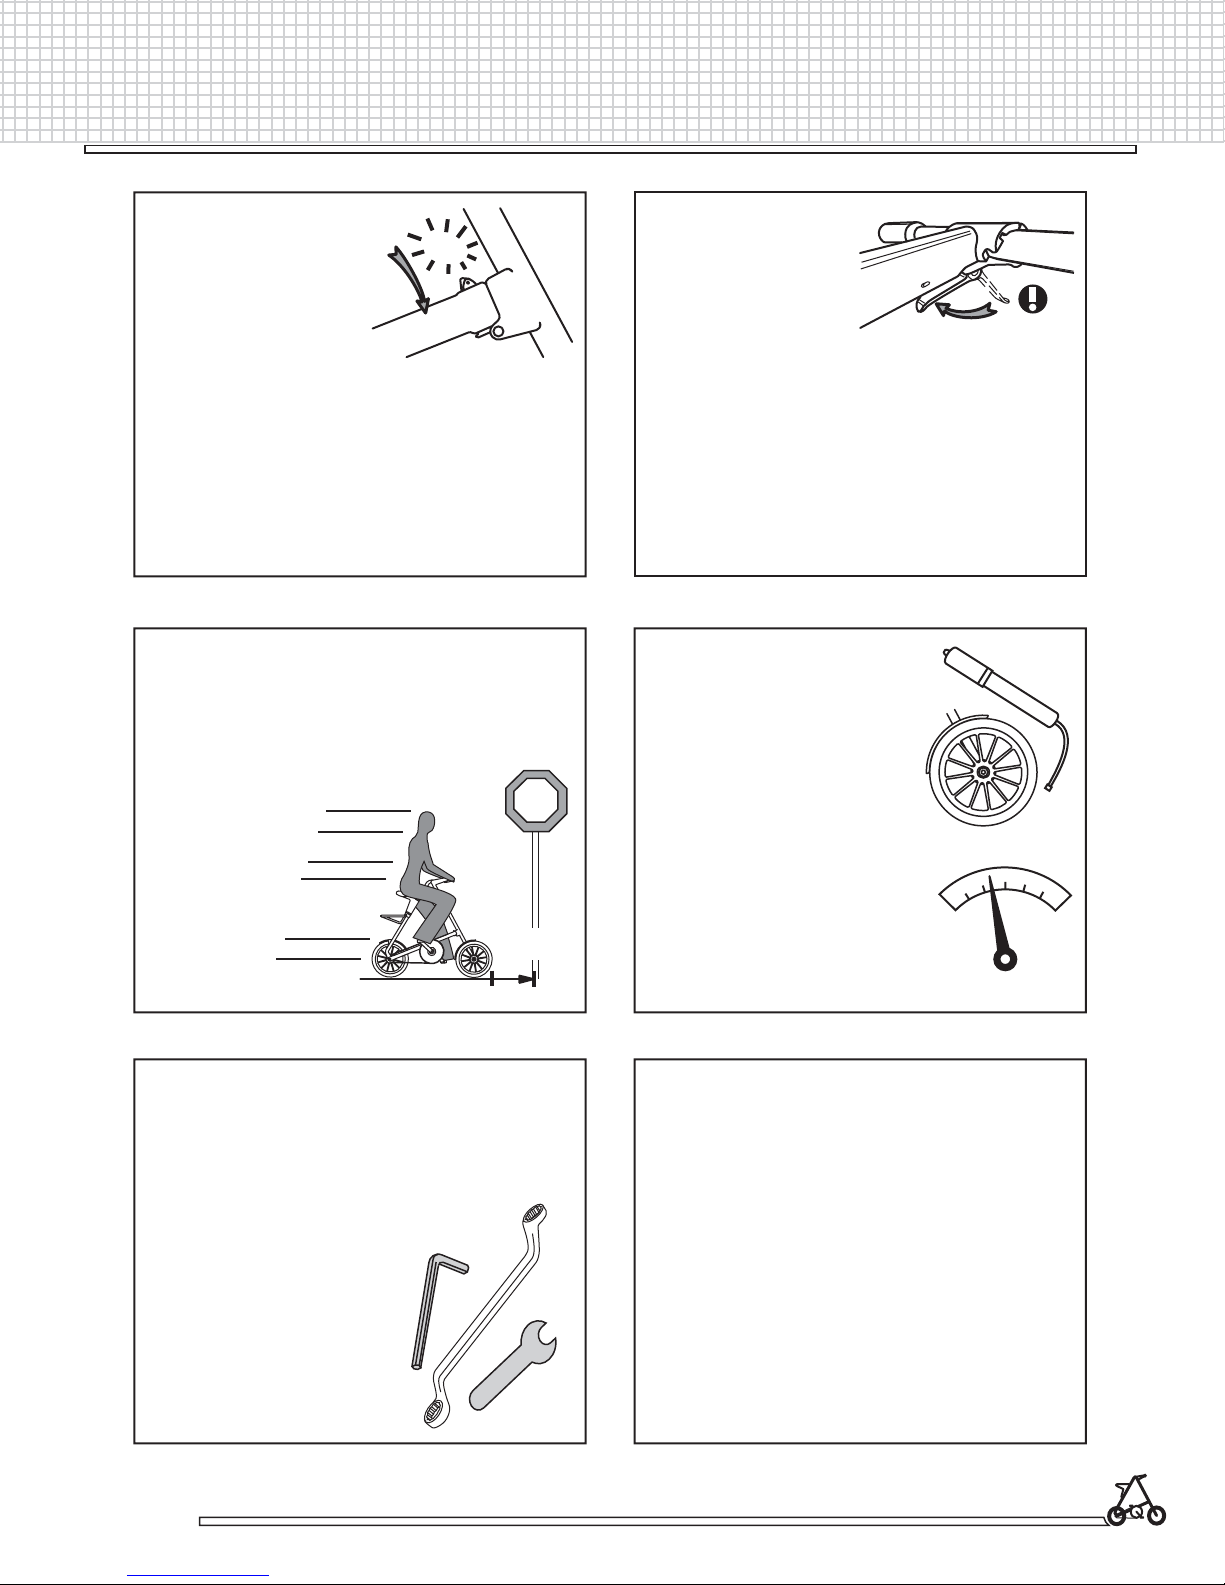
pre-ride safety
ensure bottom tube
is locked (page 5)
check the brakes
before riding
c
l
i
c
k
STOP
ensure handlebar
lever is closed
against tube before
riding (page 5)
check tyre treads &
infl ation
45-55psi
;
ensure all bolts and fastenings are
correctly tightened (page 17 & 18)
caution: wet weather increases
stopping distance
www.strida.com
4
www.strida.com

folding a strida
1
push safety lever
3
2
54
b
click
click
7
a
6
b
a
www.strida.com
5
unfolding a strida
1
2
3
4
5
un-click
c
l
i
c
k
www.strida.com
Problems see page 26
6
www.strida.com
6
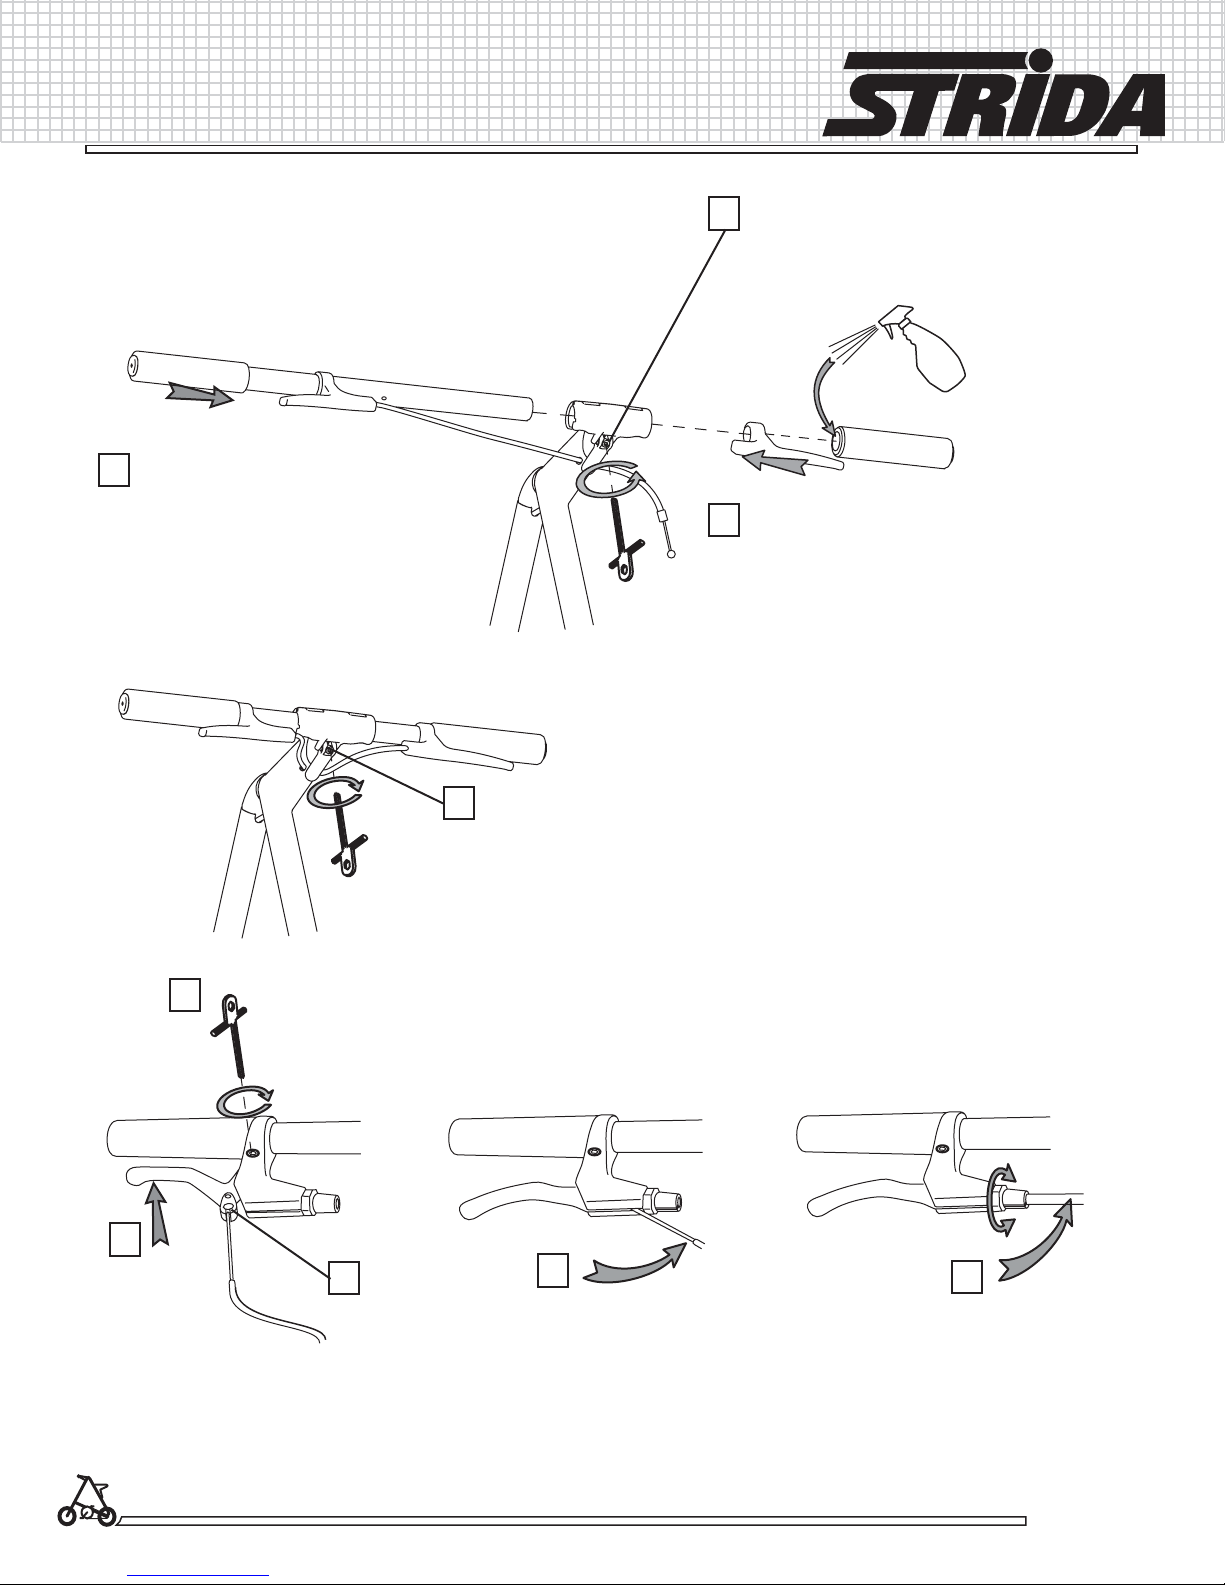
install rigid handlebars
fi t handlebar into stem
2
loosen stem screw
1
push brake and grip onto bar
3
spray a little window cleaner
(NEVER oil) into grip to help
tighten stem screw
4
5
6
7
8
see page 19 adjusting brakes
9
www.strida.com
7
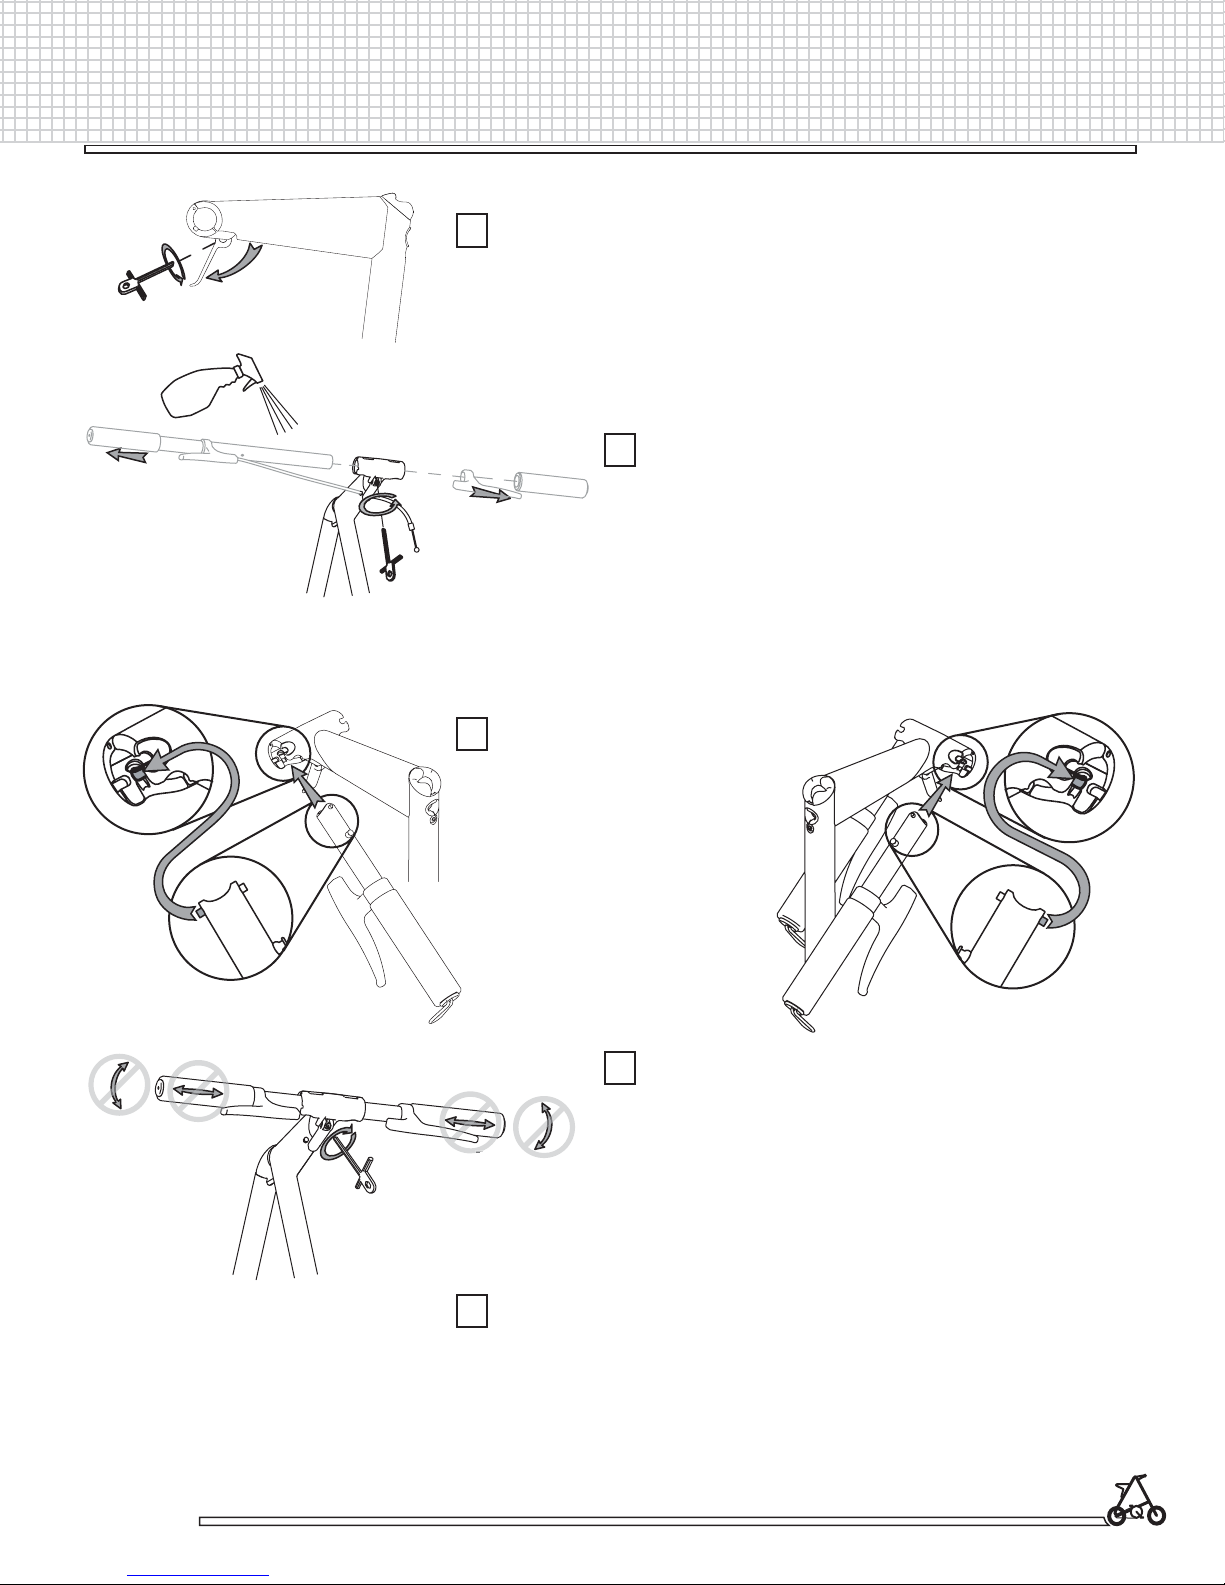
install folding handlebars
open lever and loosen stem screw as far as
1
possible (do not remove)
remove straight handlebars (if fitted).
2
spray window cleaner (NEVER oil) into
grip to ease removal
fit handlebars into stem
3
tighten screw. adjust in 1/4 turn
4
incriments to stop handlebars wiggling
;
;
www.strida.com
attach brake cables 5-9 on opposite page
5
8
www.strida.com
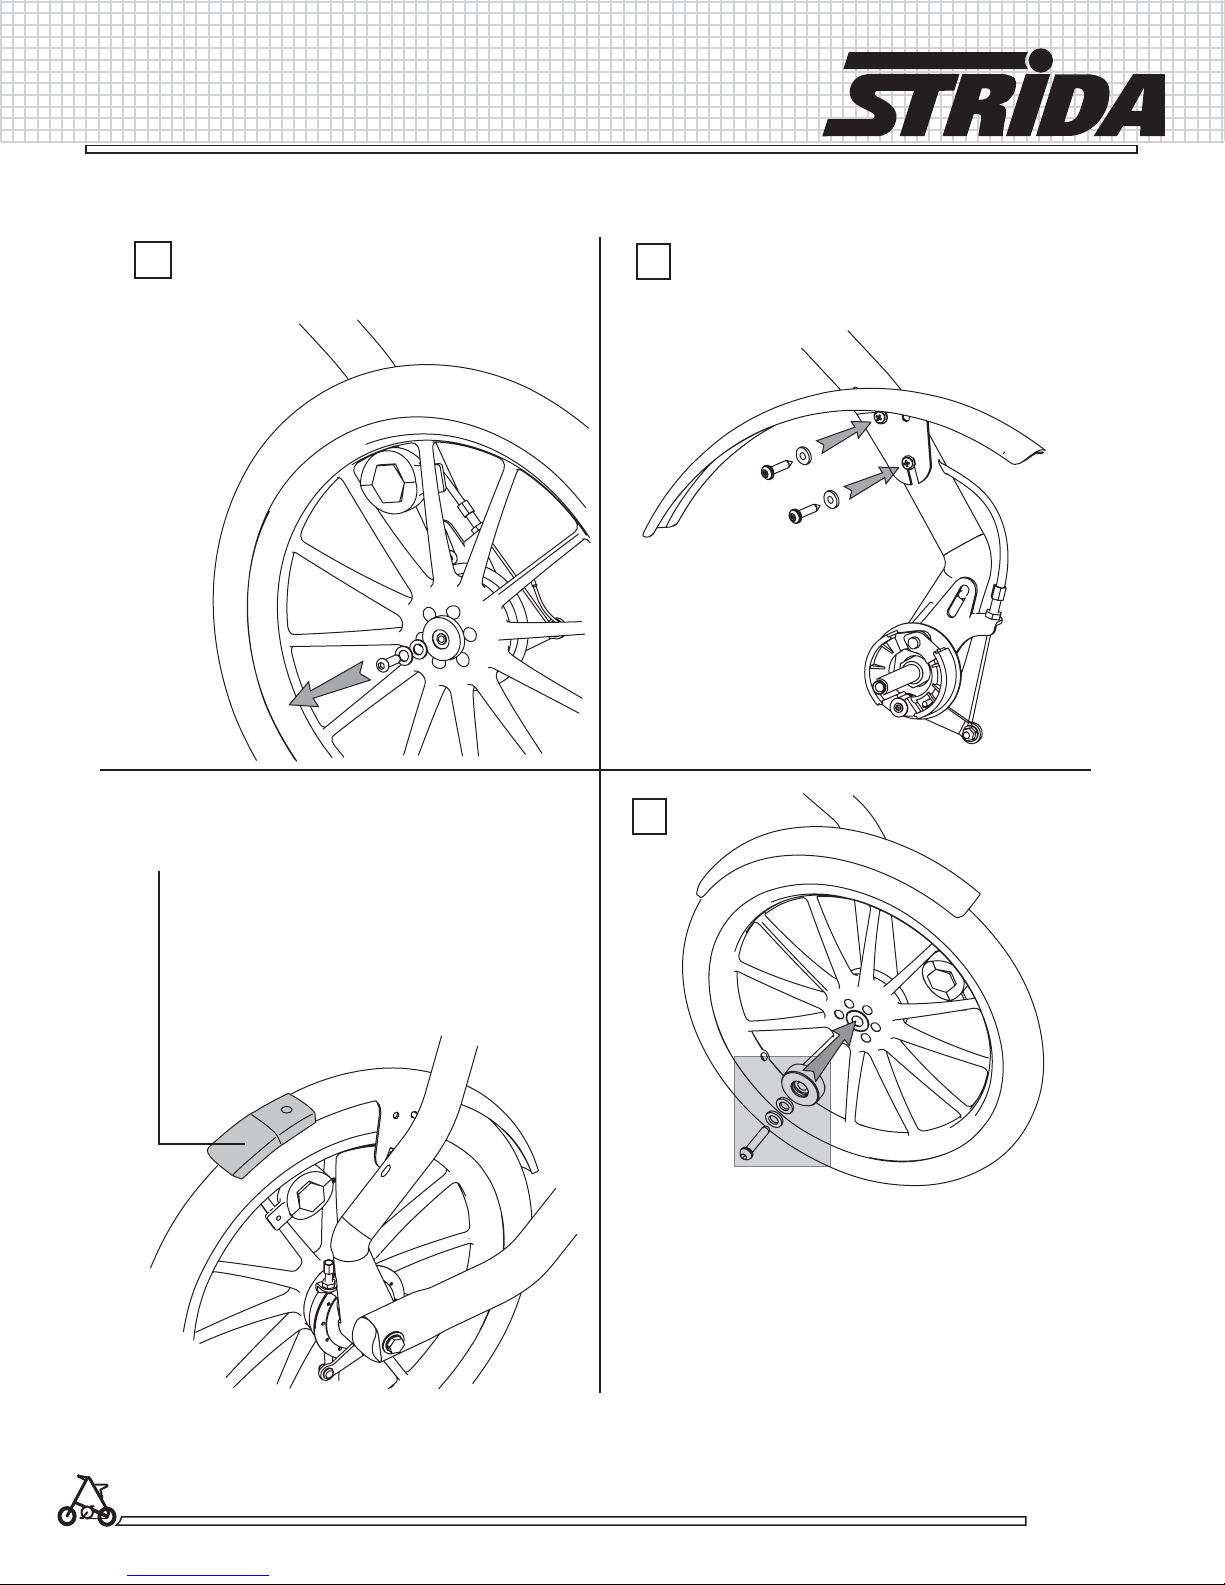
fi tting mud guards
available from www.strida.com
1
optional: add fender extension
available from www.strida.com
2
4
see page 27
9
www.strida.com
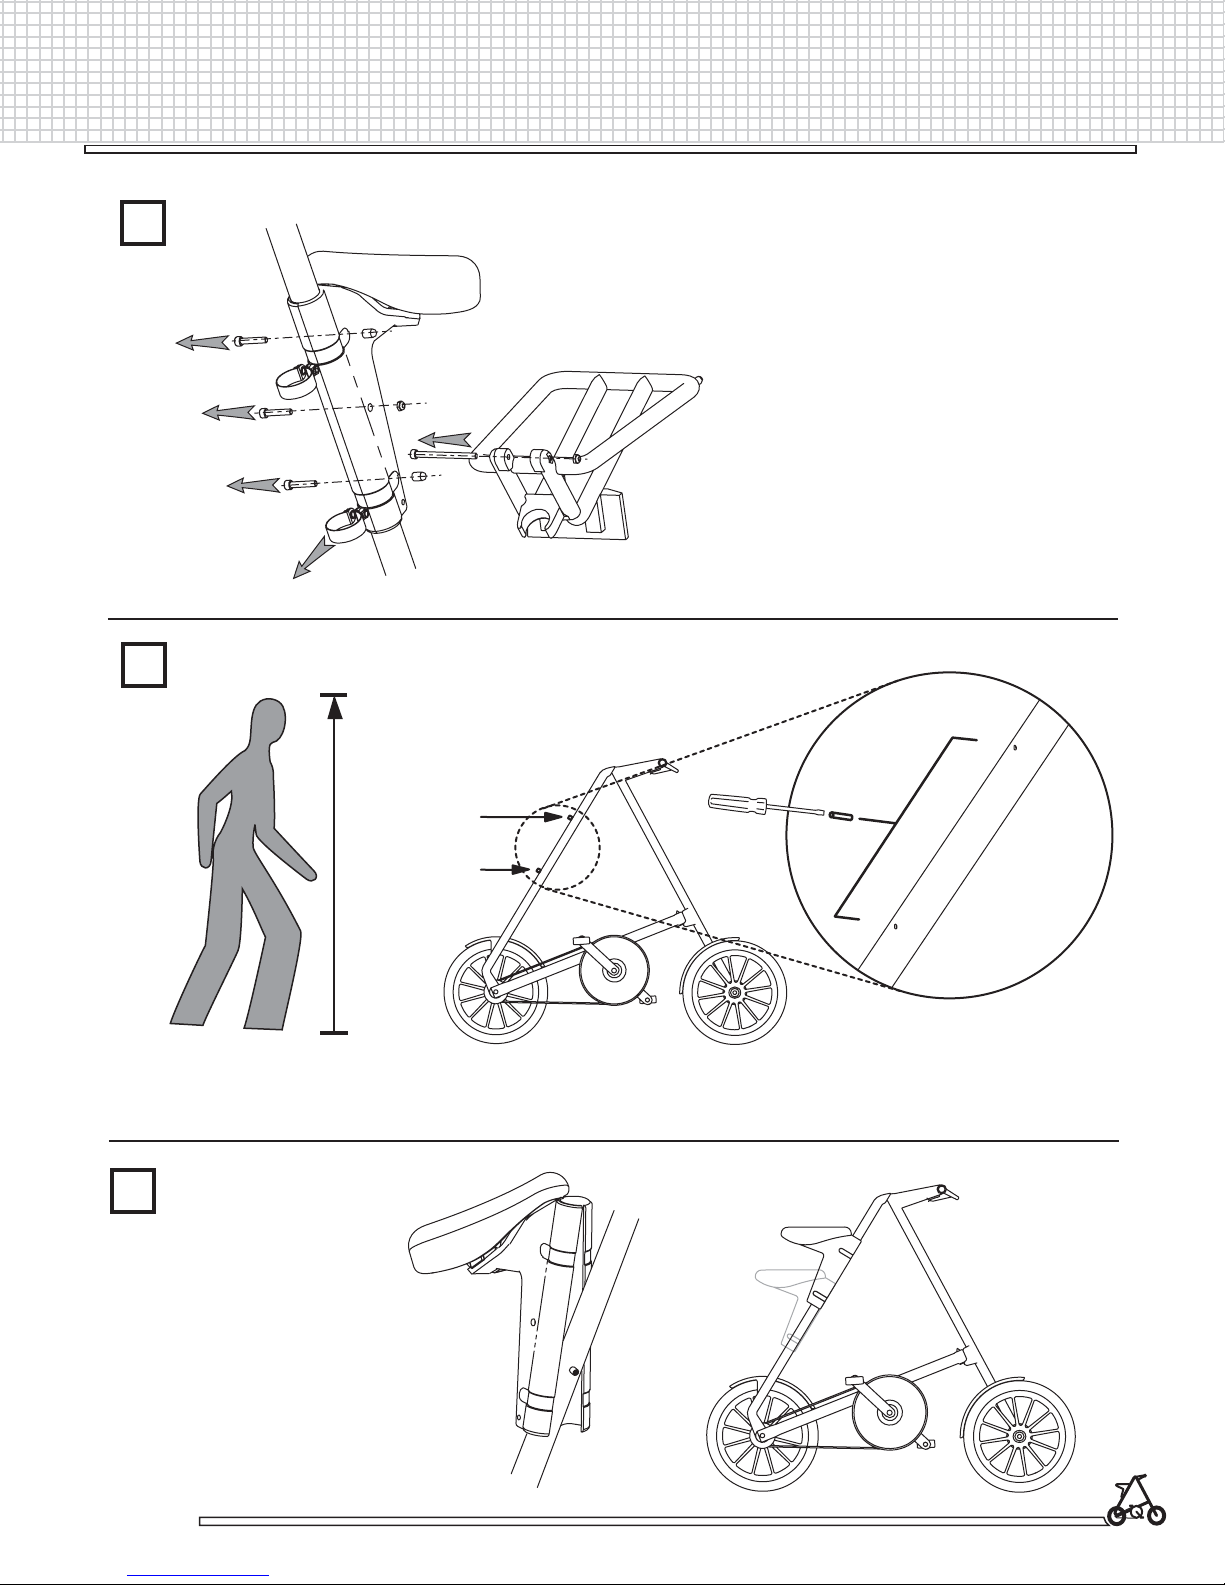
install & adjust seat
1
2
if already fi tted, remove 4 bolts,
2 clips and the rack
175-200cm
175-200 cm
150-175 cm
Ö
use caution not to strip aluminum
thread when installing seat pin
3
www.strida.com
press fi t seat moulding
starting from bottom
Ù
150-175cm
Ö
10
www.strida.com
Ù
Õ
Õ
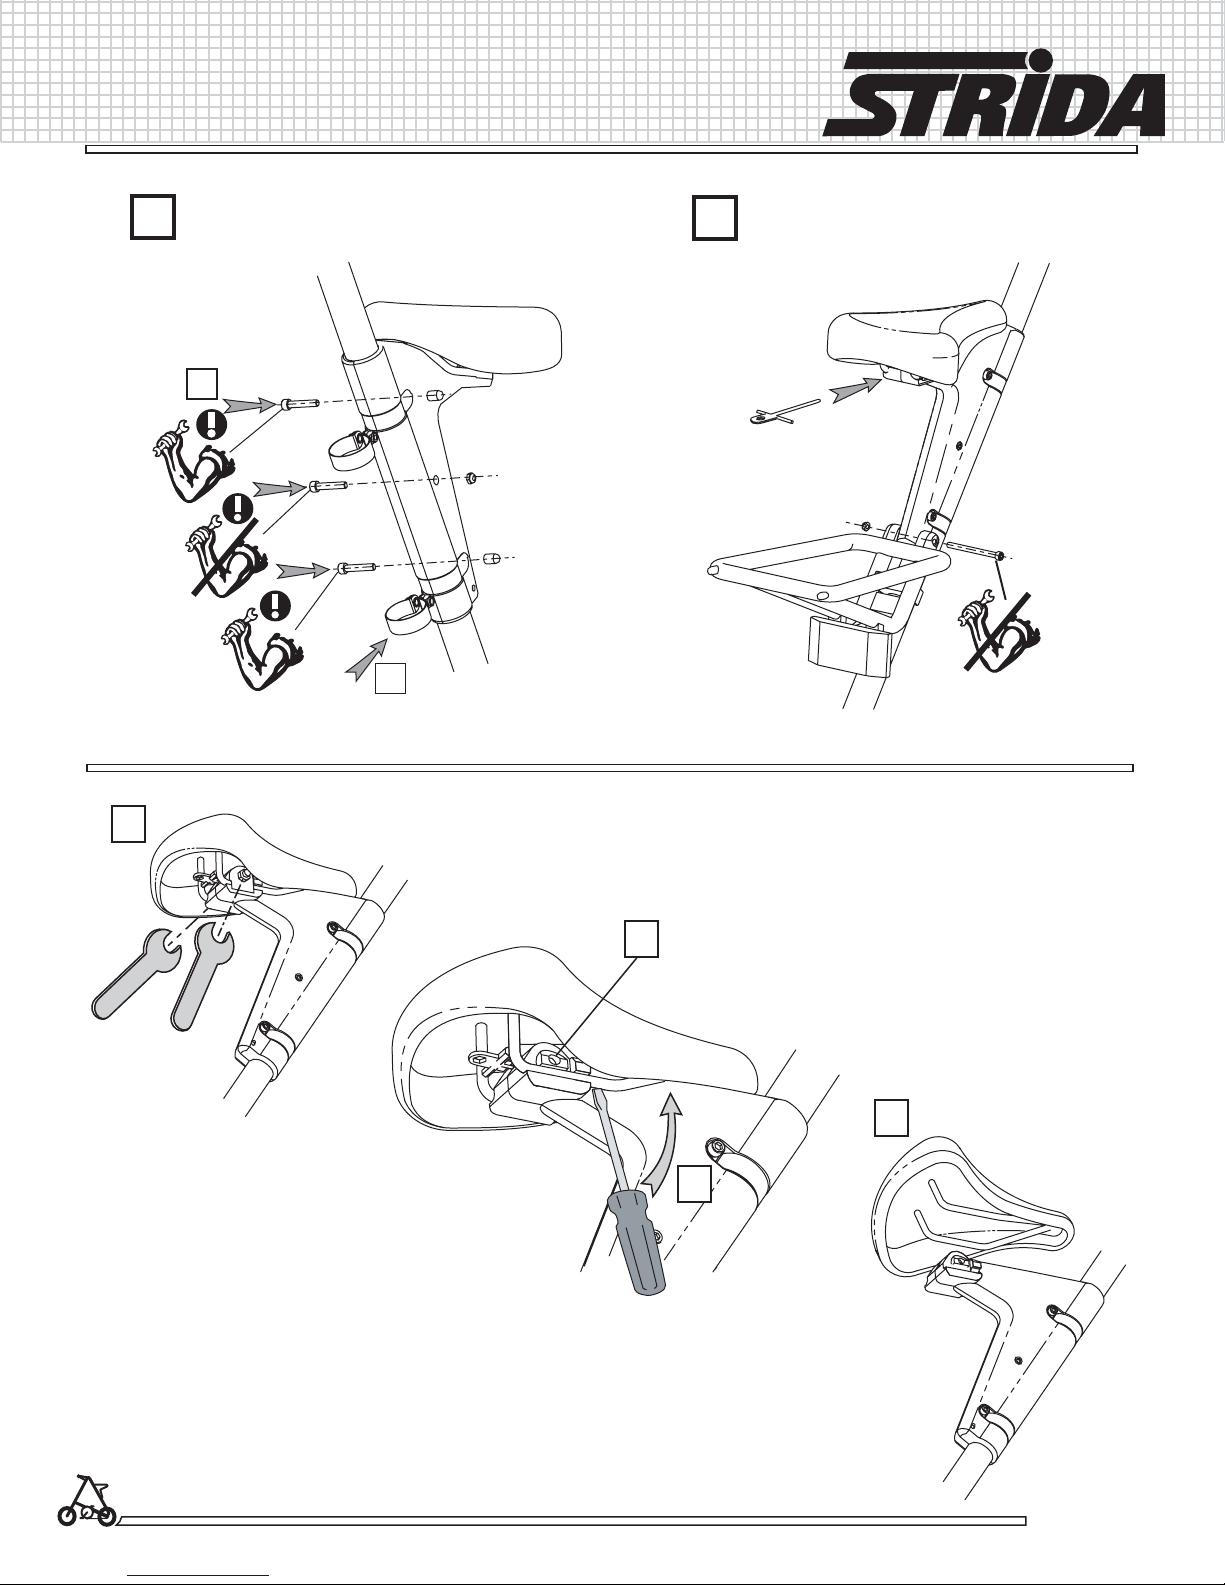
4
12Nm
insert bolt though unthreaded
side of seat clamp
b
5
tool -
under saddle
3Nm
12Nm
to remove saddle
1
3Nm
a
2
4
3
11
www.strida.com
 Loading...