

Strex SP148 Instruction Manual
STRE
X
LED STRIP
INSTRUCTION MANUAL SP148
Thanks for choosing Strex! Read the manual carefully, for
correct and safe operation of the product. Always follow these
instructions for safe usage.
If you have any questions about the product or encounter
problems, you can contact us by email: info@strex.nl
English

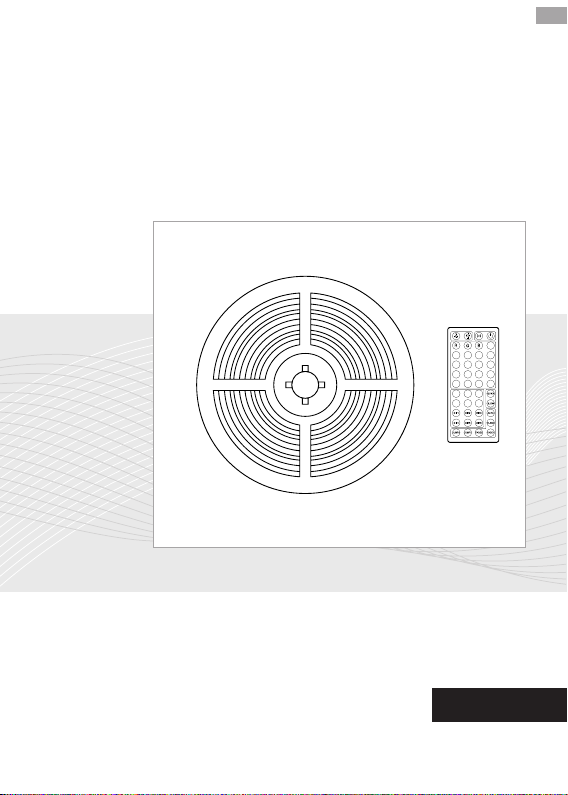
PACKAGE CONTENTS
44 KEY
OR
24 KEY
LED STRIP LIGHTS IR Remote controller IR Receiver
OR
Power Supply 4-PIN
INSTALLATION
Installation Steps
Arrow to arrow
STEP 1:
Connect the 4-pin connectors of the
strip and IR receiver arrow to arrow
STEP 2:
Connect the IR receiver to the DC wire
with 2 outputs
with one output
OR
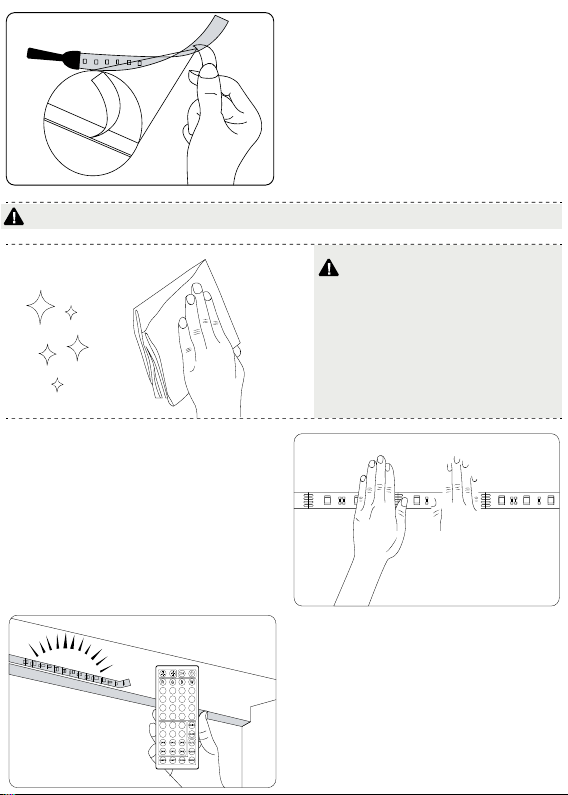
STEP 3:
Tear off the plastic on the adhesive
tape and stick the strip to any smooth,
clean and dry surface
Please be careful not to tear off the adhesive tape
STEP 4:
Stick the LED strip and press it down with
force, repeat this step untill the whole LED
strip has been placed correctly
Please make sure the surface is
smooth, dry and clean. DO NOT stick
the led strip on surfaces, such as
wool, fabrics, dust, rough plastic
and frosted glass
STEP 5:
Installation has been finished. Use the
IR remote to turn on and control your
LED lighting.
 Loading...