

Streetwize Accessories SWREC9 User Manual
Please read and understand these instructions carefully before operating this
HD Dash Cam and retain for future reference.
SWREC9
Please Note:
The internal battery for this Dash Cam is for playback and storing the
system settings only. The Camera must be powered by the 12V power cable supplied
or hard wired to the vehicle power supply to record any journeys.
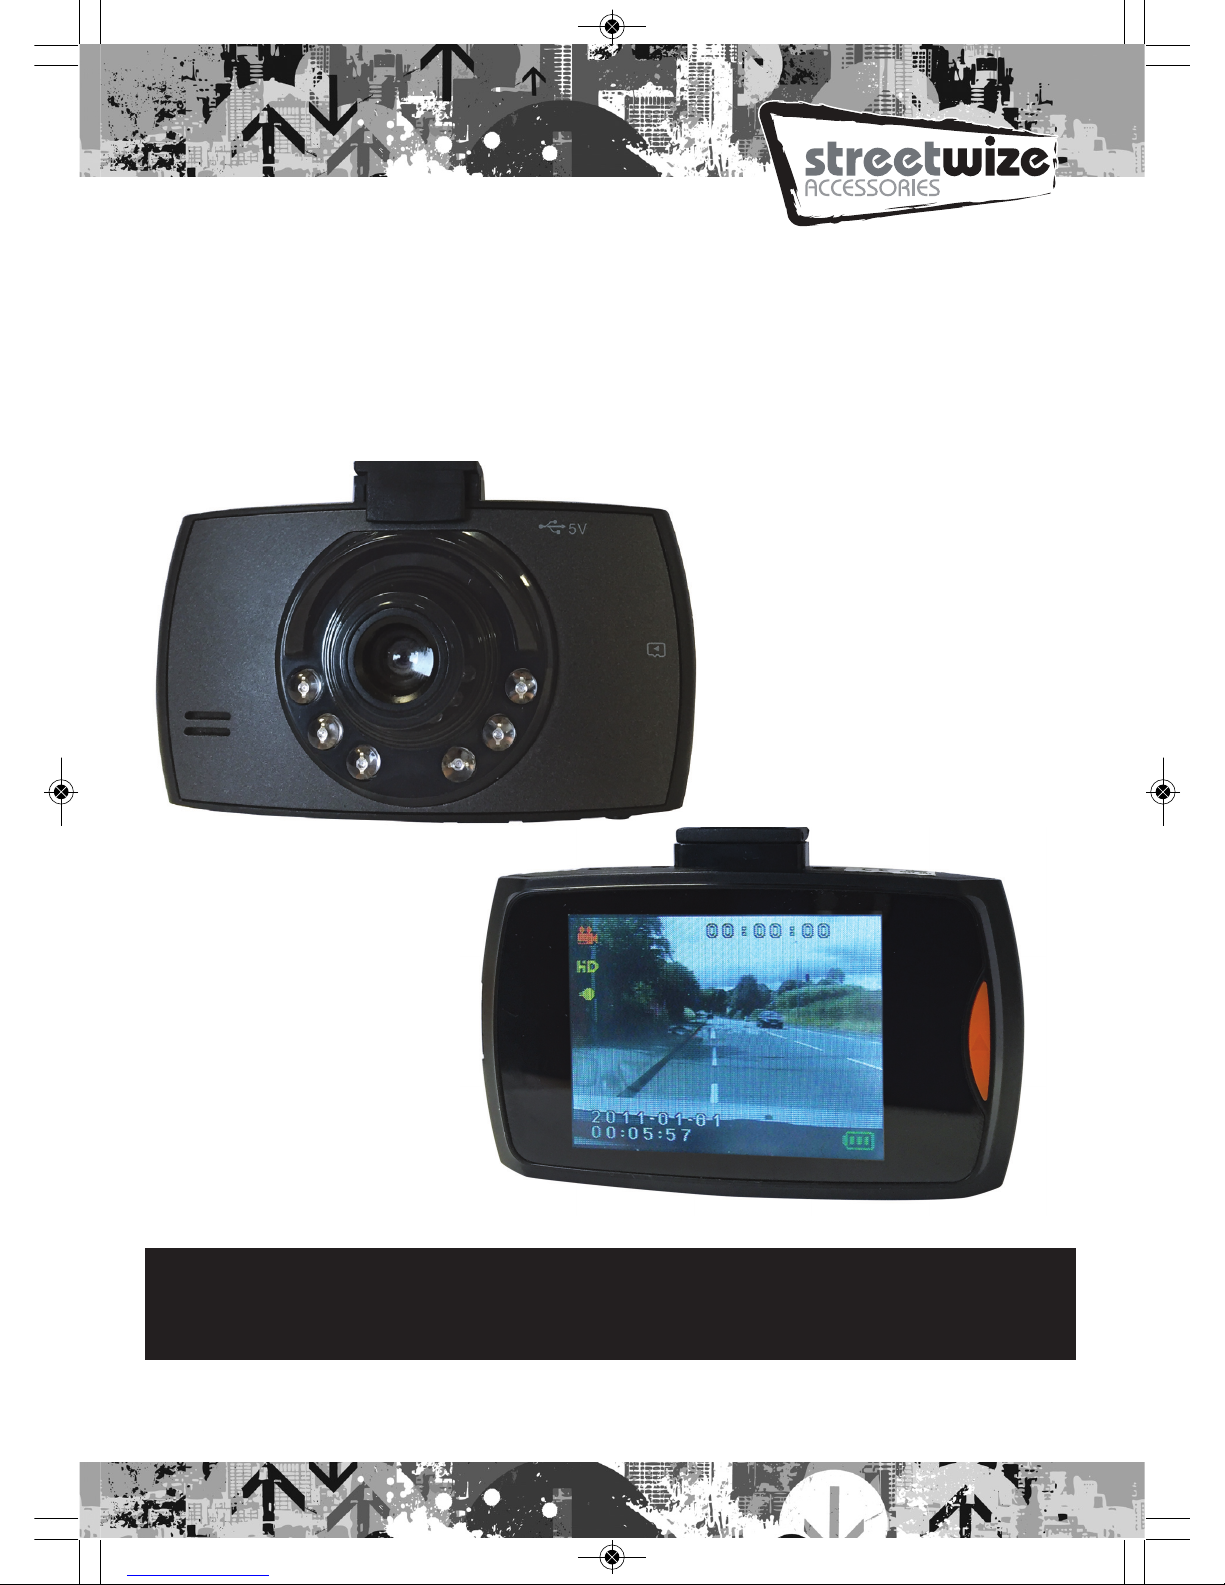
HD Dash Cam
with 2.4” Screen
SWREC9 Manual AW 2017-NEW.qxp_Layout 1 16/11/2017 13:56 Page 2
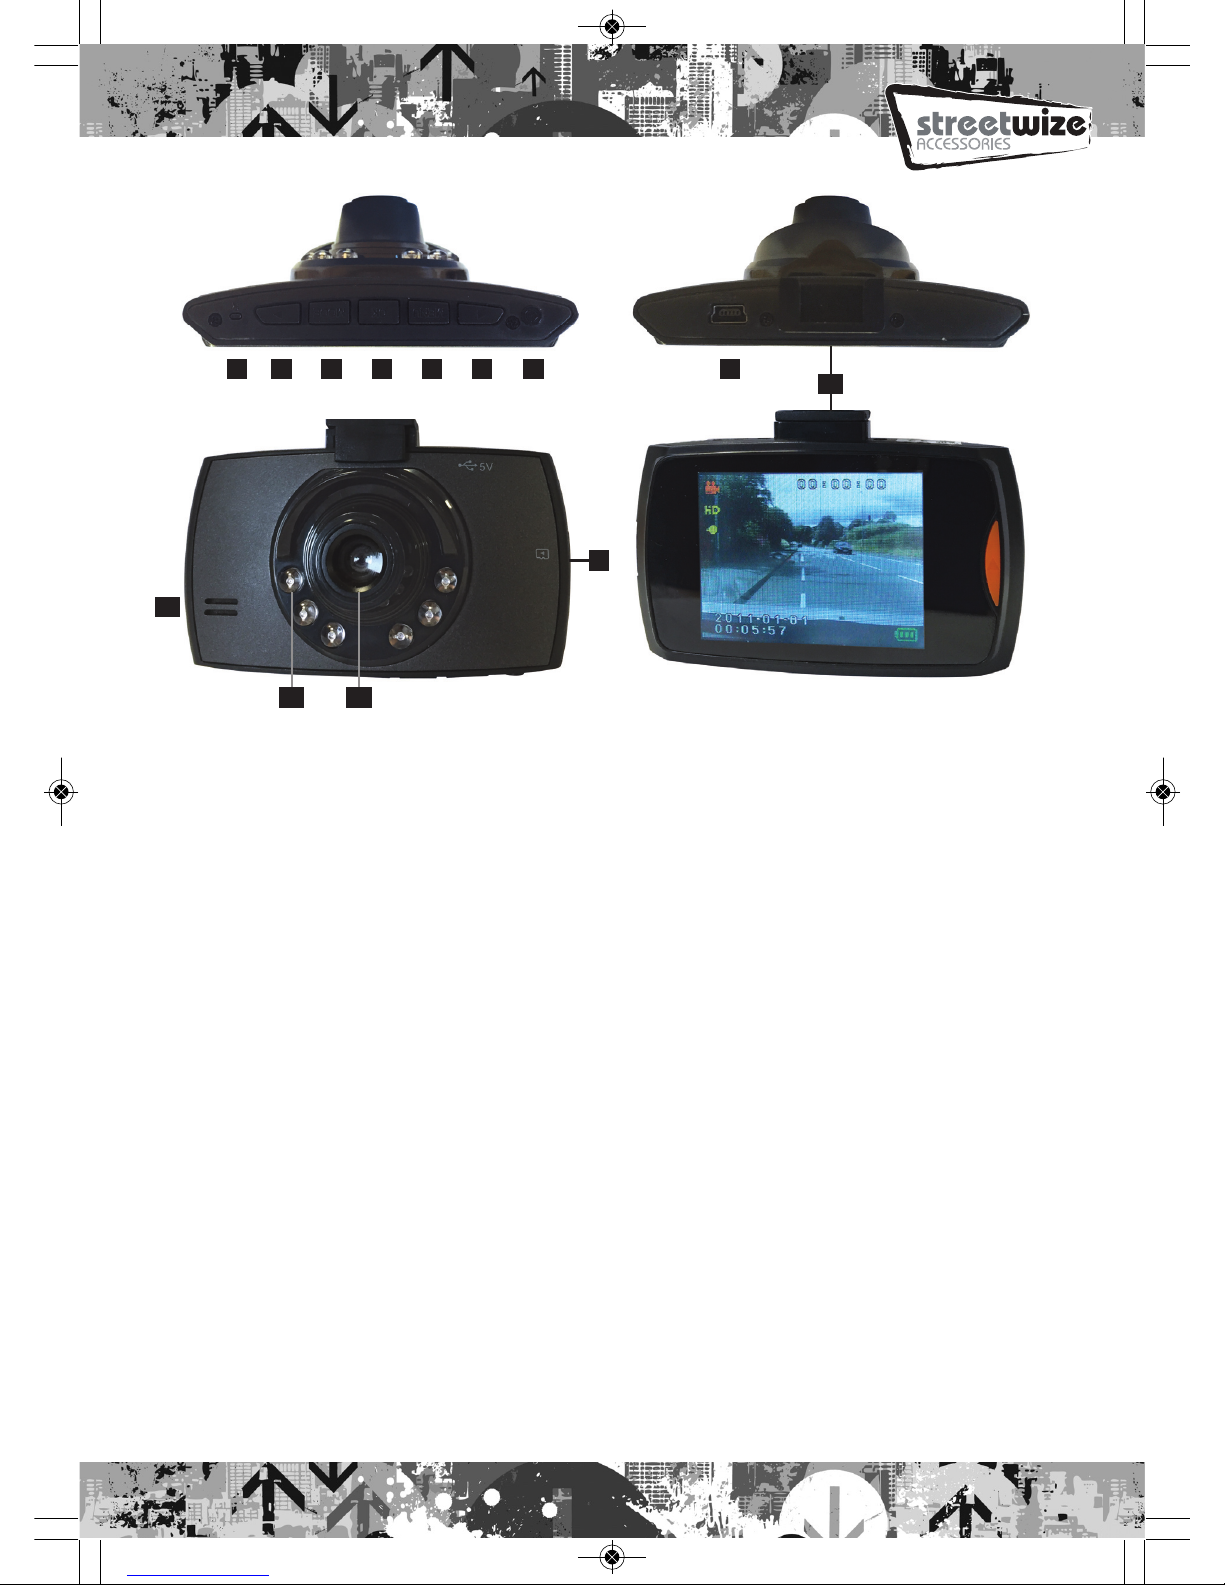
1. Reset hole 2. UP 3. Mode 4. OK 5. Menu 6. DOWN
7. On/off/power 8. SD card slot 9. USB interface 10. Mounting Bracket 11. Loud speaker
12. I.R. LED’s 13. Camera Lens 14. 2.4inch LCD
Accessories:
User manual, USB car charger(built-in 12V to 5V adapter).
Installation:
To install this Dash Cam connect the adjustable sucker to the Dash Cam using the mounting bracket, connect
to a power source (see below).
Charging:
A. Supply by the internal Li-ion battery
(1). Connect the USB car charger.
(2). Connect to the computer by USB cable, when charging, the light is green, and the green light will go
off when the Dash Cam is fully charged.
HOWEVER - This will only give enough charge to alter the settings or reviewing recordings.
B. Supply by the car power 12V
Hard wire to the vehicle power supply using a suitable connector cable.
NOTE: Dash Cam will only work under 5V voltage. To turn “Off” the Dash Cam long press the on/off key.
SET-UP:
Video recording mode:
(1) Please insert an SD card (6) up to 32mb first, the LED will light blue and flash (if the Dash Cam is on),
the files will then be saved to the SD card.
(2) The Dash Cam will begin video recording automatically if connected to the vehicle power source when the
car is started, alternatively if connected using a 12V power cable short press the on/off to begin
recording.
(3) To turn Off the Dash Cam, long the press the power button or remove the power supply.
1 2 3 4 5 6 7
8
9
10
11
12 13
SWREC9 Manual AW 2017-NEW.qxp_Layout 1 16/11/2017 13:56 Page 3
 Loading...