

StreetWise SWREC1 User Manual
Streetwize Accessories:
Sales enquiries: sales@streetwizeaccessories.com
Technical enquiries: support@streetwizeaccessories.com
www.streetwizeaccessories.com
Please read and understand these instructions carefully before operating this
Video Journey Recorder.
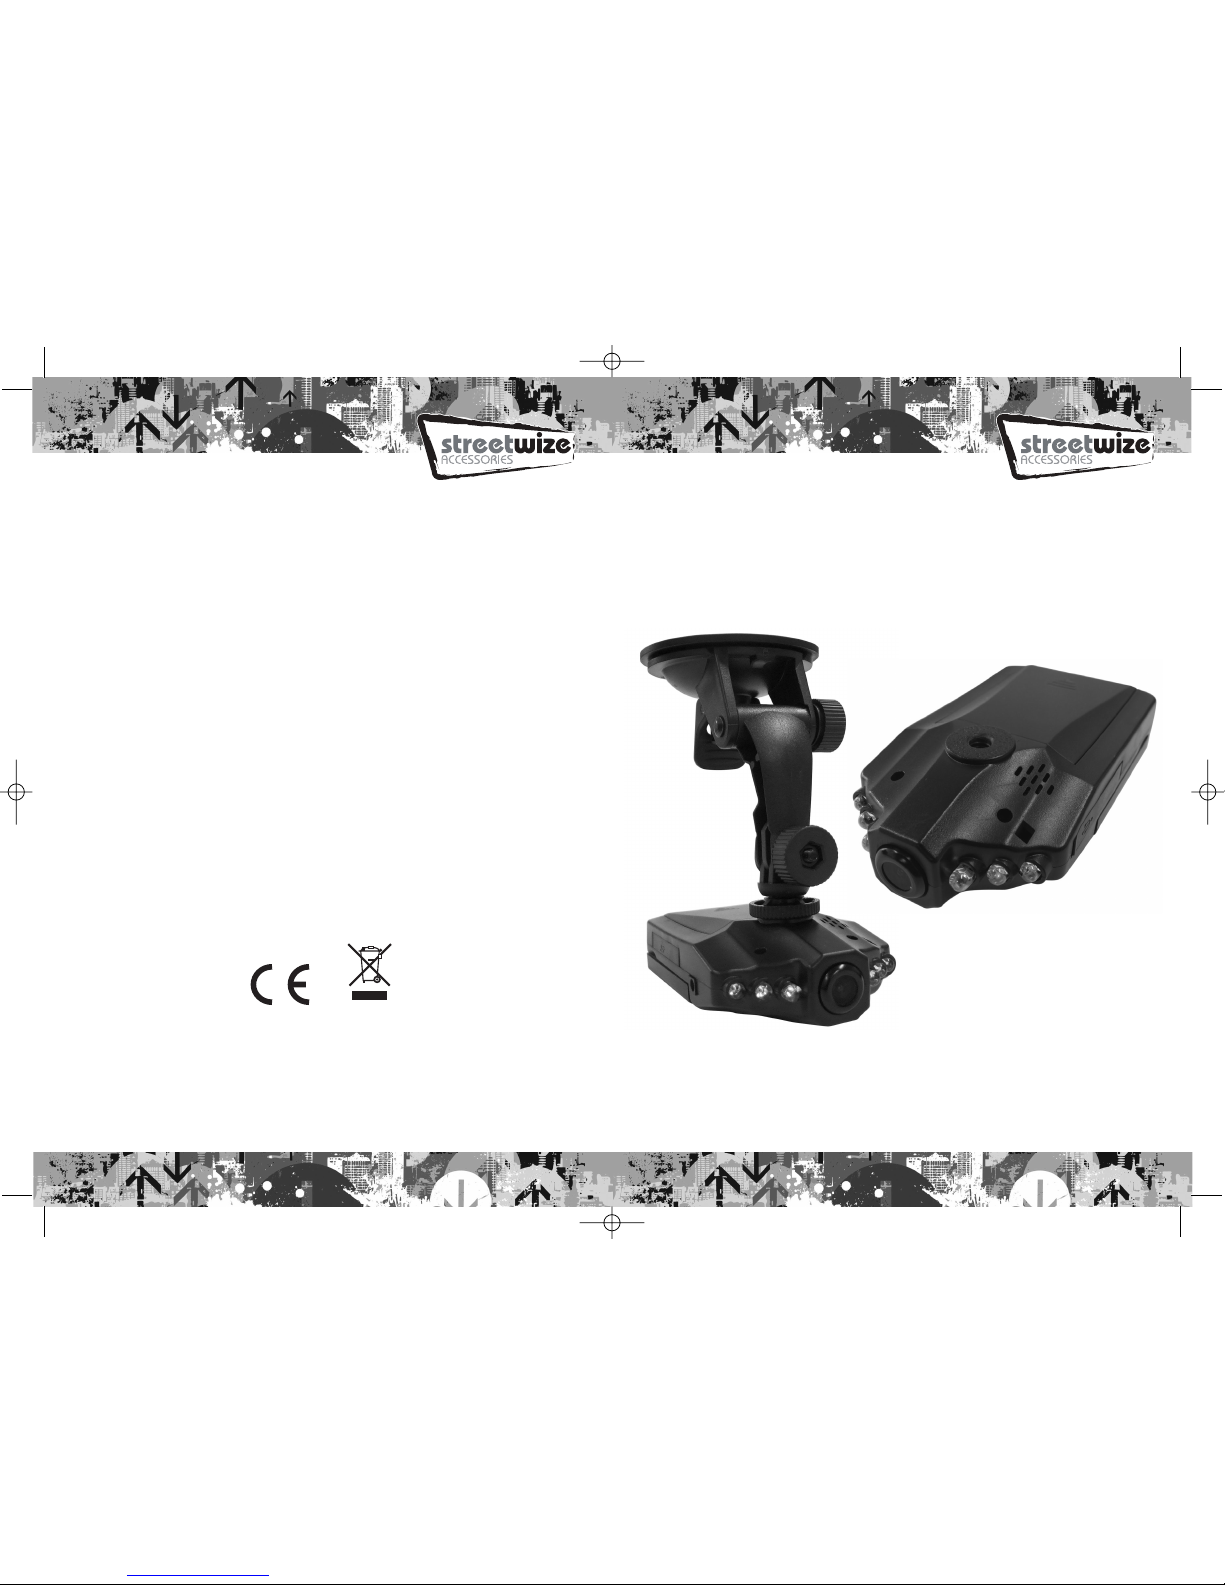
In-Vehicle
Video Journey Recorder
SWREC1
Lancashire
BL9 9NB
SWREC1 Manual AW 2015.qxp:Layout 1 23/4/15 05:26 Page 1
Product Features:
Mode: Video Recorder / Camera
Video format: AVI (Video) & JPEG (Image)
Video resolution: 1080 (P), 720 (P), VGA.
Screen: 2.5” LCD flip down screen with 270° rotation
Lens 120° wide angle lens
Power input: DC5V or 12v/24v
Power Source: Li-Ion 800mAh 3.7V battery
Interface: USB2.0
Light Frequency Setting: 50HZ/60HZ
Memory Support: SD card, up to 32GB (Not Supplied)
Size: 106 x 61 x 33 mm
Weight: 120g (DVR only)
Insert memory card:
A memory card is required to save recordings. CAREFULLY Insert an
SD card (not supplied) into the SD card slot (5).
Charging:
The device has a rechargeable battery that must be fully charged and used until
flat, for the first THREE occasions to achieve maximum battery capacity.
Charging time 12 hours (approx).
Charging Process
1. Removed the cover of the battery compartment and insert the battery.
2. Replace the battery compartment cover.
3. Plug the 5v cable into the 5v cable port (5), and insert into a vehicle 12v
power socket to begin charging. Alternatively connect the video journey recorder
to a pc or laptop via USB cable supplied to begin charging.
4. Charging process will begin, the camera will automatically switch on and
start recording. Press the RECORD/OK button to stop recording. Charging will
continue until fully charged.
The LED on the RECORD/OK button will light up to indicate charging.
Mounting the suction cup bracket
Caution! When mounting the camera always make sure the unit does not
obstruct the drivers view, and that the charging cable does not interfere
with driving.
1. Attach the suction cup bracket to the unit in the threaded hole (9) on the
camera, lock in place using the screw (11)
2. Release the lever (2) on the suction cup bracket (1) .
3. Place the suction cup bracket (1) in a suitable location on the windscreen
and lock using the lever to secure.
4. Using the screws on the joints adjust the camera to point in the desired
direction.
Video (Standard Mode)
Charging process will begin, the camera will
automatically switch on and start recording. Press
the RECORD/OK button to stop recording. Press the
RECORD/OK button again to resume recording.
Switching modes
1. Press the POWER button to turn on the device.
2. The mode is defaulted to video recording when
first activated. Press the RECORD/OK button to
begin recording, press the RECORD/OK button again
to pause the recording and save files automatically.
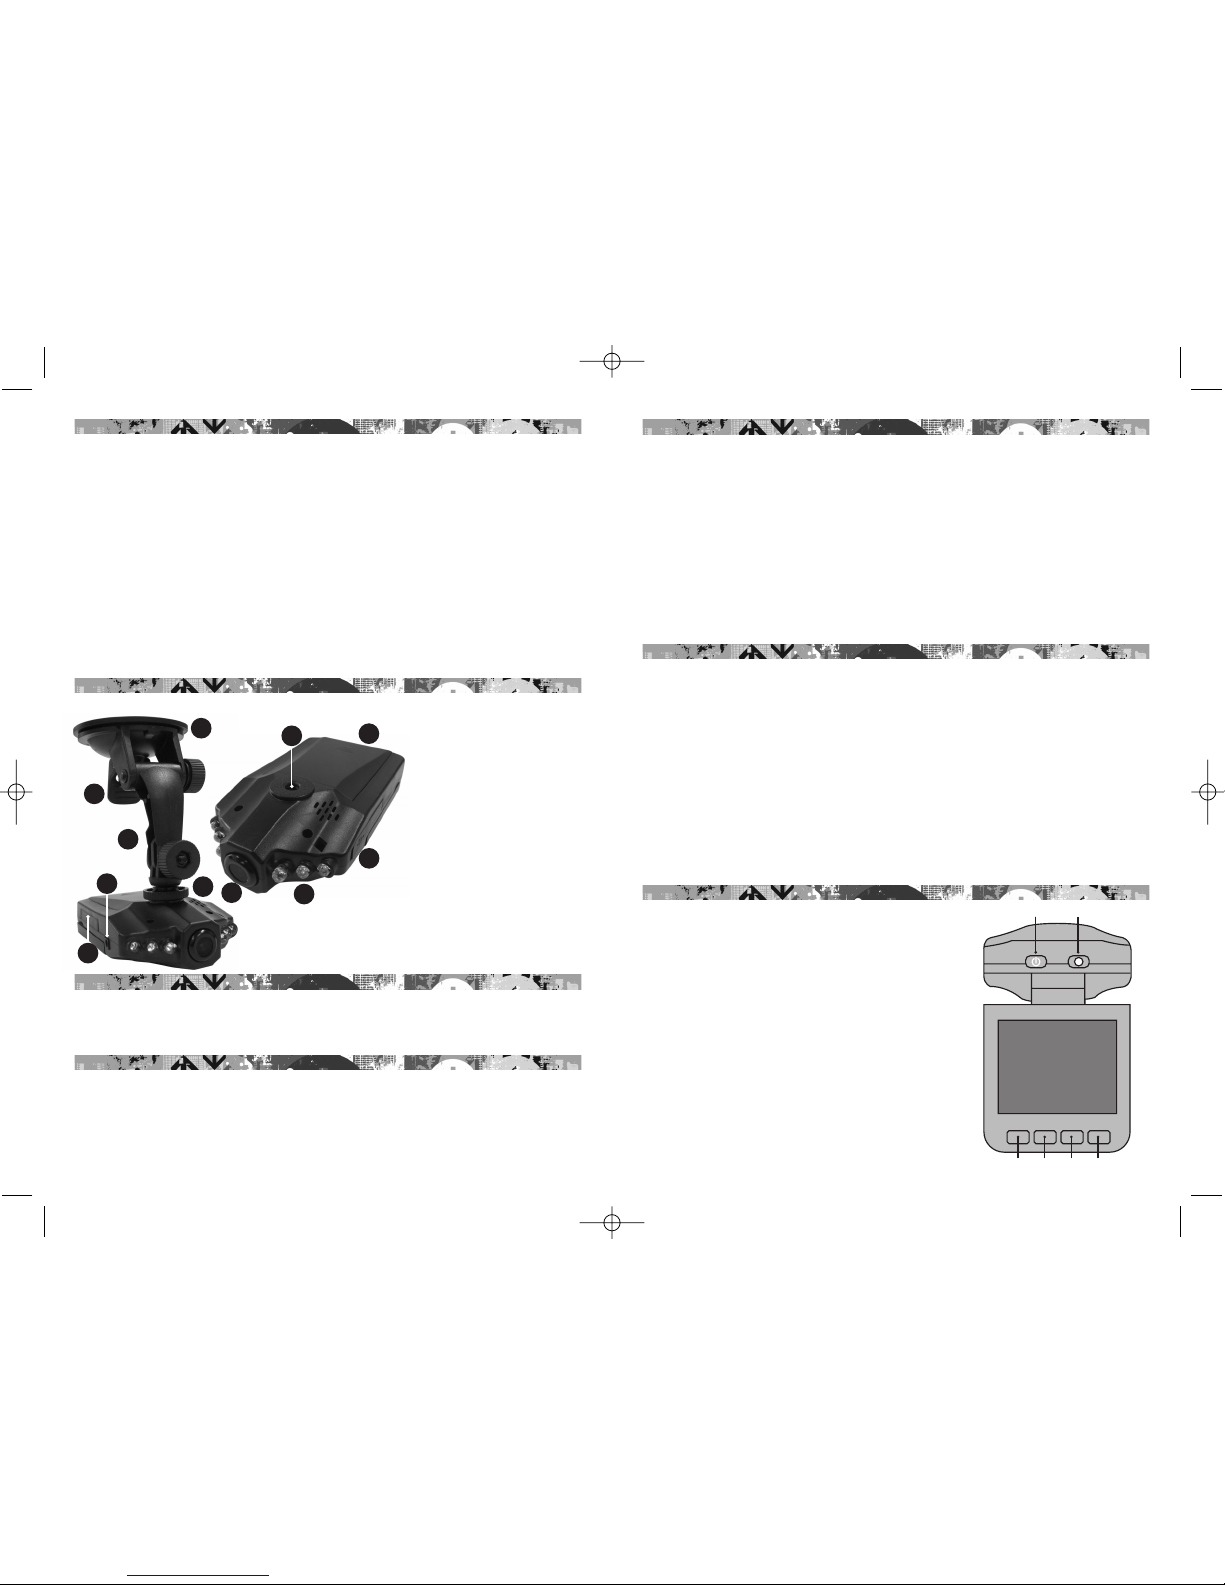
1. Suction cup mount.
2. Suction cup lever.
3. Adjustable mount.
4. DC 5v socket.
5. SD card slot.
6. Lens.
7. Infrared LED’s.
8. USB 2.0 Socket.
9. Adjustable mount
fixing point.
10. Battery compartment.
11. Adjustable mount
screw-in point.
1
2
3
4
6
7
8
10
5
9
MENU UP DOWN MODE
POWER RECORD/OK
11
SWREC1 Manual AW 2015.qxp:Layout 1 23/4/15 05:26 Page 3
 Loading...