

STREETER SUPER LIFT Assembly Manual

SUPER LIFT ASSEMBLY GUIDE
TECH/ORDER LINE: (262) 457-5018
streetersuperstands.com
Thank You and Congratulations on your purchase of a Streeter Super Stands SUPER LIFT. This booklet is the basic
guide for assembly of your stand. Minimal mechanical knowledge and standard tools are all that will be neded for the
assembly procedure. Please familiarize yourself with this booklet, the included components and your stand prior to
beginning the assembly. On average, most users can complete this assembly and setup within an hour. If you have
any questions or need technical assitance with your SUPER LIFT, contact us at (262) 457-5018.
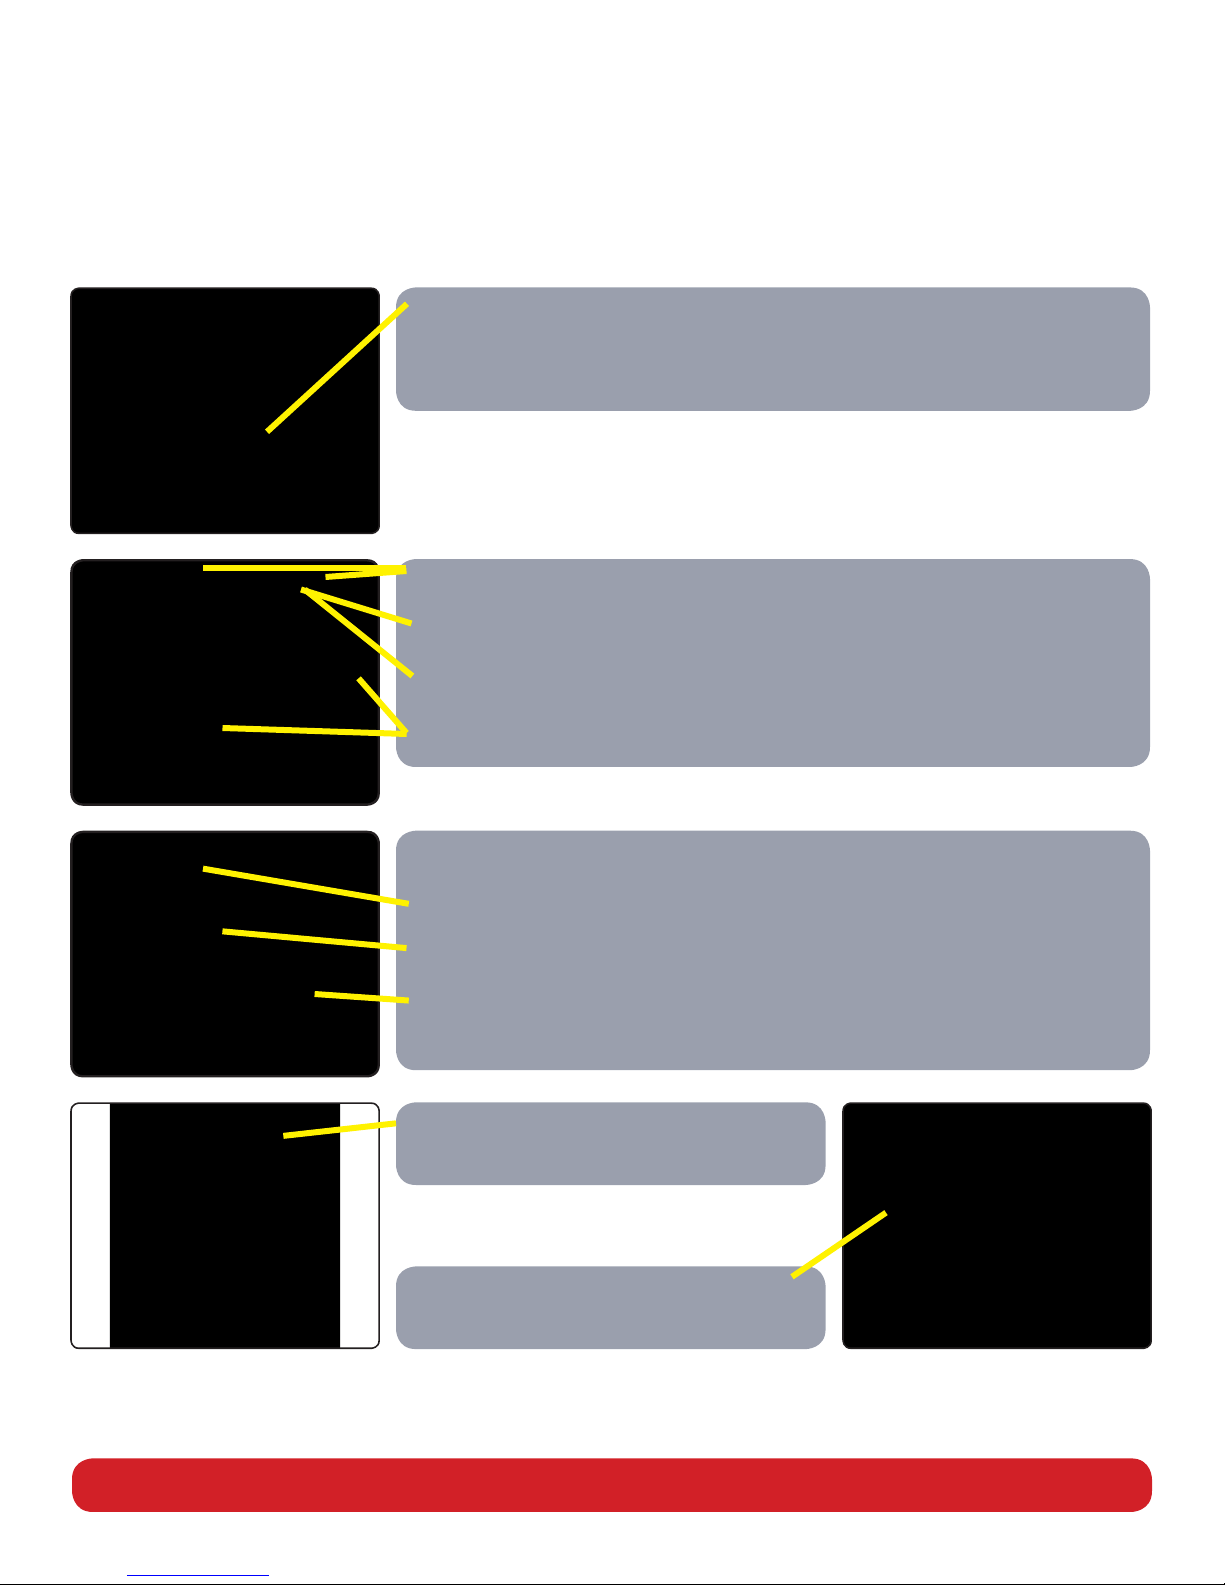
Your Streeter Super Stands SUPER LIFT was packaged and shipped in two separate boxes. Upon arrival and removal
from packaging, you will have received:
Control Handle Assembly
DO NOT remove the colored cable tires located on the ends of the wires on
the control handle.
Super Lift Base (with winch) and arms
Hardware kits and bolts
Battery cover and mounting bolts
Front wheels and rear casters
View of included hardware:
*Packaging may di er than shown*
Control handle mounting bolts (2 short, 1 long)
Axle Studs (will be either SILVER or BLACK in color)
Caster and wheel mounting hardware (8 each of nuts, washers and bolts)
& (2 axle nuts for front wheels)
Lift hooks (2) and mounting hardware.
Battery cover, carraige bolts and battery
cable connection bolts
streetersuperstands.com
Thread short end of front axle studs into
the stand. The use of a “blue” thread
locker is suggested. Tigthen each axle/
stud.
Install wheels and tighten each axle nut.
Once tightened, back-o (loosen) nut
just enough so the wheel spins freely.
Install casters and tighten mounting bolts. Some users prefer to position the
base of their stand on its side or lay it upside down during this process. While
installing casters, it is a great time to check the tightness of the (4) bolts on
each caster that hold the wheel to the hub -as to verify they did not loosen
during packing and shipping. Casters should be lubed prior to use and
periodically there after for optimum performance.
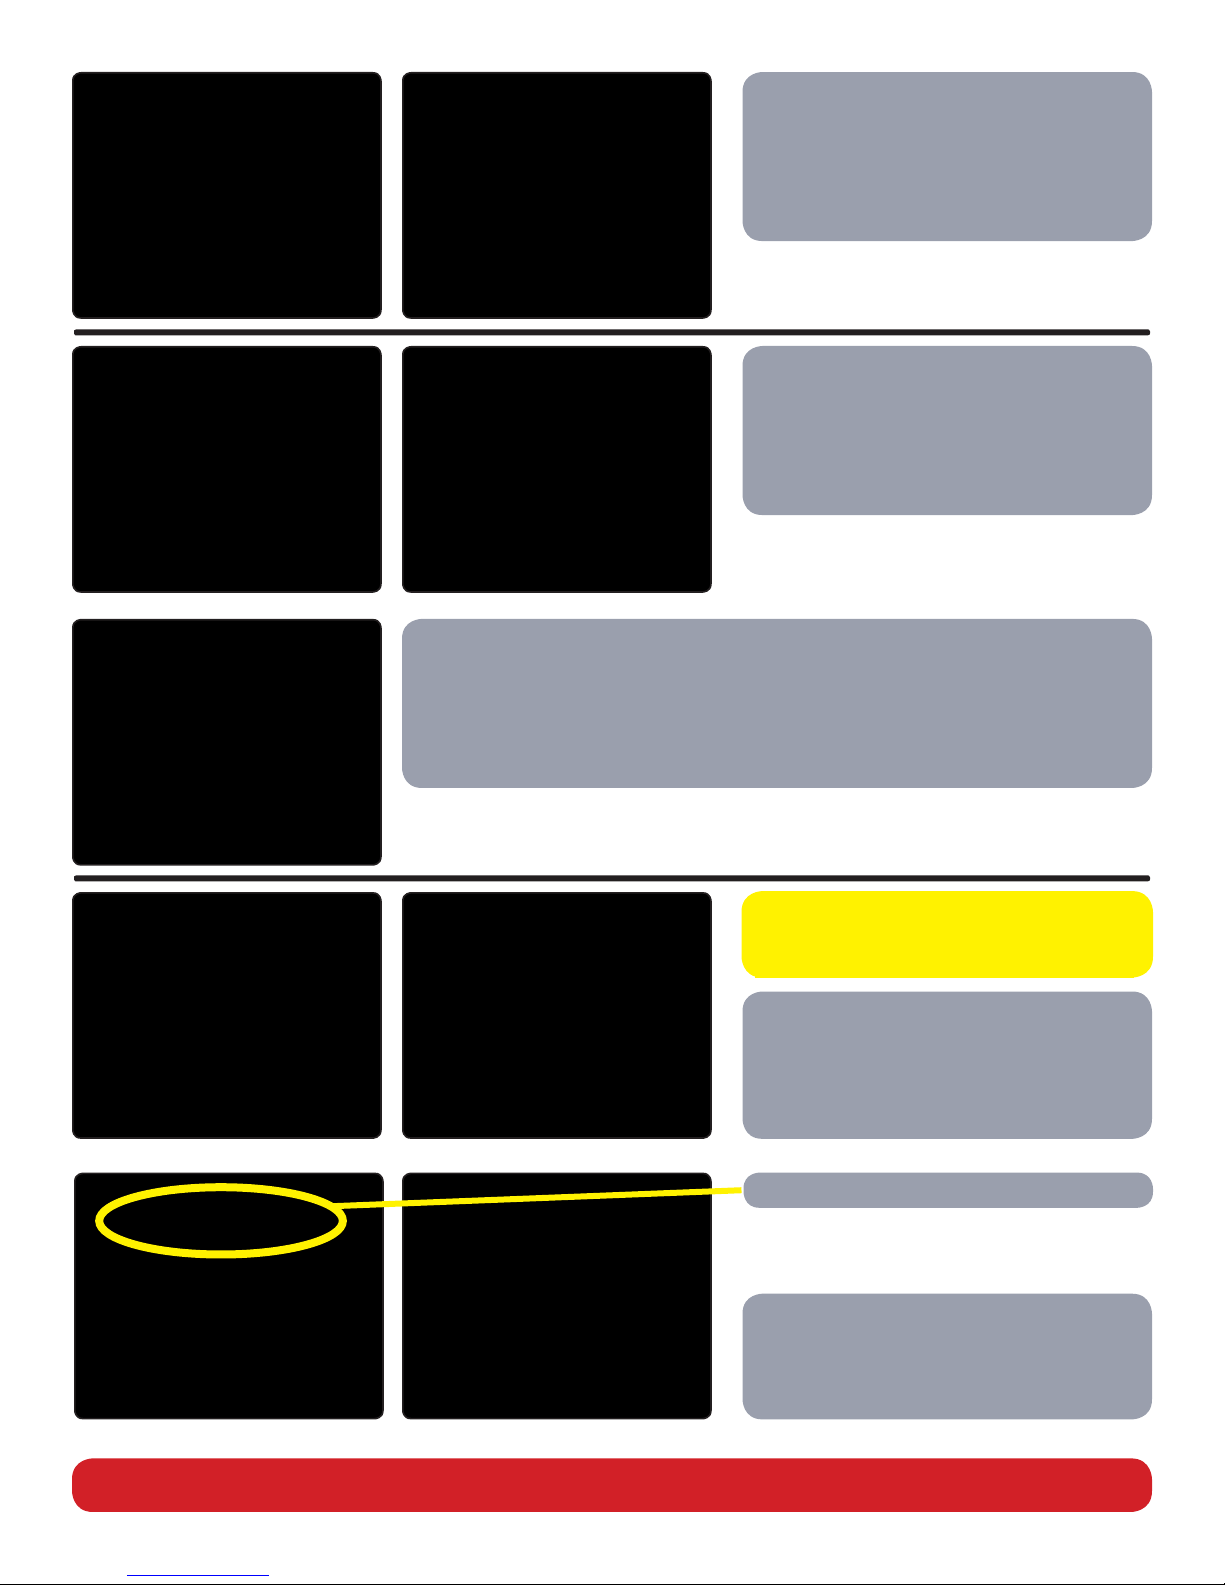
There should be NO battery or power of
any kind hooked up to the stand at this
time!
Remove terminal cover located on the
bottom of the stand base. Notice that
they are together and matched with
colored cable ties. DO NOT remove the
cable ties on these wires!
Losen screws on the empty terminal spots.
Slide wires from handle assembly through
access hole in frame and in to the terminal
connection area. DO NOT remove the colored
cable ties on these wire!
streetersuperstands.com
 Loading...