


Page 2
IMPORTANT SAFEGUARD
All lead-free products offered by the company comply with the requirements of the
European law of the Restriction of Hazardous Substances (RoHS) directive, which means our
manufacturing processes and products are strictly “lead-free” and without the hazardous
substances cited in the directive.
The crossed-out wheeled bin mark symbolizes that within the European Union the product
must be collected separately at the product’s end-of-life. This applies to your product and
any peripherals marked with this symbol. Do not dispose of these products as unsorted
municipal waste. Contact your local dealer for procedures for recycling this equipment.
DISCLAIMER
We reserve the right to revise or remove any content in this manual at any time. We do not warrant or assume any
legal liability or responsibility for the accuracy, completeness, or usefulness of this manual. The content of this
manual is subject to change without notice.
RECOMMENDATIONS
AVOID DUSTY LOCATIONS:
Excessive build-up of dust may cause the unit to fail.
INSTALL IN VENTILATED SPACE:
Ensure adequate airflow around the DVR to prevent overheating.
DO NOT EXPOSE TO MOISTURE:
Exposing the unit to water poses high risk of electric shock.
DO NOT DROP:
Doing so could damage internal components.
DO NOT OPEN CHASSIS:
No user-serviceable parts inside.
WARRANTY AND TECHNICAL SUPPORT
To help you make the most of this product you’ll find a host of information including full product manuals, FAQ,
troubleshooting guides and a support service if you have specific questions, available at our support website:
www.storageoptions.com/support.
This product is also backed by a 12 month warranty in the unlikely event of something going wrong. More
information and warranty registration is available at www.storageoptions.com/warranty.
Support:
www.storageoptions.com/support/
Warranty:
www.storageoptions.com/warranty/

Page 3
TABLE OF CONTENTS
OVERVIEW
4
1.1 – Key Features
4 PACKAGE CONTENTS
4 INSTALLATION
4
3.1 – Mounting The Camera
3.2 – Connecting The DVR To A Monitor And Mains Supply
3.3 – Inserting An SD Card
3.4 – Powering On The DVR
3.5 – Pairing The Camera To The DVR
4
5
5
6 6
BASIC OPERATION
7
4.1 – Front Panel Controls
4.2 – Switching Between Record / Playback Modes
4.3 – Picture-In-Picture
4.4 – On-Screen Icons
7
7
7
8 RECORD MODE MENU FUNCTIONS
9
5.1 – Navigation
5.2 – Manual Capture
5.3 – Auto Capture
5.4 – Motion Detect
5.5 – Advanced
5.6 – Date / Time
9
9
10
11
12
13
PLAYBACK MODE MENU FUNCTIONS
14
6.1 – Navigation
6.2 – Playback Menu
14
14 APPENDIX – PRODUCT SPECIFICATION
15
Page 4
OVERVIEW
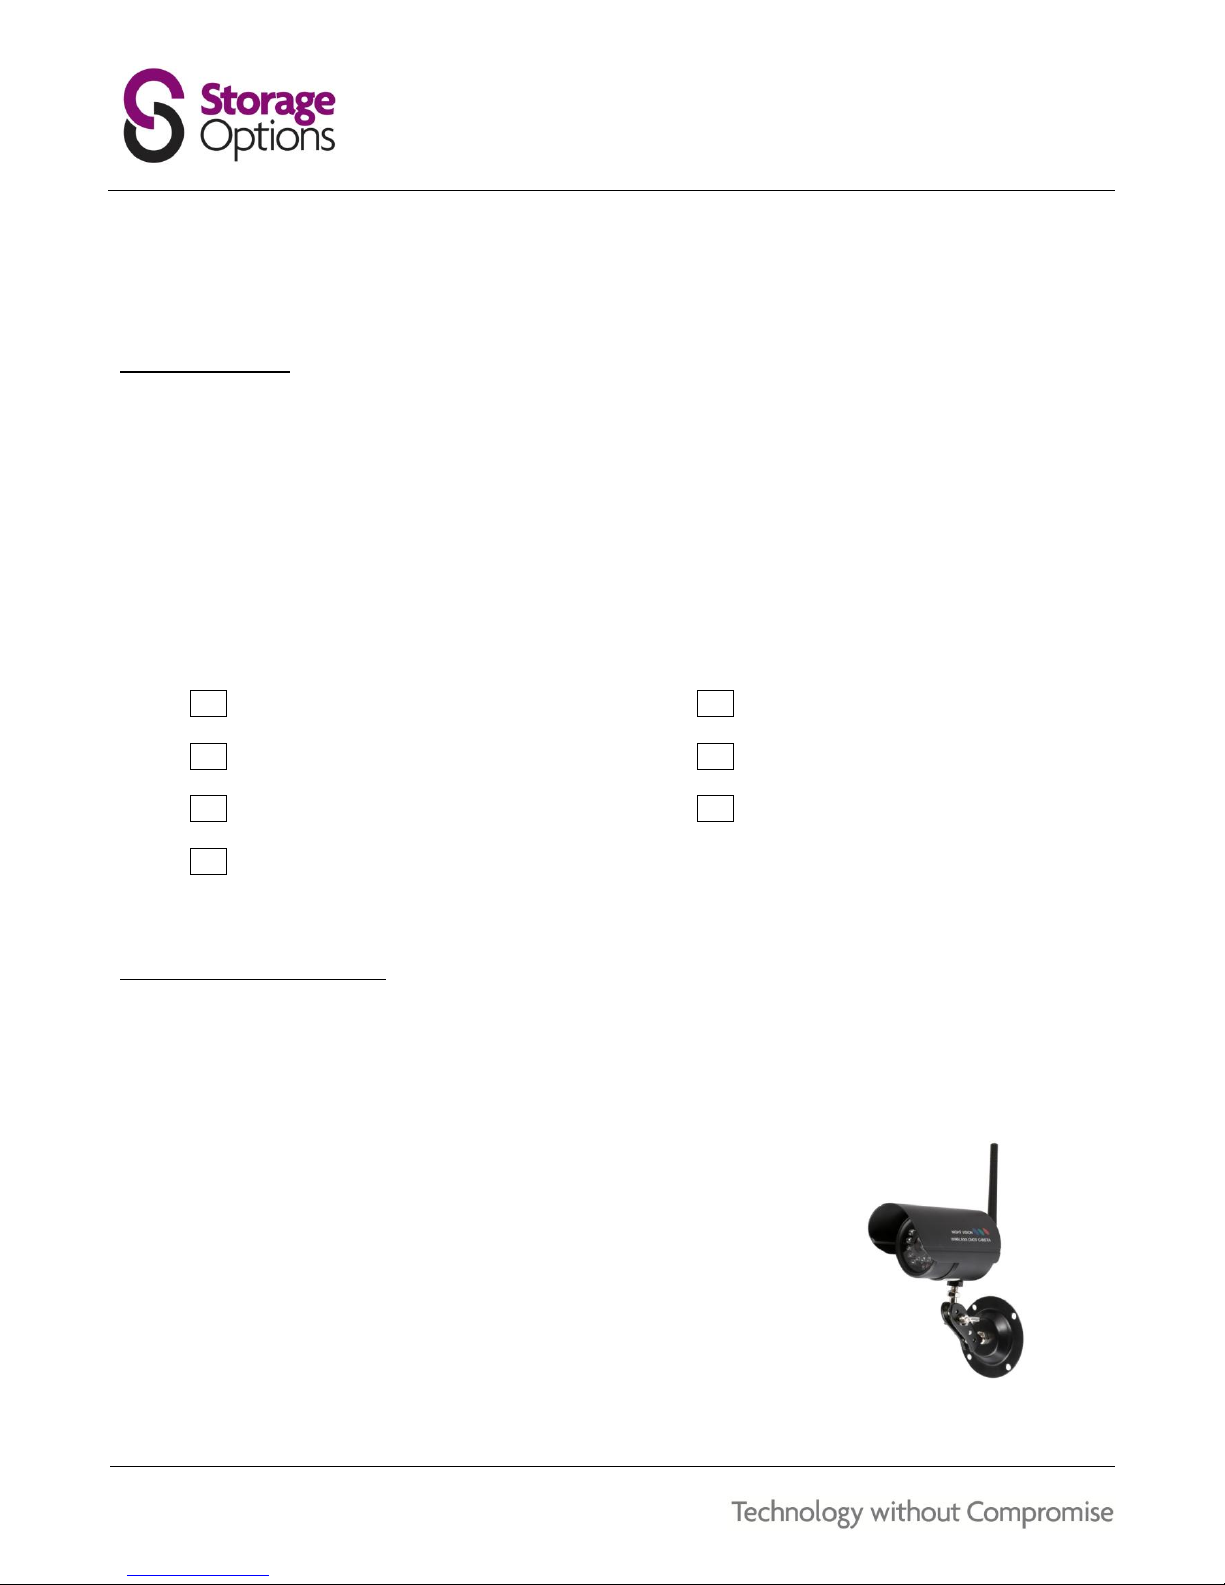
Storage Options presents a complete CCTV solution for home or office security, featuring a high-quality camera,
Secure Digital card recording, easy setup and configuration, and alarm triggers.
1.1 – KEY FEATURES
Stand-alone wireless DVR with wireless camera
High quality video recording and playback
Supports real-time viewing and recording
Picture-In-Picture mode when viewing two cameras
Manual and motion detection modes
PACKAGE CONTENTS
Check the contents of your DVR against this checklist. If anything is missing or damaged, please do not use the
system, and inform your supplier as soon as possible.
SD DVR
DVR mains adapter
Black wireless CCTV camera
Camera mains adapter
AV cable
2GB SD card
Instruction manual
INSTALLATION
3.1 – MOUNTING THE CAMERA
The camera is supplied with a mounting kit for attaching to a wall. Before you affix the camera in position, please
ensure the cable is of adequate length to reach the DVR.
To mount the camera on a wall or ceiling, follow these instructions:
1. Ensure the surface you want to mount the camera on is solid and
can support the weight.
2. Accurately mark on the wall the position of the holes to be drilled.
3. Drill to the correct depth in the wall, as indicated by the plugs.
4. Insert raw plugs into the drilled holes.
5. Secure the bracket to the wall using the provided screws.
Page 5
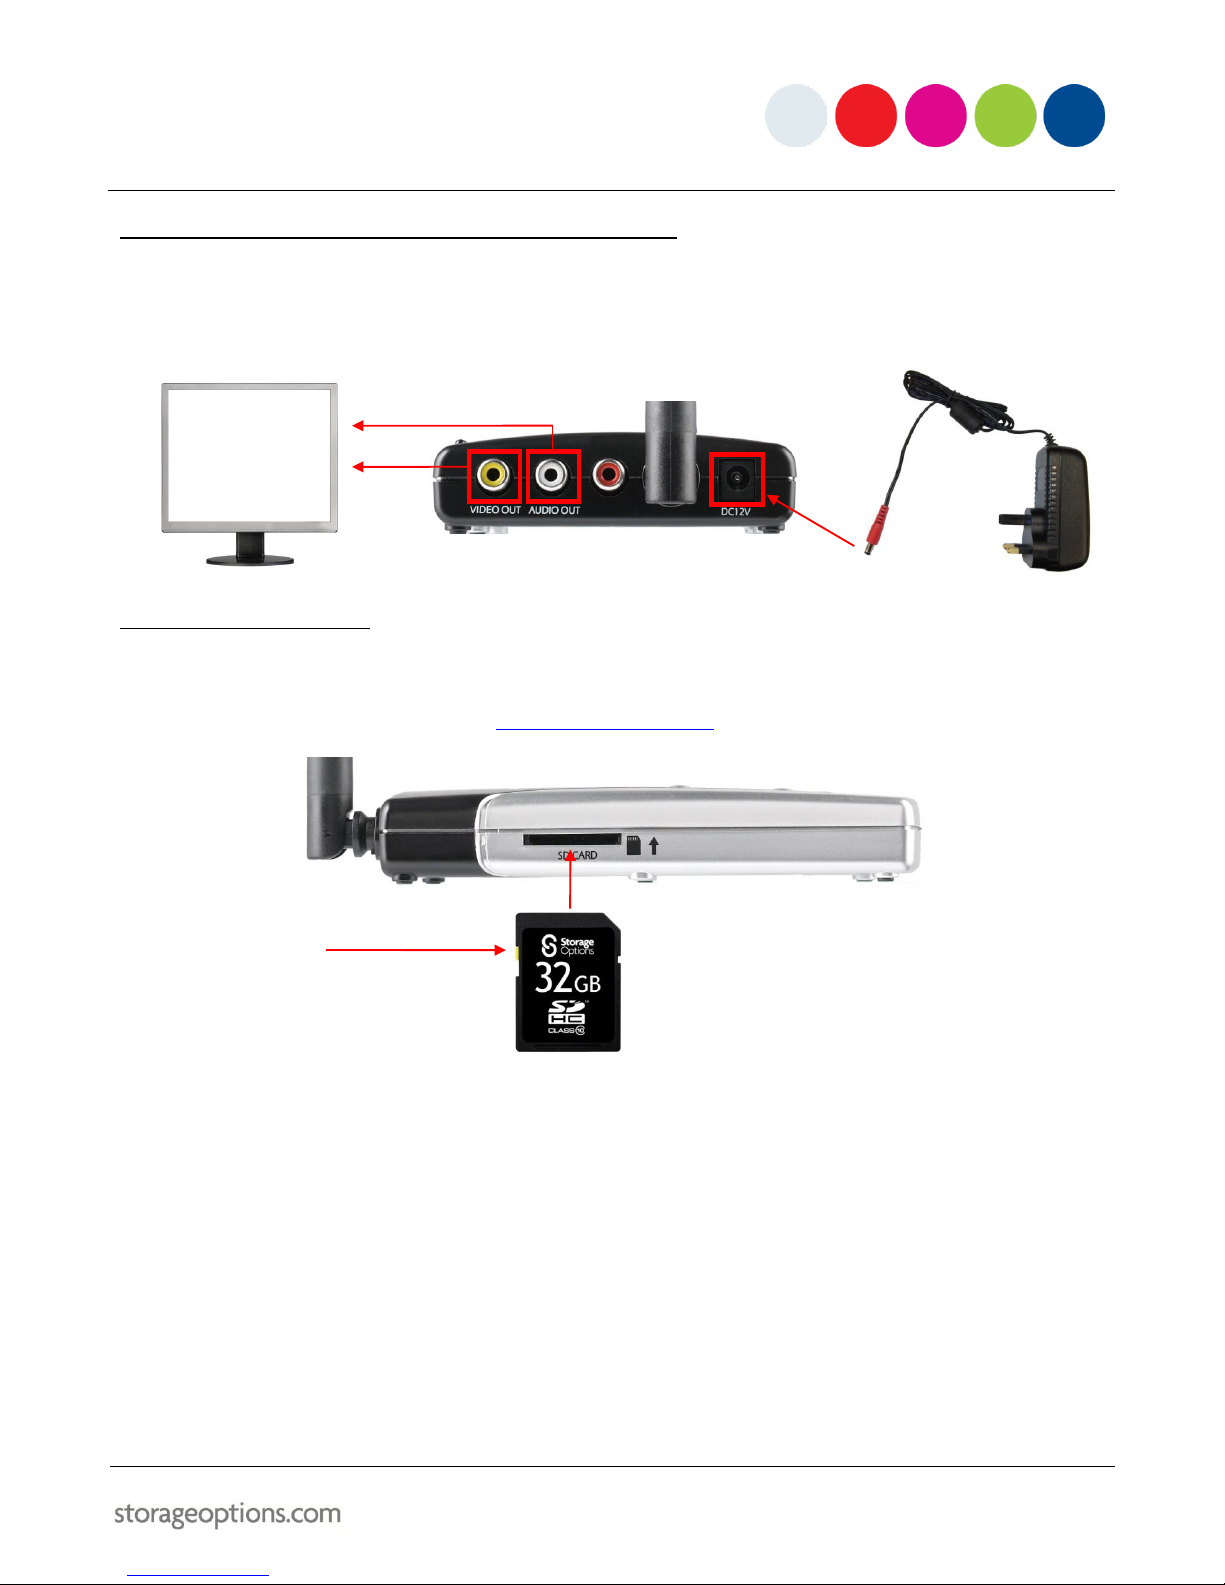
3.2 – CONNECTING THE DVR TO A MONITOR AND MAINS SUPPLY
1. Connect RCA cables from the VIDEO OUT and AUDIO OUT sockets to a suitable monitor.
2. Connect the supplied mains adapter to the DC 12V socket.
3.3 – INSERTING AN SD CARD
To record still images and video from the camera feed, the Storage Options SD DVR requires a Secure Digital memory
card. The DVR can accept any SD card up to 32GB in capacity, and to ensure maximum compatibility, Storage
Options SDHC cards are recommended. See www.storageoptions.com for full details.
Ensure the write protect
tab is in the up position
The SD card slot is located on the left side of the DVR. Insert an SD or SDHC card as indicated, and make sure the
write protect tab is not engaged.
If the card needs formatting before use, please refer to section “6.2 – Playback Menu” (page 14).

Page 6
3.4 – POWERING ON THE DVR
To turn the unit on, slide the power switch to the left. The “Power” LED on the front of the DVR will light up red to
indicate power.
To turn the unit off, slide the power switch back to the right. The “Power” LED on the front of the DVR will be
extinguished.
3.5 – PAIRING THE CAMERA TO THE DVR
The camera is paired to the DVR in the factory, but if for some reason they become unpaired (e.g. prolonged period
of no signal), you may need to re-pair the units.
To pair the camera and DVR:
1. Remove the visor from the camera (slide it off).
2. Unscrew (anti-clockwise) the lens cover.
3. Press the small black PAIR button located just below the infra-red LEDs.
4. Press the PAIR button on the DVR.
5. Replace the lens cover on the camera.
Page 7
BASIC OPERATION
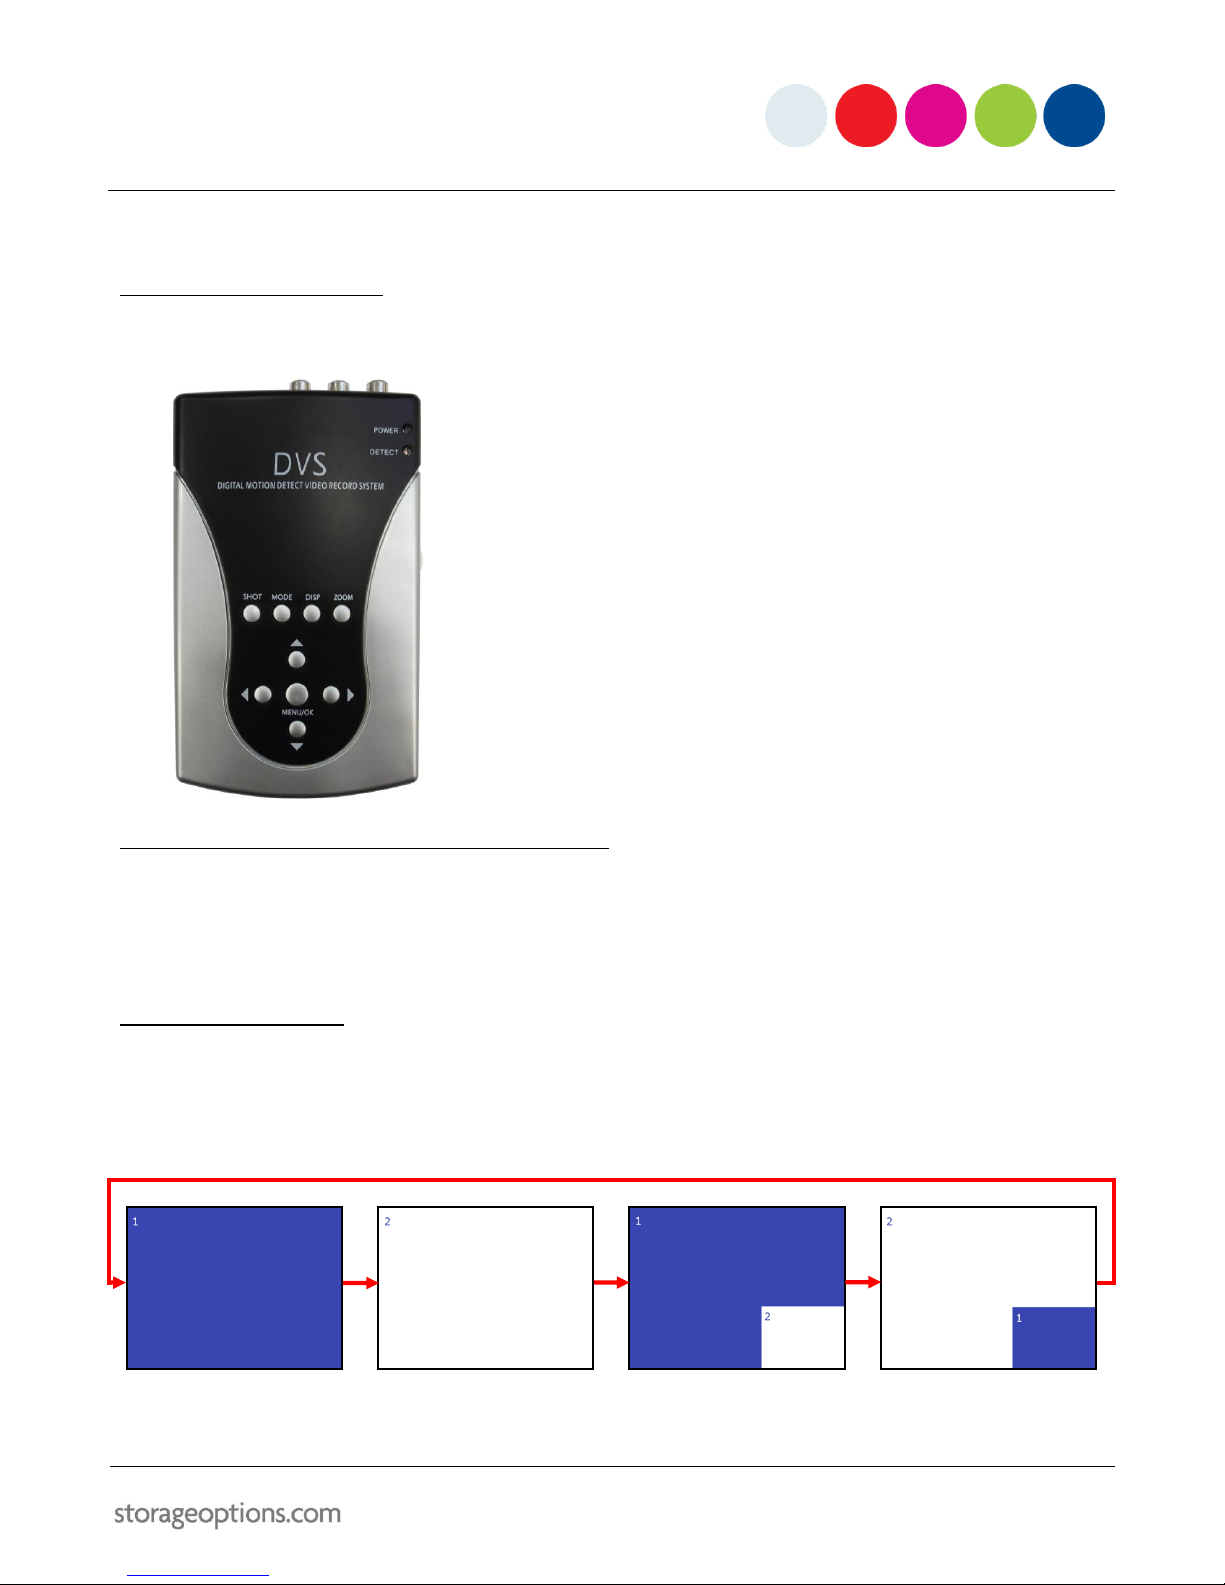
4.1 – FRONT PANEL CONTROLS
The Storage Options SD DVR is completely controlled using the buttons on the device itself.
SHOT
Capture a manual screenshot / video clip
MODE
Switch between record / playback modes
DISP
Switch display mode (see Picture-In-Picture, below)
ZOOM
Digitally zoom into the on-screen image
Use navigation keys to pan around zoomed image
↑, ↓, ←, →
Used to navigate menu options
MENU
Displays the menu on-screen
Selects highlighted option when in menu
4.2 – SWITCHING BETWEEN RECORD / PLAYBACK MODES
When first powered on, the SD DVR will default to Recording mode. This mode shows a live view from the camera.
To switch to Playback mode, press the “MODE” button. In Playback mode the user can view previously recorded
video footage and images. To switch back to Recording mode, press the “MODE” button again.
4.3 – PICTURE-IN-PICTURE
It is possible to connect up to two analogue cameras to the Storage Options SD DVR (but will only record from one).
You can cycle between four different views when using two cameras by pressing the “DISP” button.
The four view modes appear as follows:
Camera 1 only
Camera 2 only
Cam 1 with Cam 2 PIP
Cam 2 with Cam 1 PIP
Page 8
4.4 – ON-SCREEN ICONS
The DVR will display a number of icons depending on which functions are activated. See this legend for information
on what each icon means:
Indicates a Secure Digital SD card has been inserted
Indicates manual capture mode
Indicates the DVR will capture still frames
Indicates the DVR is in motion detection mode
Indicates the DVR is currently recording an image
Indicates the DVR is in playback mode
P
Pre-record mode is active (see page 10)
•REC
Flashes on-screen to indicate video recording in progress

Page 9
RECORD MODE MENU FUNCTIONS
5.1 – Navigation
To navigate the on-screen menus, simply use the ↑, ↓, ←, → buttons to highlight an item and press the “Menu/OK”
button to make a selection.
The main menu is split into five sub menus:
Manual Capture
Auto Capture
Motion Detect
Advanced
Time / Date
Use the ← and → navigation buttons to highlight the required menu, then press “Menu/OK” to select.
5.2 – MANUAL CAPTURE
The Manual Capture menu allows you to configure “Master Capture” settings.
Press “Menu/OK” to select the “Master Capture” sub menu. This menu is
used to configure how the “SHOT” button functions.
Master Capture
Photo 1:
Photo 3:
Movie:
Movie Clip:
Captures a single still frame.
Captures 3 still frames.
Video recording (single video file)
Video recording (several 60 second clips)

Page 10
5.3 – AUTO CAPTURE
This menu allows you to configure how auto recording functions. Use the
↑ / ↓ and “Menu/OK” keys to highlight and select one of the following
options:
Auto Capture
Master Capture
Movie PreRecord
File Overwrite Setting
Auto Capture
Turn automatic capture on or off. If this option is off, no recordings will be
made when motion is detected. It is recommended to leave the “Auto
Capture” mode on.
Master Capture
Photo 1:
Photo 3:
Movie 5s:
Movie 10s:
Captures a single still frame.
Captures 3 still frames.
Video is recorded in a 5 sec clip.
Video is recorded in a 10 sec clip.
Movie PreRecord
If motion is detected, the DVR can record 5 or 10 seconds before the event,
depending on which option is selected on this page.
File OverWrite Setting
When the SD memory card is full, the DVR will not overwrite older files by
default.
Change this setting to “On” to allow the DVR to overwrite older files when
there is no free space on the SD card.
Page 11
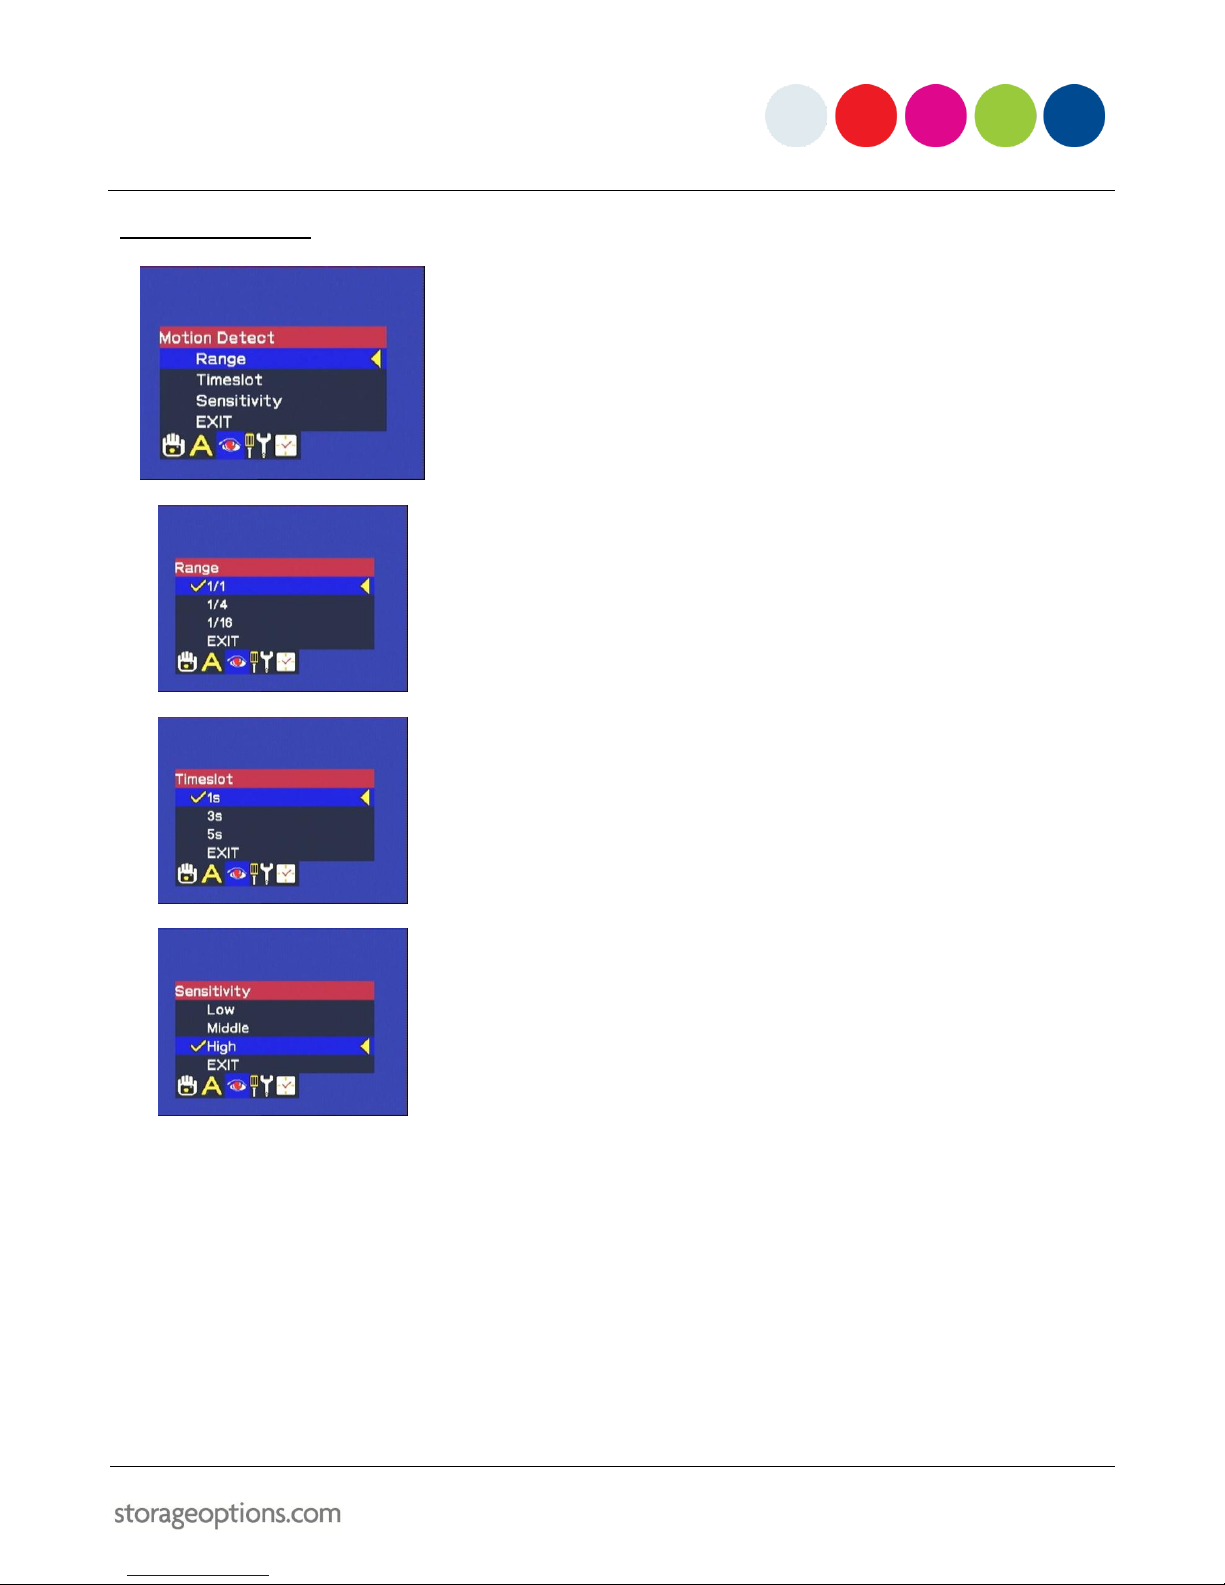
5.4 – MOTION DETECT
Use the ↑ / ↓ and “Menu/OK” keys to highlight and select one of the
following options:
Range
Timeslot
Sensitivity
Range
1/1:
1/4:
1/16:
Motion detection sensor will cover the full frame.
When selected, a green box (¼ of the screen size) will appear.
Use ↑, ↓, ←, → to position the box over the area you want to
trigger the alarm record function.
Same as 1/4 but a smaller box for motion detection.
Timeslot
Set the length of time for motion to be detected before recording takes
place, e.g. if set to “5s”, when motion is detected the DVR will wait for 5
seconds before starting to record.
Sensitivity
Set the sensitivity of the motion detection sensor. A higher sensitivity
means the sensor react even when only small movement is detected.
Lower sensitivity means the DVR will only react to larger movements within
the camera’s view.

Page 12
5.5 – ADVANCED
Use the ↑ / ↓ and “Menu/OK” keys to highlight and select one of the
following options:
Photo Quality
Movie Quality
TV Output Standard
Photo Quality
Choose a quality setting for captured still frames. At higher quality, the
images will be clearer and more detailed but they will also occupy a larger
amount of space on the SD memory card.
Movie Quality
Choose a quality setting for captured video. At QVGA (320x240), video
recordings will occupy less space on the SD memory card than at D1
(720x576) resolution.
TV Output Standard
Choose a video output standard based on your monitor’s specification. As a
general rule, use PAL for a TV bought in the UK; NTSC is for American TV
sets.

Page 13
5.6 – DATE / TIME
Use the ↑ / ↓ and “Menu/OK” keys to highlight and select one of the
following options:
Set Time / Date
Photo TimeStamp
Movie TimeStamp
Set Time / Date
Use the ← and → buttons to highlight the field you wish to change, then
use ↑ and ↓ to change the value in the field.
It is important to set these fields accurately as the time and date will be
stamped onto recorded images (if enabled, see below).
Photo TimeStamp
Choose whether to apply the date and time onto a captured still frame.
Movie TimeStamp
Choose whether to apply the date and time onto a captured video.

Page 14
PLAYBACK MODE MENU FUNCTIONS
6.1 – NAVIGATION
To navigate the on-screen menus, simply use the ↑, ↓, ←, → buttons to highlight an item and press the
“Menu/OK” button to make a selection.
6.2 – PLAYBACK MENU
The Manual Capture menu allows you to configure “Master Capture” settings.
Use the ↑ / ↓ and “Menu/OK” keys to highlight and select one of the
following options:
File Delete
Format
File Delete
From this menu you may choose to delete a single still frame or video, or
delete all. Highlight the required option and press “Menu/OK” to execute.
Format
Use this option to completely erase the inserted SD card. Please note,
formatting will completely erase ALL data on the card. You will not be able
to recover the data so do not format unless you are absolutely sure!
Page 15
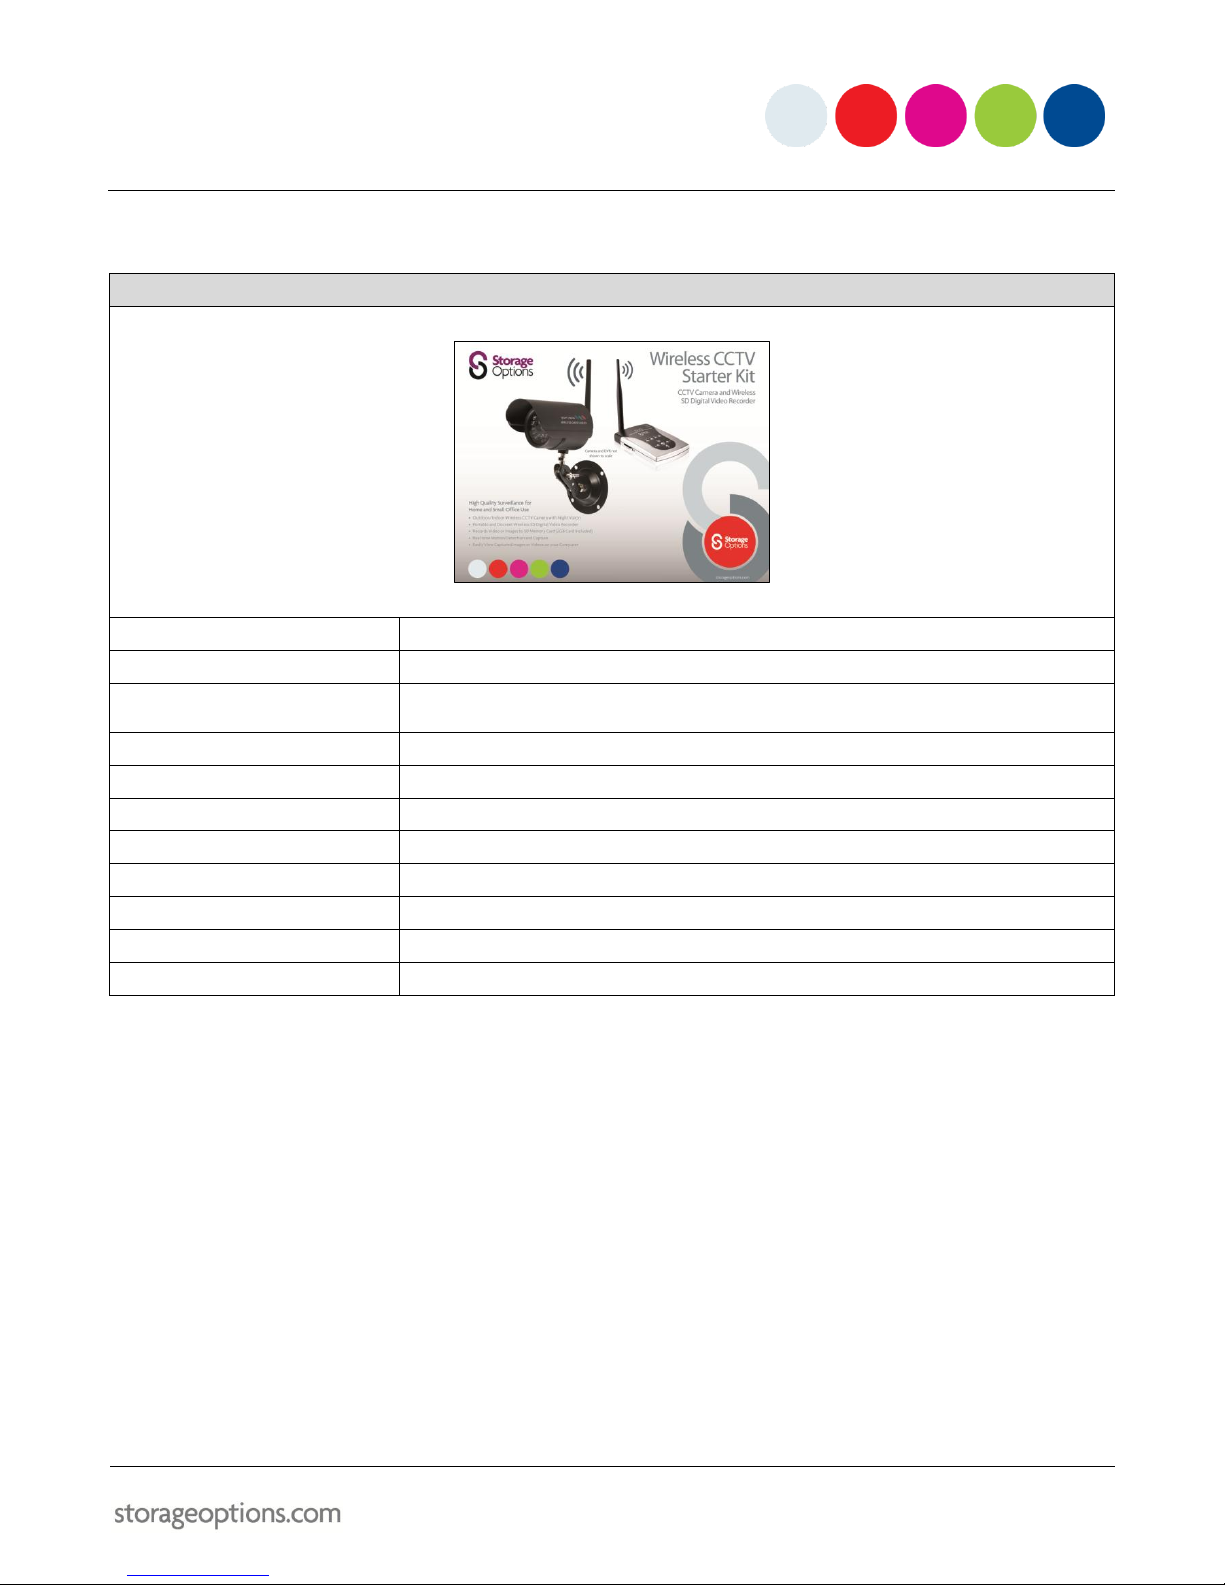
APPENDIX – PRODUCT SPECIFICATION
Wireless CCTV Starter Kit
Video Output:
1 channel RCA
Video Compression:
AVI
Image Resolution:
JPEG VGA (640 x 480)
AVI D1 (720 x 480) 30fps
Motion Detection:
Area and programmable sensitivity setting
TV System:
PAL / NTSC
Image Quality:
High or low configurable
Memory Media:
SD Card, supports maximum 32GB
Record Time:
2GB can save 20,000 pictures / up to 2 hours video (QVGA 320x240) (not designed for continuous recording)
Power:
DC 12V 1A DC
Operating Temperature:
0oC – 40oC
Weight:
0.2 KG

Page 16
 Loading...