

Page 1
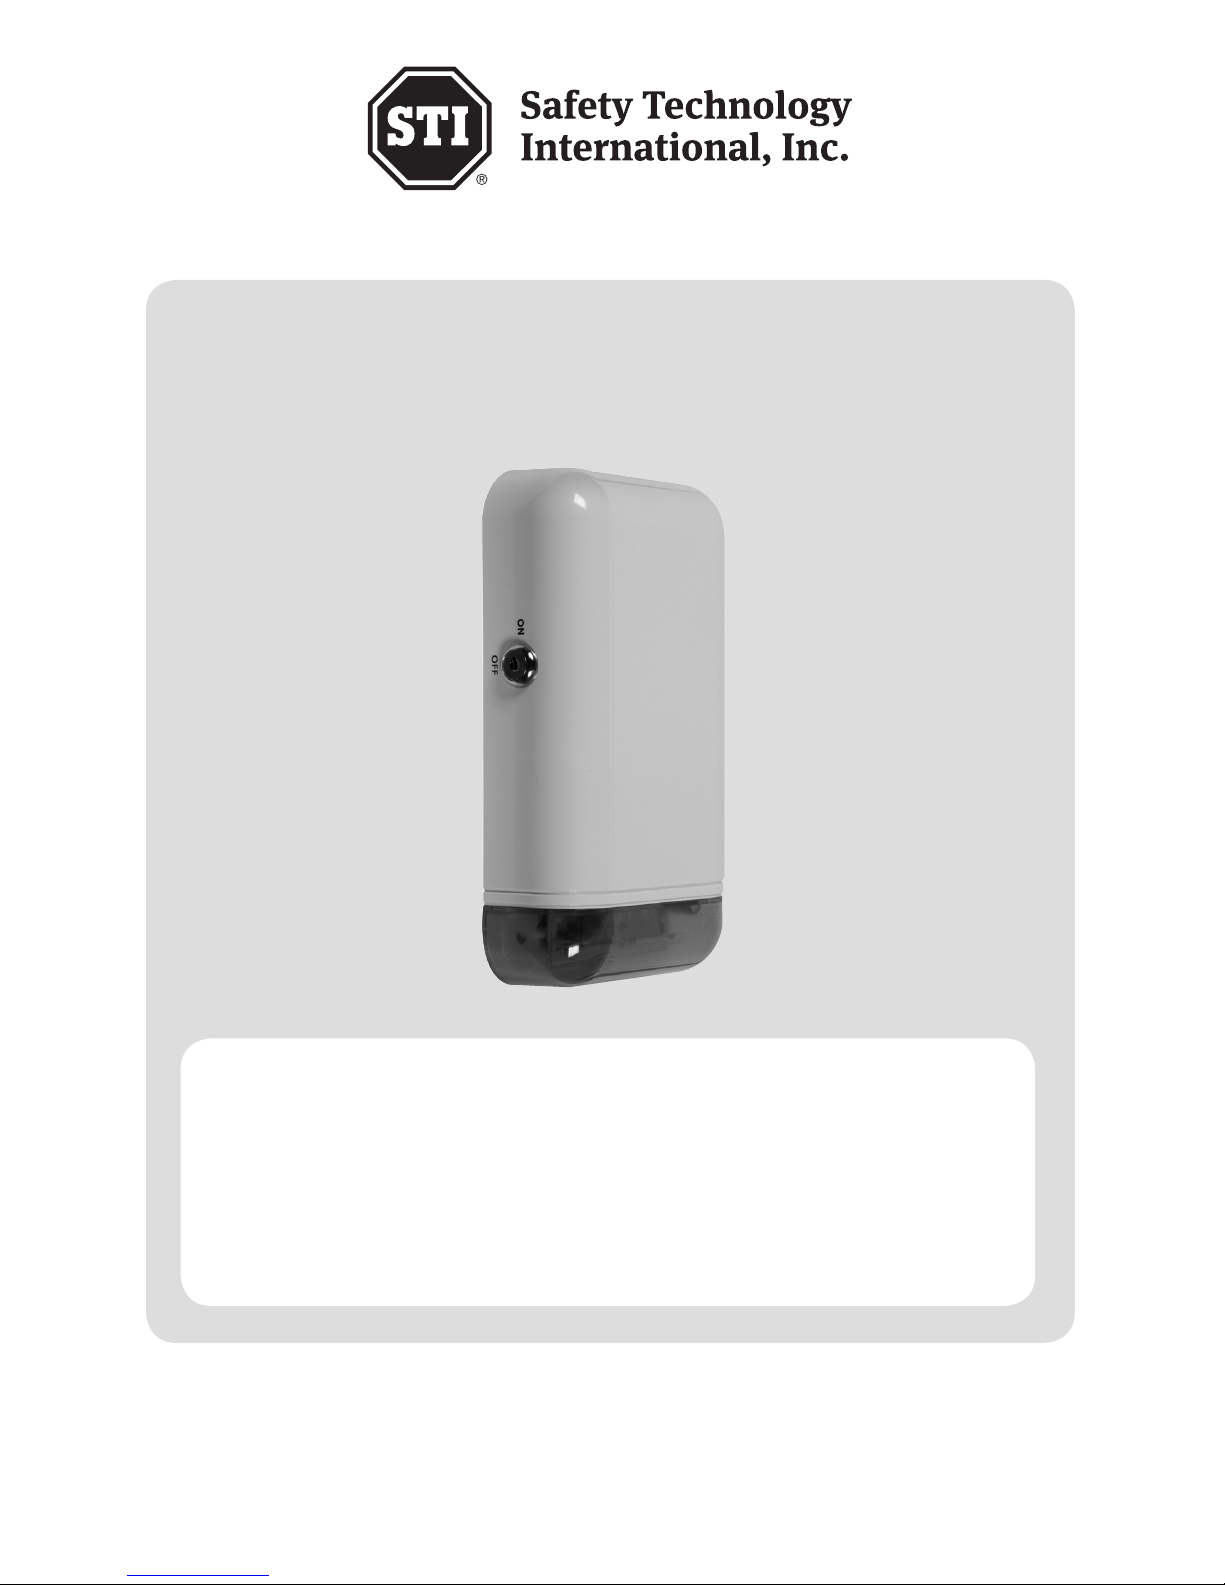
Model STI-WS109
Outdoor Bell Box
Kit Contents
(1) Outdoor Bell Box
(2) Keys for ON/OFF switch
(5) Screws and wall plugs
(1) Instruction leaflet
Needed (not included)
9V 500mA center + power supply
(4) “C” alkaline batteries
For use with Wire-Free Home Protection System
We protect the things that protect you.
Page 2

2. Location
Determine the location of the Siren, which should be placed:
• on the outside of the building and within range of the Wire-Free Home Alarm
Smart Panel (please test before proceeding with installation)
• away from extreme temperature sources (radiators, ovens, stoves, etc.) and
large metal objects that could interfere with wireless performance
1. Introduction
The Outdoor Bell Box is designed to be fitted to the front of the property in a highly
visible position, providing a permanent visual deterrent to intruders. If the Wire-Free
Home Protection System Smart Panel is triggered, the siren will sound and the
strobe light will ash for 1 minute.
3. Installation and Operation
• First use the key provided to turn the ON/OFF switch on the side of the Bell Box
to the OFF position.
• Use a cross-headed screwdriver to remove the screw at the base of the Bell Box
where the red lens is located.
• Then, carefully separating the front from the back of the Bell Box, unplug the
connecting block on the black cable which connects the back of the alarm to
the ON/OFF switch. The front of the Bell Box can then be completely removed
from the back of the box.
• After selecting a location where the Bell Box can receive a good signal from the
Wire-Free Home Alarm Smart Panel, securely attach the back of the Bell Box
onto the desired location, using the screws and wall plugs provided.
• When locating the back of the Bell Box, ensure the anti-tamper spring is set by
hearing it click when the unit is pressed against the wall.
• Insert 4 x new alkaline C batteries (not included), noting their polarity.
• Check the House Security Code on the blue switch block is the same as for the
Wire-Free Home Alarm Smart Panel – see Section 4 (for example, if the main
control panel’s house security code is 1.ON 2.ON 3.ON 4.ON, the security code
of the Indoor Siren should be 1.ON 2.ON 3.ON 4.ON).
• Reconnect the cable connecting the back of the alarm to the ON/OFF switch,
push the front of the alarm onto the back and secure them by replacing the
screw in the base of the Bell Box.
3.1. Mounting the Outdoor Bell Box
3.2. Operating the Outdoor Bell Box
• Use the key provided to turn the ON/OFF switch to the ON position to activate
the Bell Box (the LED will start blinking slowly).
• The Bell Box will now sound when it receives a wireless signal from the WireFree Home alarm Smart Panel.
• The Bell Box can be tested by setting off the Wire-Free Alarm but be prepared to
immediately disarm the system when you have veried the Bell Box is operating
correctly, in order to avoid disturbing neighbors.
Page 3

• If the Bell Box fails to alarm, check the following:
· House Security Settings are the same as for the Wire-Free Home Alarm
Smart Panel.
· The ON/OFF switch on the Bell Box is set to the ON position.
· The Bell Box is in a location where it can receive a good signal from the
Wire-Free Home alarm Smart Panel.
• When the Bell Box is switched to ON, removing the Bell Box from the wall
surface will trigger the Bell Box siren immediately.
• When the battery is running low and needs replacement, the LED indicator on
the Bell Box will blink very quickly. In this case follow the battery replacement
procedure as described in Section 3.1.
4. House Security Code Settings
Unless the factory settings of the Wire-Free Home Protection System Smart Panel
have been altered, the House Security Code will NOT need to be changed. However,
if the settings on the Smart Panel have been altered, or need to be altered to solve
the problem of the Smart Panel and sensors activating intermittently (or not working
at all) or interference with other systems, then the House Security Code on all system
modules, including the Indoor Siren, will also need to be changed.
House Security Code settings can be altered as follows:
• There are 4 jumpers or dip-switches on each device.
• Remove the [jumper compartment cover], then pull out or plug the jumper into
the contacts to change the House Security Code.
• If a jumper is plugged it is ON, if it is removed it is OFF. Default code is with all
the jumpers plugged.
• To ensure the system works correctly, make sure the jumpers on the Smart
Panel and all other system modules (sensors and sirens) match exactly.
ON
1 2 3 4
ON DIP
4 3 2 1
Jumpers for
house security
code
Dip-Switches
for house
security code
- Smart Panel
- Each sensor
Default house code:
1: ON, 2: ON, 3: ON, 4: ON
*Jumper: ON = Plugged, OFF = Pull Out
- Key Fob Remote
Default house code: 1: 0N, 2: 0N, 3: ON, 4: 0N
5. Maintenance
Unless the factory settings of the Wire-Free Home Protection System Smart Panel
The product may be cleaned with a soft damp cloth and then wiped dry. Do not use
abrasive, solvent based or aerosol cleaners as this may damage and/or discolor the
product. Do not allow water to enter or attempt to clean inside the unit.
Page 4

Install WS109, JUNE2012
6. Batteries
Do not allow the batteries to corrode or leak as this may cause permanent damage
to the product. Take care to insert the batteries with the correct polarity as shown
inside the battery compartments. Do not mix new and old batteries or different types
of batteries. Do not use rechargeable batteries. At the end of their useful life the
batteries should be disposed of via a suitable recycling center. Do not dispose of
with your normal household waste. DO NOT BURN.
7. Alarm System Limitations
Even the most advanced alarm systems cannot guarantee 100% protection against
burglary or environmental problems. All alarm systems are subject to possible
compromise or failure-to-warn for a variety of reasons.
Please note that you may encounter problems with your system if:
• The sensors are not placed within hearing range of persons sleeping or remote
parts of the premises.
• The sensors are placed behind doors or other obstacles.
• Intruders gain access through unprotected points of entry (where sensors are
not located).
• Intruders have the technical means of bypassing, jamming or disconnecting all
or part of the system.
• The power to the sensors is inadequate or disconnected.
• The sensors are not located in proper environmental/temperature conditions
(i.e. too close to a heat source).
8. Warranty
One year limited warranty.
Electronic warranty form at www.sti-usa.com/wc14
2306 Airport Rd • Waterford, MI 48327
Phone: 248-673-9898 • Fax: 248-673-1246
info@sti-usa.com • www.sti-usa.com
Safety Technology International (Europe) Ltd.
Unit 49G Pipers Road • Park Farm Industrial Estate • Redditch
Worcestershire • B98 0HU • England • Tel: 44 (0) 1527 520 999
Fax: 44 (0) 1527 501 999 • Freephone: 0800 085 1678 (UK only)
E-mail: info@sti-europe.com • Web: www.sti-europe.com
 Loading...