

Page 1
®
STEINDORFF
NYMC62B00
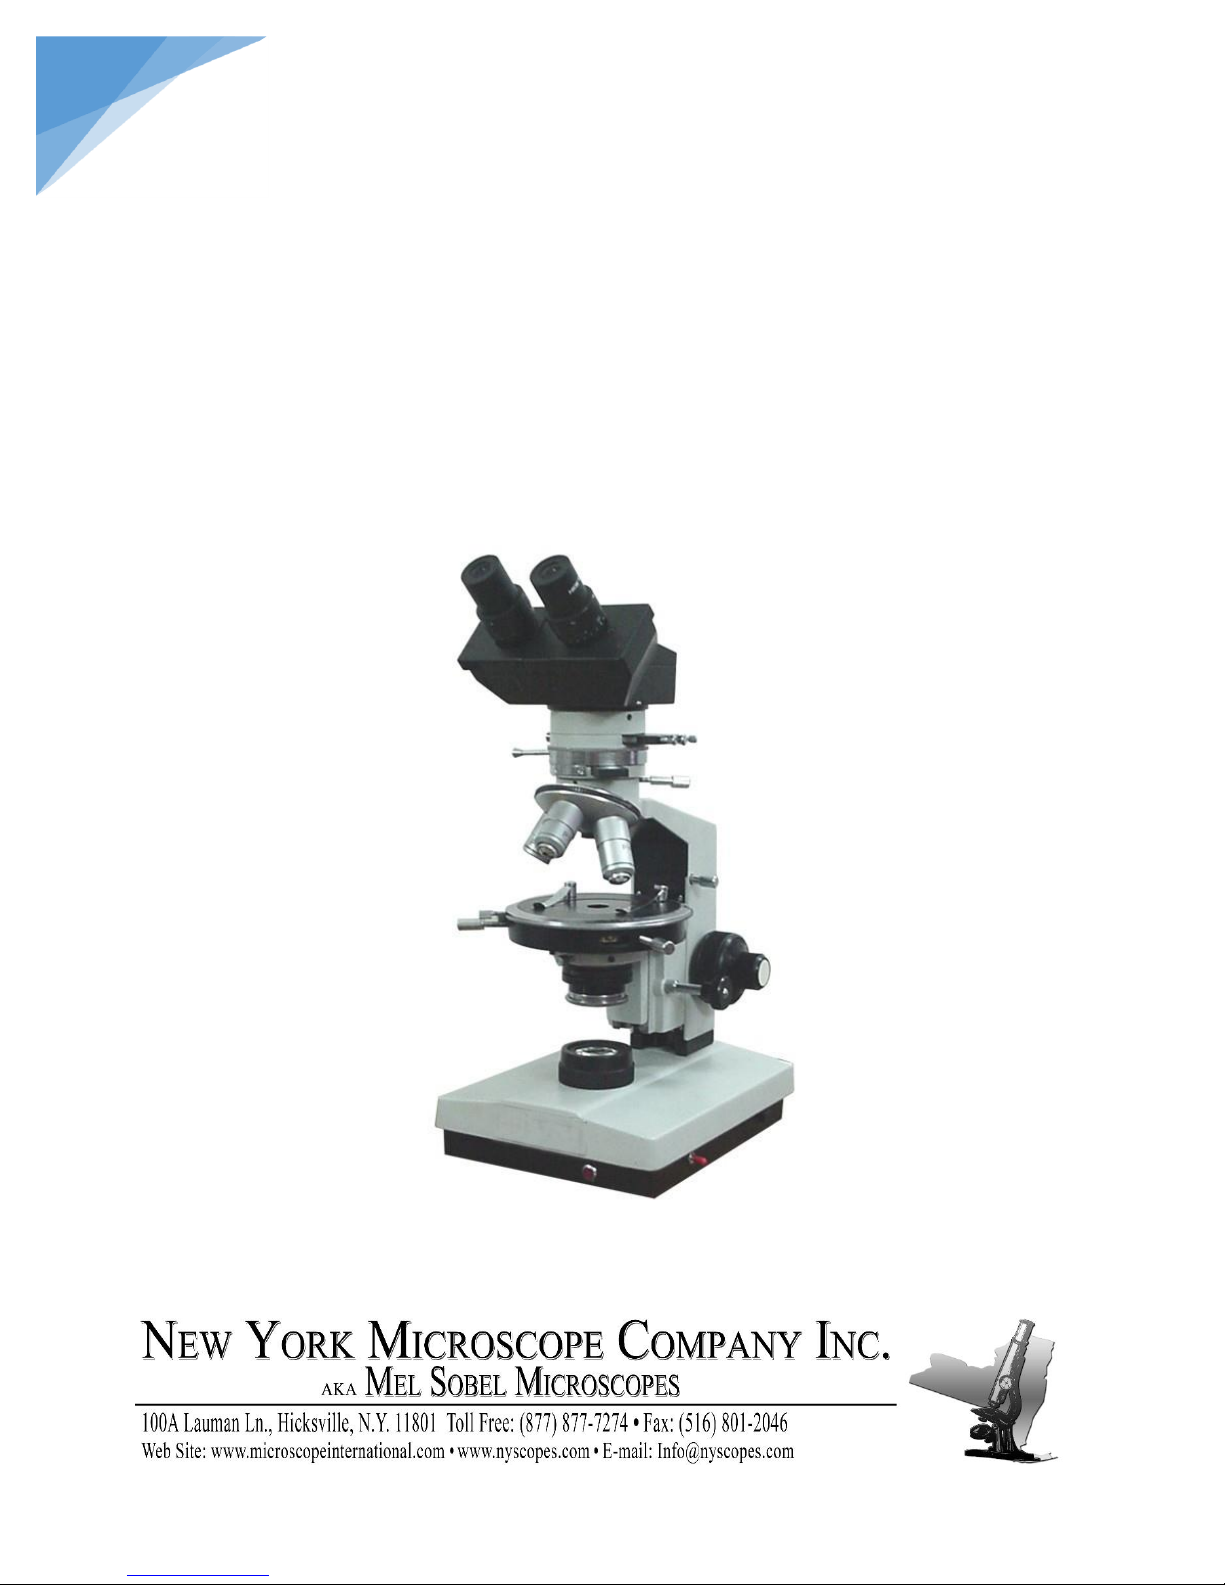
Polarizing Microscope
Page 2
1
®
1 2 3
4
5
6 7 8
9
10
11
12
13
14
15
16
17
18
19
20
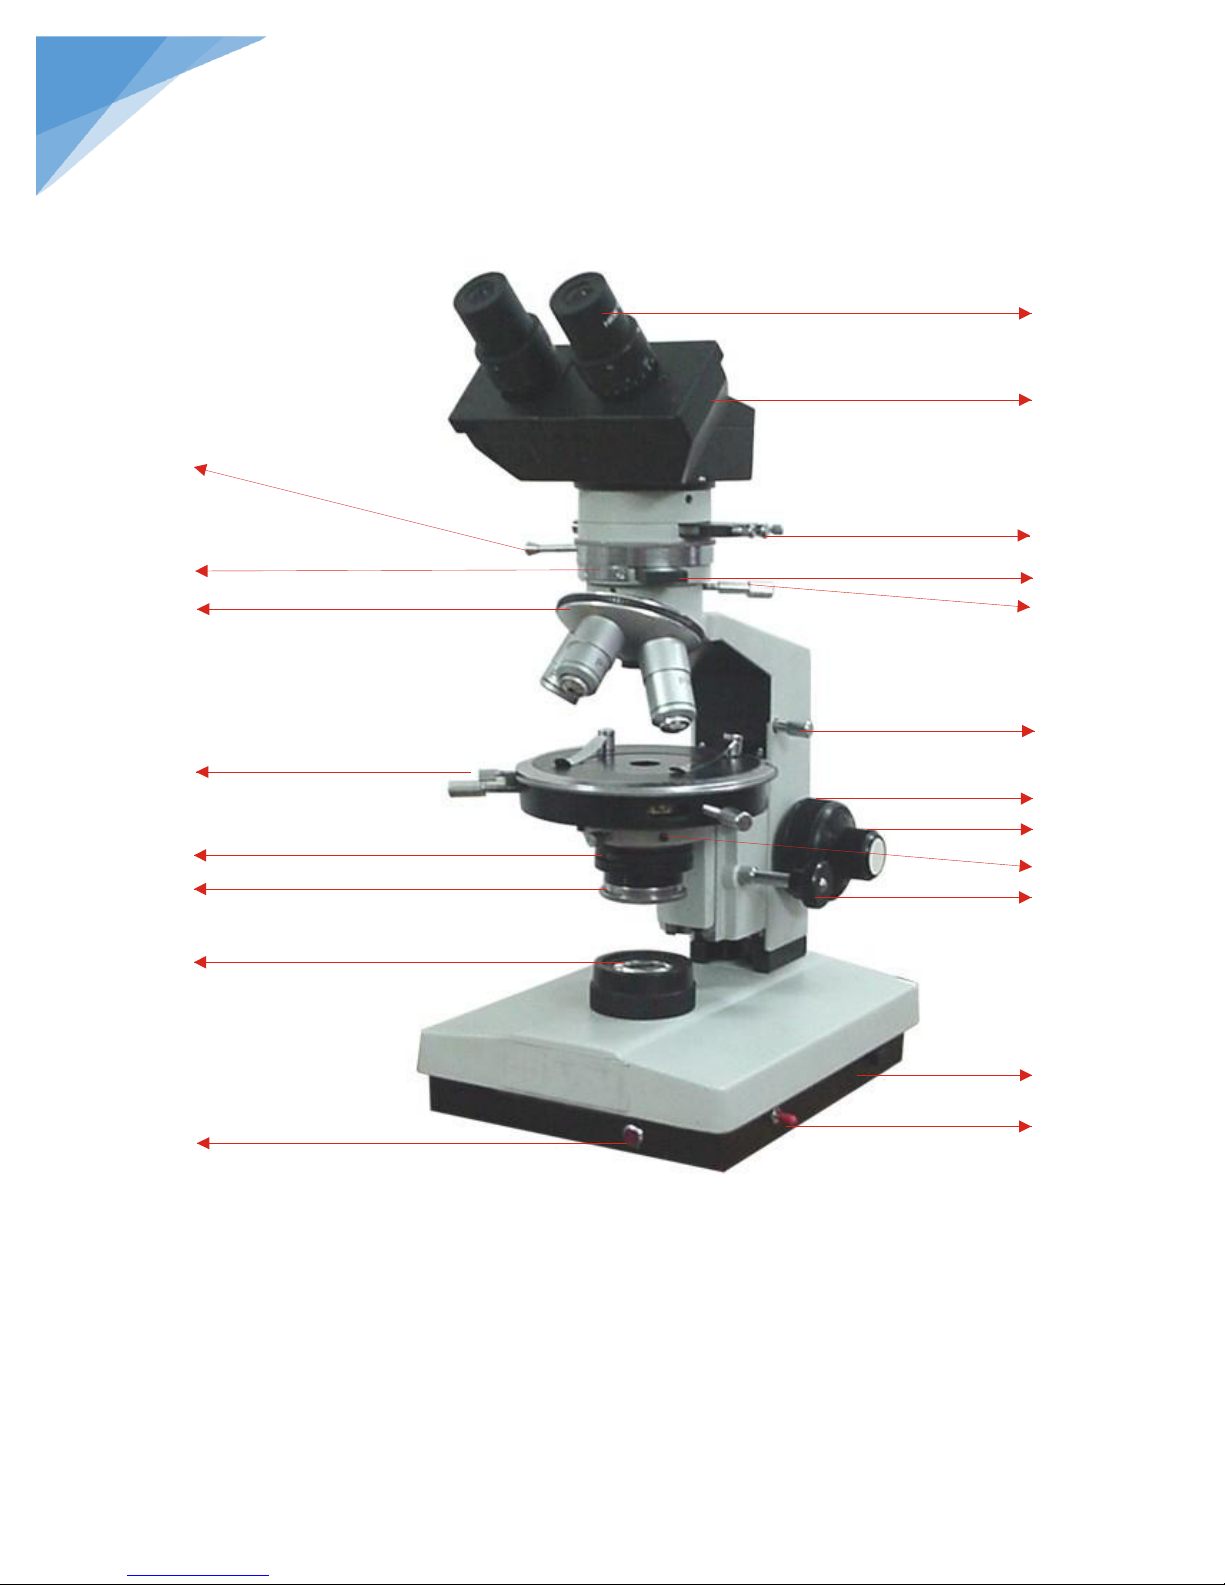
List of Parts
1. Eyepiece
2. Binocular Head
3. Bertrand Lens
4. Compensator Socket
5. Clamp Screw
6. Stage Height Adjustment Screw
7. Coarse Focusing Knobs
8. Fine Focusing Knobs
9. Condenser Centering Screws
10. Condenser Focusing Knob
11. Brightness Control
12. Power Switch
13. Power Indicator
14. Light Collector
15. Graduated Marks of Polarizer
16. Iris Diaphragm Lever
17. Stage Centering Screws (Detachable)
18. Nosepiece
19. Graduated Marks on Analyzer
20. Analyzer Lever
STEINDORFF
Page 3

2
®
Magnifying Power Objectives
Numerical Aperture N.A.
Thickness of Cover Glass
4x
0.10
-
10x
0.25
-
20x
0.40 40x
0.65
0.17
60x(optional)
0.85
0.17
Type
Magnifying Power
Standard Eyepiece (Pair)
10x
Eyepiece with Crosshairs
5x
Eyepiece with Graticule
10x
Eyepiece
Objectives
10x
4x
10x
40x
60x
Magnification
40x
100x
400x
600x
STEINDORFF
Description
The Polarizing Microscope is one of the most useful professional experiment instrument for use in the fields of
geology, mineral and metallurgical department as well as associated educational institutions of higher studies.
This Polarizing Microscope can be used for single polarizing examination, orthogonal polarizing examination and
conical polarizing examination as well as for photomicrography.
This Microscope is equipped with various accessories such as a gypsum test plate (wavelength), a mica test plate
(quarter wavelength).
Specifications
1. Observation Tube - Binocular Head.
2. Objectives: stress less achromatic objectives.
3. Eyepieces
4. Final magnifying powers of objectives and eyepieces combination.
Final magnifying Powers:
5. Quadruple centralized revolving nosepiece for objectives.
6. Rotating Stage: 130mm in outside dia., calibrated in 360º, Vernier scale 0.1º.
7. Focusing Mechanism: Coaxial co-guide way coarse and fine focusing adjustment.
Focusing Range: 25mm, Division 0.002mm.
Page 4

3
®
S
01
STEINDORFF
8. Illumination: Transmitted 6V-20W light source, brightness adjustable.
9. Line Power: 220V/50-60Hz.
10. Binocular Viewing Head
11. Compensator: Quarter Wedge 1-4 Order, Full Wave 1l Gypsum & Quarter Wave 1/4l Mica.
12. Condenser: Abbe two-lens condenser, N.A. = 1.25.
Unpacking
Identify the version of the Microscope purchased, unpack and bring the Microscope out of the case. Check up the
accessories in the case.
Operation
Insert the plug of the power of this microscope into a suitable grounded 220V AC line power socket. Turn on the
power by the switch & the indication light will be lit. Switch ON the Microscope Illuminator.
1) Place a specimen onto the stage. Make an observation, pay attention to pull the lever for pulling the
analyzer out from the light path. Open the Iris Diaphragm. Make sure that the field Iris Diaphragm
coincides with the field of view.
2) Secure the specimen properly with the clips on the Rotary Stage.
3) Adjust the center of the stage using the stage centering screw.
Focus the specimen sharply. Find a marked feature in the field
of view and make it to situate at the center of the ocular’s cross
hairs. Rotate the stage, if the optical axis of the objectives not
coincides with the center of the rotation of the stage, then the
target selected will rotate about certain center S (that is the
rotating center of the stage), the trajectory of which is a circle.
Turn the target point to the point 01 to move toward the point
S and coincide with it. Then, turn the stage again, to view
whether the two points coincide with each other, if any
deviation exists, repeat this procedure again.
Page 5

4
®
STEINDORFF
4) When observing the microstructure of a specimen, usually use a low power objective to look for the object,
then move the object towards the center of the field of view and exchange a high power objective for
observation. Care should be taken to avoid the objective being knocked against the specimen and damaged.
When focusing, lift the stage allow it close the objective lens as near as possible.
Lower the object surface while viewing. When an image is observed, use the fine adjustment knob for
adjustment until a sharp image is obtained.
5) Examining the specimen in orthogonal polarized light. As mentioned in section (6) when a sharp image is
obtained, because the polarizer is still inserted in the optical path, actually it is in a single polarized light.
Then insert an analyzer. Pay attention to the graduated marks of the polarizer and analyzer. When both
marks are situated at “0” position, it means that they are in orthogonal. Now, the polarized orientation of
the analyzer is in north - south (or up and down).
6) Examining the specimen in the conical polarized light. Usually, conical polarized light is used for high
power examination. Insert Bertrand lens into the light path when using orthogonal polarizing light. The
swinging upper lenses of the condenser are arranged so that they may be moved into the optical axis of the
microscope for examining the conical characteristic of the specimen.
7) When an indistinct image of the filament of the bulb reveal in the field of view, add a ground glass
properly. When the light is yellowish, a filter can be added. (Place a filter above the collector in the base of
the microscope in transmitted light).
8) Adjusting the light housing.
When the bulbs is replaced, the light housing should be realigned. Insert the light housing into the adapter
of the vertical illuminator. Switch on the power, moves the light housing back & forth to eliminate the
image of the filament in the field of view. After operating as mentioned in Section (6) then observe through
eyepiece tube with the eyepiece removed, until a bright spot at the back focal plane of the objective or the
image of the aperture diaphragm can be seen.
Adjust screws at the rear and side surface for centering the filament of the bulb.
USE OF BERTRAND LENS IN POLARIZING MICROSCOPE
The Bertrand Lens is generally used to observe interference figures in high power objective. Please check the
following points while using Bertrand Lens.
Page 6

5
®
STEINDORFF
1) Analyzer & Polarizer shall be crossed in the light path. The images appear in the objective rear focal plane
when an optically anisotropic specimen is viewed between crossed polarizer using a high numerical
aperture objective/condenser combination.
2) The iris diaphragm should be closed to 90%.
3) The Bertrand Lens shall be in the center to the plane. Please use centering screws provided with the
Bertrand Lens.
MAINTENANCE
1. Do not dismantle any part of the instrument
If there is any dirt on the surfaces of the lens, wipe it off gently with some absorbent cotton moistened with
xylene. Dust on the lens surfaces can be blown off by using an air blower.
2. Oil the mechanical moving parts of the instrument with some watch or clock lubricant.
3. Avoid contacting high temperature.
4. Objectives and eyepieces should replace back to their containers and place dust caps and dust plates to all
of the light ports after using.
5. The instrument should be kept in a cool, shady and dry place, free from dust, acid alkalis fume or vapors.
6. Check and maintain the microscope at regular intervals.
 Loading...