

Steelmaster 4800 Owner's Manual
4800
Owner’s Manual
4800 Currency Counter


1
4800
TABLE OF CONTENTS
1. Product View
1.1. Front and Rear Views
1.2. LED Display
2. Operation
2.1 Operation Modes
2.2 The Right Way to Load the Bills
3. Troubleshooting
3.1 Error-Message Display Codes
3.2 Adjustment Screw
3.3 Changing the Wear and Tear Parts
3.4 Operational Problems
4. Specifications
5. Safety/Warnings
5.1 Cleaning the Machine
5.2 Maintenance Notice
6. Warranty
Page
2
3
4
5
6
7
7
8
9
10
11
12
2
4800
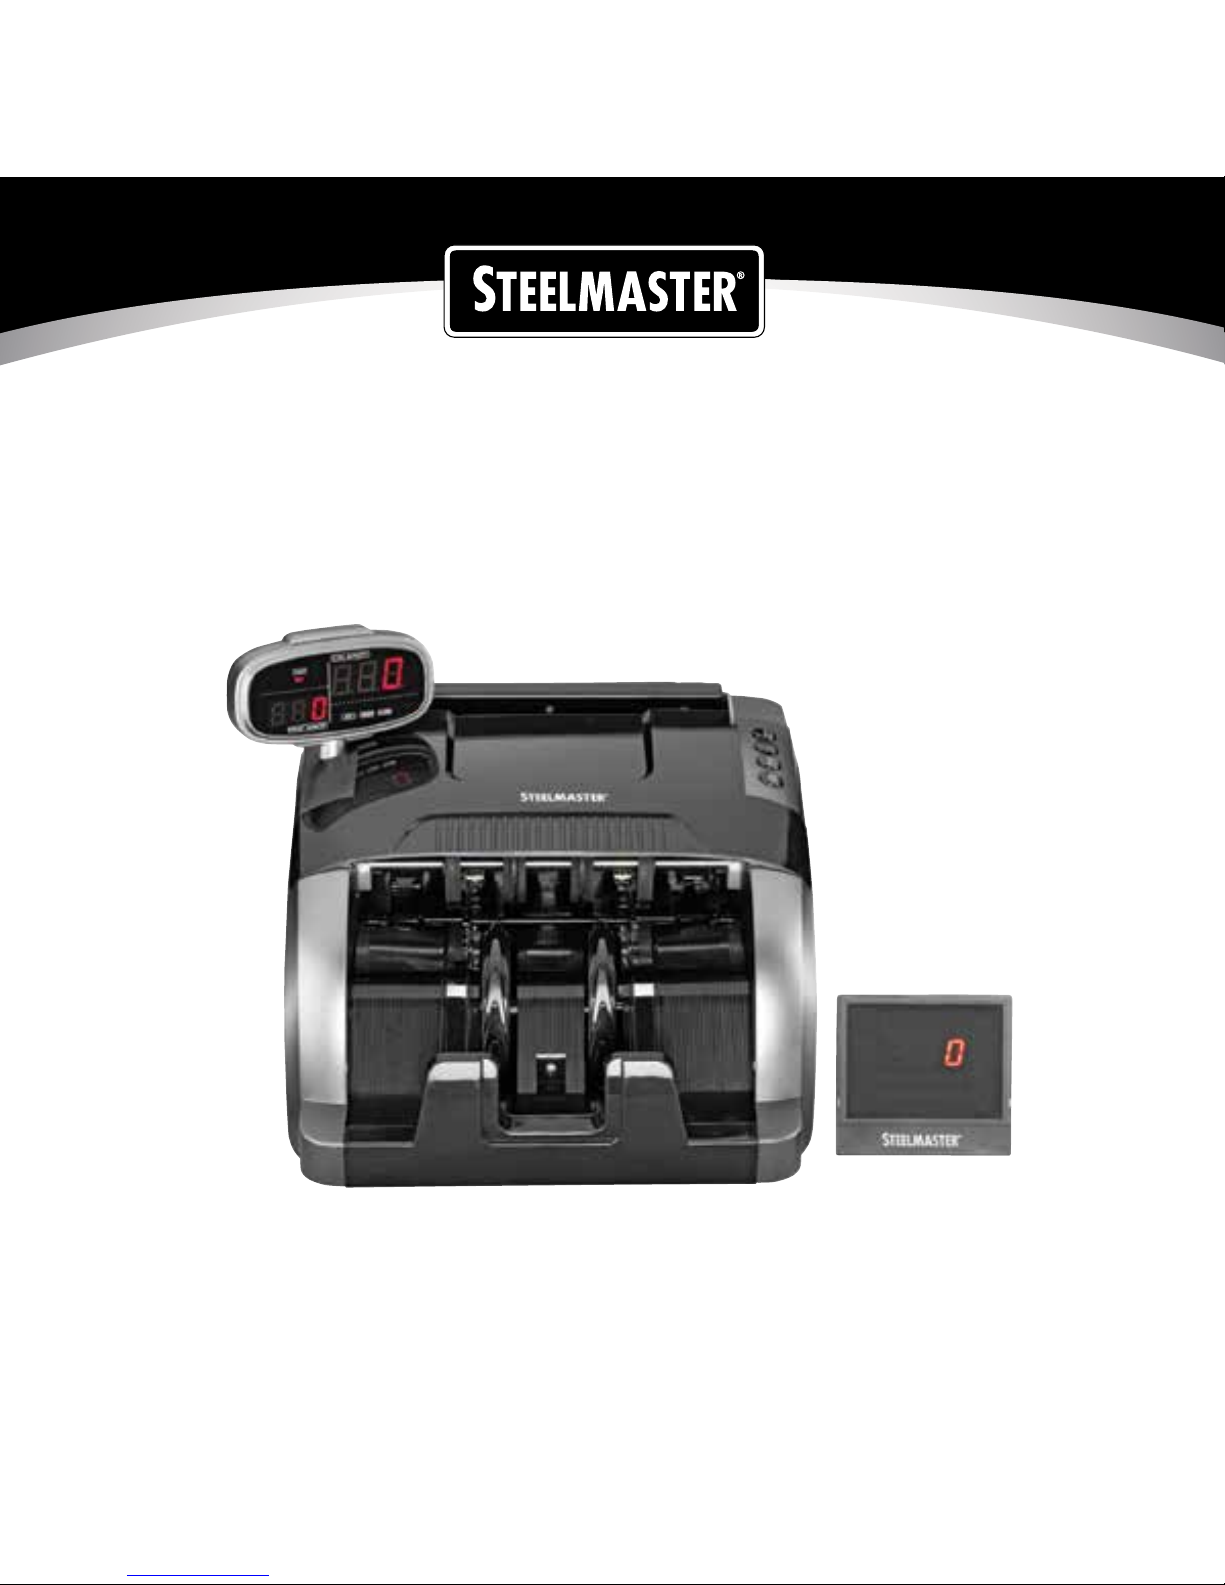
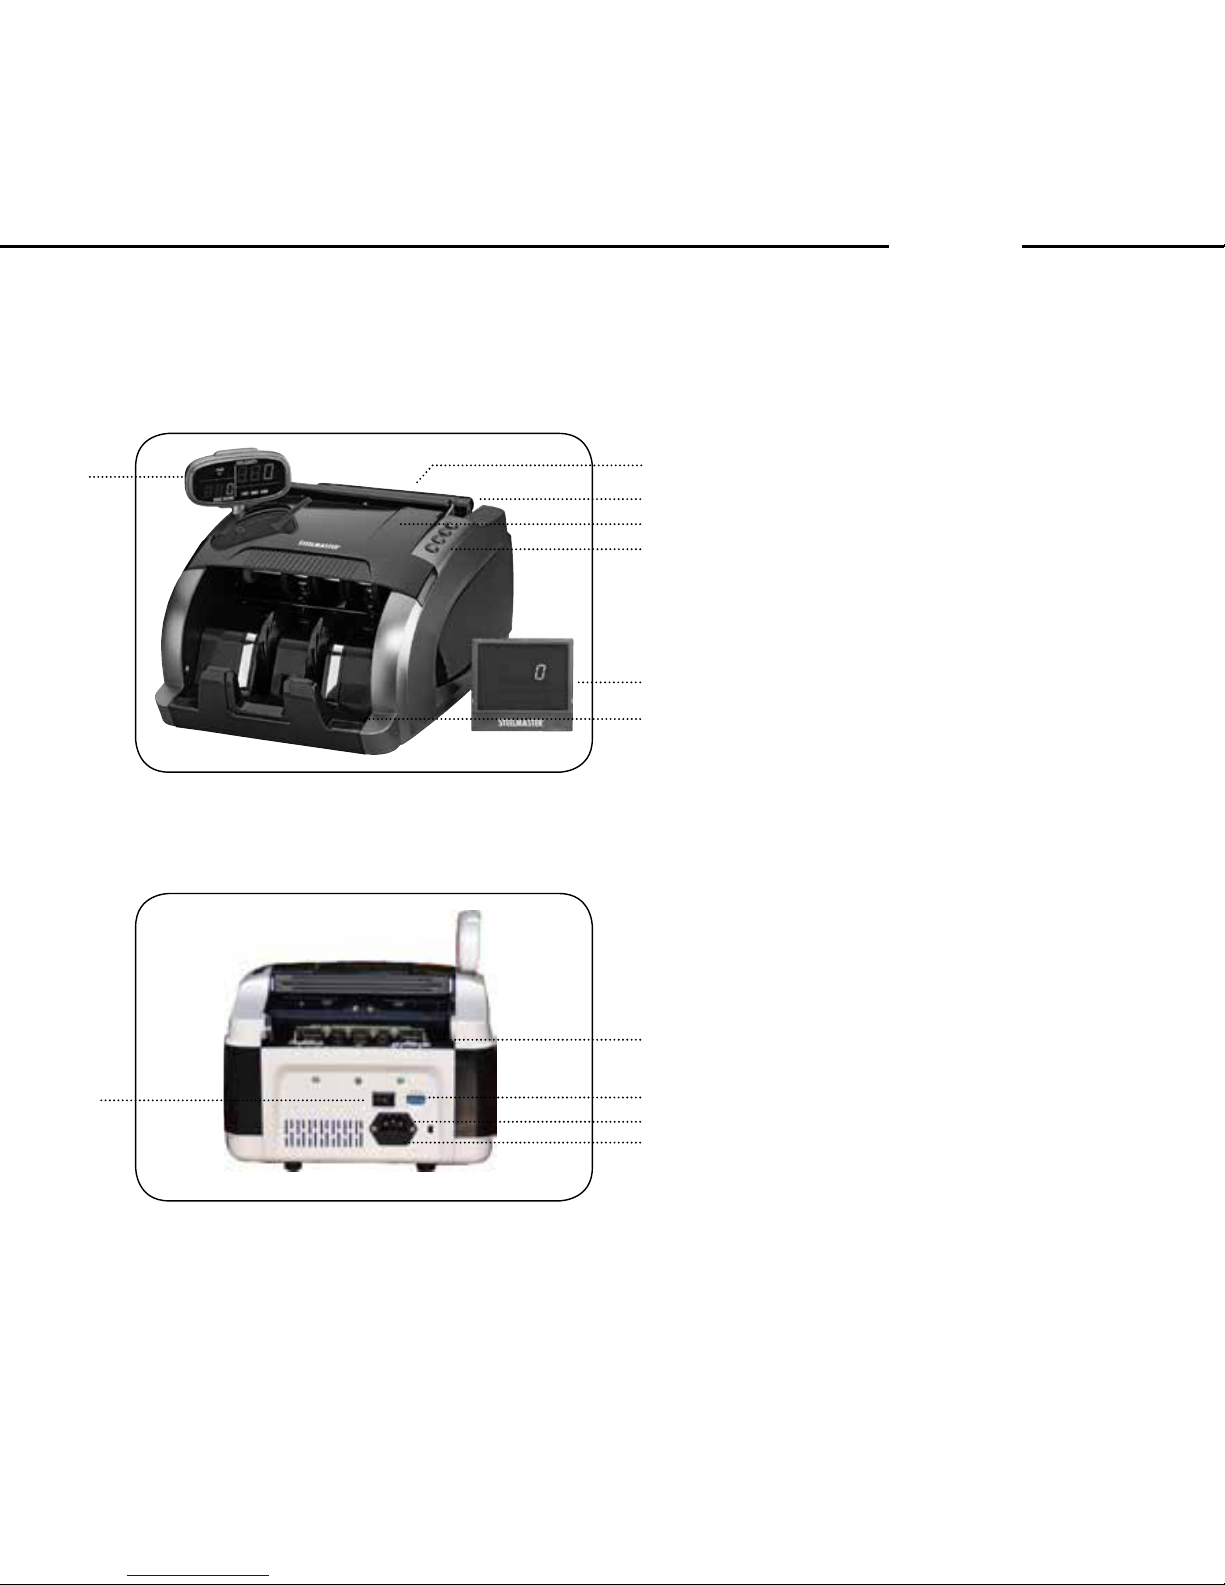
1. PRODUCT VIEW
1. Hopper
2. Retractable Handle
3. Lid
4. Control Panel
5. LED Display
6. External Display
7. Stacker
1.1 Front and Rear Views
8. Adjustment Screw
9. External Display Outlet
10. Power Outlet
11. Fuse
12. Power Switch
1
2
3
4
6
7
8
9
10
11
12
5
3
4800
1. PRODUCT VIEW
1
2
4
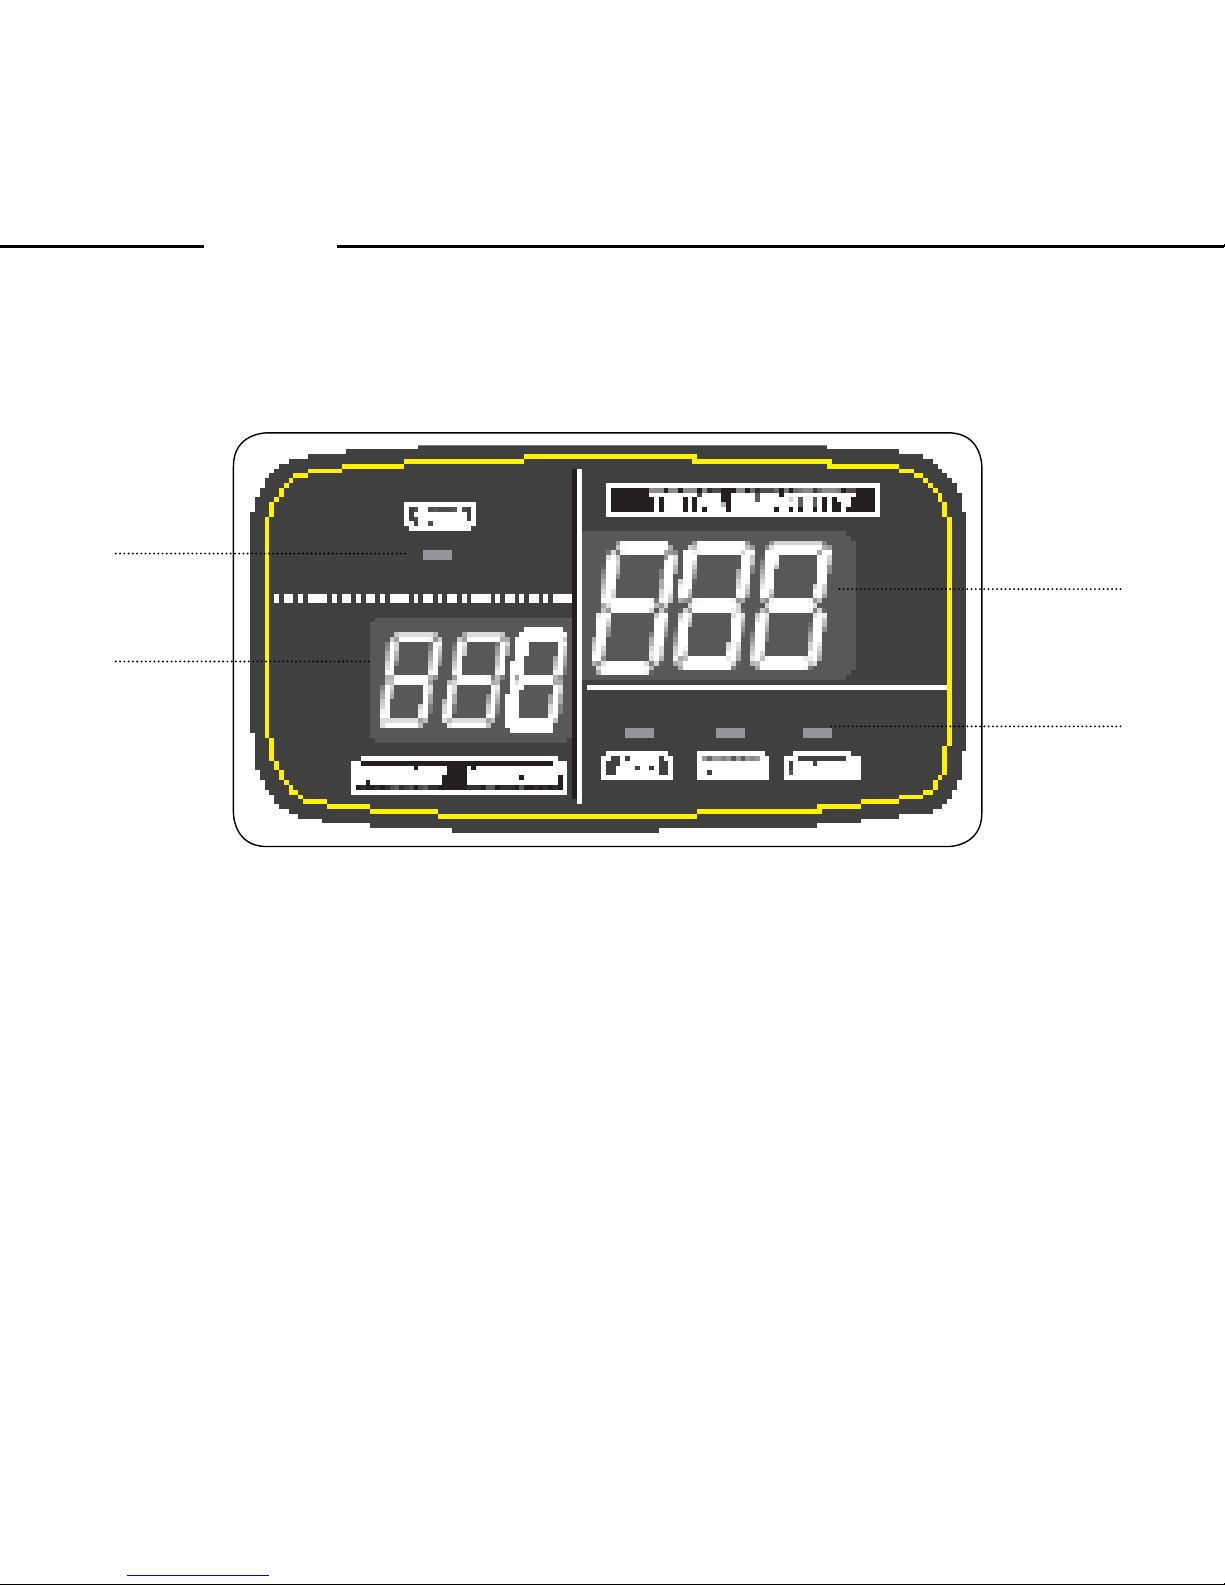
1.2 LED Display
1. Count Mode Indicator
2. Bill Count Display
3. Batch/Add Display
4. Add/Batch Mode Indicators,
Alarm Indicator
3
 Loading...