

Steelcraft Automotive 71070 User Manual
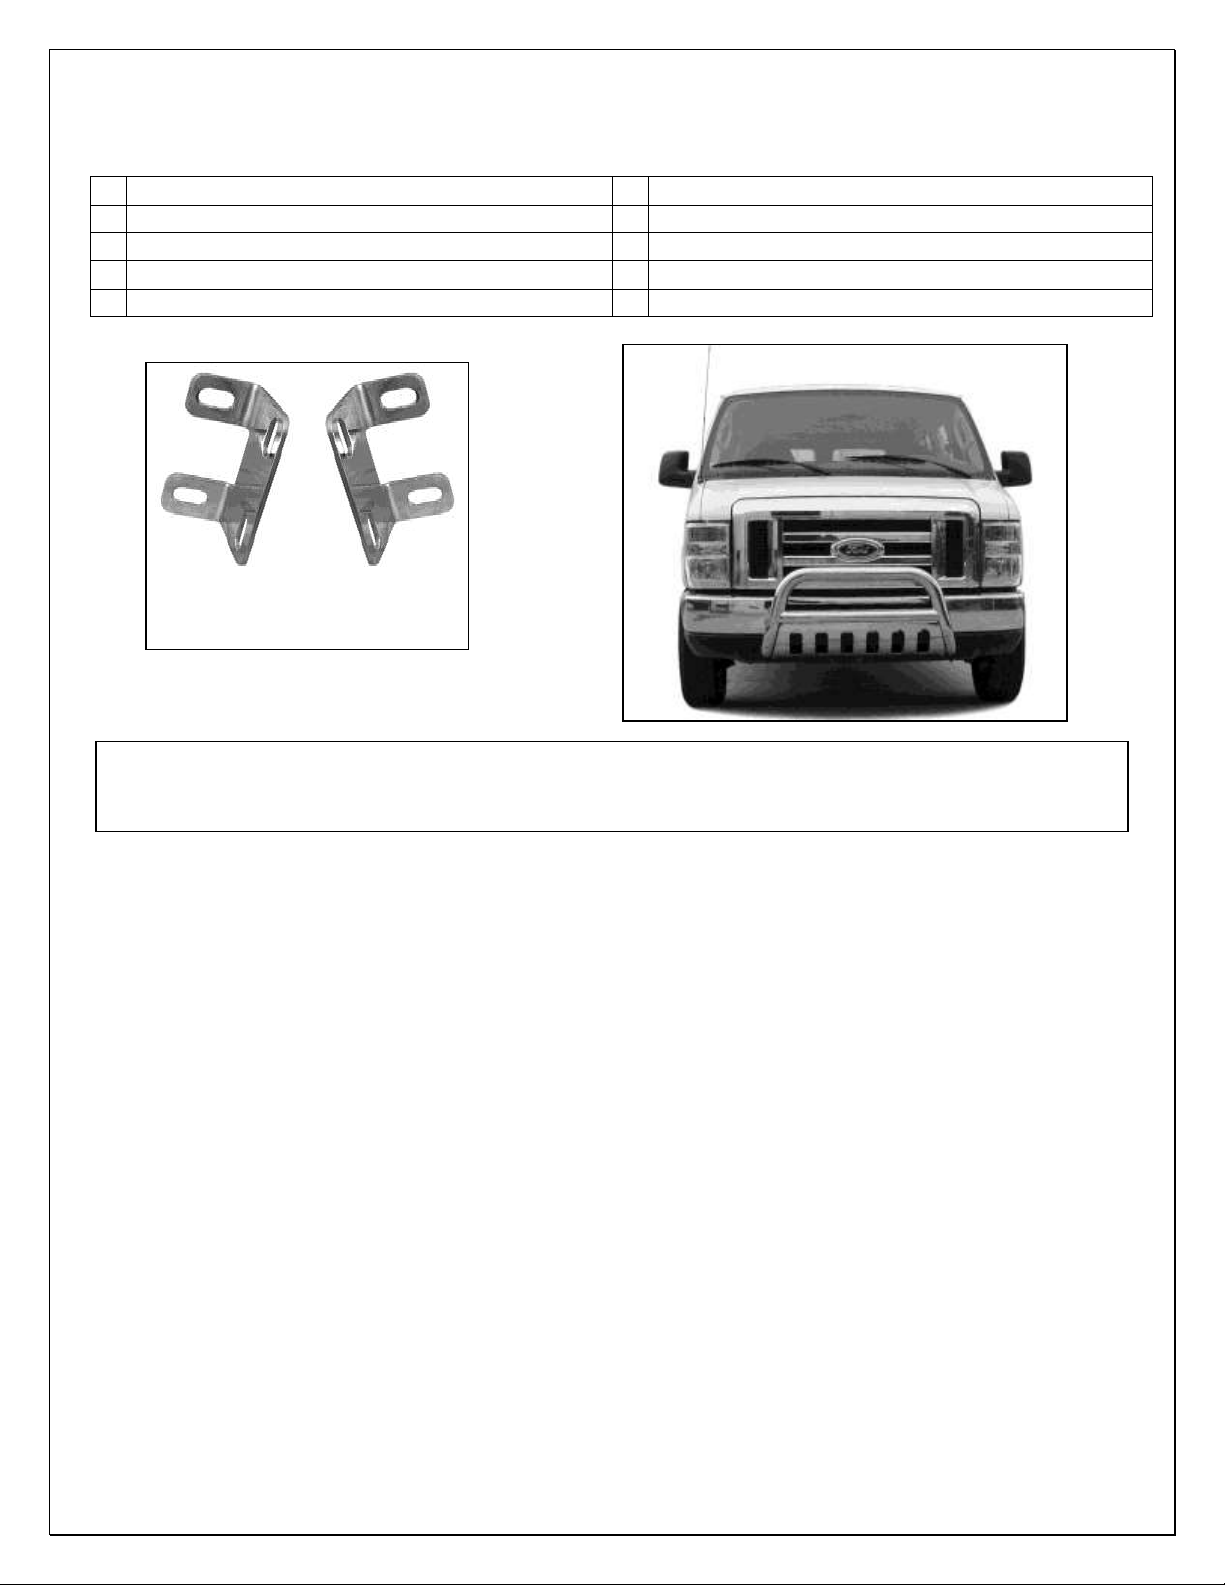
BULL BAR
1
3” Bull Bar
4
12mm Hex Nuts
2
Mounting Brackets
4
10-1.5mm x 30mm Hex Bolts
4
12-1.75mm x 35mm Hex Bolts
8
10mm x 27mm OD x 3mm Flat Washers
8
12mm x 24mm OD x 2.5mm Flat Washers
4
10mm Nylon Lock Nuts
4
12mm Lock Washers
(2) Mounting Brackets
Complete Installation
IMPORTANT NOTICE: DRILLING THROUGH THE FACTORY STEEL BUMPER IS
REQUIRED TO INSTALL THIS PRODUCT. Any cutting or drilling tool may break or shatter.
Government regulations require safety glasses & equipment at all times when cutting or drilling.
08-10 FORD E150-E350
PARTS LIST:
PROCEDURE:
1. REMOVE CONTENTS FROM BOX. VERIFY ALL PARTS ARE PRESENT. READ
INSTRUCTIONS CAREFULLY BEFORE STARTING INSTALLATION. DRILLING IS
REQUIRED. ASSISTANCE IS RECOMMENDED.
2. NOTE: It may be necessary to remove/relocate front license plate and license plate bracket. It
is not required for installation, but strongly recommended. If local/state law requires a license
plate, license plate relocation kit is available.
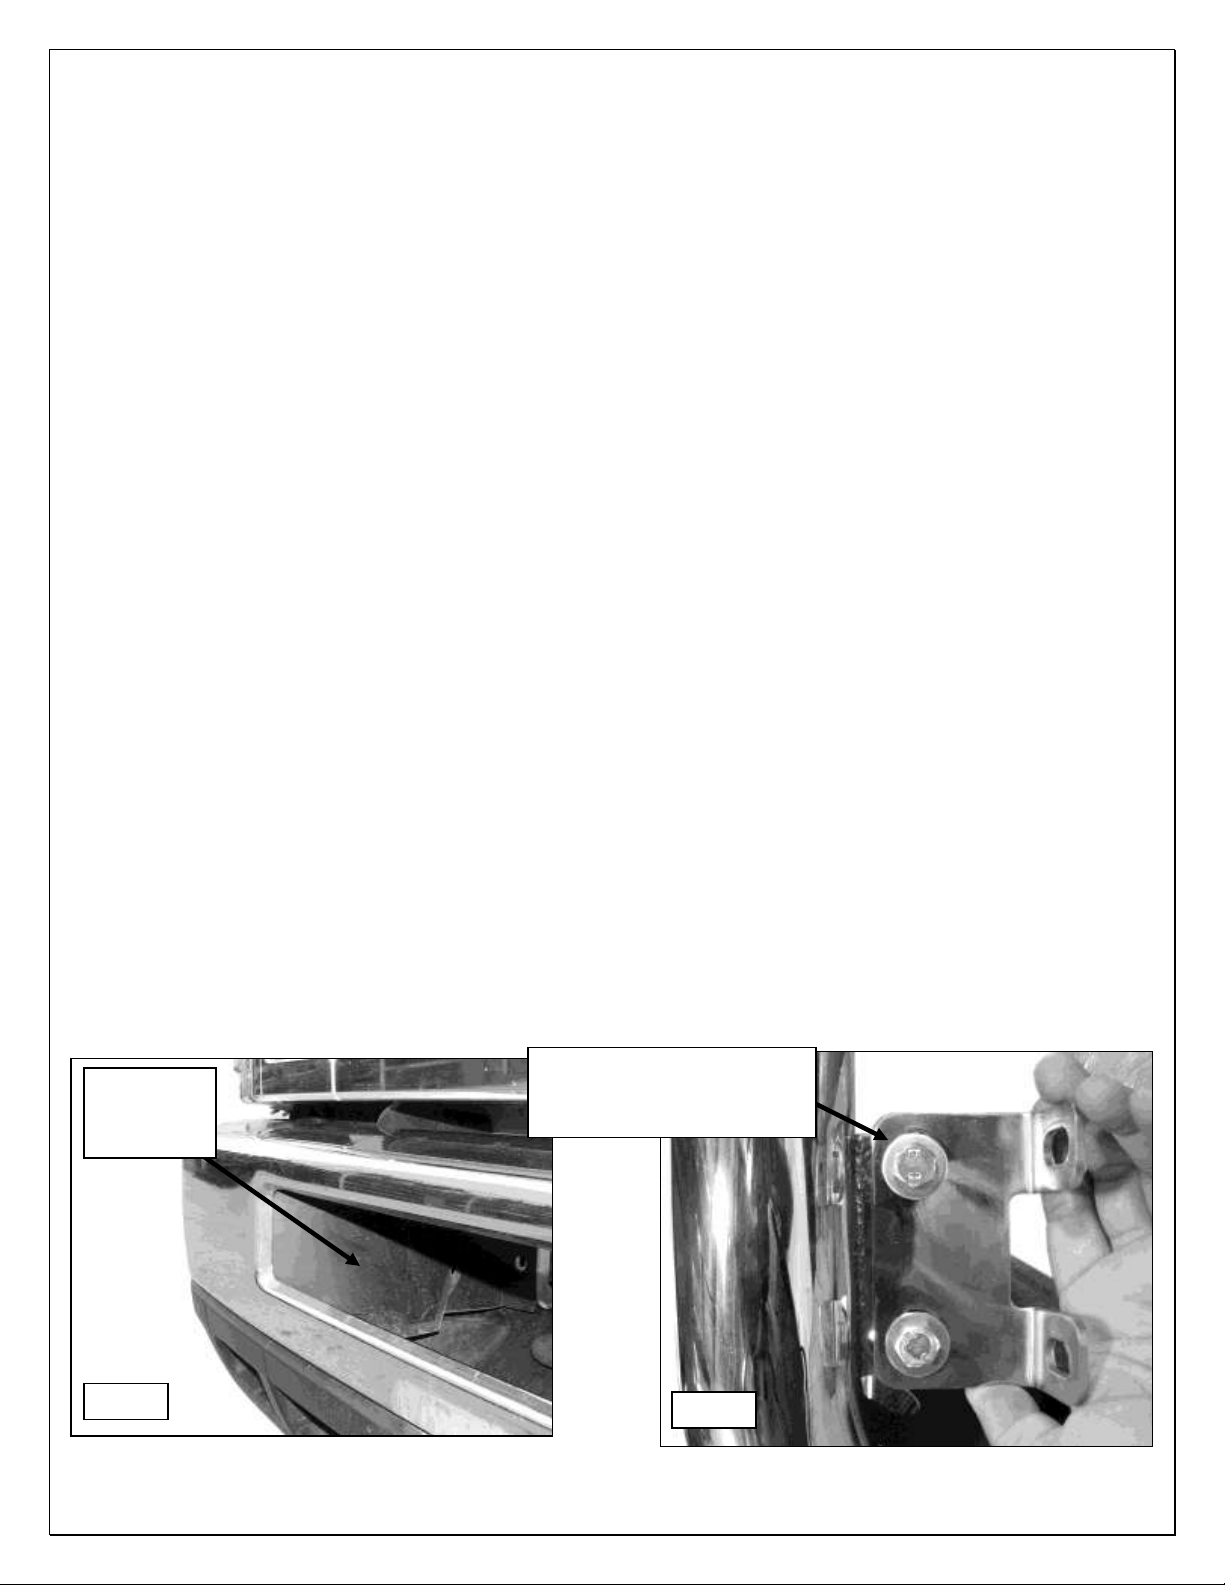
3. On each side of the opening in the bumper, move the rubber wind deflectors attached to the
back of the bumper, (Figure 1). Check the back of the bumper for clearance before drilling.
4. Select the driver side Mounting Bracket. Bolt the Bracket onto the back of the tab on the Bull
Bar with the included (2) 10mm x 30mm Hex Bolts, (4) 10mm Flat Washers and (2) 10mm
Nylon Lock Nuts, (Figure 2). NOTE: Adjust the Bracket so that the hardware is in the center of
the slots on the tab on the Bull Bar and the Mounting Bracket. Temporarily tighten the
hardware. Repeat this step to install the passenger side Mounting Bracket.
5. Cover each side of the steel bumper with masking tape before marking the location for drilling
and to protect finish during initial Bull Bar fitup, (Figure 3). With assistance, hold Bull Bar up in
desired, (approximate) location with Mounting Brackets flat against steel bumper and with
clearance around the bottom legs of the Bull Bar for adjustment, (Figure 4). Adjust brackets as
necessary for proper fit to bumper. Once the Bull Bar is close to vertical, centered and level,
trace the passenger side top mounting location onto the masking tape, (Figure 5). Measure up
from bottom edge of the steel bumper to the center of the top hole, (slot), drawn on the tape,
Page 1 of 4 8/26/10 (DP)
BULL BAR
(2) 10mm x 30mm Hex Bolts
(4) 10mm Flat Washers
(2) 10mm Nylon Lock Nuts
Move wind
deflector
for access
Fig 1
Fig 2
08-10 FORD E150-E350
(Figure 6). Draw a horizontal line through the center of the slot drawn on the tape. Move to the
driver side of the bumper and draw another level line onto the masking tape at the same
distance from the bottom edge of the bumper as the passenger side. Verify that both lines are
the same distance up from the bottom edge of the bumper. Hold the Bull Bar and Brackets up
to the bumper with the mounting slots centered on the horizontal line to verify position.
6. Next, measure across the Bull Bar, center of top slot to center of top slot in Brackets, (Figure
7). Transfer the width measurement onto the masking tape with a vertical line on both sides an
equal distance from the edge of the opening in the bumper, (Figure 8). Hold the Bull Bar and
Brackets back up to the vehicle and verify that these marks are in the center of the slots in the
Mounting Brackets and that the Bull Bar is properly positioned on the vehicle. Check all
measurements again to verify that the marks are an equal distance away from the edge of the
opening. Once absolutely certain that position is correct, drill (2) 1/2" holes in the steel bumper
for the top mounting hardware. IMPORTANT! Any cutting or drilling tool may break or shatter.
Government regulations require safety glasses & equipment at all times when cutting or
drilling. NOTE: Start with a smaller drill bit as a pilot hole and gradually increase the size of the
drill bit to the larger hole size.
7. Temporarily bolt the Bull Bar to the vehicle with (2) 12mm x 35mm Hex Bolts, (4) 12mm Flat
Washers, (2) 12mm Lock Washers and (2) 12mm Hex Nuts inserted in the (2) top mounting
holes. Align and adjust the Bull Bar as necessary and once satisfied with the location, mark the
lower mounting holes onto the masking tape. Remove the Bull Bar and drill the (2) remaining
mounting holes.
8. Reinstall the Bull Bar as described in Step 7 with the included (4) 12mm x 35mm Hex Bolts,
(8)12mm Flat Washers, (4) 12mm Lock Washers and (4) 12mm Hex Nuts, (Figure 9).
9. Level and adjust Bull Bar as desired and tighten all hardware at this time. Replace the wind
deflectors on each side of the opening in the bumper, (Figure 1).
10. Do periodic inspections to the installation to make sure that all hardware is secure and tight.
To protect your investment, wax this product after installing. Regular waxing is recommended to
add a protective layer over the finish. Do not use any type of polish or wax that may contain abrasives
that could damage the finish.
For stainless steel: Aluminum polish may be used to polish small scratches and scuffs on the finish.
Mild soap may be used also to clean the Bull Bar.
For gloss black finishes: Mild soap may be used to clean the Bull Bar.
Page 2 of 4 8/26/10 (DP)
 Loading...