

Steelcraft Automotive 33250 User Manual
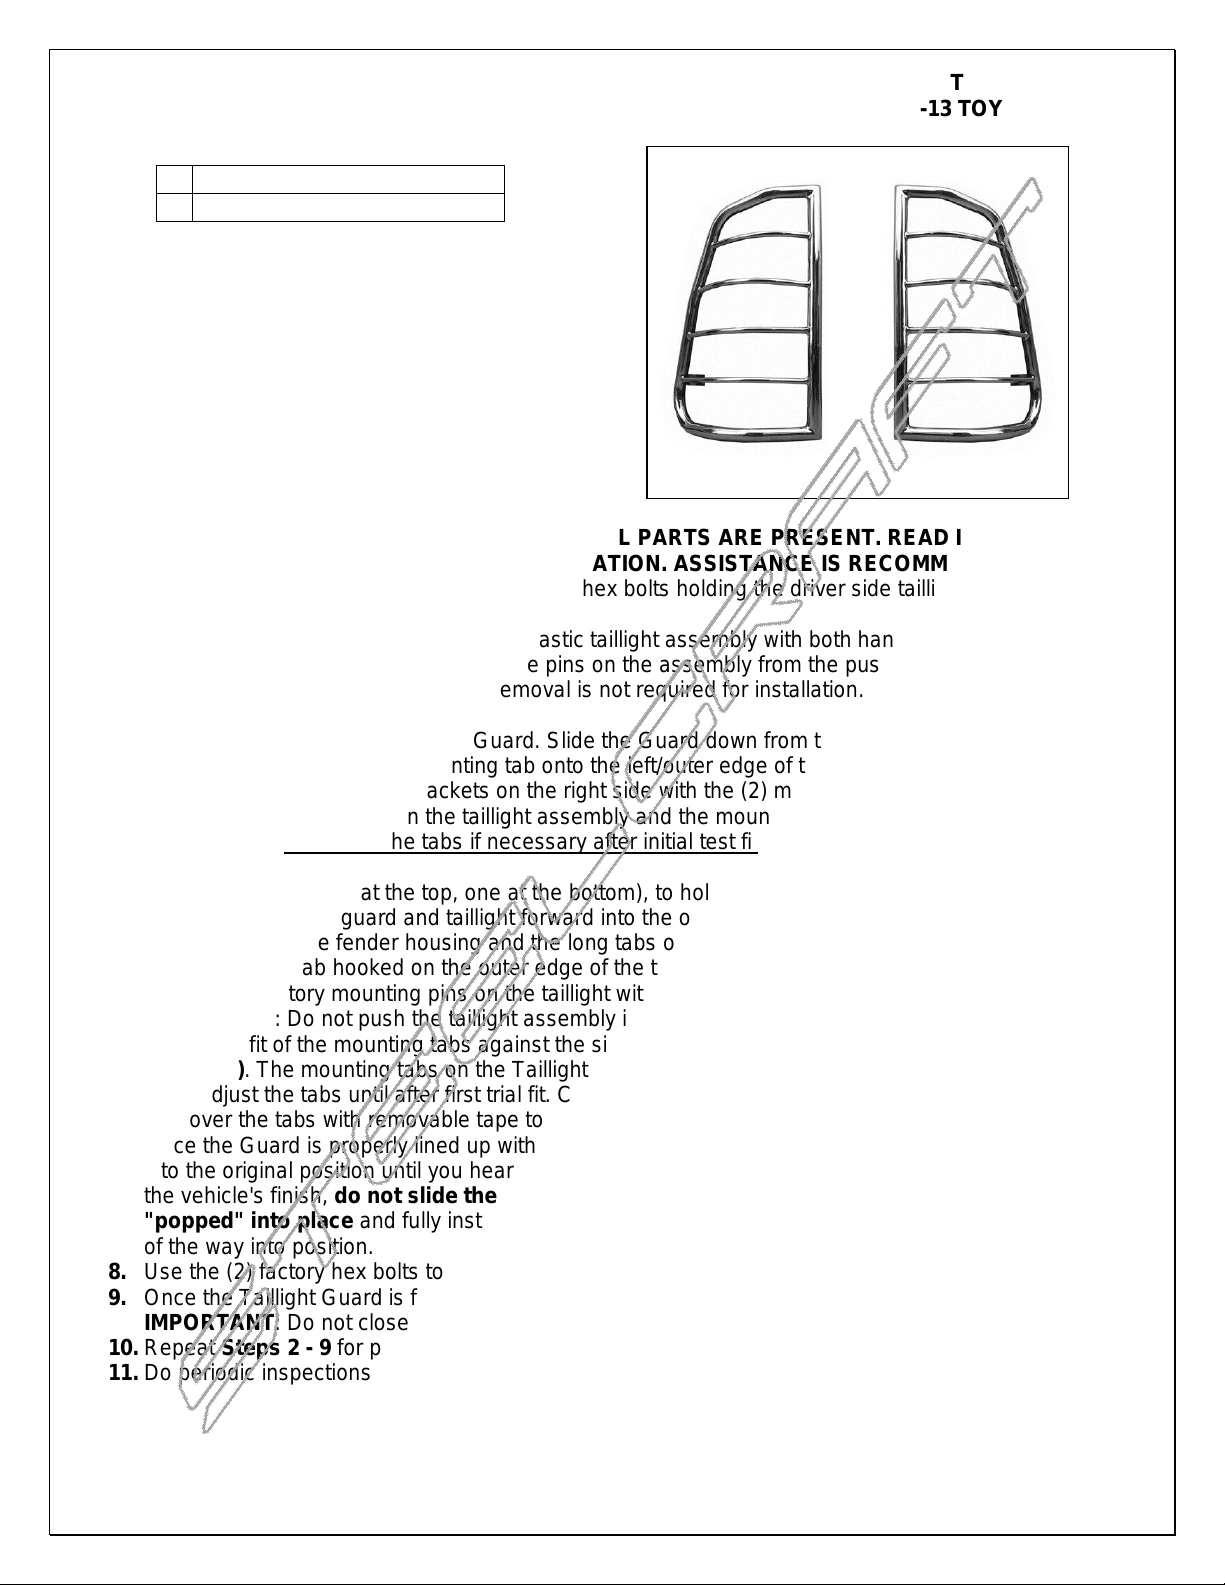
TAILLIGHT GUARD
1
Driver/Left Taillight Guard
1
Passenger/Right Taillight Guard
2005-13 TOYOTA TACOMA
PARTS LIST:
PROCEDURE:
1. REMOVE CONTENTS FROM BOX. VERIFY ALL PARTS ARE PRESENT. READ INSTRUCTIONS
CAREFULLY BEFORE STARTING INSTALLATION. ASSISTANCE IS RECOMMENDED.
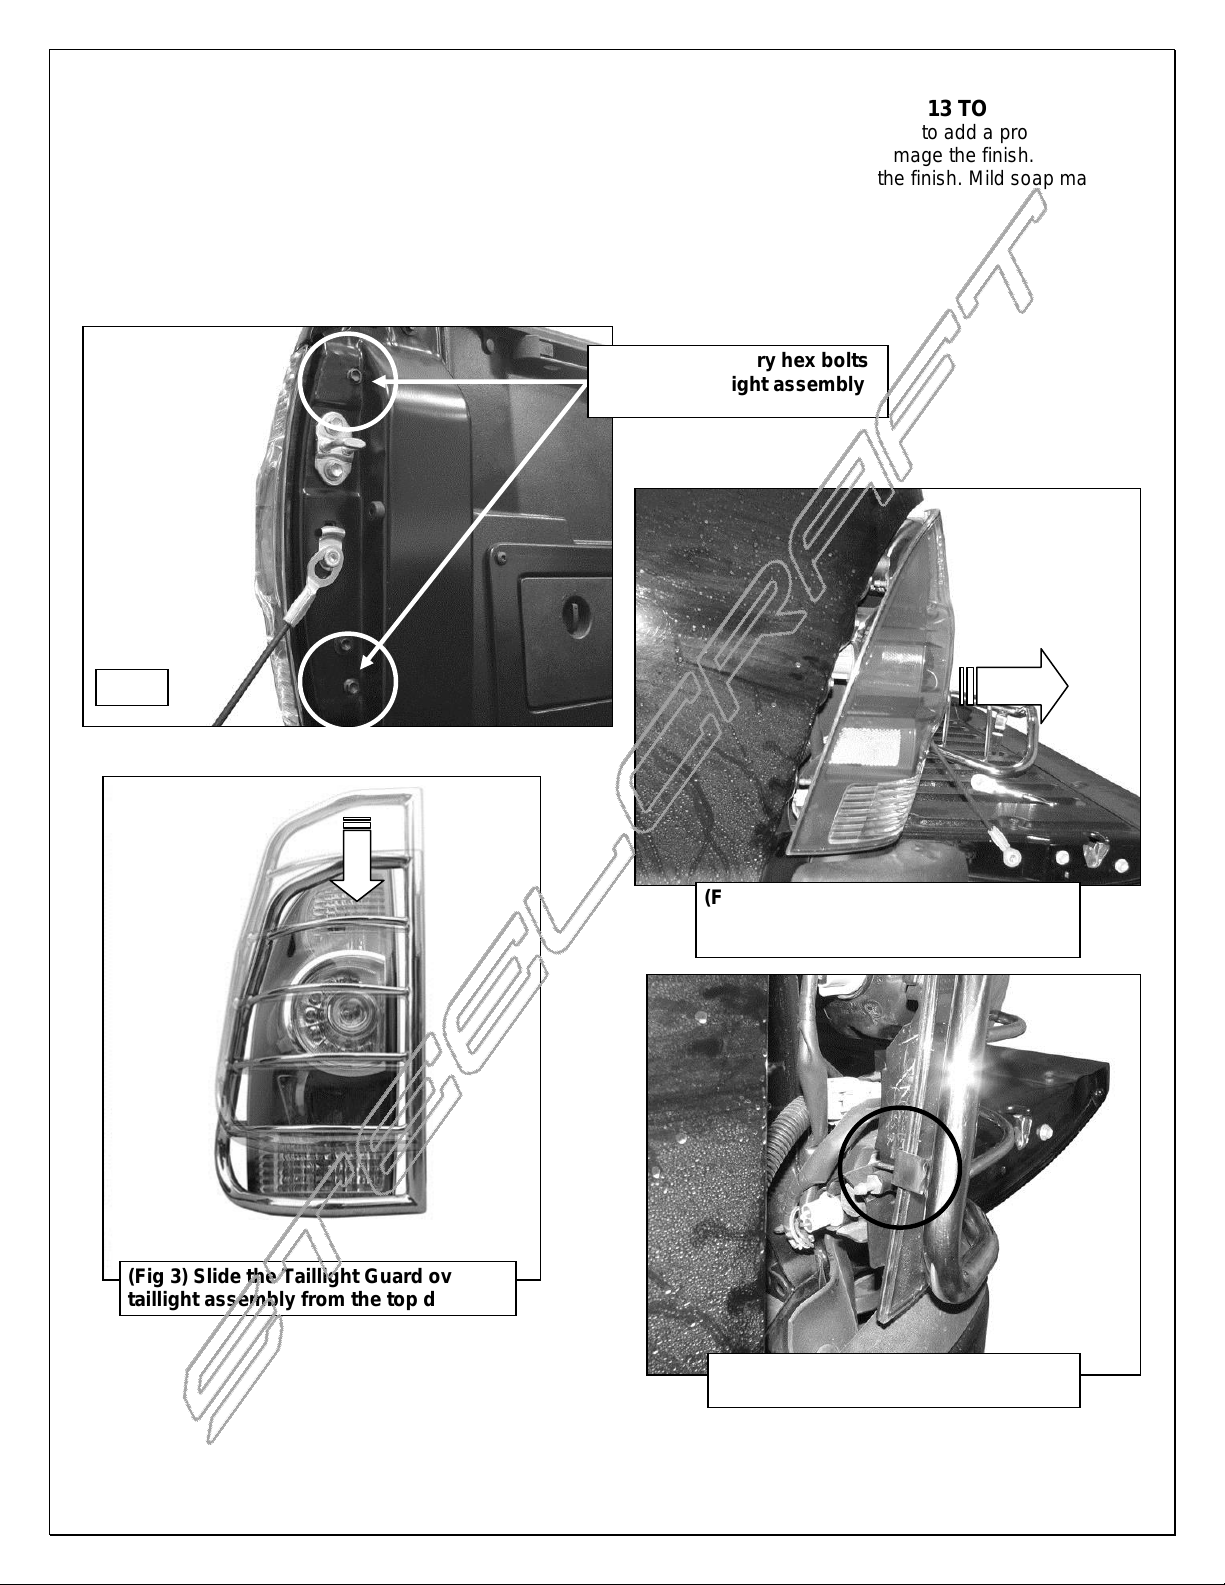
2. Open the tailgate and remove the (2) factory hex bolts holding the driver side taillight assembly into the
inner body panel, (Figure 1).
3. Firmly grasp the bottom and top of the plastic taillight assembly with both hands and pull directly back
and away from the vehicle to release the pins on the assembly from the push-in sockets, (Figure 2).
NOTE: Complete taillight assembly removal is not required for installation. This is the same procedure
required to replace a taillight bulb.
4. Select the driver/left side Taillight Guard. Slide the Guard down from the top of the taillight assembly,
(Figure 3). Hook the small mounting tab onto the left/outer edge of the assembly, (Figures 4A & 4B).
Match up the (2) mounting brackets on the right side with the (2) mounting holes, (Figure 5). NOTE:
There will be a gap between the taillight assembly and the mounting tabs. Do not adjust or bend any of
the brackets, (only bend the tabs if necessary after initial test fit), until after the taillight guard has been
completely installed.
5. Use both hands, (one at the top, one at the bottom), to hold the Guard loosely over the taillight
assembly. Slide the guard and taillight forward into the opening in the fender with the taillight assembly
on the inside of the fender housing and the long tabs on the outside of the inner bed side, (Figure 5).
Keep the small tab hooked on the outer edge of the taillight assembly.
6. Line up the factory mounting pins on the taillight with the sockets in the end of the bed side.
IMPORTANT: Do not push the taillight assembly in all the way, (until it "pops" into place), at this time.
Check the fit of the mounting tabs against the side of the bed and the assembly before proceeding,
(Figure 6). The mounting tabs on the Taillight Guard can be adjusted for alignment as required. Do not
bend/adjust the tabs until after first trial fit. Carefully re-bend the tabs with pliers as necessary for proper
fit. Cover the tabs with removable tape to prevent scratches to the finish.
7. Once the Guard is properly lined up with the (2) inner mounting holes, push the taillight assembly back
into the original position until you hear the push pins "pop." VERY IMPORTANT: To avoid damage to
the vehicle's finish, do not slide the Taillight Guard up or down once taillight assembly has been
"popped" into place and fully installed. Make all adjustments before pushing the taillight assembly all
of the way into position.
8. Use the (2) factory hex bolts to attach the mounting tabs to the side of the tailgate opening, (Figure 7).
9. Once the Taillight Guard is fully installed, slowly close the tailgate and check for clearance.
IMPORTANT: Do not close the tailgate without checking for clearance first.
10. Repeat Steps 2 - 9 for passenger side Taillight Guard installation.
11. Do periodic inspections to the installation to make sure that all hardware is secure and tight.
Page 1 of 3 Rev 1 (DP) 8/28/13
TAILLIGHT GUARD
Fig 1
(Fig 2) Firmly grasp taillight assembly
at top and bottom and pull straight out
from vehicle (toward rear)
(Fig 3) Slide the Taillight Guard over the
taillight assembly from the top down
(Fig 4A) Hook the small tab onto the
outer edge of the taillight assembly
Remove (2) factory hex bolts
to remove taillight assembly
2005-13 TOYOTA TACOMA
To protect your investment, wax this product after installing. Regular waxing is recommended to add a protective layer
over the finish. Do not use any type of polish or wax that may contain abrasives that could damage the finish.
For stainless steel: Aluminum polish may be used to polish small scratches and scuffs on the finish. Mild soap may be
used also to clean the Taillight Guard.
For gloss black finishes: Mild soap may be used to clean the Taillight Guard.
Driver Side Installation Pictured
Page 2 of 3 Rev 1 (DP) 8/28/13
 Loading...