

Stealthbox SB-J-GCHWK2/10W3v3 Installation Manual
I N S T A L L A T I O N G U I D E
for th e
SB-J-GCHWK2/10W3v3
SKU# 94508
2011 +
Thank you for choosing a JL Audio Stealthbox® for your automotive sound system. With proper installation, your new vehicle-
specific enclosed subwoofer system will deliver years of listening pleasure.
We strongly recommend that you have your new Stealthbox® installed by your authorized JL Audio dealer. The installation
professionals employed by your dealer have the necessary tools and experience to disassemble and reassemble your vehicle
properly. Also, keep in mind that your warranty coverage extends to 2 years if your system is installed or approved by your
authorized JL Audio dealer. If you prefer to perform your own installation, please read this installation guide completely
before beginning the process.
If you choose to perform the installation yourself, it is absolutely vital that
the Stealthbox
®
be properly mounted to the vehicle according to these
instructions. Failure to mount the enclosure properly presents two problems:
1) The sub-bass performance will suffer due to the movement of the enclosure
caused by the force exerted by the woofer(s).
2) A loose enclosure presents a serious safety hazard in the event of a collision
or sudden deceleration.
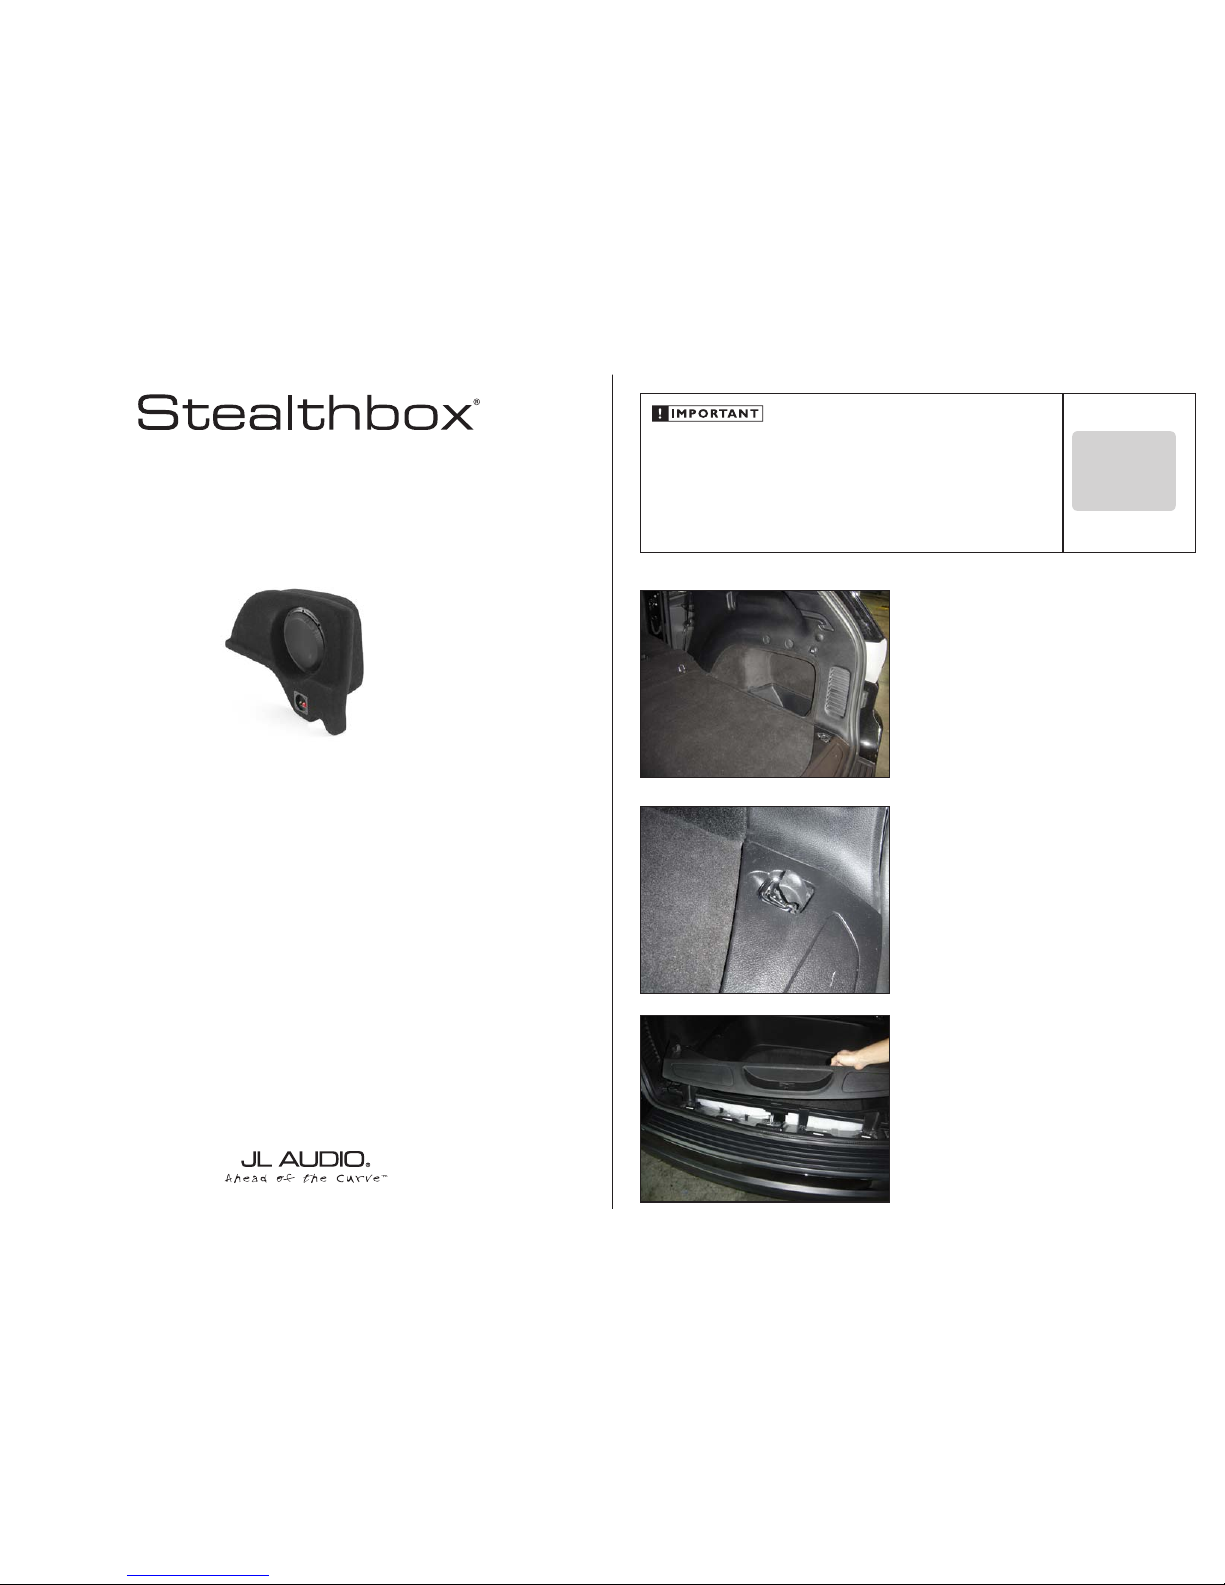
S T E P 1
Empty out the cargo area so that you have a clean area to
work in.
Continued on Next Page
S T E P 2
Unclip the screw cover on each of the tie down hooks, and
remove the screws and hooks.
S T E P 3
Remove the rear sill panel by carefully pulling up on the
panel to release the clips.
SB-J-GCHWK2/10W3v3 INSTR_SKU# 011349
INS TALLATIO N
D I F F I C U LT Y :
35
OU T
OF
EST IMATED TIME:
23 HO URS
Continued on Next Page
SB-J-GCHWK2/10W3v3 INSTR_SKU# 011349
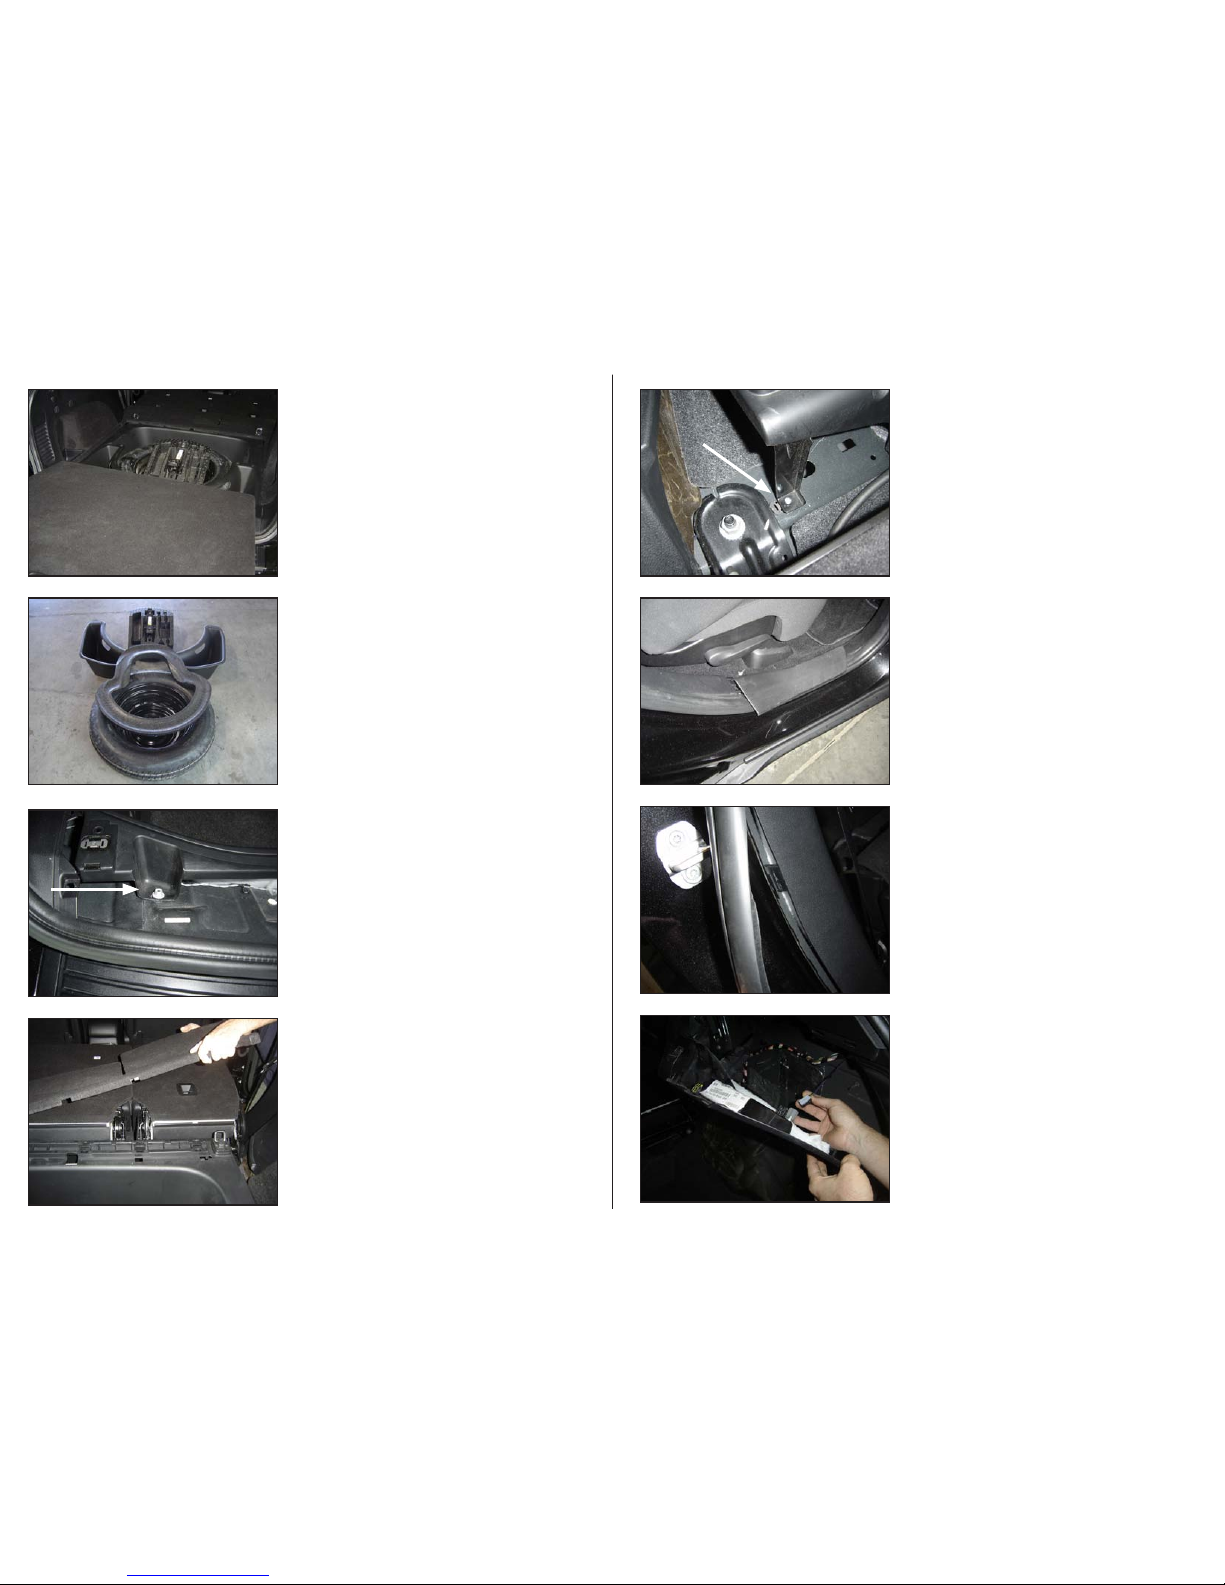
S T E P 7
Remove the seat extension panel by carefully pulling up on
the panel to release the clips.
S T E P 6
Remove the two hex nuts that hold the rear of the plastic
tub in place.
S T E P 5
Remove the tool kit, the two storage pockets, the spare tire,
and the padding from the tire well.
S T E P 4
Remove the floor panel.
Page 2 • JL Audio, Inc 2011
S T E P 9
Remove the right rear door sill panel by carefully pulling up
on the panel to release the clips.
S T E P 1 1
Disconnect the power outlet from the side panel, and
remove the panel from the vehicle.
S T E P 1 0
Pull the weather-stripping away from the side panel as
shown, then unclip the side panel.
S T E P 8
From behind the back seat, remove the two Phillips head
screws that hold the front of the plastic tub in place, then
remove the tub.
 Loading...