

Stealthbox SB-HYU-SON/12W3v3/BK Installation Manual
INSTALLATION GUIDE
for the
SB-HYU-SON/12W3v3/BK
SKU#94500
2010+
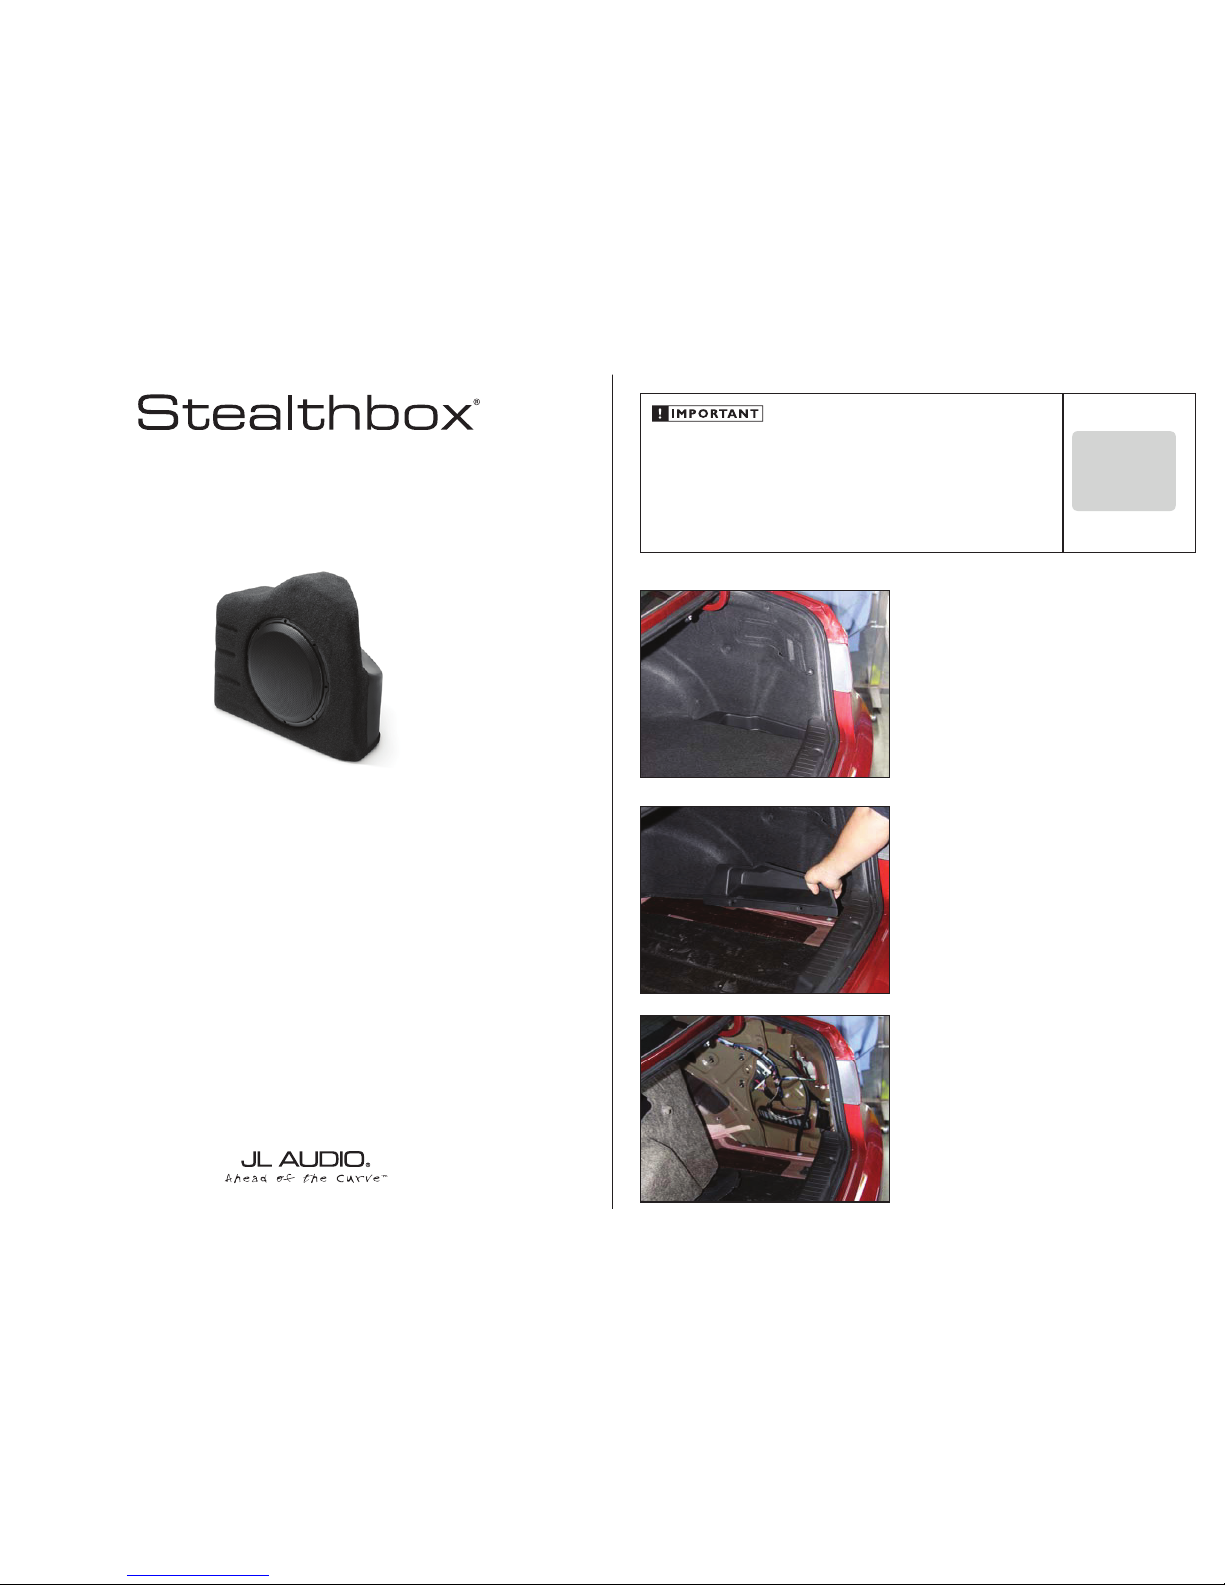
Thank you for choosing a JL Audio Stealthbox® for your automotive sound system. With proper installation, your new vehicle-
specific enclosed subwoofer system will deliver years of listening pleasure.
We strongly recommend that you have your new Stealthbox
®
installed by your authorized JL Audio dealer. The installation
professionals employed by your dealer have the necessary tools and experience to disassemble and reassemble your vehicle
properly. Also, keep in mind that your warranty coverage extends to 2 years if your system is installed or approved by your
authorized JL Audio dealer. If you prefer to perform your own installation, please read this installation guide completely
before beginning the process.
If you choose to per form the installation yourself, it is absolu tely vital that
the Stealthbox
®
be properly mounted to the vehicle according to these
instructions. Failure to mount the enclosure properly presents two problems:
1) The sub-bass performance will suffer due to the movement of the enclosure
caused by the force e xer ted by the woofer(s).
2) A loose enclosure presents a serious safety hazard in the event of a collision
or sudden deceleration.
STEP 1
Empty out the trunk of the car so that you have a clean area
to work in.
Continued on Next Page
STEP 2
Remove the trunk flo or. Remove the t wo clips that hold the
plastic storage pocket in place, and remove the pocket.
STEP 3
Remove the two clips and the cargo net screw that hold
the trunk liner in place, and pull the liner out of the way as
shown.
SB-HYU-SON/12W3v3/BK INSTR_SKU# 011317
INSTALLATION
DIFFICULTY:
25
OUT
OF
ESTIMATED TIME:
1 HOUR
Continued on Next Page
SB-HYU-SON/12W3v3/BK INSTR_SKU# 011317
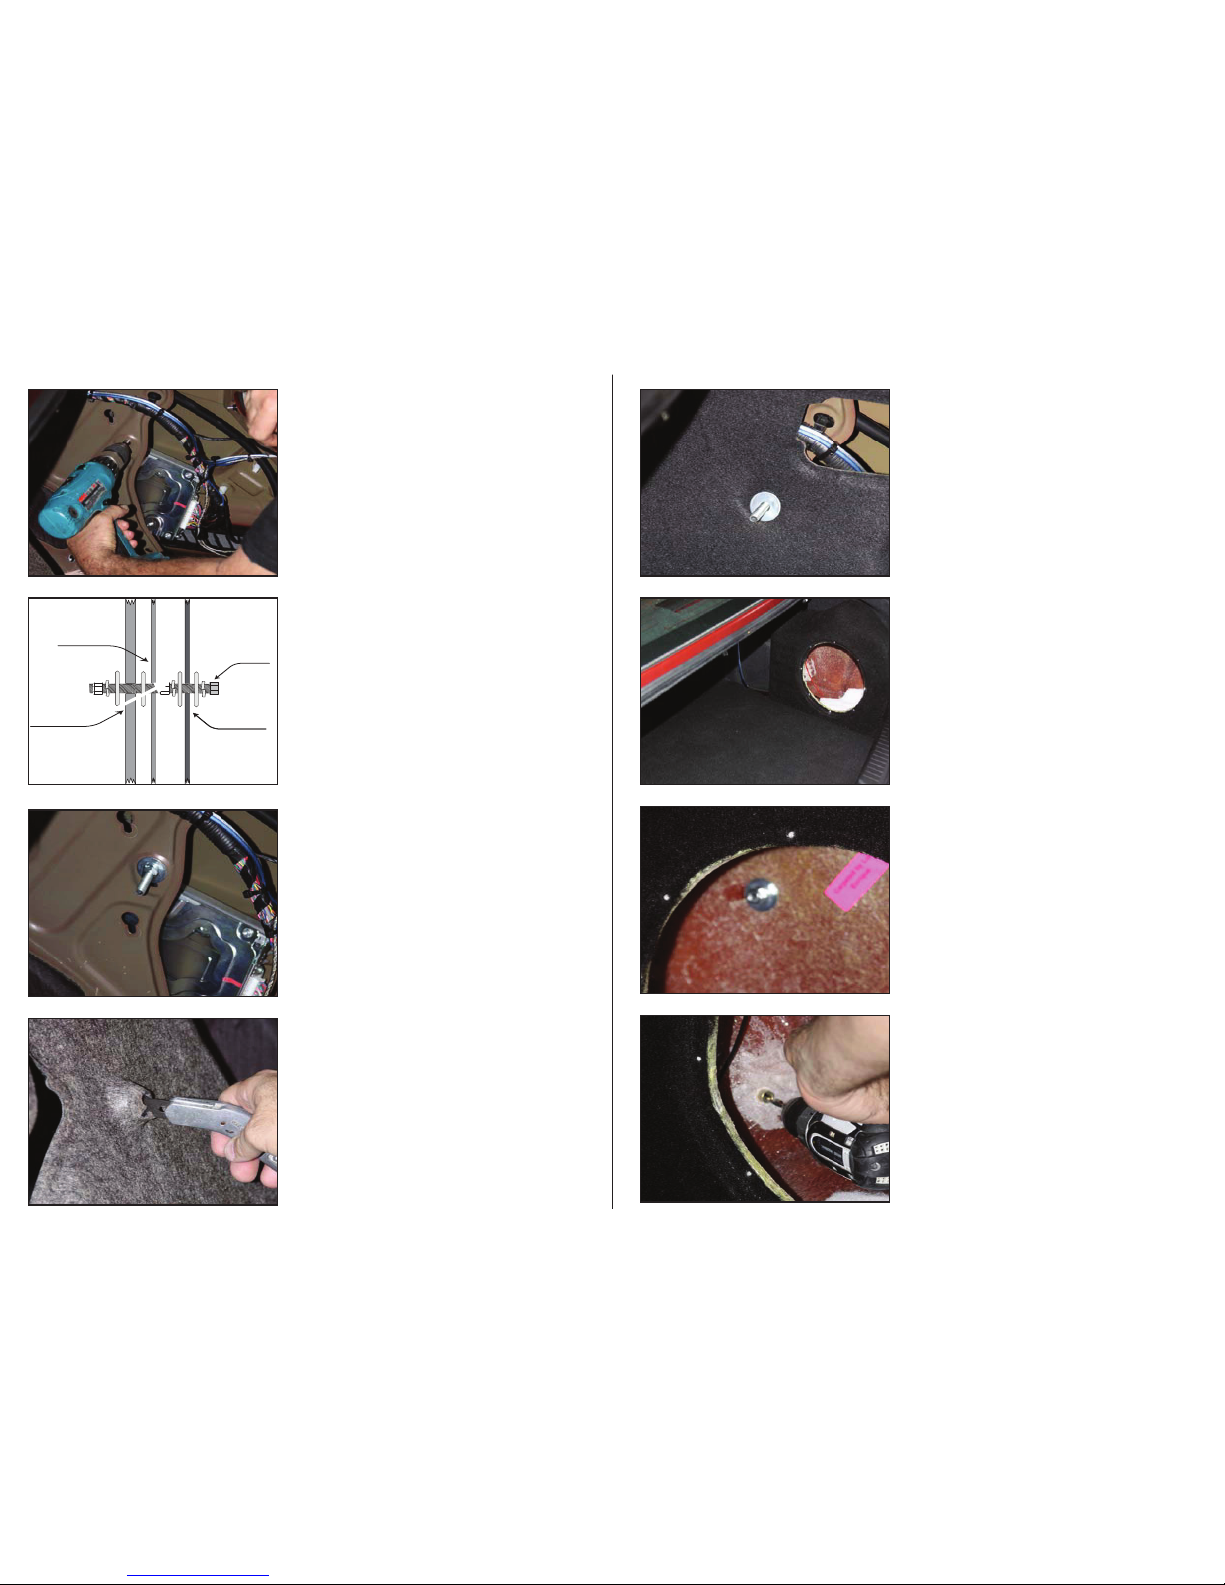
STEP 7
Using a razor knife, cut a small “X” over the hole in the trunk
liner as shown to allow clearance for the 3/8 - 16 x 2” Tap Bolt
to slide through.
STEP 6
Place a 3/8” Split Lock Washer and 3/8” x 1-1/4” Fender
Washer on the 3/8 - 16 x 2” Tap Bolt, and thread it through
the hole drilled in Step 4, then place a 3/8” x 1-1/4” Fender
Washer, 3/8” Split Lock Washer, and 3/8 x 16 Hex Nut on the
3/8 - 16 x 2” Tap Bolt , and tighten as shown.
STEP 5
Shown in the illustration is the assembly of the hardware for
reference in the following steps.
STEP 4
If equipped, the fac tory amplifier must be temporarily
unbolted and moved before proceeding. Shown is the
amplifier after it’s been moved. Using a 1/2” drill bit, enlarge
the existing hole as shown.
Before drilling, always make sure that you are not
going to be drilling into any gas lines, brake lines,
tires, transmission lines, electrical wiring, exhaust
systems or anything else that might cause a
reduction in your weekly pay.
Always wear eye protection when drilling!
Page 2 • JL Audio, Inc 2010
STEP 9
Remove the subwoofer from the Stealthbox ®. Place the
Stealthbox® in position as shown, allowing the 3/8 - 16 x 2”
Tap Bolt to come through the predrilled hole in the back of
the enclosure.
STEP 11
Usinig a 1/4” drill bit, carefully drill through the threaded
insert inside the Stealthbox®, through the trunk liner and
fender well, using caution not to damage the threads on the
insert.
Before drilling, always make sure that you are not
going to be drilling into any gas lines, brake lines,
tires, transmission lines, electrical wiring, exhaust
systems or anything else that might cause a
reduction in your weekly pay.
Always wear eye protection when drilling!
STEP 10
Place a 3/8” x 1-1/4” Fender Washer, 3/8” Split Lock Washer,
and 3/8 x 16 Hex Nut on the 3/8 - 16 x 2” Tap Bolt, and hand
tighten.
STEP 8
Push the trunk liner back into place, allowing the 3/8 - 16 x 2”
Tap Bolt to come through the hole in the liner. Slide a 3/8” x
1-1/4” Fender Washer over the bolt as shown.
STEALTHBOX WALL
METAL FRAME
HEX BOLT
TRUNK LINER
 Loading...