

Page 1
USB to IDE or SATA Adapter
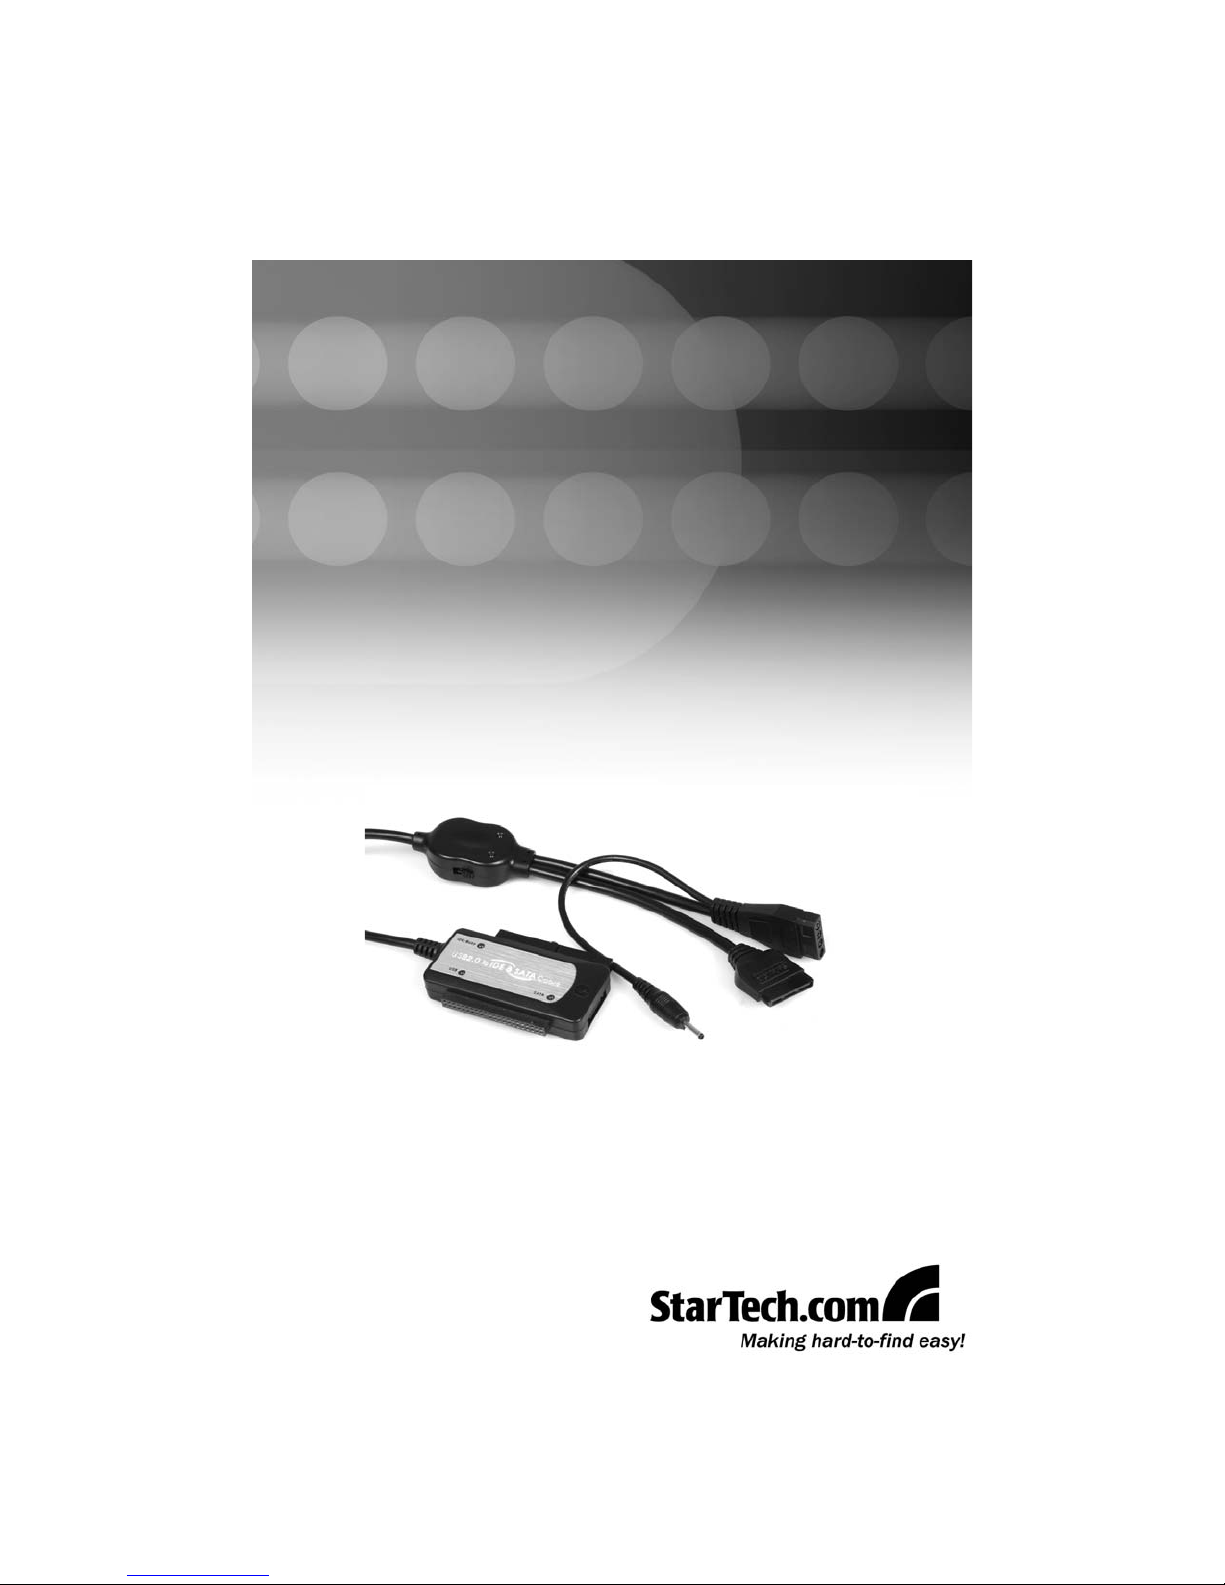
USB2SATAIDE
Instruction Manual
Actual product may vary from photo
USB 2.0 to IDE or SATA Adapter Cable
Page 2

FFCCCC CCoommpplliiaannccee SSttaatteemmeenntt
This equipment has been tested and found to comply with the limits for a Class B digital
device, pursuant to part 15 of the FCC Rules. These limits are designed to provide
reasonable protection against harmful interference in a residential installation. This
equipment generates, uses and can radiate radio frequency energy and, if not installed
and used in accordance with the instructions, may cause harmful interference to radio
communications. However, there is no guarantee that interference will not occur in a
particular installation. If this equipment does cause harmful interference to radio or
television reception, which can be determined by turning the equipment off and on, the
user is encouraged to try to correct the interference by one or more of the following
measures:
• Reorient or relocate the receiving antenna.
• Increase the separation between the equipment and receiver.
• Connect the equipment into an outlet on a circuit different from that to which the
receiver is connected.
• Consult the dealer or an experienced radio/TV technician for help.
UUssee ooff TTrraaddeemmaarrkkss,, RReeggiisstteerreedd TTrraaddeemmaarrkkss,, aanndd
ootthheerr PPrrootteecctteedd NNaammeess aanndd SSyymmbboollss
This manual may make reference to trademarks, registered trademarks, and other
protected names and/or symbols of third-party companies not related in any way to
StarTech.com. Where they occur these references are for illustrative purposes only and
do not represent an endorsement of a product or service by StarTech.com, or an
endorsement of the product(s) to which this manual applies by the third-party company in
question. Regardless of any direct acknowledgement elsewhere in the body of this
document, StarTech.com hereby acknowledges that all trademarks, registered
trademarks, service marks, and other protected names and/or symbols contained in this
manual and related documents are the property of their respective holders.
Page 3

Instruction Manual
i
TTaabbllee ooff CCoonntteennttss
Introduction . . . . . . . . . . . . . . . . . . . . . . . . . . . . . . . . . . . . . . . . . . . . . . . . . . . . .1
Features . . . . . . . . . . . . . . . . . . . . . . . . . . . . . . . . . . . . . . . . . . . . . . . .1
Before You Begin . . . . . . . . . . . . . . . . . . . . . . . . . . . . . . . . . . . . . . . . . . . . . . . . .1
System Requirements . . . . . . . . . . . . . . . . . . . . . . . . . . . . . . . . . . . . .1
Package Contents . . . . . . . . . . . . . . . . . . . . . . . . . . . . . . . . . . . . . . . .1
Hardware Guide . . . . . . . . . . . . . . . . . . . . . . . . . . . . . . . . . . . . . . . . . . . . . . . . . .2
Installation . . . . . . . . . . . . . . . . . . . . . . . . . . . . . . . . . . . . . . . . . . . . . . . . . . . . . .3
Assemble the Power Adapter . . . . . . . . . . . . . . . . . . . . . . . . . . . . . . . .3
Connect the drive(s) to the Hard Drive Adapter . . . . . . . . . . . . . . . . . .3
Connect the drive(s) to the Power Adapter . . . . . . . . . . . . . . . . . . . . .5
Connect the Hard Drive Adapter to the host computer . . . . . . . . . . . .5
Removing Connected Drives . . . . . . . . . . . . . . . . . . . . . . . . . . . . . . . . . . . . . . .6
Accessory Products from StarTech.com . . . . . . . . . . . . . . . . . . . . . . . . . . . . .7
Technical Support . . . . . . . . . . . . . . . . . . . . . . . . . . . . . . . . . . . . . . . . . . . . . . . .8
Warranty Information . . . . . . . . . . . . . . . . . . . . . . . . . . . . . . . . . . . . . . . . . . . . .8
Page 4

Instruction Manual
1
Thank you for purchasing a StarTech.com USB 2.0 to IDE or SATA Adapter Cable. Now,
you will be able to copy, backup, or transfer large amounts of data from one drive to
another, while taking advantage of USB2SATAIDE’s convenient Plug and Play design.
Plus, this product offers a convenient way to externally test hard drives for function
IInnttrroodduuccttiioonn
Features
BBeeffoorree YYoouu BBeeggiinn
•
Switch button power supply
•
Plug and Play USB installation
•
Backward compatible with USB 1.1 standard
•
One available USB port
System Requirements
•
Supports Windows 98SE/ME/2000/XP/Vista/Mac OS 8.6+/9.x/10
•
1 x USB to SATA/IDE cable
Package Contents
•
1 x AC power cord
This package should contain:
•
Operating System: Windows 98SE/ME/2000/XP/Vista/Mac OS 8.6+/9.x/10
•
1 x Power Supply (for all hard drives)
•
An available power outlet
•
1 x Instruction Manual
Page 5

Instruction Manual
2
HHaarrddwwaarree GGuuiiddee
1
3
2
Hard Drive Power Switch
ON
ON
OFF
OFF
40-Pin IDE Connector
44-Pin IDE Connector
SATA Connector
Hard Drive
Adapter
1 LP4 IDE 3.5” Power Connector
2 SATA Power Connector
3 Additional Power Connector
Page 6

Instruction Manual
3
IInnssttaallllaattiioonn
WARNING: Do not disconnect any cables or power sources while the
connected hard drive(s) is/are active. This can result in data loss and possible
damage to the hard drive. To avoid this, please follow the steps outlined in the
section entitled Removing Connected Drives.
1 - Assemble the Power Adapter
a. Ensure the mini-switches on the main hard drive power switch are set to the OFF
position.
WARNING: Do not connect the Hard Drive Adapter to the host computer, while
the host computer is in a powered state. This could result in data loss or
physical damage to the drive.
WARNING: Please ensure that the hard drive(s) has(have) been connected to
the adapter prior to connecting the adapter to the host computer.
c. Connect the small, cylindrical metal connector (splits off from LP4 connector)
provided by the Switching Adapter to the corresponding power port on the Hard
Drive Adapter
d. Connect the remaining connector of the assembled power adapter to an available
wall outlet or power bar
b. Insert the dual-cylinder connector
provided by the main power cable into
the corresponding port on the Switching
Adapter.
2 - Connect the drive(s) to the hard drive adapter
WARNING: Hard drives require careful handling. If you are not careful with
your hard disk, lost data may result. Always handle your hard drive with
caution.
Please note that if you are using two IDE hard drives concurrently, one of the
drives must be set to act as a Master drive, and the other as slave. If you are
using a 3.5” IDE drive and a SATA drive together, the IDE drive must be set to
act as a Slave drive. For further information on this, please consult the
documentation that accompanied the hard drive(s) at the time of purchase.
Page 7

Instruction Manual
4
a. Insert one connector provided by a
SATA data cable, into the SATA port on
the Hard Drive Adapter.
SATA Drive
b. Insert the remaining connector provided
by the SATA data cable, into the SATA
data port on the SATA hard drive.
40/44-pin IDE Drive
Please note that if you are using two IDE hard drives concurrently, one of the drives is
set to act as a Master, and the other a Slave. If one of the drives does not allow mode
selection, please set the remaining drive to act as a Slave.
a. Align the drive interface with the appropriate port provided by the hard drive adapter.
If you are connecting a SATA hard drive to the hard drive adapter:
b. Gently, but firmly insert the IDE
Connector (provided by the adapter)
into the port on the rear panel of the
hard drive. Ensure the drive is
connected snugly.
Windows 98 users please note:
If the hard drive(s) being used with USB2SATAIDE will be using the Windows
98 operating system, you are required to install driver files before the drive will
be accessible. To do so, locate and execute the setup.exe file, located on the
included Driver CD, in the x:\Win98 folder (where x is the designation for the
CD/DVD-ROM drive).
Page 8

Instruction Manual
5
3 - Connect the drive(s) to the Power Adapter
WARNING: When connecting the hard drive to the Power Adapter, please
ensure that the mini-switches (located on the main power switch) are set to the
OFF position, prior to establishing a connection. Failure to do so could result in
damage to the drive, or an electrical shock to the user.
a. Insert the SATA power connector
provided by the power adapter into the
power port on the rear panel of the
SATA hard drive.
SATA Drive
WARNING: Do not connect the Hard Drive Adapter to the host computer, while
the host computer is in a powered state. This could result in data loss or
physical damage to the drive.
40-pin IDE Drive
a. Insert the LP4 power connector
provided by the power adapter into the
power port on the rear panel of the hard
drive.
4 - Connect the Hard Drive Adapter to the host computer
a. With the host computer powered down insert the USB connector into an available
USB port on the host computer. Move the mini-switch on the Hard Drive Adapter
Power Switch to the ON position, to enable the selected drives.
b. Power on the host computer.
b. Once booted, the operating system will detect the connected adapter, and prepare
the drives for use.
Page 9

Instruction Manual
6
RReemmoovviinngg CCoonnnneecctteedd DDrriivveess
Removing a connected drive safely requires that the drive not be in use. To ensure that
this is the case, you can remove the drive in one of the two following ways:
WARNING: Do not remove a connected hard drive while the drive is in use. To
prevent data loss or damage to the drive(s), please follow the instructions
below.
Click on the Safely Remove Hardware icon, in the taskbar, and select Safely Remove
USB Mass Storage Device.
Following this, you will be notified that it is safe to remove the USB Mass Storage device:
You can now remove the
connected hard drive(s)
Or...
If you do not wish to use the Safely Remove Hardware Wizard:
Move the mini-switch that corresponds with the drive you wish to remove to the OFF
position. As an added precaution, power down the host computer. Once the computer
has been turned off, it is safe to remove the connected drive(s).
Page 10

Instruction Manual
7
SATAPOW36
36 inch Serial ATA 15 pin power cable
SATA18
18 in Serial ATA Drive Connection Cable
AAcccceessssoorryy PPrroodduuccttss ffrroomm SSttaarrTTeecchh..ccoomm
Contact your local StarTech.com dealer or visit www.startech.com for cables or other
accessories that will help you get the best performance out of your new product.
IDE44
2-inch Laptop Computer Hard Drive Cable
PYO2SL
Power Y-splitter Cable (2 Large & 1 Small end)
SSppeecciiffiiccaattiioonnss
Regulatory Certifications FCC, CE
Connectors
USB to IDE and SATA cable
1 x USB type A
1 x IDE 2.5” female connector
1 x IDE 3.5” female connector
1 x SATA female connector
Power Adapter 2A AC power supply
Maximum Data Transfer Rate 480 Mbits/Sec
OS Support
Windows
98SE/ME/2000/XP/Vista/Mac OS
8.6+/9.x/10
Page 11

Instruction Manual
8
TTeecchhnniiccaall SSuuppppoorrtt
StarTech.com’s lifetime technical support is an integral part of our commitment to provide
industry-leading solutions. If you ever need help with your product, visit
www.startech.com/support and access our comprehensive selection of online tools,
documentation, and downloads.
WWaarrrraannttyy IInnffoorrmmaattiioonn
This product is backed by a one year warranty. In addition, StarTech.com warrants its
products against defects in materials and workmanship for the periods noted, following
the initial date of purchase. During this period, the products may be returned for repair, or
replacement with equivalent products at our discretion. The warranty covers parts and
labor costs only. StarTech.com does not warrant its products from defects or damages
arising from misuse, abuse, alteration, or normal wear and tear.
Limitation of Liability
In no event shall the liability of StarTech.com Ltd. and StarTech.com USA LLP (or their
officers, directors, employees or agents) for any damages (whether direct or indirect,
special, punitive, incidental, consequential, or otherwise), loss of profits, loss of business,
or any pecuniary loss, arising out of or related to the use of the product exceed the
actual price paid for the product. Some states do not allow the exclusion or limitation of
incidental or consequential damages. If such laws apply, the limitations or exclusions
contained in this statement may not apply to you.
Page 12

Revised: 9 May 2007 (Rev. A)
AAbboouutt SSttaarrTTeecchh..ccoomm
StarTech.com is “The Professionals’ Source for Hard-to-Find Computer
Parts”. Since 1985, we have been providing IT professionals with the
quality products they need to complete their solutions. We offer an
unmatched selection of computer parts, cables, server management
solutions and A/V products and serve a worldwide market through our
locations in the United States, Canada, the United Kingdom and Taiwan.
Visit www.startech.com for complete information about all our products
and to access exclusive interactive tools such as the Parts Finder and the
KVM Reference Guide. StarTech.com makes it easy to complete almost
any IT solution. Find out for yourself why our products lead the industry in
performance, support, and value.
 Loading...