

Page 1
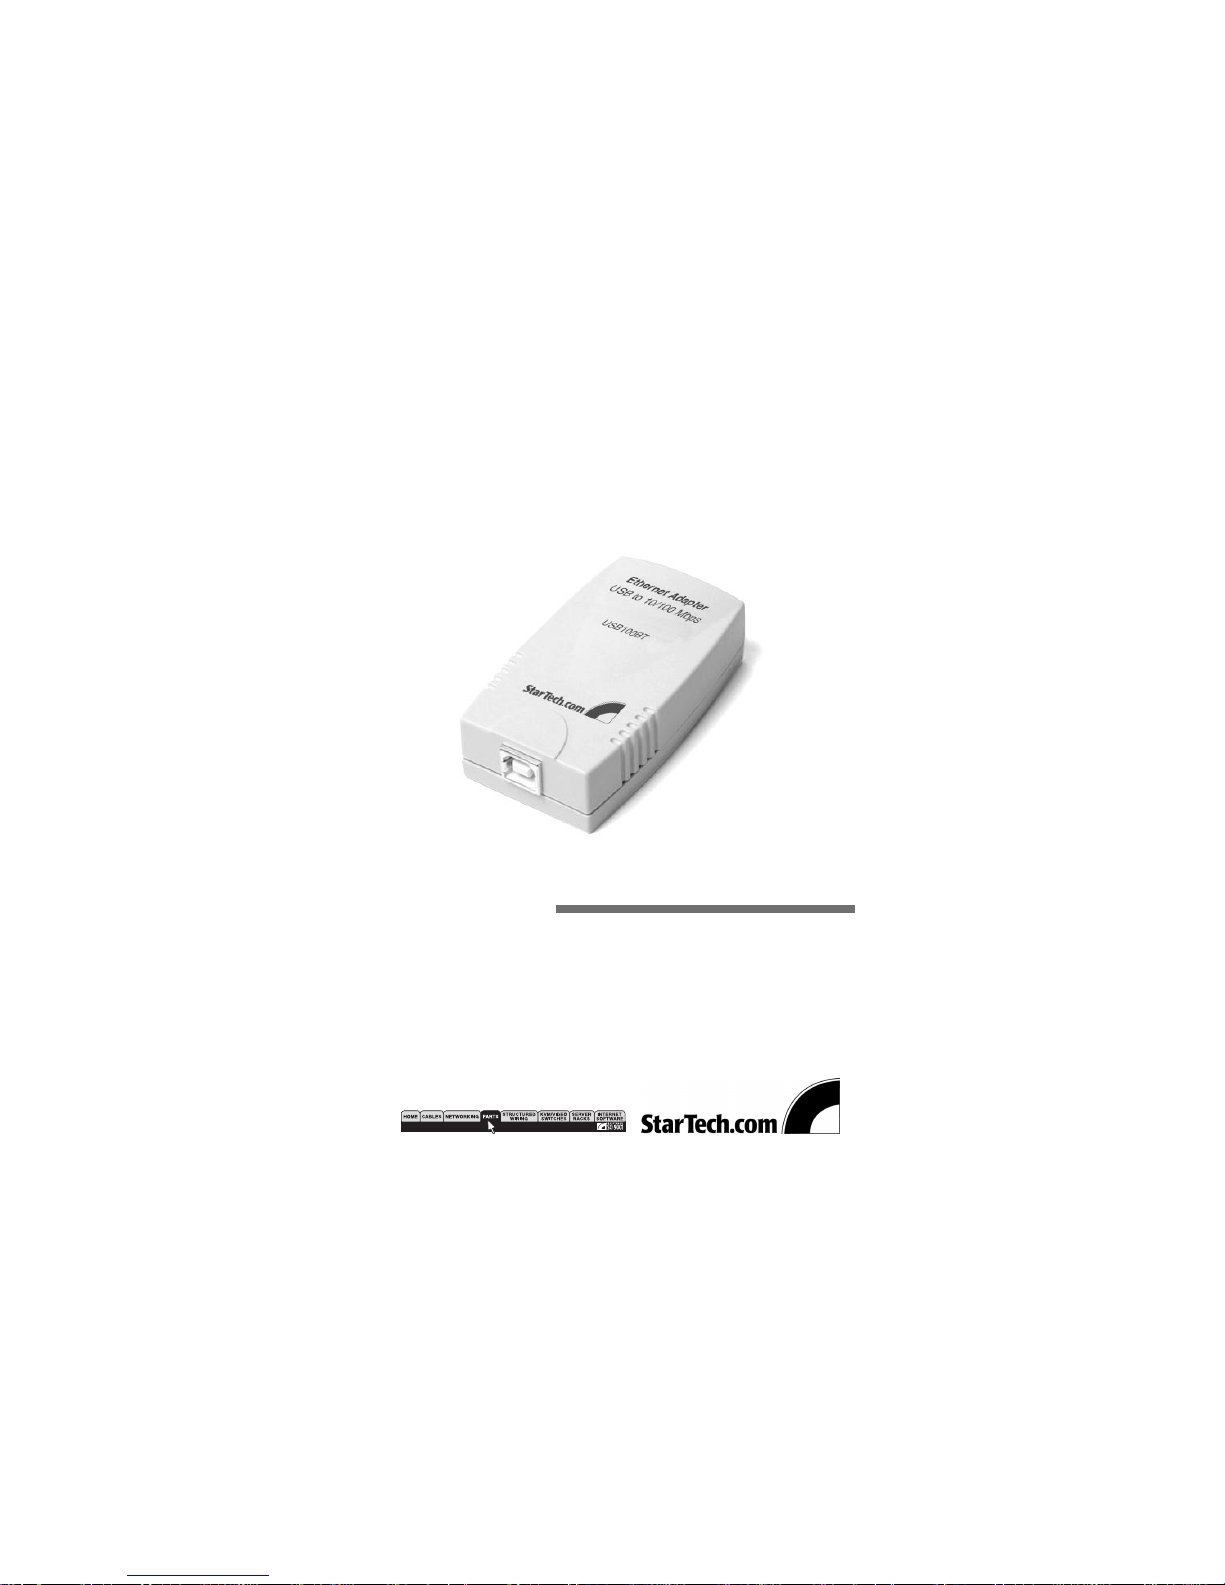
USB to 10/100 Mbps Ethernet Adapter
10/100 Mbps Network Adapter
Installation Manual
USB100BT
Page 2

1
Overview
The StarTech.com USB to 10/100 Mbps Ethernet
adapter allows any PC running Windows 98 or 2000 to
connect to an Ethernet network. Its small size and
convenient USB connection allow it to be installed
without opening the computer, making it perfect for
notebook PCs or computers that have all their
expansion slots filled.
The USB100BT is perfect for connecting a notebook PC
to a network or connecting a PC with no available
IRQs on a network.
Features
• Autosenses 10 or 100 Mbps network speed
• Is installed without opening the computer
• Works with Windows 98/2000/ME
• LEDs indicate connection speed, link, and activity
• Supports full duplex ethernet connections
Specifications
USB Standards USB Specification 1.1
Ethernet Standards IEEE 802.3 and 802.3u
Connectors 1x RJ45 and 1x USB type B
LEDs 10/100 Mbps, Link/Activity
Driver Support Windows 98/2000/ME
Dimensions 3.15 x 1.8 x 0.83 inches
(80mm x 46mm x 21mm)
Weight 50g
Operating Temperature 0 - 50 degrees Celsius
Humidity 10 - 90% non-condensing
Certification FCC, CE Mark
Page 3

2
Getting Started
This section is to help you prepare the USB100BT for
installation. Please read through this section carefully
before attempting to install the USB100BT.
Unpacking the USB100BT
1 x Ethernet adapter
1 x USB A-B cable
1 x Driver disk
Installation
Hardware Installation
1. Connect the RJ45 connector of the USB adapter to
the 10/100Mbps hub/switch of your LAN by using
a twisted-pair cable (maximum length 100 meters).
Use Category 3, 4 or 5 cable for 10Mbps Ethernet
and Category 5 cable for 100Mbps Fast Ethernet.
2. Connect the USB Type B connector is the USB
adapter and your PC’s or USB Hub’s USB Type A
connector by using the standard USB cable
(maximum length 5m).
Software Installation
The drivers and utilities are supplied on the diskette
included in this package.
Before you install the USB device driver, you must
first make sure that your computer’s USB controller
device has been properly detected and configured
under Windows. Also make sure that the USB port is
enabled. Check your computer’s user’s manual for
Page 4

3
more information on how to use the USB port.
1. Start Windows 98/ME. Click “Start”, “Control
Panel”
and “System”.
2. Click “Device Manager” and browse the device list.
Check if the Universal Serial Bus controller device
is present.
Driver Installation
1. Connect the USB Ethernet adapter to the PC.
2. Connect the USB Ethernet adapter to your network’s
hub or switch.
3. The New Hardware Wizard will be displayed.
4. When prompted for the installation medium, check
Floppy Disk Drive and insert the software
driver diskette.
5. Follow the displayed instructions.
6. You will observe several loading status windows.
7. When prompted to restart the PC, remove the driver
diskette and click “Yes”.
Page 5

4
Troubleshooting
If you experience any problems with this adapter, first
make sure the appropriate driver is loaded, the proper
cable is connected to the adapter and the hub complies
with the adapter specification; then check the LED.
This adapter provides two LEDs to indicate
network status.
(1) 10M/100M
This LED indicates the connection speed of the USB
Ethernet adapter. When the light is OFF, it indicates
that the 10Mbps UTP connection is established. When
the light is ON, it indicates that the 100Mbps Fast
Ethernet connection is established.
(2) Link/Activity
The Link/Activity LED indicates that the 10/100Mbps
UTP connection has been LINK OK or not. When the
light is OFF, it indicates that the 10/100Mbps port has
not been connected or LINK not OK. When the light is
ON, it indicates that the 10/100Mbps port connection
is OK. When the light is BLINKING, it indicates that
there is traffic flow on the network which the adapter
is connected to.
 Loading...