

Page 1
V01 Page 1 of 7
Formblatt-Nr.: 001/02/00 Formblatt-Nr.: 001/02/96
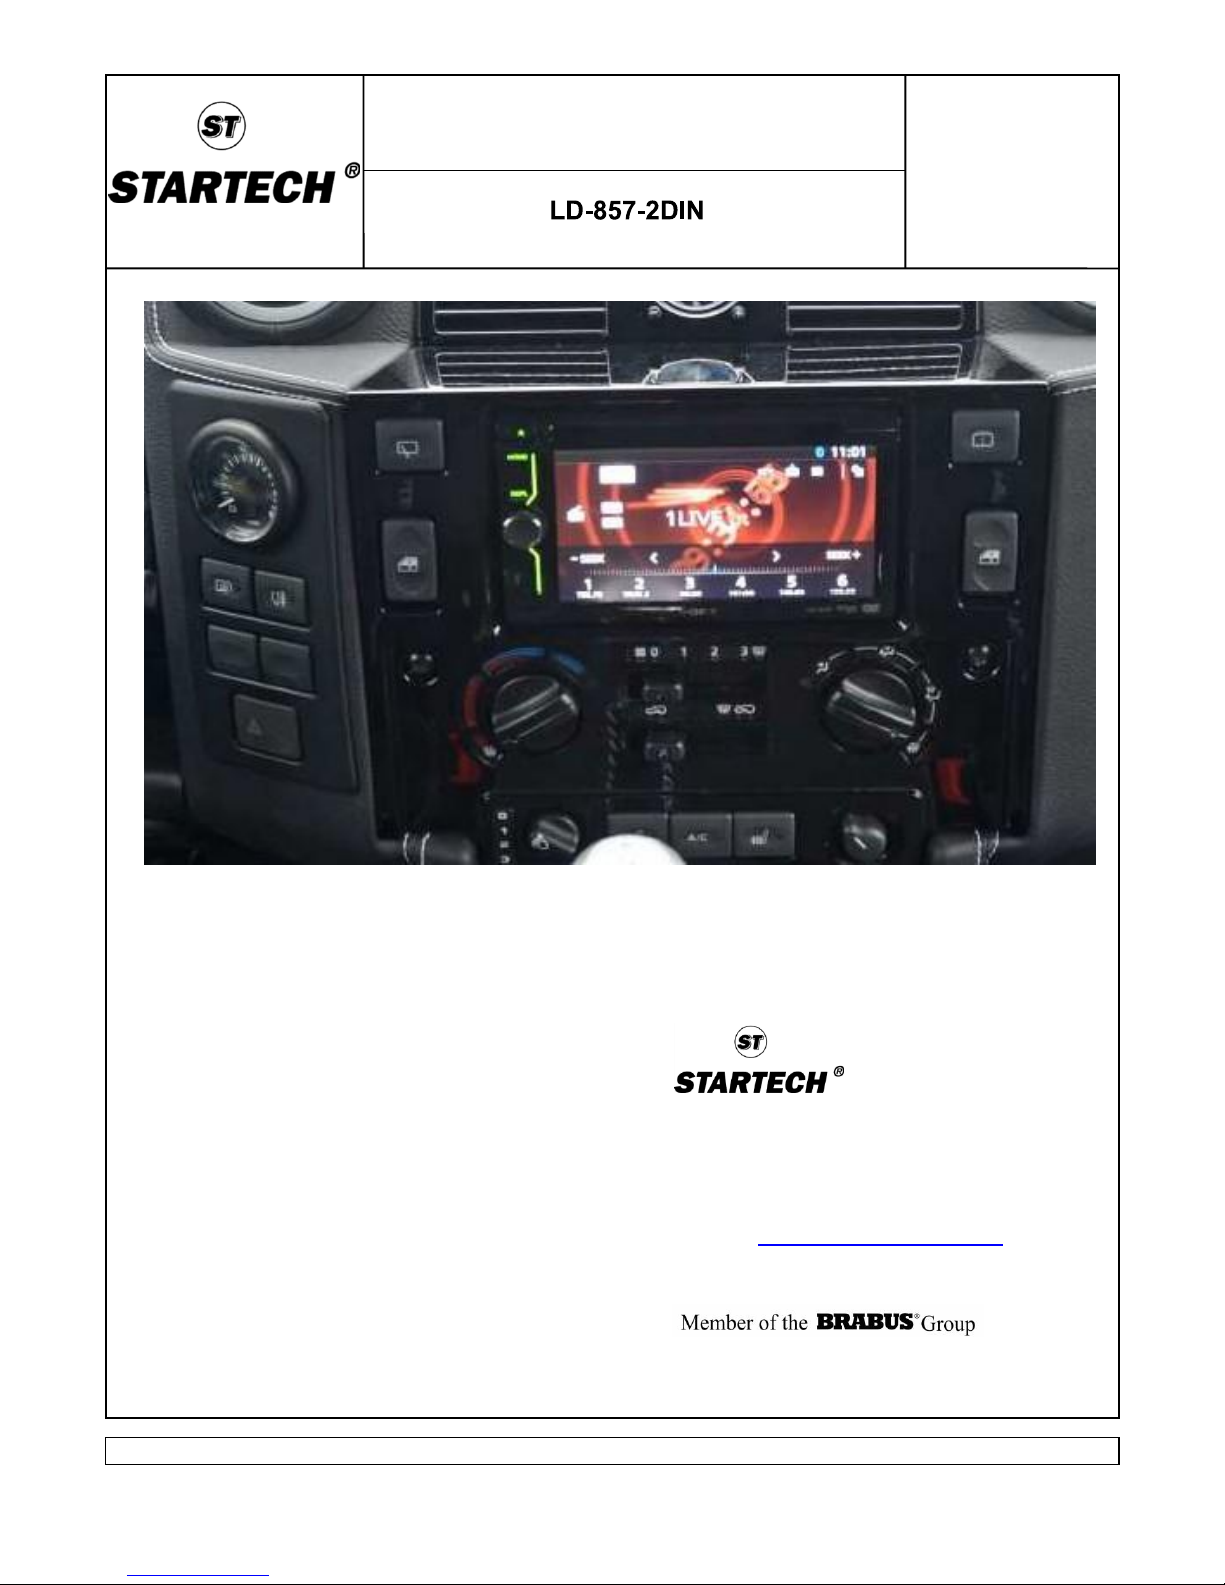
Land Rover
Defender
(LD)
Part no: 2DIN radio
Installation instructions
CRD GmbH & Co. KG
Brabus-Allee
D - 46240 Bottrop
Email: support@startech.de
+49 (0) 2041 / 777 - 430
Page 2
V01 Page 2 of 7
Formblatt-Nr.: 001/02/00 Formblatt-Nr.: 001/02/96
Land Rover
Defender
(LD)
Part no: 2DIN radio
Installation instructions
The product described in the instructions was developed, produced and
checked considering the necessary safety requirements. In order to ensure a
proper and safe function and to rule out danger for persons and objects, this
product must be installed appropriately. Only trained, qualified staff, having the
necessary technical experience and tools, should make the installation. There-
fore you have to read and completely understand these instructions.
Page 3
V01 Page 3 of 7
Formblatt-Nr.: 001/02/00 Formblatt-Nr.: 001/02/96
Land Rover
Defender
(LD)
Part no: 2DIN radio
Installation instructions
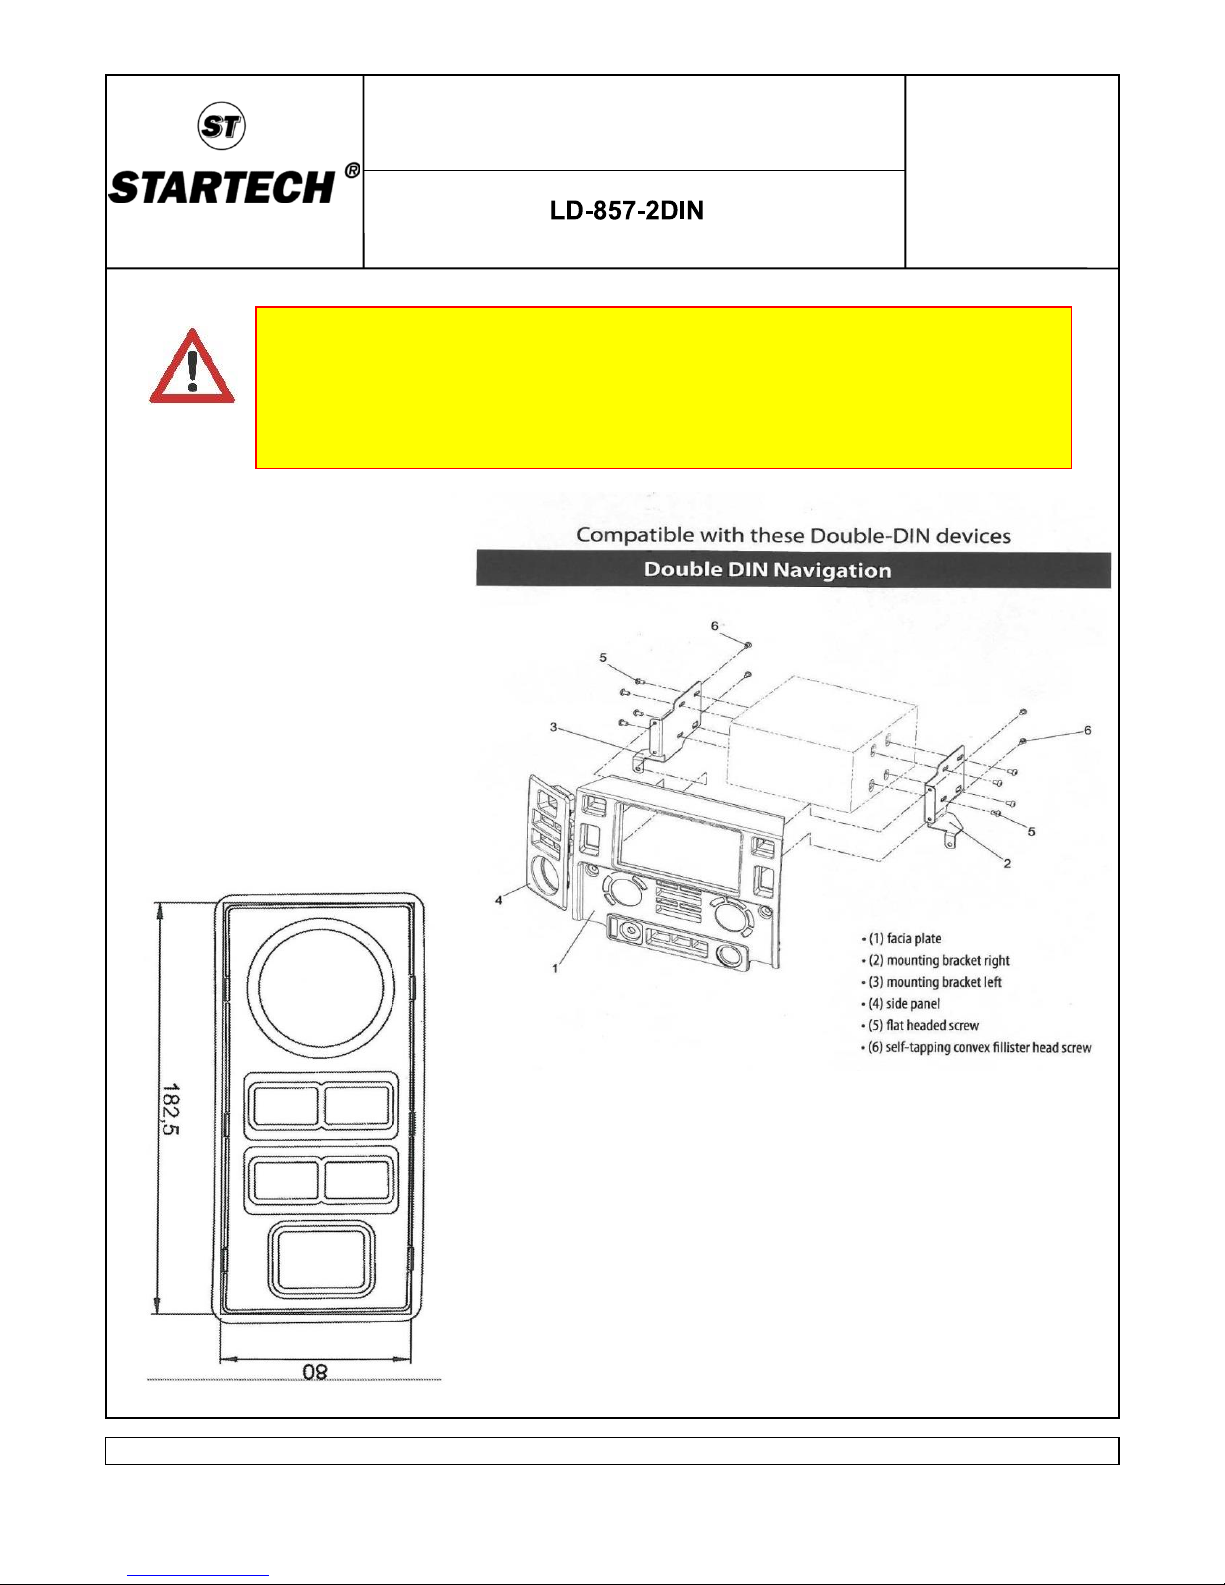
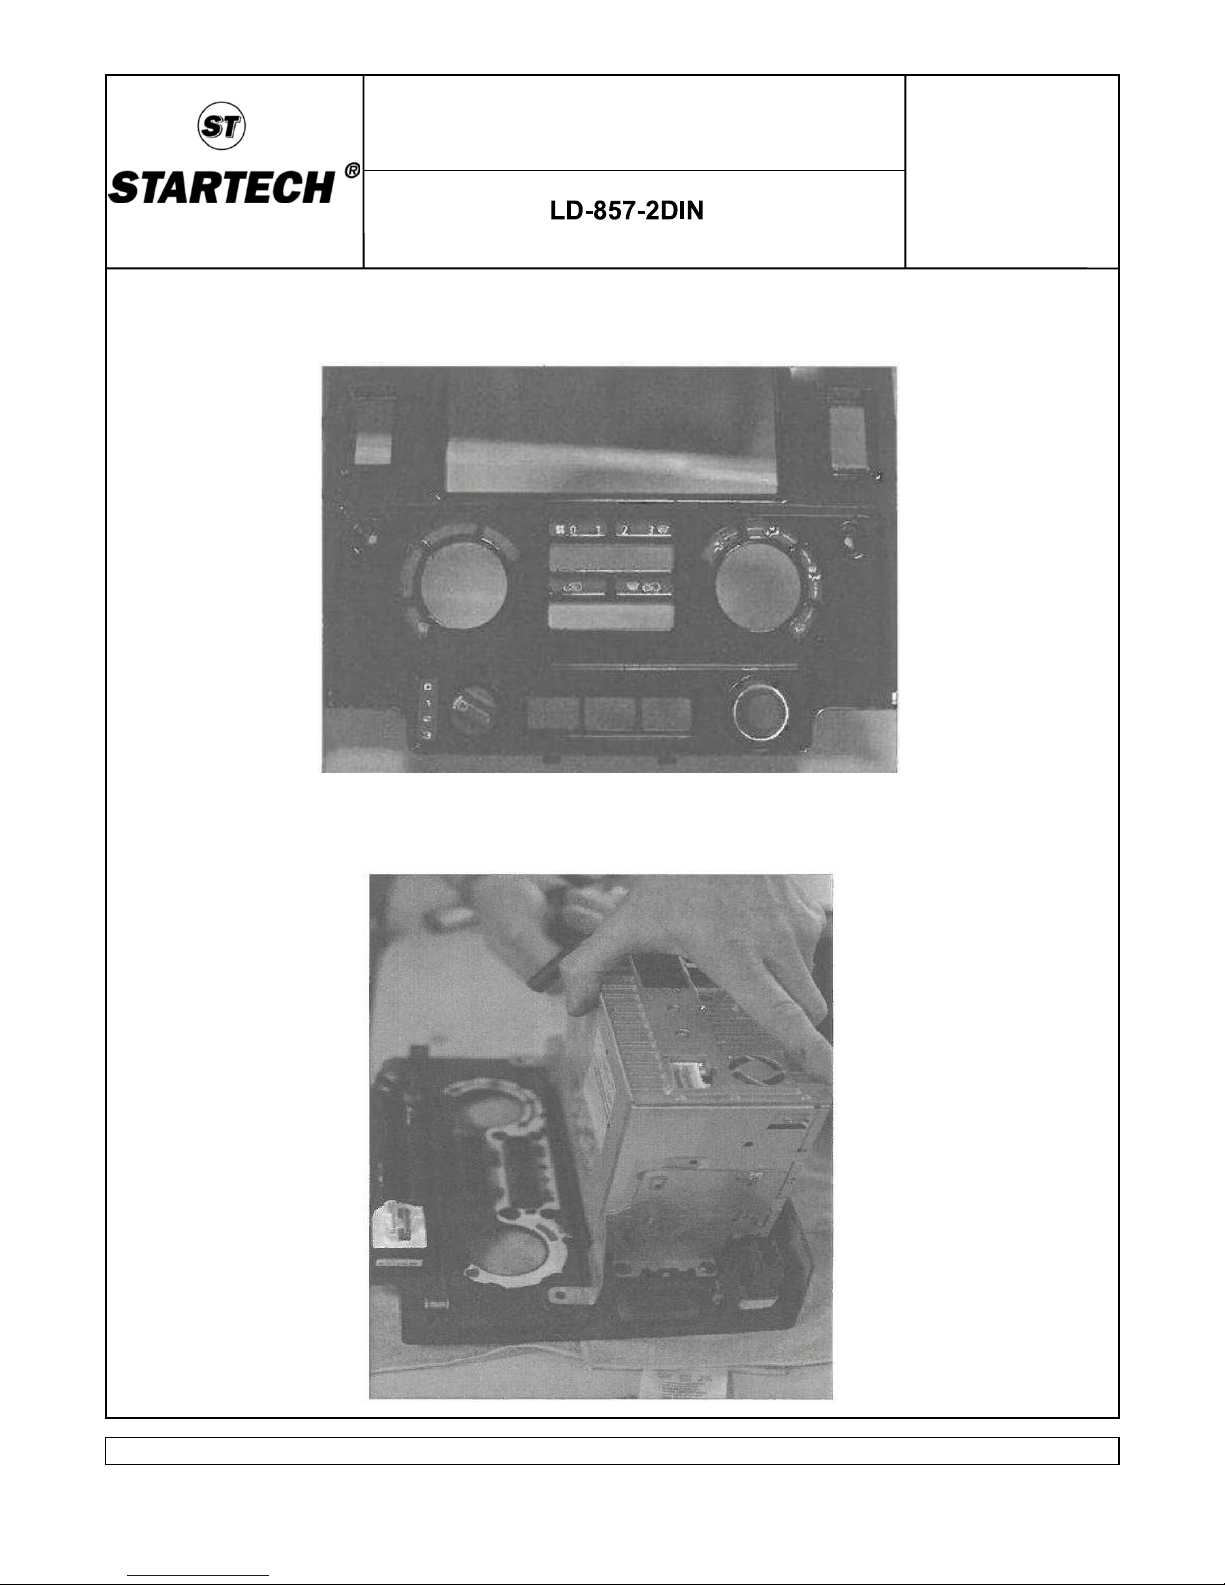
Hint: 1. Handle the mounting with care.
2. According to the vehicle specification possibly wiring needs to be
lengthened.
3. OEM metal clips are reused for fixing the cover.
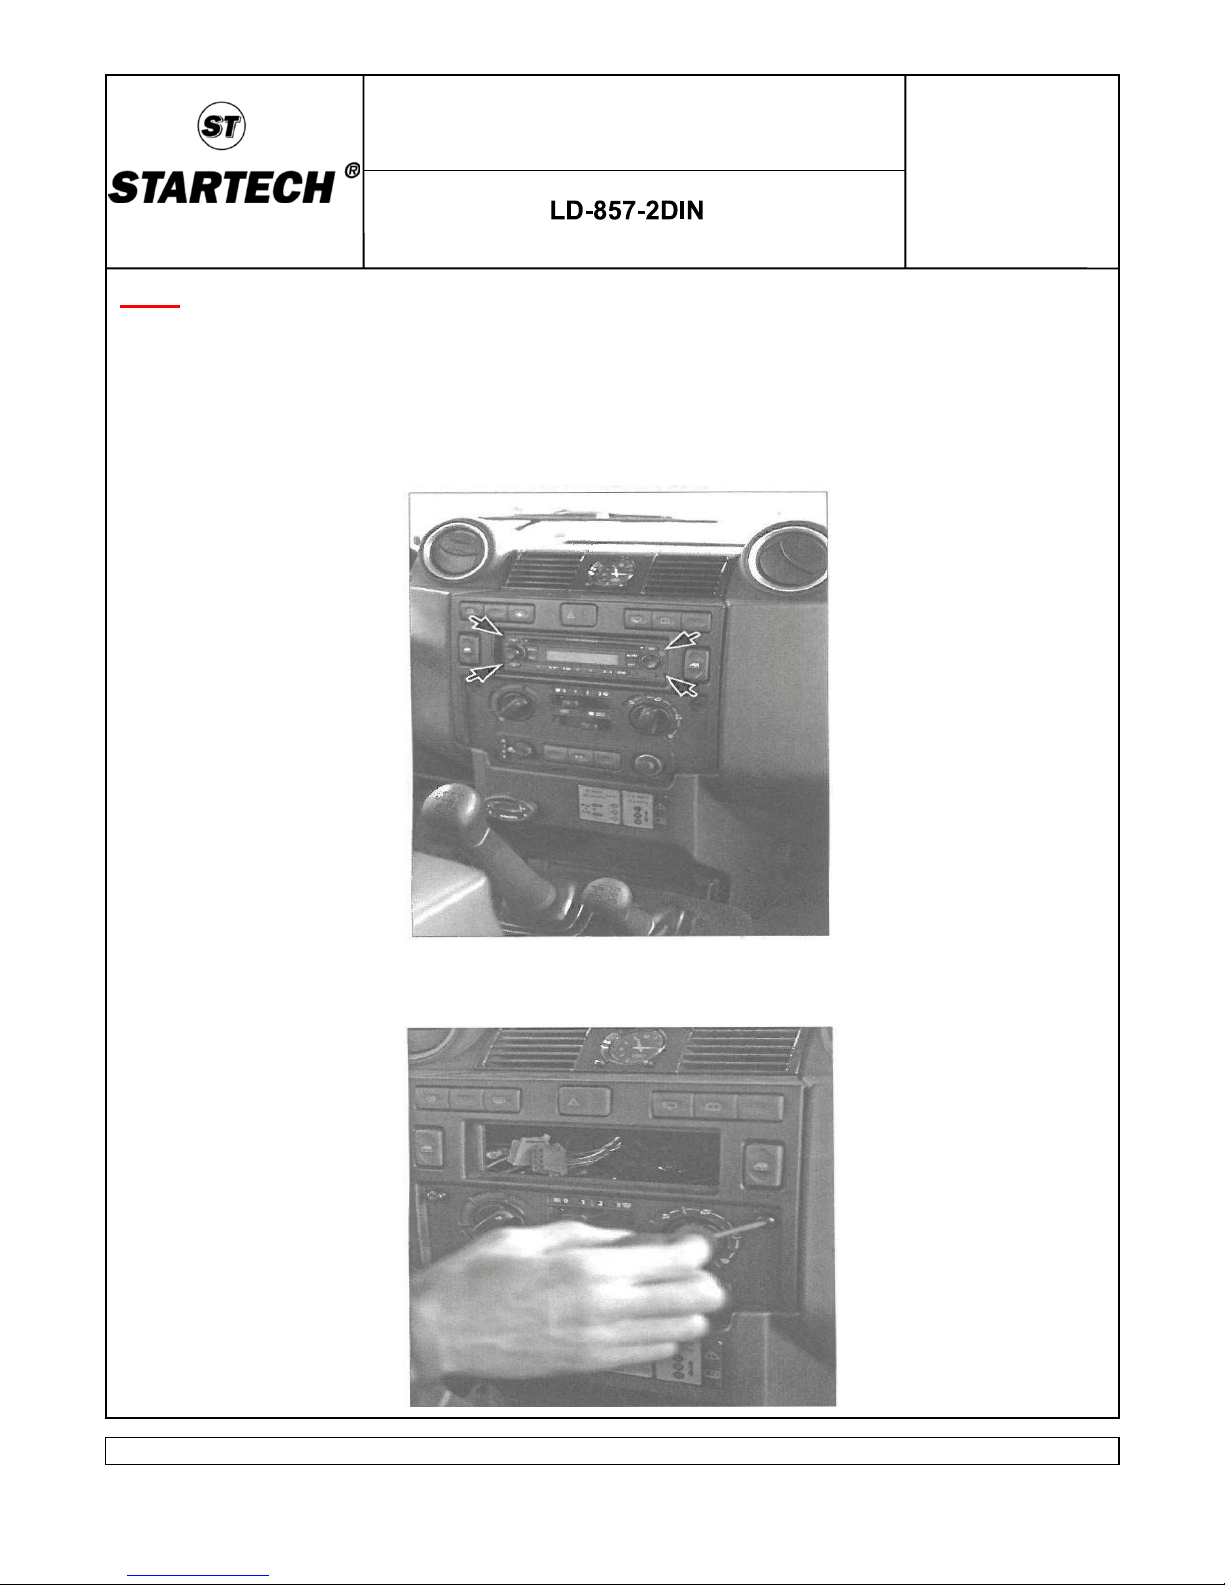
1. Disassemble the OEM radio using an appropriate tool.
2. Remove the torx screws tx30.
Page 4

V01 Page 4 of 7
Formblatt-Nr.: 001/02/00 Formblatt-Nr.: 001/02/96
Land Rover
Defender
(LD)
Part no: 2DIN radio
Installation instructions
3. Take out the console and remove the switches.
4. Disassemble the ventilation nozzles/watch from the panel by using an
appropriate tool.
Page 5
V01 Page 5 of 7
Formblatt-Nr.: 001/02/00 Formblatt-Nr.: 001/02/96
Land Rover
Defender
(LD)
Part no: 2DIN radio
Installation instructions
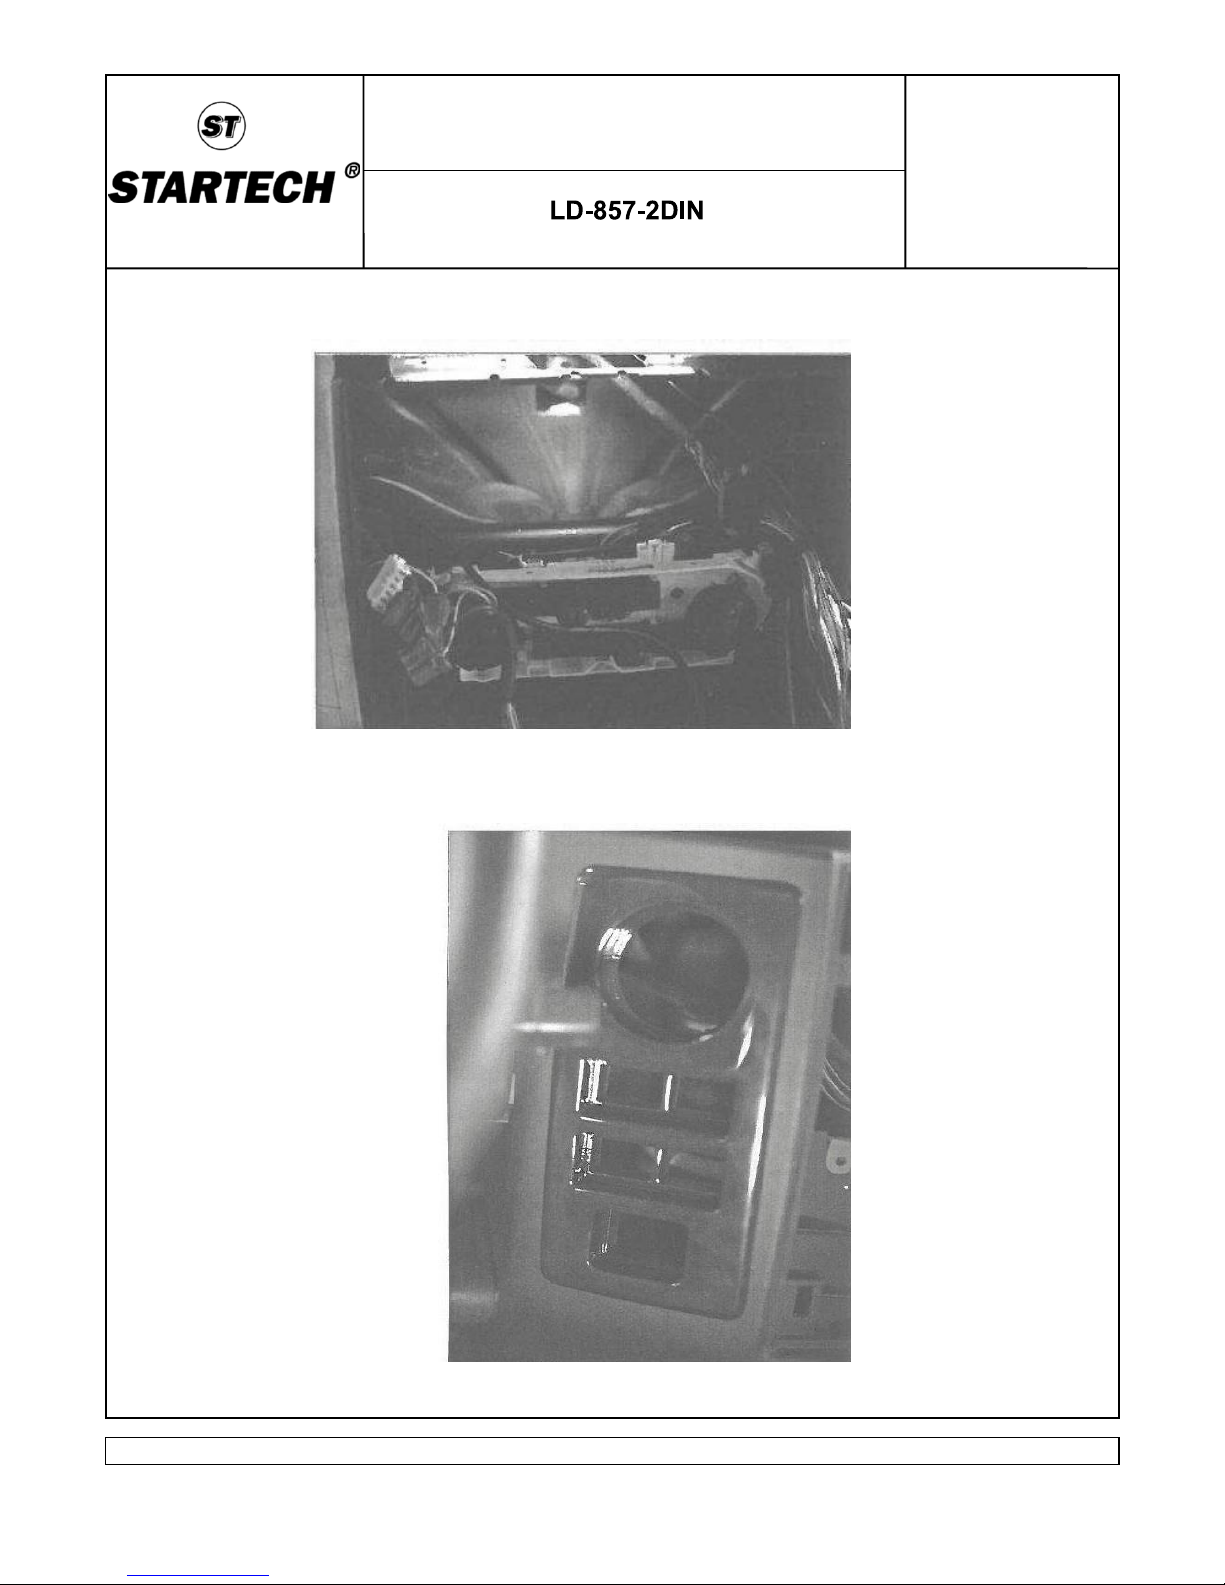
5. Remove the blank holder and modify the ventilation nozzles (see
figure below).
6. Measure the side panel and make the cut out on the dashboard.
Mount the side panel.
Page 6
V01 Page 6 of 7
Formblatt-Nr.: 001/02/00 Formblatt-Nr.: 001/02/96
Land Rover
Defender
(LD)
Part no: 2DIN radio
Installation instructions
7. Remove the light foil from the OEM panel and stick it into the 2DINfaceplate.
8. Mount the 2-DIN-Radio with the cover and the side part.
Page 7

V01 Page 7 of 7
Formblatt-Nr.: 001/02/00 Formblatt-Nr.: 001/02/96
Land Rover
Defender
(LD)
Part no: 2DIN radio
Installation instructions
9. Mount the Radio with cover into the dashboard.
10. Connect the air nozzles / watch with the cover.
 Loading...