

Page 1
Magnetic Project Mat
Quick-Start Guide
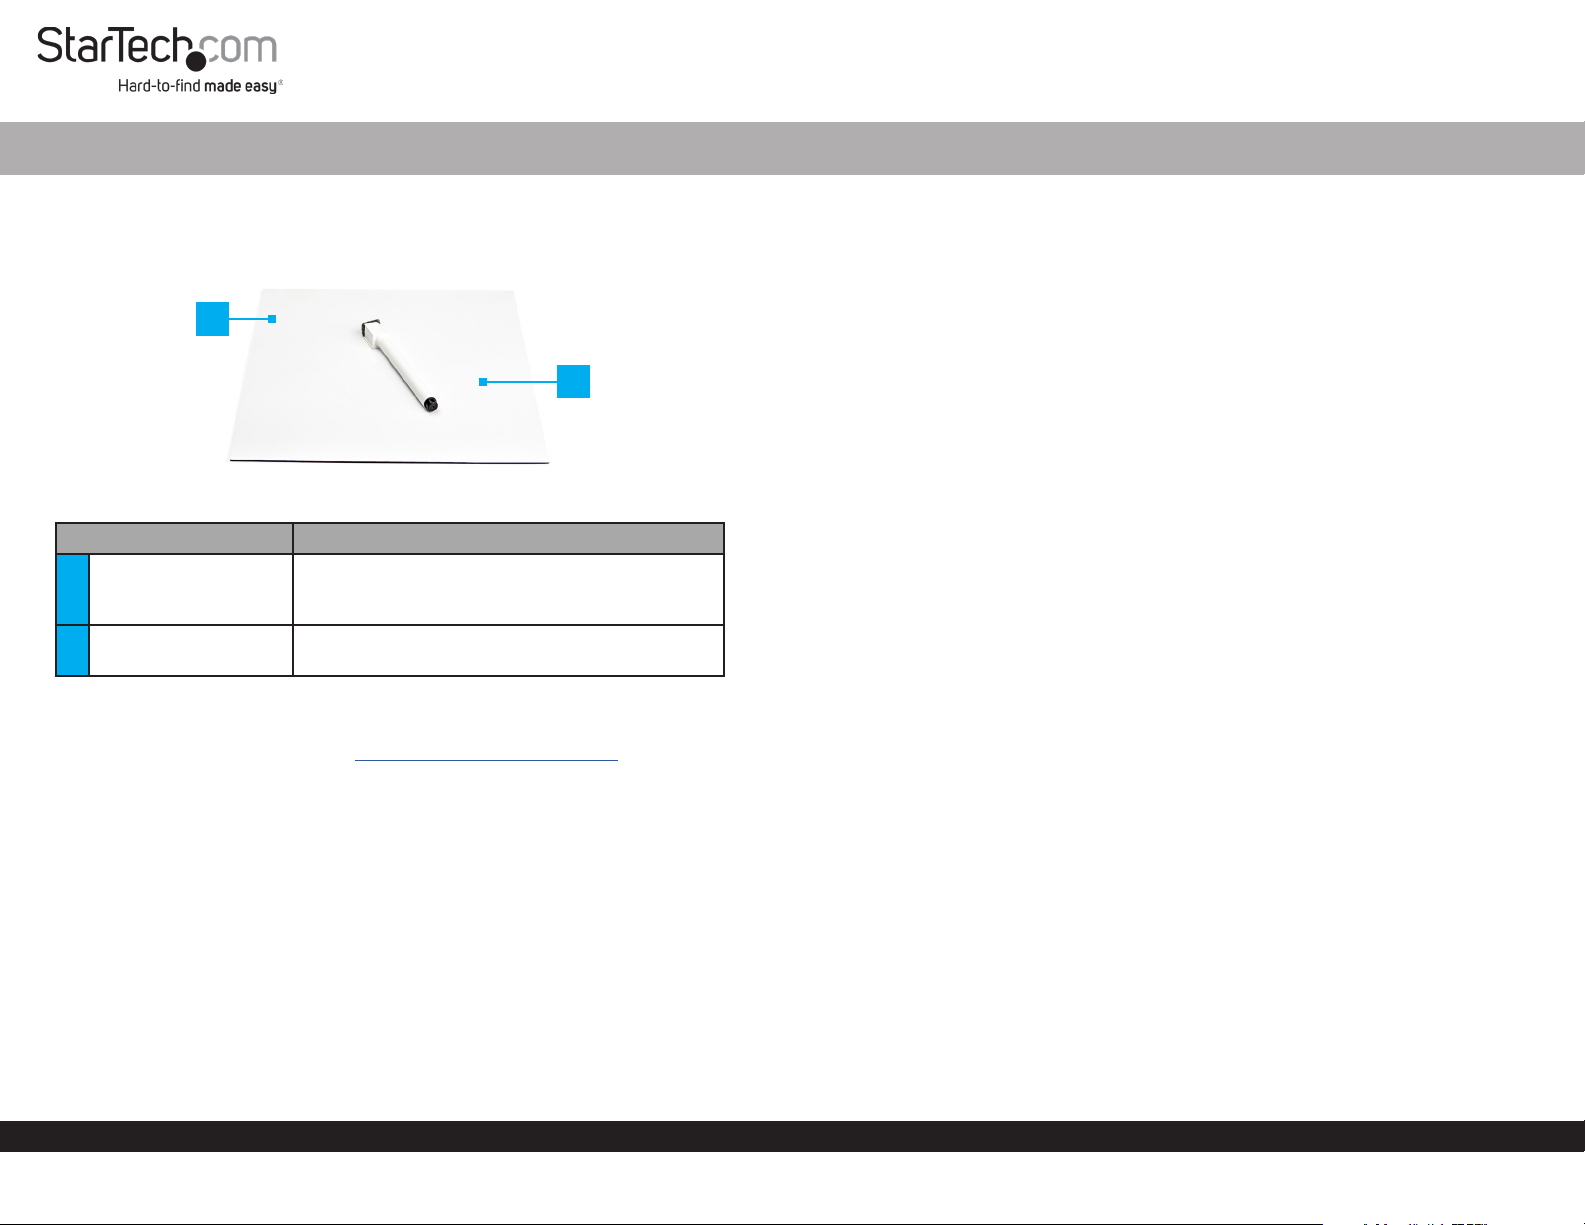
Product Diagram (STMAGMAT)
1
2
Component Function
• A lightly magnetized surface, used to hold
1 Magnetic Project Mat
2 Dry Erase Marker
small metal components in place (e.g.
computer screws).
• Used to identify and organize small metal
components on the Magnetic Project Mat.
Requirements
For the latest requirements, please visit www.startech.com/STMAGMAT
• (Optional) Dry Erase Board Cleaner x 1
Using the Magnetic Project Mat
Notes: Only use a Dry Erase Marker to write on the surface of the Magnetic Project
Mat.
Do not roll or fold the Magnetic Project Mat. Rolling and/or Folding may damage
the surface of the Magnetic Project Mat.
1. Place the Magnetic Project Mat next to your work area, on a dry, clean, and at
surface.
2. Place a small metal component (e.g. computer screw), on the surface of the
Magnetic Project Mat.
3. Use the Dry Erase Marker to highlight (circle) the component and write a brief
description of the component.
Note: You can draw a grid pattern on the Magnetic Project Mat to divide the
magnetic area into grids in order to better organize the small metal components.
Cleaning the Magnetic Project Mat
• Use the Felt Dry Eraser on the end of the Dry Erase Marker to clean any marks
made by a Dry Erase Marker o of the surface of the Magnetic Project Board.
Note: A dry erase board cleaner (sold separately) can be used to clean the Dry Erase
Marker o of the surface of the Magnetic Project Board.
Package Contents
• Magnetic Project Mat x 1
• Dry Erase Marker x 1
• Quick-Start Guide x 1
To view manuals, FAQs, videos, drivers, downloads, technical drawings, and more, visit www.startech.com/support.
Manual Revision: August 15, 2019 11:34 AM
Page 2

Use of Trademarks, Registered Trademarks, and other Protected Names and Symbols
This manual may make reference to trademarks, registered trademarks, and other protected names and/or symbols of thirdparty companies not related in any way to StarTech.com. Where they occur these references are for illustrative purposes only
and do not represent an endorsement of a product or service by StarTech.com, or an endorsement of the product(s) to which
this manual applies by the third-party company in question. StarTech.com hereby acknowledges that all trademarks, registered
trademarks, service marks, and other protected names and/or symbols contained in this manual and related documents are the
property of their respective holders.
Warranty Information
This product is backed by a ve-year warranty.
For further information on product warranty terms and conditions, please refer to www.startech.com/warranty.
Limitation of Liability
In no event shall the liability of StarTech.com Ltd. and StarTech.com USA LLP (or their ocers, directors, employees or agents)
for any damages (whether direct or indirect, special, punitive, incidental, consequential, or otherwise), loss of prots, loss of
business, or any pecuniary loss, arising out of or related to the use of the product exceed the actual price paid for the product.
Some states do not allow the exclusion or limitation of incidental or consequential damages. If such laws apply, the limitations
or exclusions contained in this statement may not apply to you.
StarTech.com Ltd.
45 Artisans Cres
London, Ontario
N5V 5E9
Canada
StarTech.com LLP
2500 Creekside
Parkwy
Lockbourne, Ohio
43137
U.S.A.
StarTech.com Ltd.
Unit B, Pinnacle 15
Gowerton Rd,
Brackmills
Northampton
NN4 7BW
United Kingdom
FR: startech.com/fr
DE: startech.com/de
ES: startech.com/es
NL: startech.com/nl
IT: startech.com/it
JP: startech.com/jp
 Loading...