

Page 1
Installation Manual
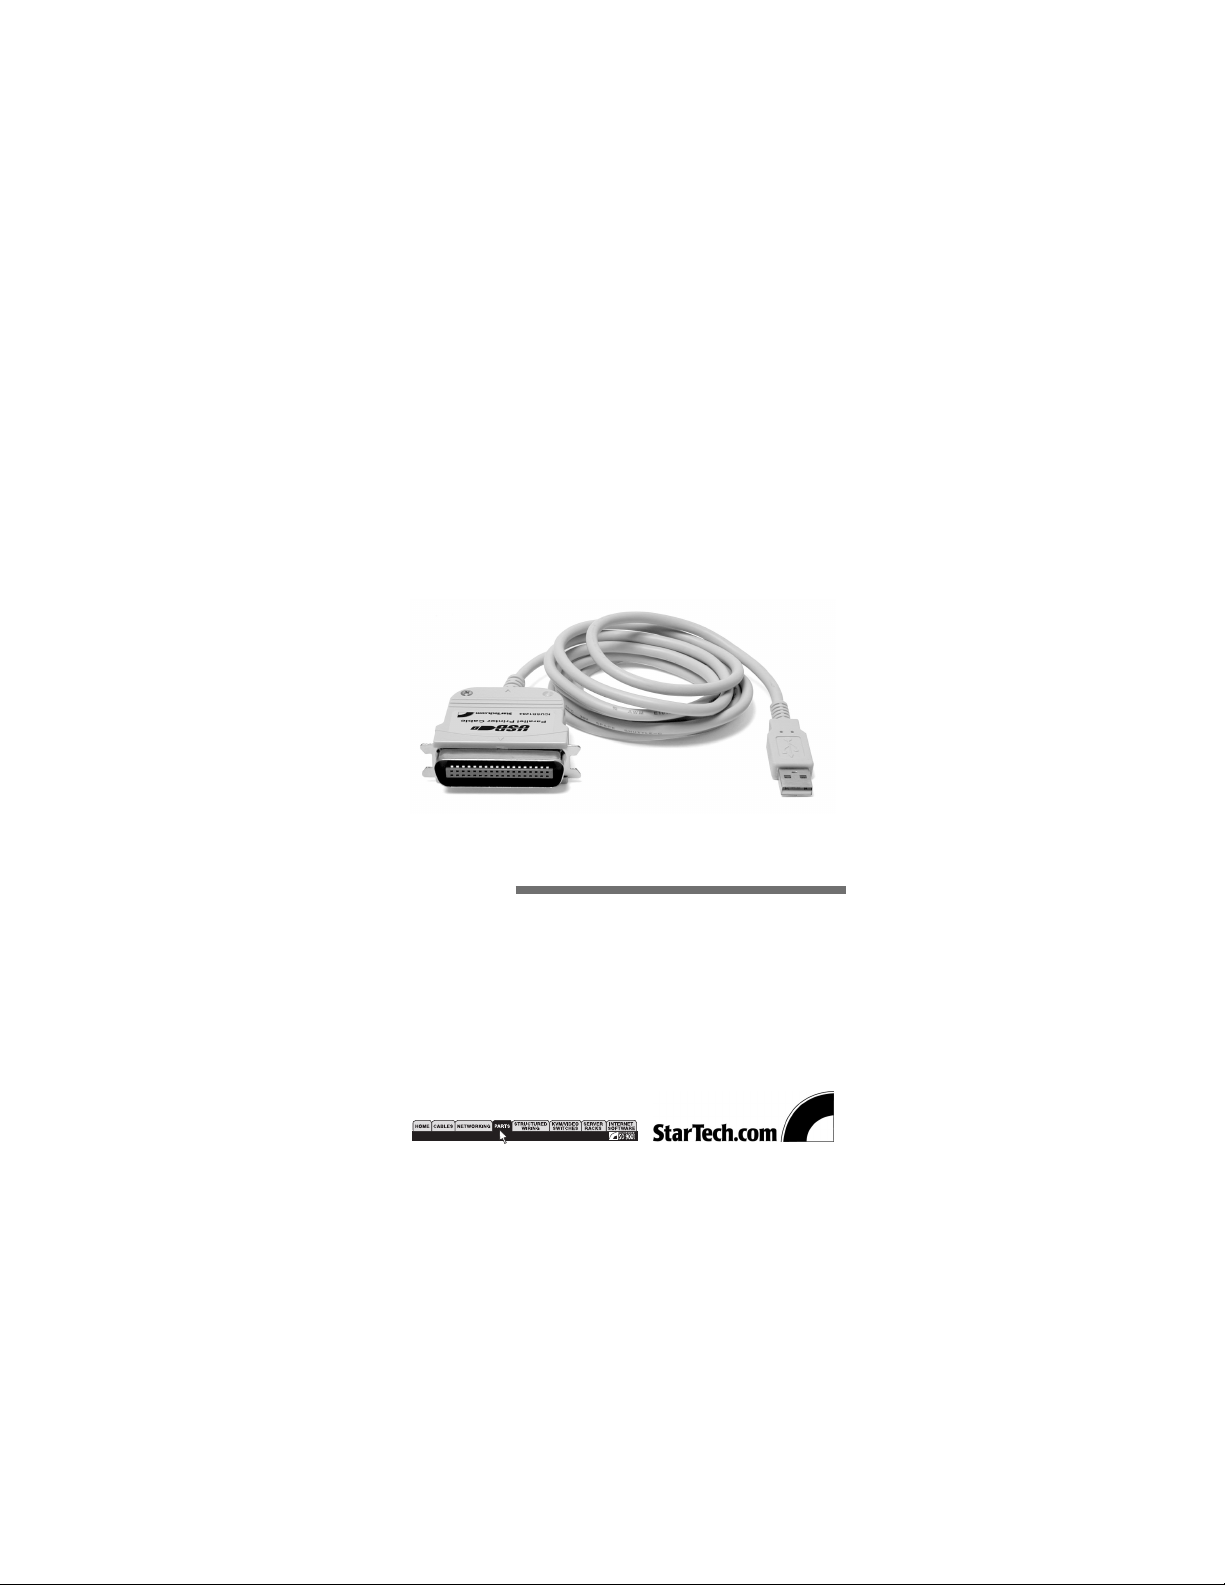
ICUSB1284
USB Cable
USB to Parallel Interface Converter
Page 2

1
General Description
The StarTech.com USB-to-Parallel Interface Converter
cable allows PCs that support the USB specification to
print to any standard parallel printer. The USB
interface provides a much faster data transfer rate
than a standard parallel port, thereby reducing the
time waiting for a print job to be sent to your printer.
This portable device is self-powered and provides
Plug and Play installation to any USB-compliant
computer running Windows 98/ME/2000/XP.
Features
• Low power consumption as it draws power from
the USB connection
• High speed bi-directional parallel port compliant to
IEEE-1284 industry standard
• Fully Plug & Play for easy installation
• Supports Windows Windows 98/ME/2000/XP
• No IRQ required for installation
Page 3

2
Specifications
Getting Started
This section is designed to help you prepare the USB to
Parallel Interface Converter for installation. Please read
through this section carefully before attempting to
install the USB Cable.
Unpacking the ICUSB1284:
1 x USB Bi-directional Printer Cable
1 x Driver Installation Diskette
Connectors
Cable Length
Power Consumption
Power Mode
Operating Temperature
Storage Temperature
Humidity
Enclosure
Weight
Dimensions
Certifications
USB Type A Male, Centronics 36 Male
180cm (72 in.)
90mA (max)
Bus powered
5~40 deg C
-20~60 deg C
0~80% RH non-condensing
Plastic
110g
43 x 53 x 19.5 mm
FCC Part 15, CE Mark
Page 4

System Requirements
Before you use the ICUSB1284, make sure your
computer is an IBM PC-compatible PC with the
following minimum system requirements:
• Intel-compatible 486DX-66 MHz CPU or higher
• One standard USB port (4 pin)
• Windows 98/ME/2000/XP operating systems
Installation
Driver Installation
1. Power on the computer and make sure that the USB
port is enabled and working properly.
2. Plug the ICUSB1284 printer cable into the USB
portand Windows will detect the IEEE1284 device
and run the Add New Hardware Wizard to assist
you in setting up the new device. Click “Next”.
3. Insert the ICUSB1284 printer cable driver diskette
into the floppy drive and click “Next”. For Windows
98, click “Search” for the best driver for your device
and click to search driver from the floppy disk drive.
4. Windows will detect the driver (U2PAR.INF) and
shows the ICUSB1284. Click “Next” to continue.
5. Click “Next” and let Windows copy the needed files
to your hard disk.
6. When Windows finishes installing the required
software, click “Finish”.
3
Page 5

Setting Up the Printer Device
1. Turn off your printer. Plug the Centronics connector
of the ICUSB1284 into your printer.
2. Turn your printer and computer on and plug the
USB connector of the cable into the USB port of
your computer.
3. If you have already installed a printer device before
click “Start”, “Settings”, “Printers”. Right click the
default installed printer and click on “Properties”.
The properties dialog box of the installed printer
will appear on your screen.
4. Click the details folder tab and change the printer
port to LPT2:(USB to Parallel Port)
5. If you do not have a printer installed yet, click
“Start”, “Settings”, “Printers”, “Add Printer”. The
Add Printer Wizard will start and assist you in
installing a new printer device. Select the printer
manufacturer and model name from the list
provided by the wizard or use the driver diskette
supplied with your printer.
6. When prompted which port the printer will use,
click on LPT2:USB to Parallel Port.
7. Follow the succeeding instructions to complete the
installation and also run Print Test Page to see if it
will print without problems.
4
Page 6

Unistalling the Driver Program
1. Unplug the ICUSB1284 printer cable from your PC.
2. Run the UNINST.EXE program from the ICUSB1284
driver diskette and reboot the PC.
5
Revised: November 30, 2001
 Loading...