

Start ZCM 1000, ZCM 2000, ZCM 1500 Instruction
02/03
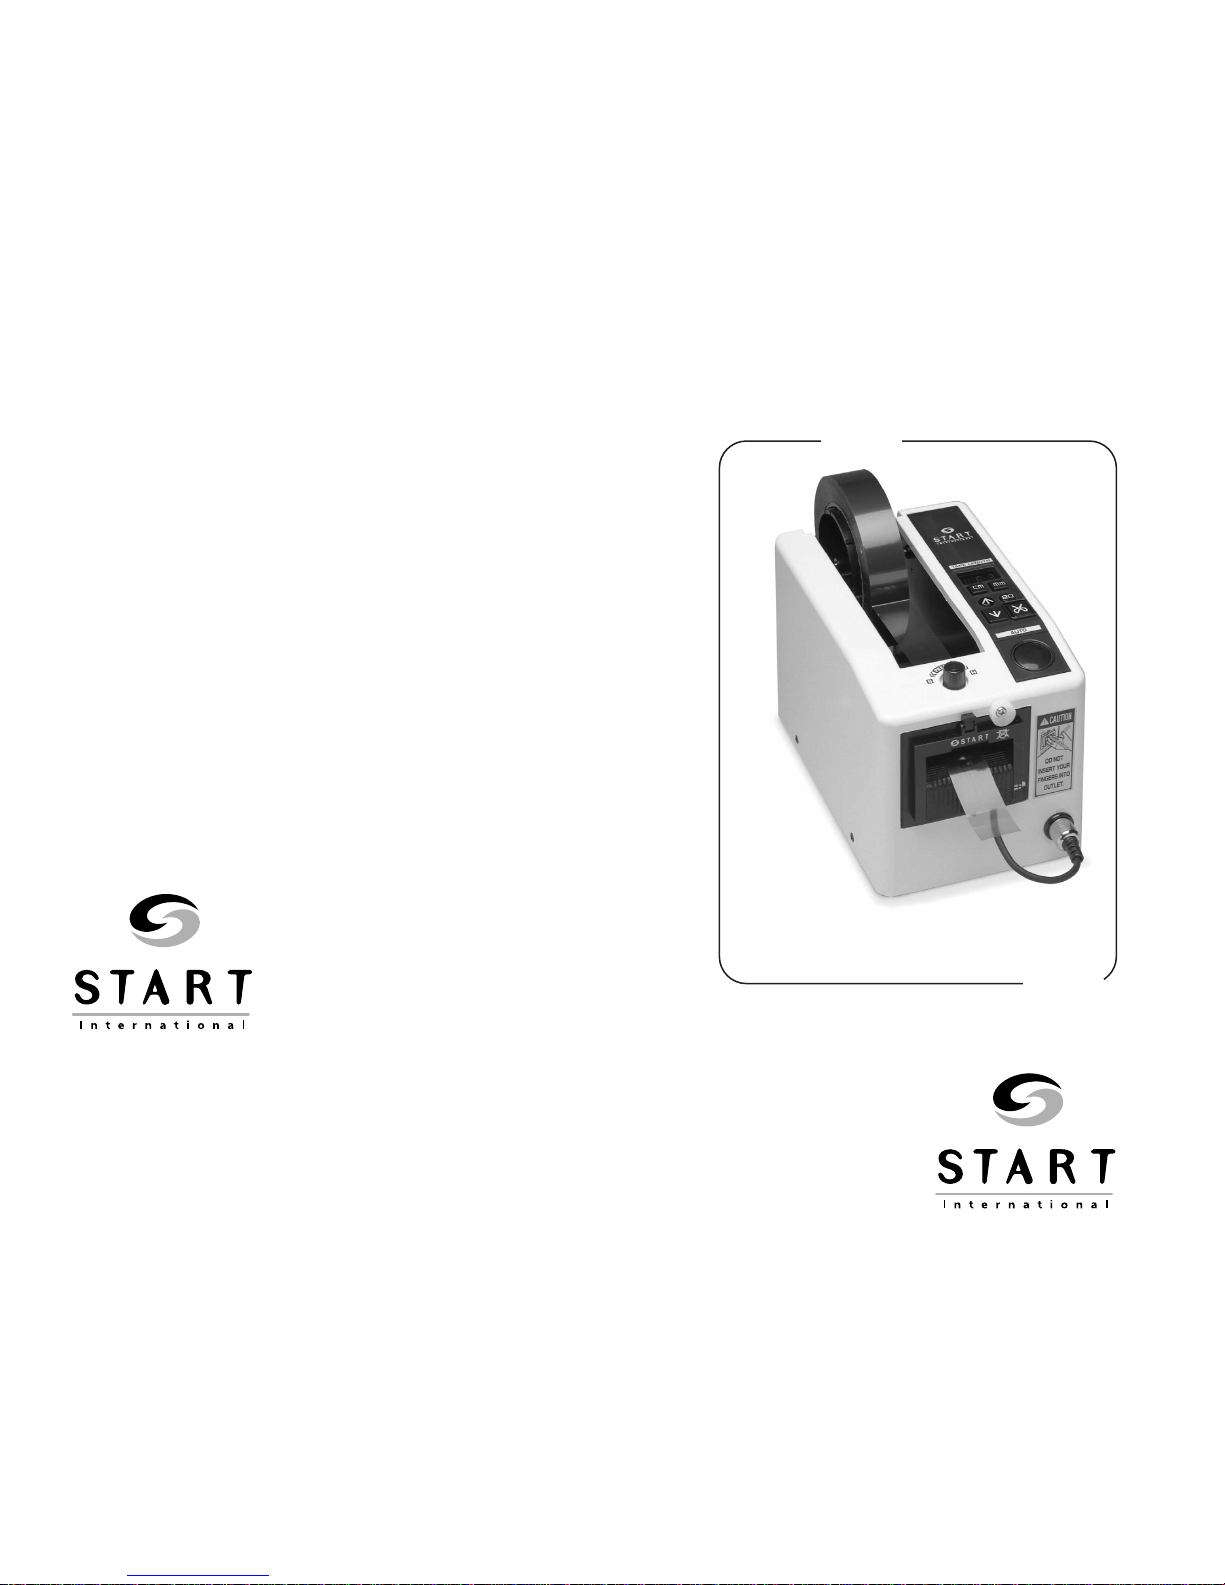
instructions
ZCM
2000
ZCM
1000, 1500 (Last 3 Pages)
START International
4270 Airborn Dr.
Addison, TX 75001, USA
Tel 972.248.1999
Fax 972.248.1991
info@startinternational.com
www.startinternational.com
START Japan Corporation
1-26-14 Toshin-Cho
Itabashi-ku
Tokyo, Japan
Tel 81.3.3554.5608
Fax 81.3.5966.9591
japan@startinternational.com
TM
TM

3
22
• If using automatic feed, when one piece of tape is removed, the unit will automatically feed
and cut the next piece at the preset length.
• The tape length is easily seen on the LED display, and operation is simple — press the CM
key or MM key to set the length (Setting limit: 20mm to 999mm).
• If a piece of long tape is needed, press FEED key for desired length, then press CUT key
to cut.
• The blade unit can be removed and replaced easily. (Tape jamming is also easily fixed by
removing the blade unit.)
FEATURES
NOTES
Do not use volatile liquids
(thinner, benzine, etc.) to
clean the dispenser. Wipe
with dry cloth only.
Do not use the tape
dispenser in humid or dusty
places.
Do not insert your fingers
into the tape outlet!
Do not leave the tape
dispenser in direct
sunlight.
Do not drop the tape
dispenser or subject it to
heavy shocks.
Do not insert bars or plates
into the tape outlet – this
will damage the blade.
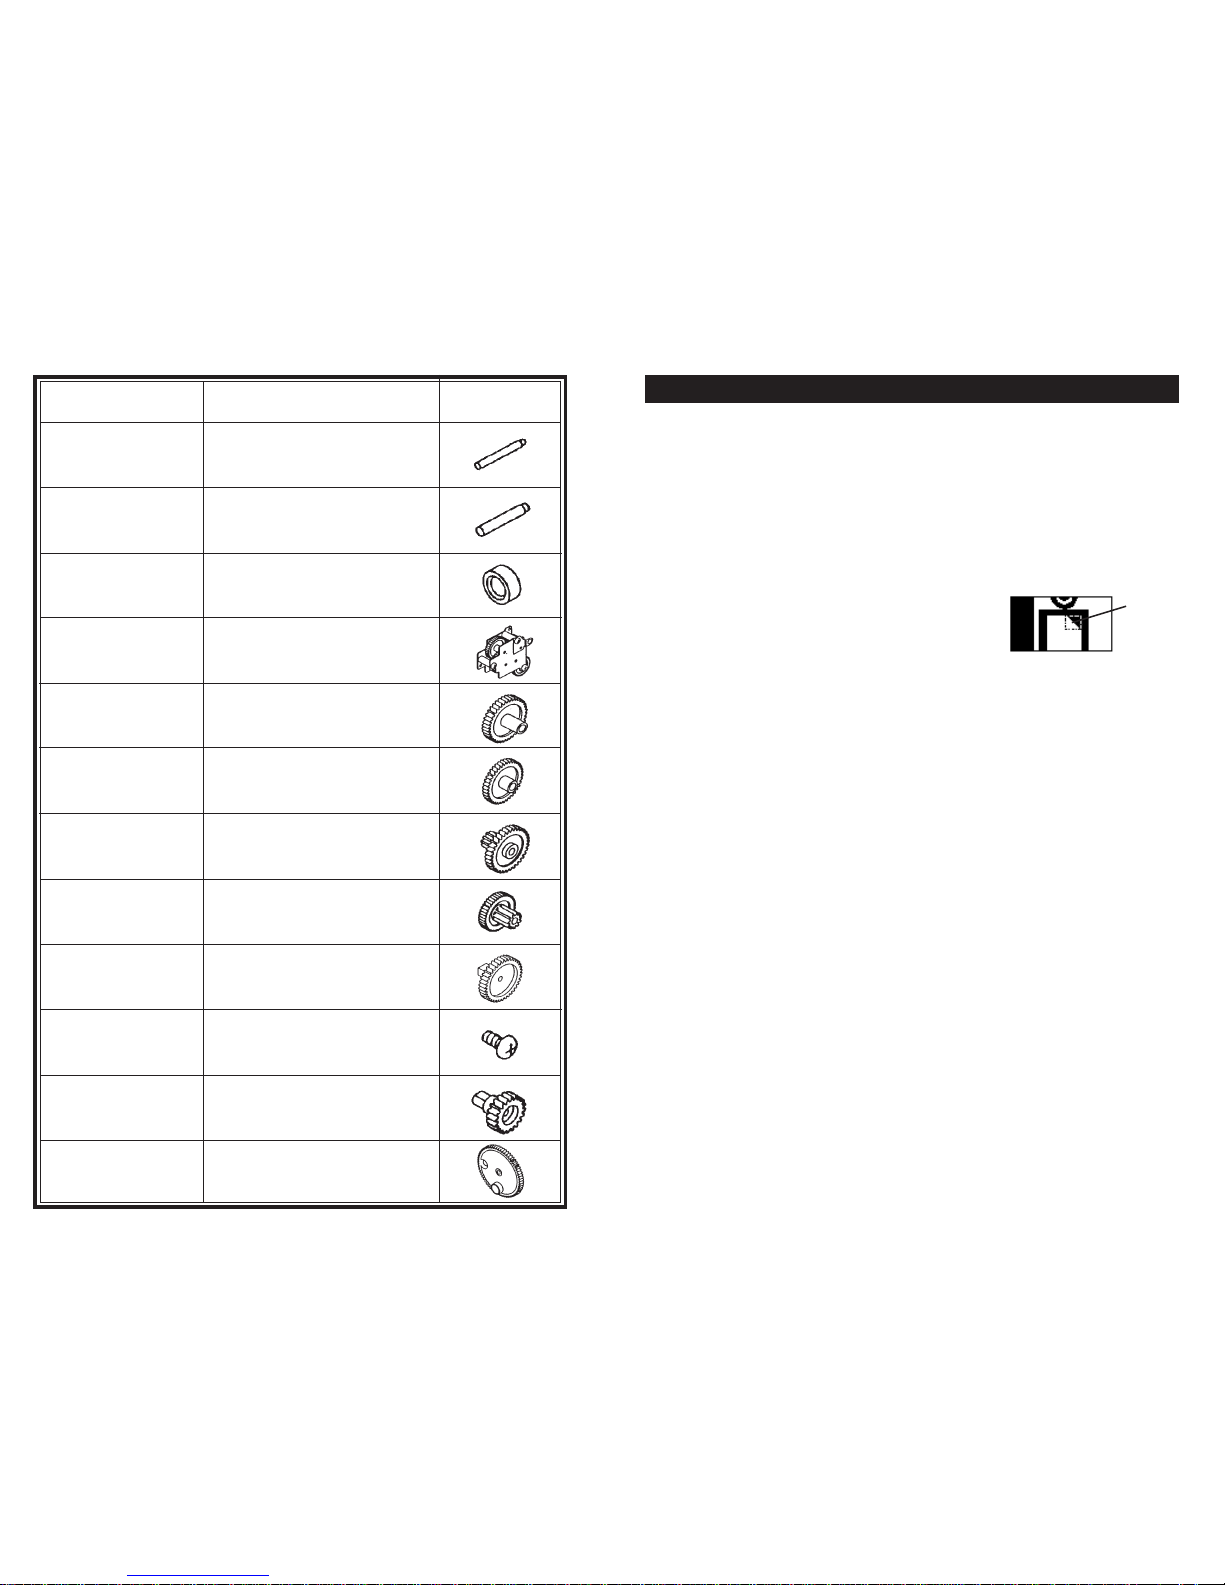
Part Number Description Drawing
ZCM1000P517
Roller Pressure
Unit 2
ZCM1000P518 Front Holder 3 Unit
ZCM1000P519 Front Holder 3
ZCM1000P520 Cut Lever Pressure 2
ZCM1000P521 Cut Lever Liner 2
ZCM1000P522 Cut Lever Shaft Collar
ZCM1000P523 Cut Lever Unit 2
ZCM1000P526
Open Set
Knob & Spring
ZCM1000P527 Pinion Gear Stopper
ZCM1000P528 Pinion Gear Unit 2
ZCM1000P533
Separating Roller
Holder Unit
214
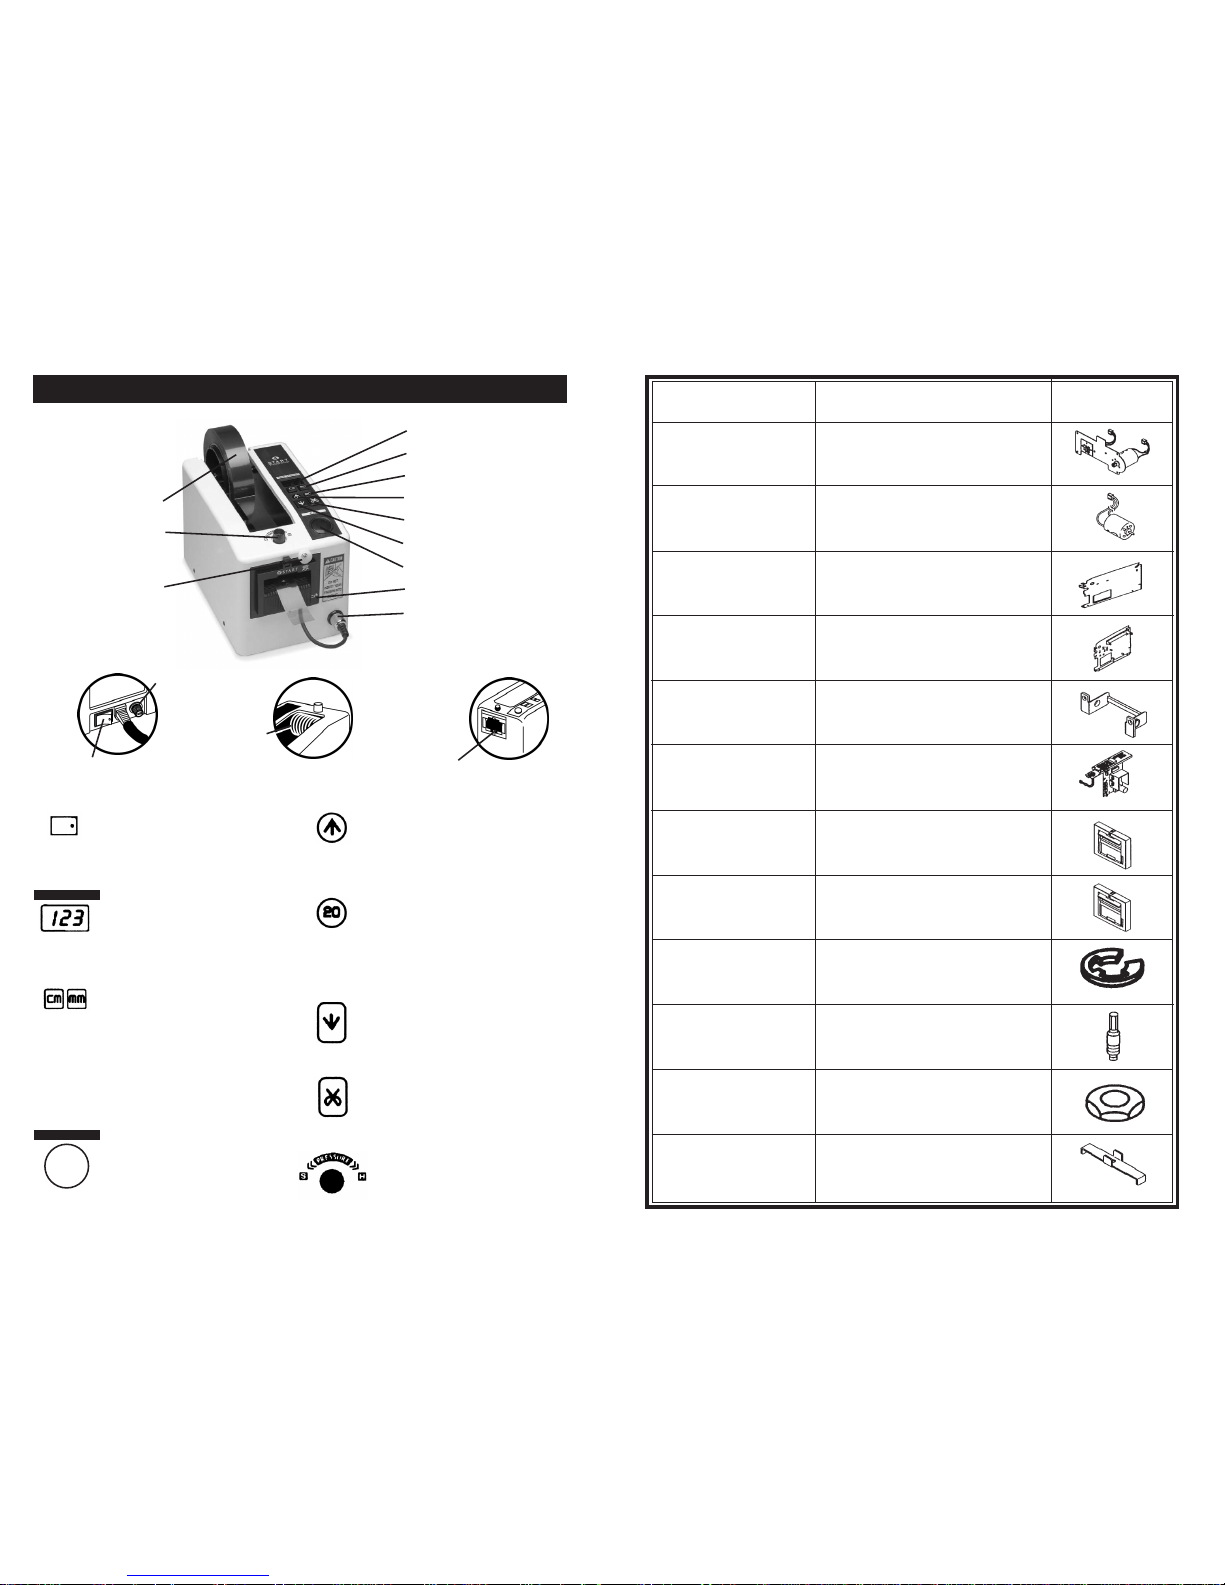
DESCRIPTION OF PARTS AND FUNCTIONS
SEPARATING
Roller
FUSE
FEED
Roller
• POWER Switch
Press to turn power
ON or OFF.
TAPE LENGTH
• TAPE LENGTH Display
The last digit indicates
millimeters and the first two
digits centimeters.
• SIZE Keys
Press mm key to set tape
length in mm. Press cm key
to set tape length in cm.
• AUTO Key
Feeds tape to the preset
length and cuts
automatically.
AUTO
• PRESSURE Knob
Adjusts top roller to change
pressure on tape.
• REVERSE Key
Feed Roller reverses.
Use this key to change tape.
• CUT Key
Press to cut tape.
• RESET Key
Length display is reset to
20mm. This key can be
used as an emergency stop.
• FEED Key
Tape dispenses as long as
key is pressed.
POWER Switch
Part Number Description Drawing
ZCM1000P435
Motor Unit 4 12VDC
Red & Brown
ZCM1000P501 Left Plate Unit 2
ZCM1000P502 Right Plate Unit 3
ZCM1000P503
Separating Roller
Holder
ZCM1000P504 Main Board Unit 2
ZCM1000P507 Blade Holder 2
ZCM1000P508
Cutter Holder Unit 2
with Blades
ZCM1000P512 E-Ring
ZCM1000P513
Roller Pressure
Shaft 2
ZCM1000P514 Hexagon Nut
ZCM1000P515
Roller Pressure
Plate 2
ZCM1000P433
Gear Cover 2 Unit
(for cutter)
REVERSE Key
TAPE LENGTH Display
RESET Key
FEED Key
SENSOR Plug
PRESSURE
Knob
CUTTER
Latch
REEL
SIZE Keys
SENSOR Switch
AUTO Key
CUT Key
5
20
Using Automatic Feed:
1. Plug in power cord and turn unit on.
2. Set tape on the center of reel and stick the end of the tape onto the metal feed
roller. Press FEED key until tape feeds through cutting unit. If the tape will not
feed through the cutter, fold corners of the tape to form a triangle shape and
re-feed (Fig. A).
3. Press CUT key to cut tape.
4. Set the tape length.
Press MM key to set length of 0-9mm.
Press CM key to set length of 20-990 mm.
5. Set PRESSURE knob
• If tape curls or slips, increase pressure.
• If tape creases, decrease pressure.
6. Turn sensor switch ON. Tape will be fed to set length and cut. When the piece
of tape is removed from machine, another piece will be fed and cut. (Turn
sensor switch OFF when not in use.)
Using AUTO key
With sensor switch OFF, press AUTO key. Tape will be fed to set length and cut.
Using FEED key
Press FEED key until desired tape length has been fed. (This key overrides the
preset length.) Press CUT to cut tape.
Changing tape
Press the REVERSE key. The feed roller will rewind the tape away from cutter
area. Remove the tape manually.
In case of tape jam
Press REVERSE key to remove tape from cutter area. Rewind and replace tape on
roller. Also, remove cutter unit to verify no tape is stuck on roller or cutter.
OPERATION
FIG. A
FOLD
TAPE
BACK
Part Number Description Drawing
ZCM1000P406 Flat Gear Shaft 14
ZCM1000P407 Flat Gear Shaft 13
ZCM1000P408 Collar 2
ZCM1000P418
Gear Plate
Installation Unit
ZCM1000P421 Flat Gear 11
ZCM1000P422 Flat Gear 12
ZCM1000P423 Flat Gear 13
ZCM1000P424 Flat Gear 14
ZCM1000P427 Feeder Roller Gear 2
ZCM1000P428
Small Screw w/
Cross Hole
ZCM1000P430
Separating Roller
Gear 2
ZCM1000P431 Cutter Gear Unit 2
6
19
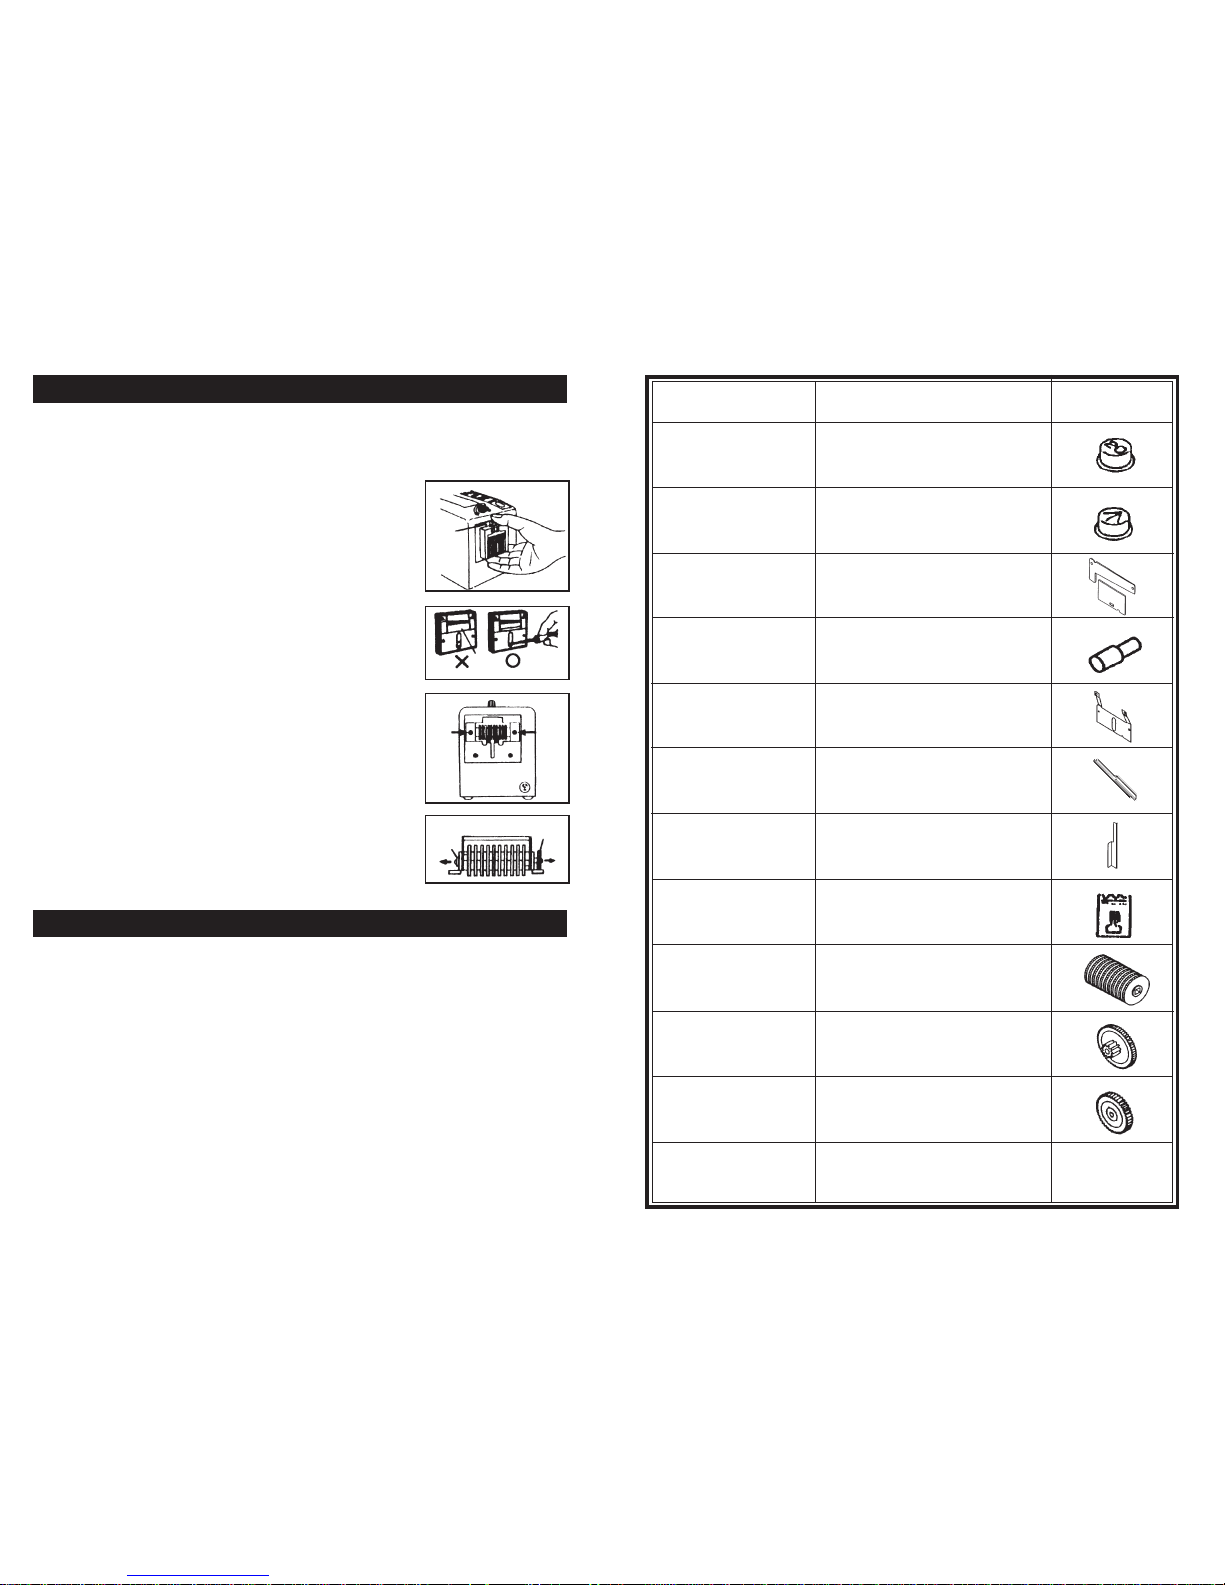
To Replace Cutter Unit
Turn off sensor and power before removing cutter unit. Pull sensor plug out,
then pull cutter unit forward while pressing the knob on the top of the unit
(Fig. 1).
To replace blades, remove the two screws inside
head. Blade can then be lifted out and replaced.
Before remounting the cutter unit to the frame, the
lower blade must be bottomed out. If it is not
completely down, use a screwdriver to lower it
(Fig. 2).
Remount the cutter unit by aligning the bottom of the
unit then pushing in the top.
Replacing the Separating Roller
Turn off the sensor and power before removing the
separating roller. Remove the cutter unit, then remove
the two screws (Fig. 3).
To remove roller holder, grip rubber ring in the
center of separating roller and pull. Then remove
the screws on the left and right of the roller holder
and pull off shaft and gear (Fig. 4).
KNOB
LOWER
BLADE
ROLLER HOLDER
SHAFT
FIG. 4
FIG. 3
FIG. 2
FIG. 1
OPERATION (CONT'D)
PRECAUTIONS
• Set the tape properly as described in these instructions. (If the end of the tape
is folded when the tape is set, the tape may jam at the tape outlet.)
• This machine will cut virtually any type of pressure sensitive tape (cloth,
aluminum, filament, etc.). If tape is thicker than .05", test for compatibility.
• Because of tape differences (elasticity, stickiness, etc.), some tapes may not
cut at the set length. If this occurs, adjust the set length accordingly.
• If tape sticks to the blade, remove the cutter unit, clean with alcohol and
apply silicone oil to the blade.
• To reduce jamming, remove tape from machine when not in use.
GEAR
Part Number Description Drawing
ZCM1000P250 Switch Button 3 (20)
ZCM1000P251
Switch Button 3
(Reverse)
ZCM1000P254 Blade Set
ZCM1000P256 Top Blade Holder
ZCM1000P257 Blade Spring
ZCM1000P258 Blade Guide (right)
ZCM1000P259 Blade Guide (left)
ZCM1000P289 Silicone Oil
ZCM1000P312 Feed Roller
ZCM1000P403 Flat Gear 15
ZCM1000P404 Flat Gear 16
 Loading...